Gardening in small spaces often feels like a puzzle, but with every piece fitting perfectly, you can create a masterpiece. Composting is one such essential piece that transforms even the tiniest garden into a thriving paradise. It’s not just about reducing waste; it’s about nurturing your plants with rich, homemade nutrients. Whether you’re a curious beginner or a seasoned gardener seeking innovative solutions, small-space composting is your gateway to sustainable, efficient gardening.
Imagine turning your kitchen scraps into gold—the kind that enriches your garden and lightens your environmental footprint. The beauty of small-space composting lies in its adaptability; from compact bins to vermiculture, there’s a method for every lifestyle and space constraint. In this article, you’ll discover ten practical guides that make composting in limited spaces not only possible but also incredibly rewarding. Each guide is crafted to ensure you can start immediately, enhancing both your gardening experience and the health of your plants.
As you delve into these guides, you’ll learn how to select the right composting system that fits snugly into your space, whether it’s a balcony, patio, or tiny urban backyard. We’ll walk you through the steps of setting up, maintaining, and troubleshooting your chosen method, ensuring your compost thrives. This isn’t just about technique; it’s about cultivating a deeper connection with your garden and the environment. By the end of this exploration, you’ll be equipped with the knowledge and confidence to transform your small garden into a lush, sustainable haven.
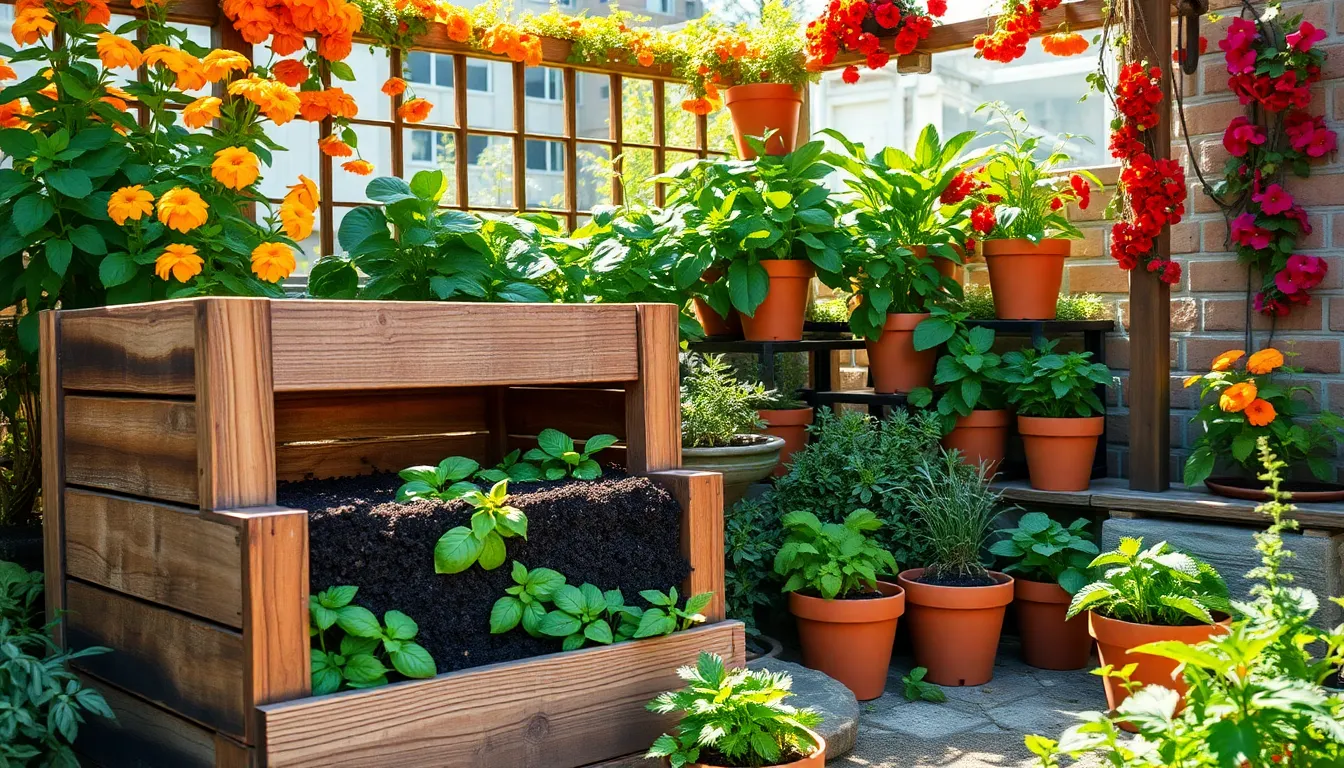
Select a Compact Compost Bin

Choosing a compact compost bin can transform your small-space gardening experience by turning kitchen scraps into valuable nutrients for your plants. Consider the size of your space and the amount of waste you generate when selecting a bin, ensuring it fits comfortably in your designated area.
For beginners, a tumbler compost bin is an excellent choice due to its ease of use and efficient aeration. These bins allow you to rotate the compost, speeding up the decomposition process and minimizing odors.
Advanced gardeners might appreciate a worm composting bin, which uses red wigglers to break down organic matter. This method produces rich vermicompost, ideal for nourishing plants, and can be kept indoors or on a balcony.
When setting up your compost bin, ensure it has adequate drainage and aeration to prevent anaerobic conditions that can lead to foul smells. Regularly add a mix of green (nitrogen-rich) and brown (carbon-rich) materials to maintain a healthy balance and encourage rapid decomposition.
Identify Suitable Indoor Location
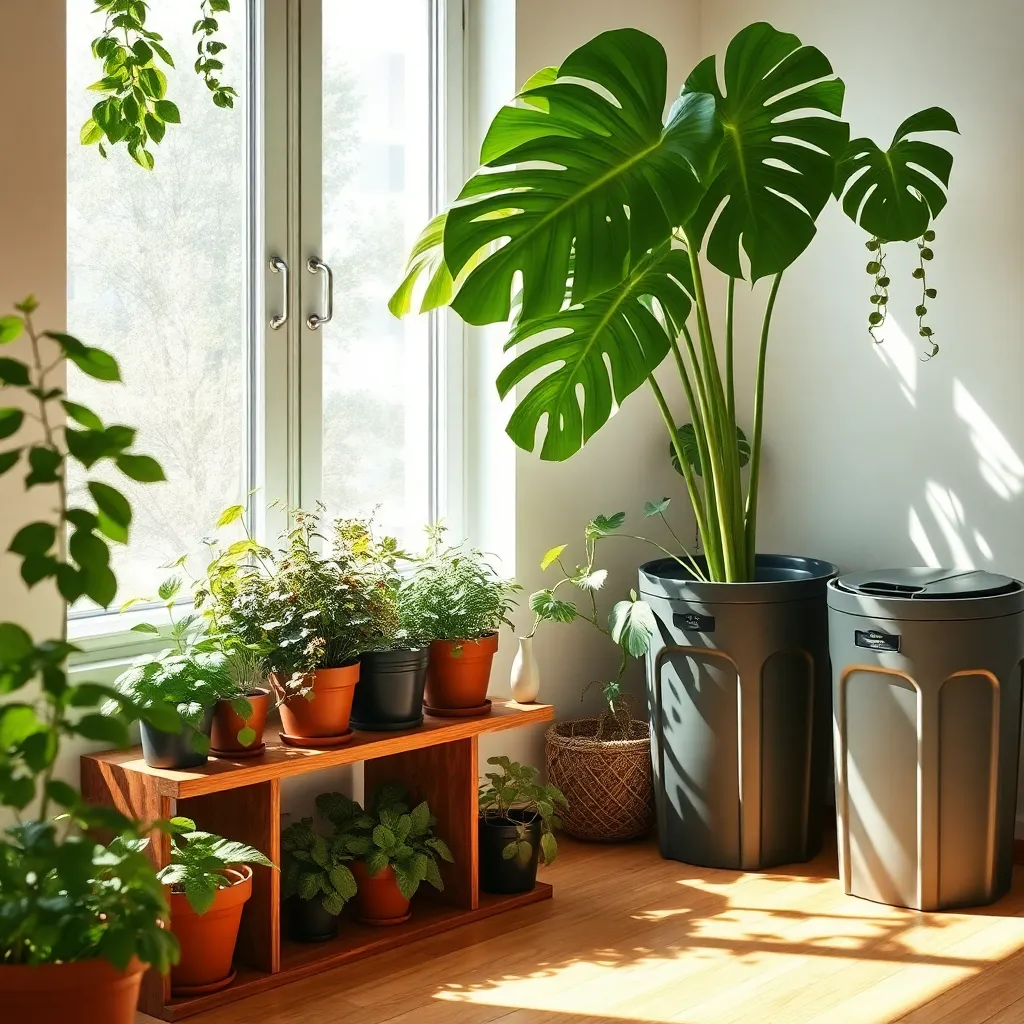
When selecting a location for your indoor composting setup, consider areas with good ventilation to prevent odors. Placing your compost bin near a window or in a well-ventilated utility room can help control both moisture and smell.
It’s vital to ensure the temperature of the chosen spot remains consistent, ideally between 60-80°F. Avoid areas that are too cold, such as basements, as this can slow down the composting process.
Beginners should start by observing how temperature and light affect their compost, adjusting the location as needed. More experienced gardeners might use a thermometer to precisely monitor conditions, ensuring optimal decomposition.
Keeping your compost bin out of direct sunlight will prevent the contents from drying out too quickly. If space is limited, consider using a vertical composting system that can fit into narrower areas.
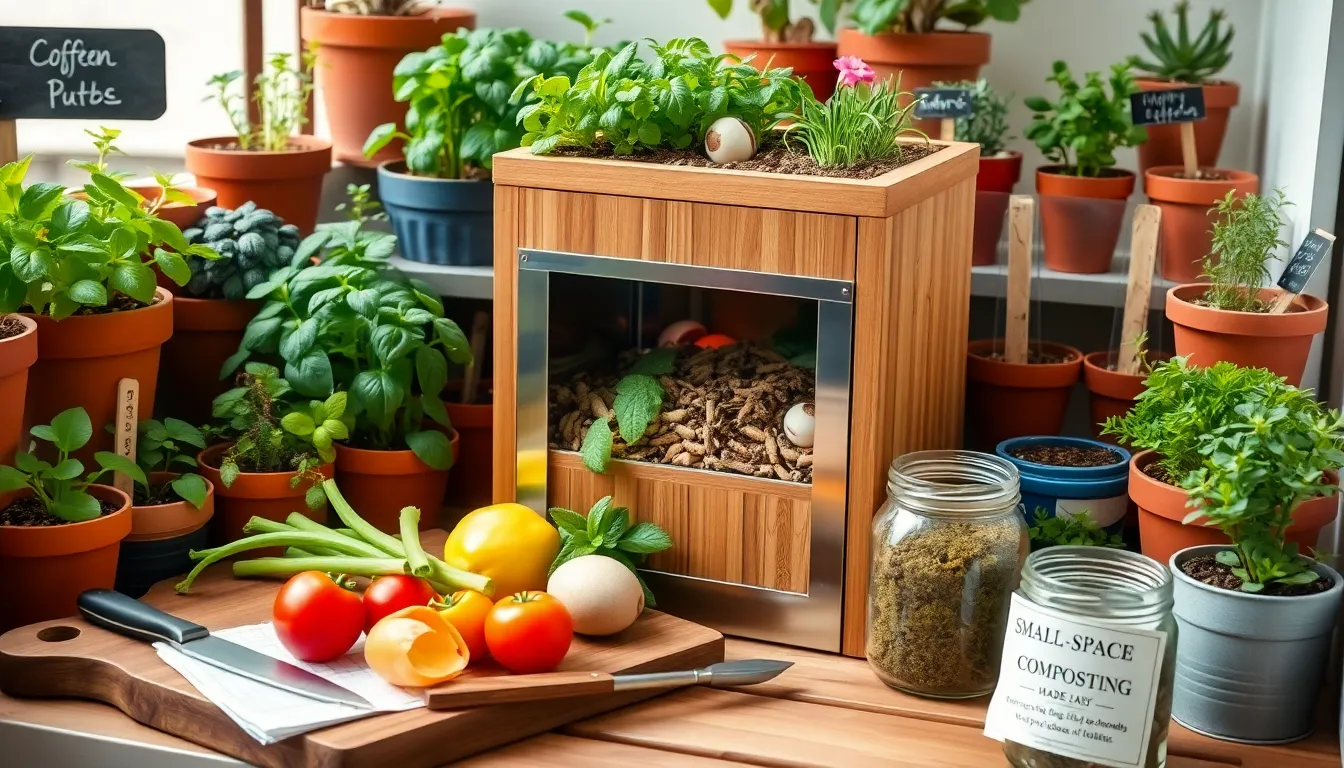
Gather Kitchen Scraps and Yard Waste
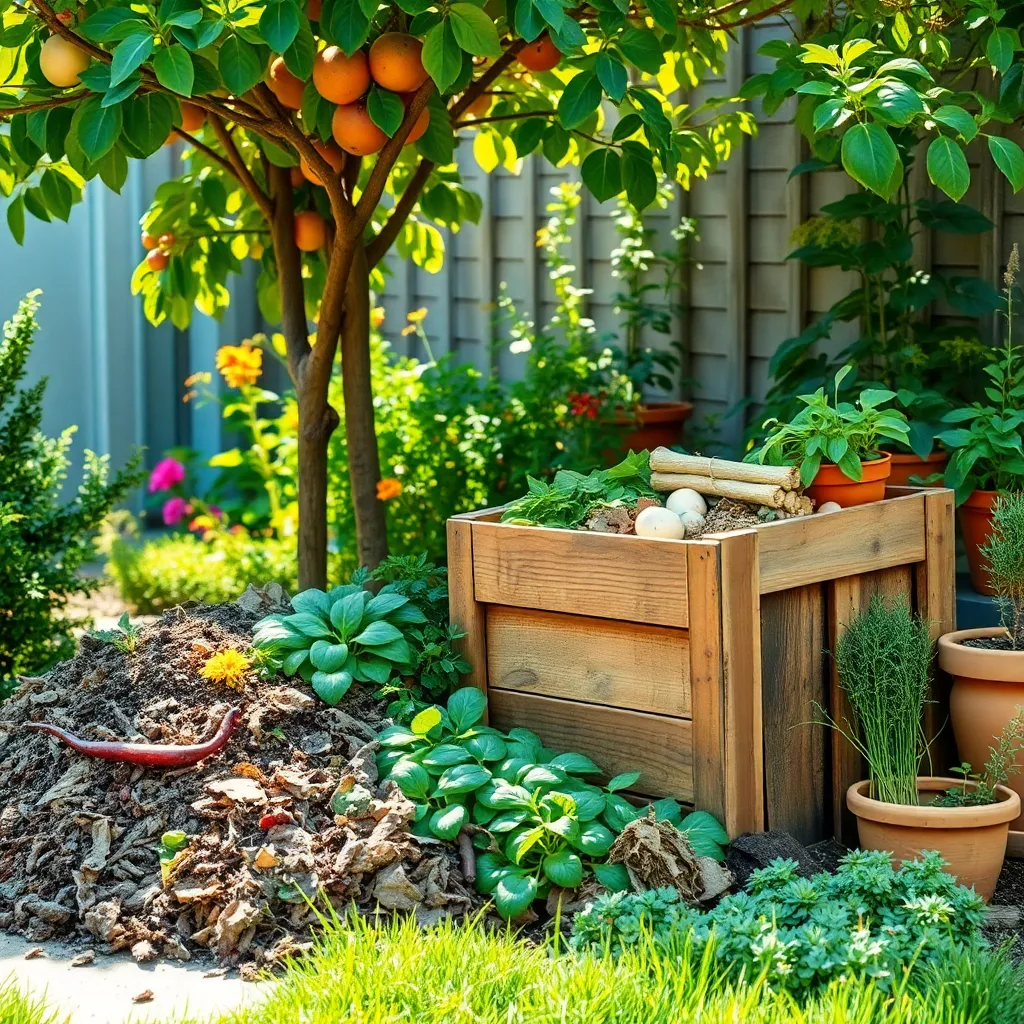
Composting is an excellent way to recycle kitchen scraps and yard waste into a nutrient-rich soil amendment. Begin by collecting a variety of organic materials such as fruit peels, vegetable trimmings, and coffee grounds from your kitchen. These materials, known as “greens,” are rich in nitrogen, which is essential for a balanced compost.
For those who enjoy a morning brew, coffee grounds are particularly valuable due to their high nitrogen content. Additionally, used tea leaves can also be added, ensuring you remove any non-biodegradable tea bags.
Beyond the kitchen, your yard can also provide essential compost materials. Gather “browns” like dry leaves, small branches, and grass clippings, which add carbon to your compost mix. A proper balance of greens and browns is vital for a successful compost pile, typically in a ratio of about 1:3.
To enhance your composting efforts, chop larger yard waste into smaller pieces. This increases the surface area, helping these materials break down more quickly. For advanced composters, consider adding crushed eggshells, which not only contribute calcium but also help balance the pH of your compost.
Remember to keep your compost moist, but not soaking wet, to facilitate the decomposition process. Turning the pile every few weeks with a garden fork will help aerate it, speeding up the breakdown of materials and preventing unpleasant odors. With a little effort, your kitchen scraps and yard waste can be transformed into a valuable resource for your garden.
Layer Green and Brown Materials
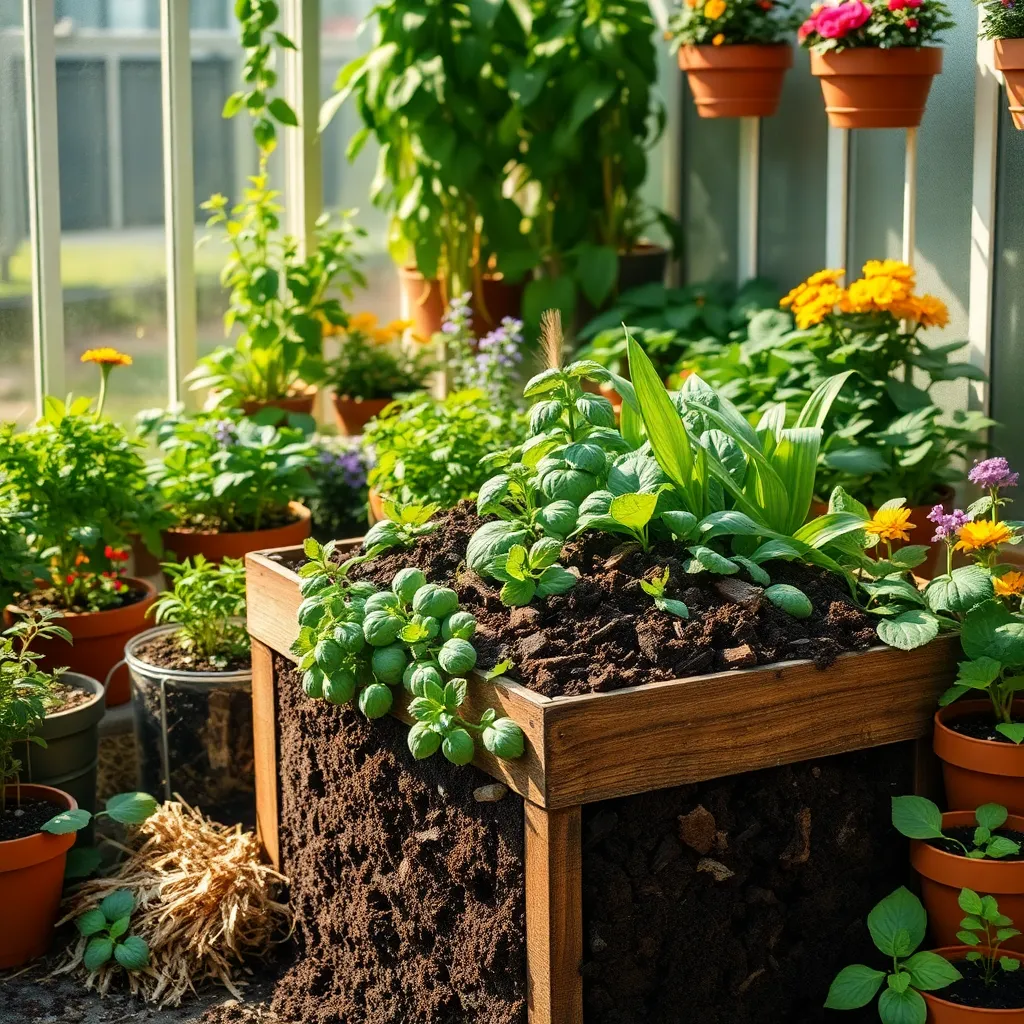
To create a successful compost pile, it’s essential to balance green and brown materials. Green materials such as kitchen scraps and fresh yard clippings provide nitrogen, while brown materials like dried leaves and straw supply carbon.
Start by adding a layer of brown materials at the bottom of your compost bin to aid in drainage and aeration. Follow this with a layer of green materials, ensuring each is about two to four inches thick.
Maintaining this balance is crucial as it accelerates the decomposition process. Too much green material can lead to a smelly pile, while excessive brown materials can slow down decomposition.
For those with limited space, consider using a compost tumbler which makes it easy to mix layers evenly. This method also aids in aeration, providing the necessary oxygen for microorganisms to thrive.
Remember to regularly check the moisture level of your compost, aiming for a consistency similar to a damp sponge. If it’s too dry, add more green materials or a little water; if too wet, incorporate more brown materials to absorb excess moisture.
Add Moisture for Optimal Decomposition
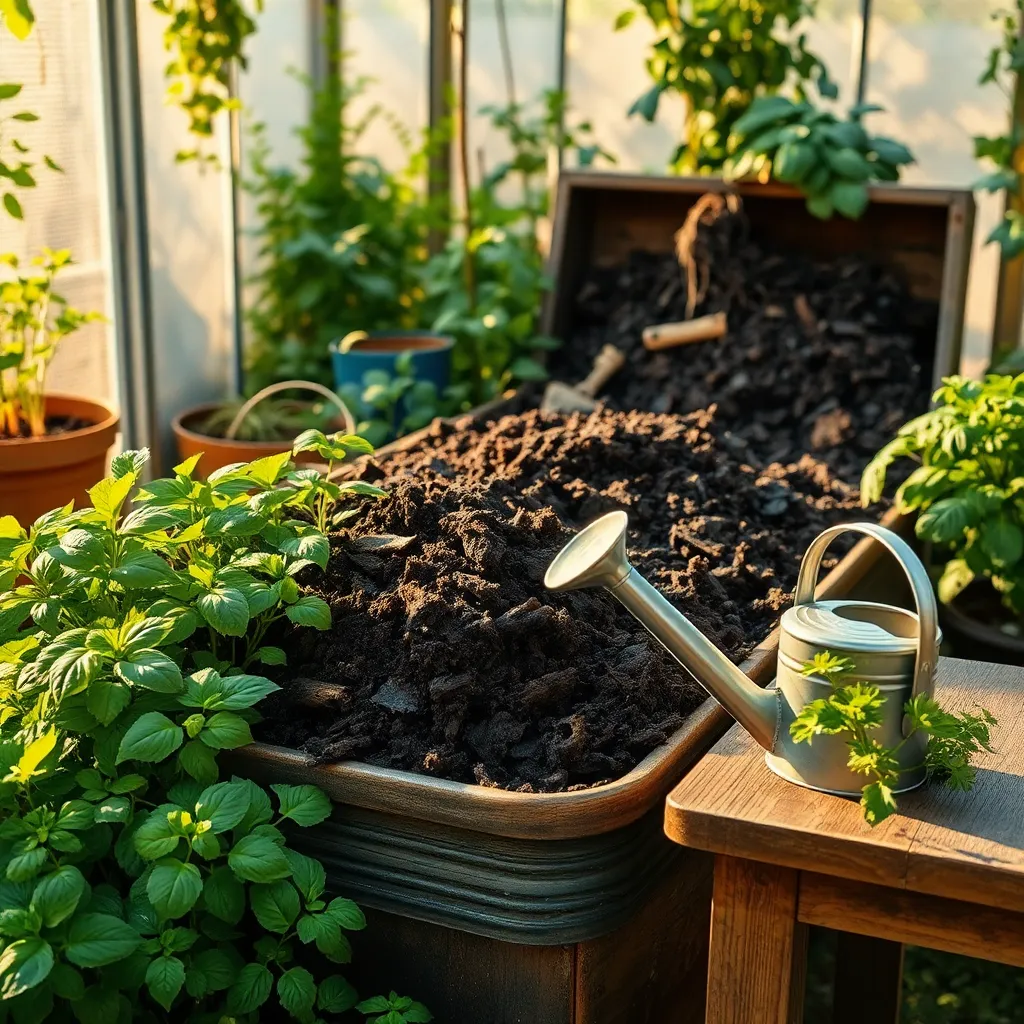
Ensuring the right moisture level is crucial for effective composting, especially in small spaces. Moisture helps break down organic materials by creating an environment where microorganisms can thrive. A dry compost pile slows decomposition, while too much water can lead to a smelly, anaerobic pile. Aim for your compost to feel like a damp sponge—moist but not dripping wet.
To test your compost’s moisture level, grab a handful and squeeze it. If a few drops of water come out, you’ve got the right moisture level. Beginners should monitor moisture levels weekly, particularly in dry climates or during hot weather. For more seasoned composters, adjusting the moisture becomes intuitive over time. Remember, water lightly and frequently rather than adding a large amount at once.
Gardeners can use a variety of methods to maintain optimal moisture. Sprinkling water with a hose or using a watering can are effective for larger compost bins. For smaller setups, like kitchen composters, consider using a spray bottle to mist the layers. Adding water-rich green materials like fruit scraps can also help maintain moisture without the need for additional watering.
Experienced composters might consider using a moisture meter for more precise control. This tool provides an accurate reading and can be especially helpful if you’re troubleshooting a slow decomposition process. Incorporating moisture-retentive materials such as shredded cardboard or straw can also help maintain the balance. Keep an eye on your compost and adjust as necessary to ensure a healthy, thriving pile.
Turn Compost Regularly for Aeration
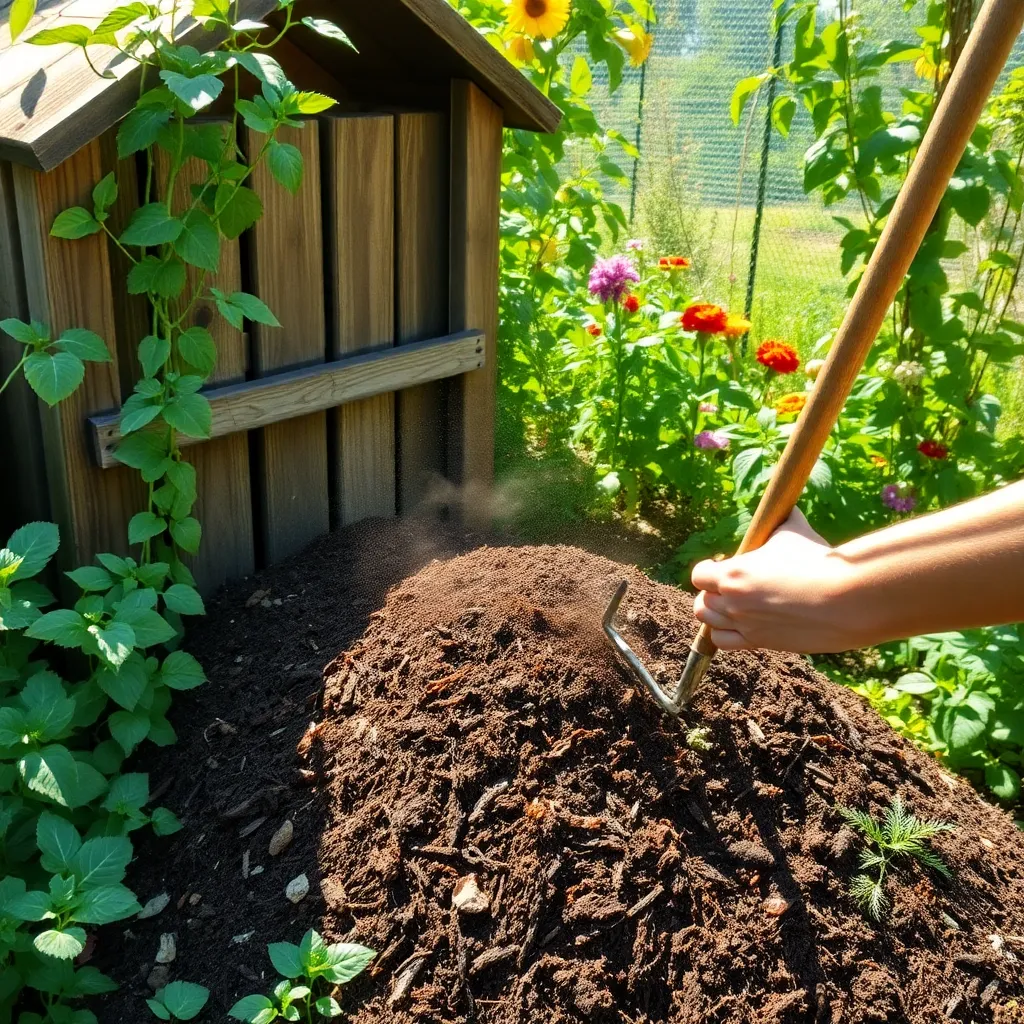
Turning your compost regularly is essential for maintaining proper aeration, which supports the activity of aerobic bacteria needed for decomposition. Aerobic bacteria thrive in oxygen-rich environments, breaking down organic material more efficiently and reducing unpleasant odors.
In small-space composting, use a garden fork or a specialized compost turner to mix your pile every one to two weeks. This regular turning distributes moisture evenly and introduces fresh air, speeding up the composting process.
For beginners, a simple rule of thumb is to turn the compost when it starts to feel dense or emits a strong odor, as these are signs of insufficient aeration. Advanced gardeners can monitor the internal temperature of the pile; if it drops significantly, it may be time to turn it to reintroduce oxygen.
Consider layering materials to enhance aeration, with coarse items like straw or small twigs at the bottom and finer materials on top. This layering technique improves airflow from the base up, ensuring a well-ventilated compost pile that decomposes efficiently.
Monitor Temperature and Moisture Levels
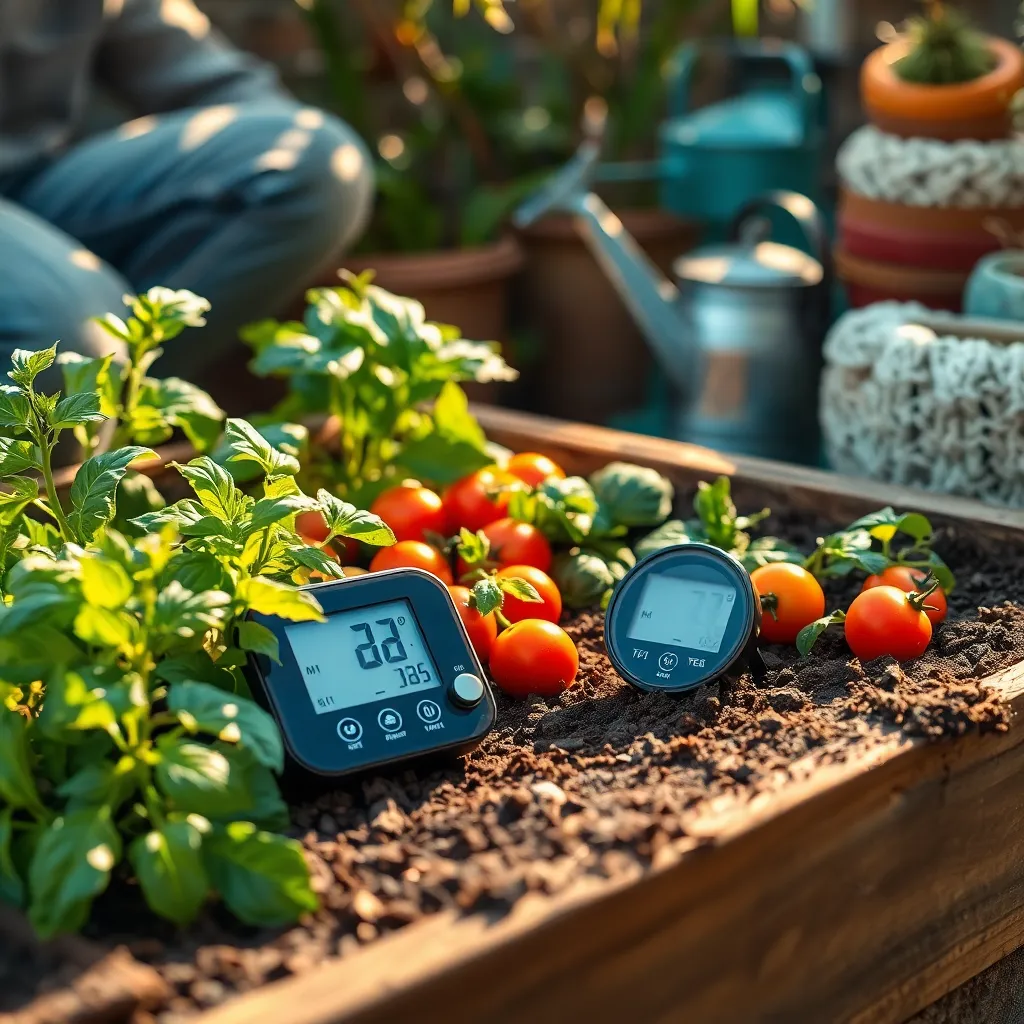
To maintain a thriving compost pile, it’s crucial to monitor temperature and moisture levels closely. A compost pile that is too dry will decompose slowly, while one that is too wet can become anaerobic, leading to unpleasant odors.
Use a compost thermometer to check the internal temperature regularly, aiming for a range between 110°F and 160°F. This optimal range ensures that beneficial microbes are active, breaking down materials efficiently and killing off pathogens.
Moisture is equally important; your compost should have the consistency of a wrung-out sponge. If it’s too dry, add water gradually while mixing; if it’s too wet, incorporate dry materials such as shredded newspaper or straw to absorb excess moisture.
For those looking to optimize their composting process, consider investing in a compost moisture meter. This tool can provide precise readings and help you make informed adjustments, ultimately speeding up the composting process and ensuring richer end results.
Troubleshoot Common Composting Issues

If your compost pile isn’t breaking down, the issue may be an imbalance of green and brown materials. Aim for a balance of two-to-one brown-to-green materials to ensure efficient decomposition.
Sometimes, a compost pile can become too dry, which slows down the decomposition process. To remedy this, sprinkle water over the pile until it is damp but not soggy, replicating the feel of a wrung-out sponge.
Bad odors emanating from your compost can be unpleasant and signal trouble. This often indicates excess moisture or a lack of oxygen, so try turning the pile weekly to introduce air and reducing the amount of wet green materials.
For those finding pests in their compost, it is crucial to exclude meat, dairy, and oils from your pile. These materials attract unwanted visitors, so stick to plant-based kitchen scraps and yard waste to keep pests at bay.
If you notice that your compost is not reaching high temperatures, it may be too small to generate sufficient heat. Consider increasing the size of your pile to at least three feet on each side, ensuring better insulation and heat retention.
Advanced composters might experiment with different compost activators to speed up decomposition. Consider adding manure, alfalfa meal, or commercial compost starters to introduce beneficial microbes that enhance the breakdown process.
Harvest Finished Compost Material
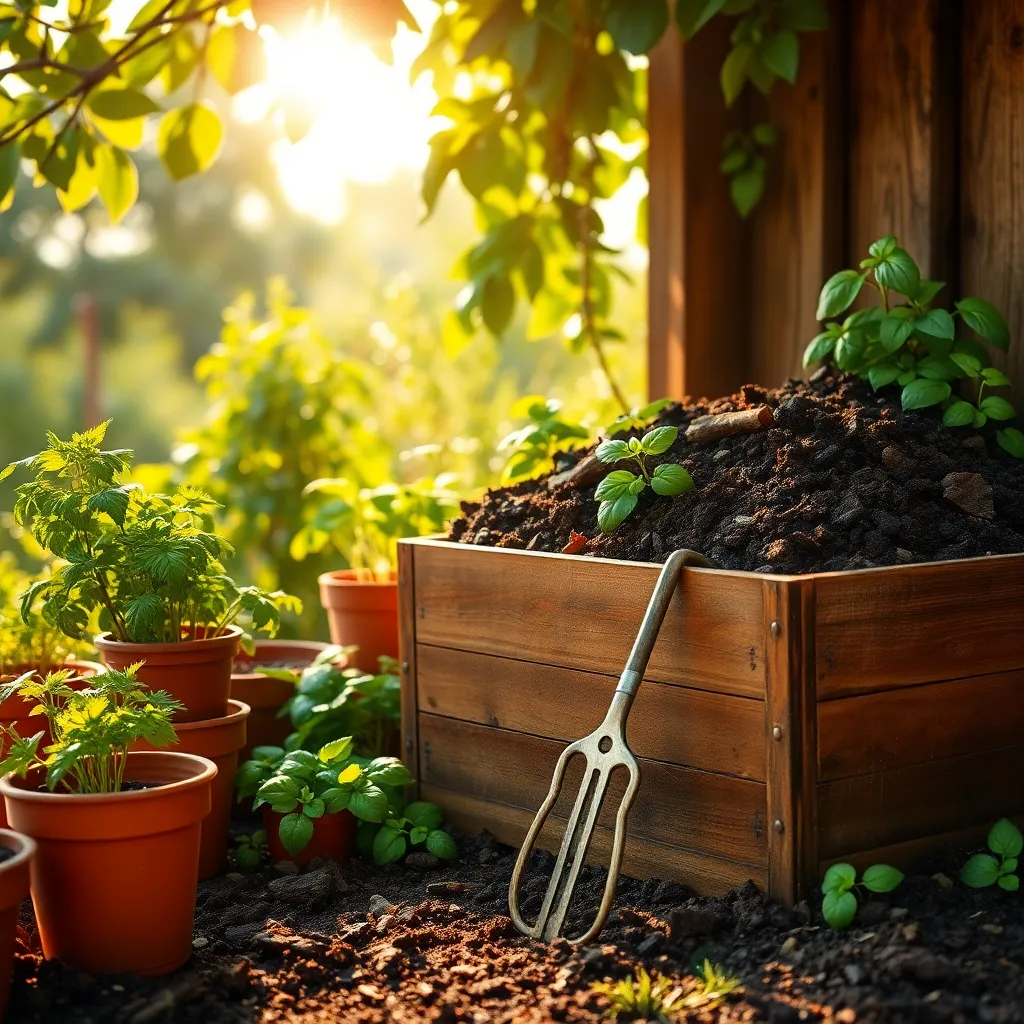
Harvesting finished compost material is a rewarding step in your composting journey. To identify mature compost, look for a dark, crumbly texture and an earthy smell, indicating it is ready to enhance your garden.
Begin by using a garden fork or your hands to sift through the pile, separating finished compost from larger, undecomposed materials. It’s beneficial to use a screen or mesh to filter out larger pieces, which can be returned to the compost bin for further breakdown.
Once you’ve collected your finished compost, consider mixing it into your garden soil to improve structure and nutrient content. Aim to incorporate a layer of about 1-2 inches into the topsoil, which will greatly benefit the root zones of your plants.
For container gardens, mix finished compost with potting soil at a ratio of 1:3 for a nutrient-rich planting medium. This combination provides excellent drainage and aeration, promoting healthy root development and vigorous plant growth.
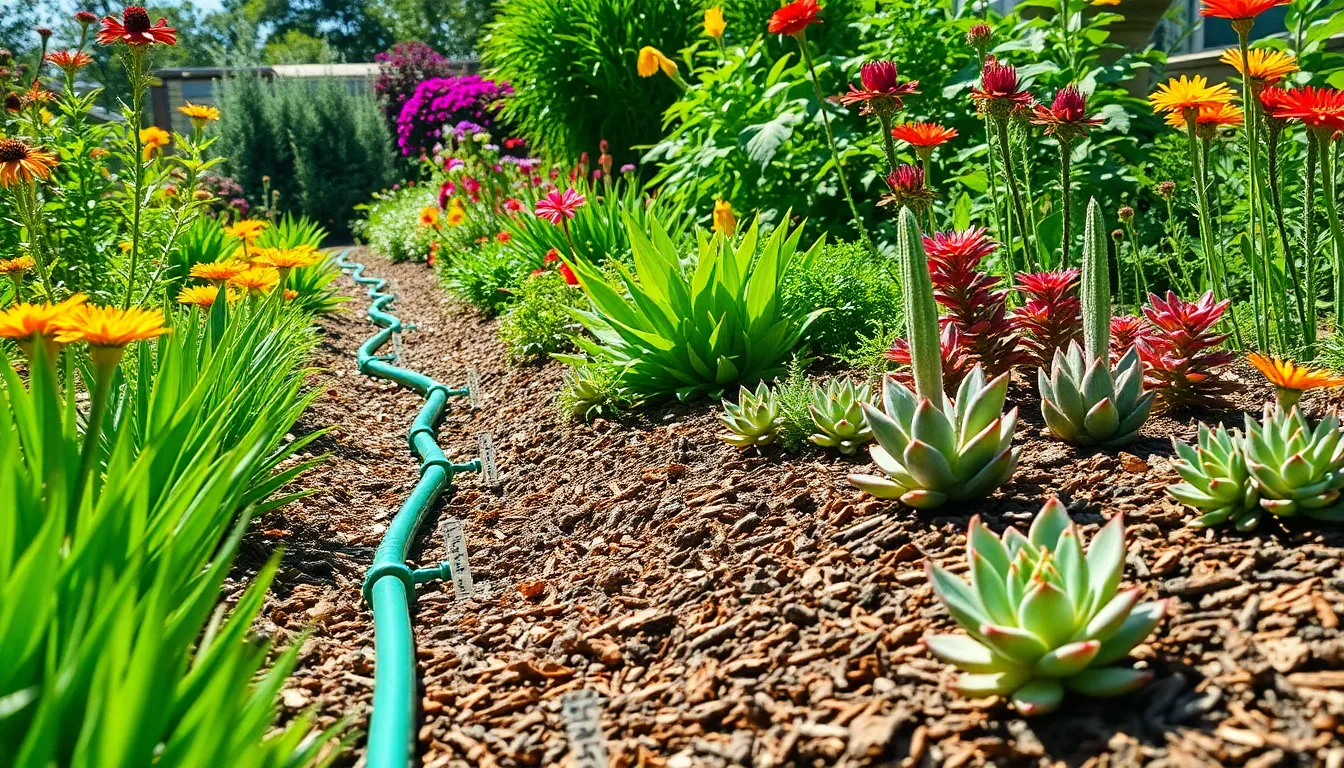
Utilize Compost in Small Gardens
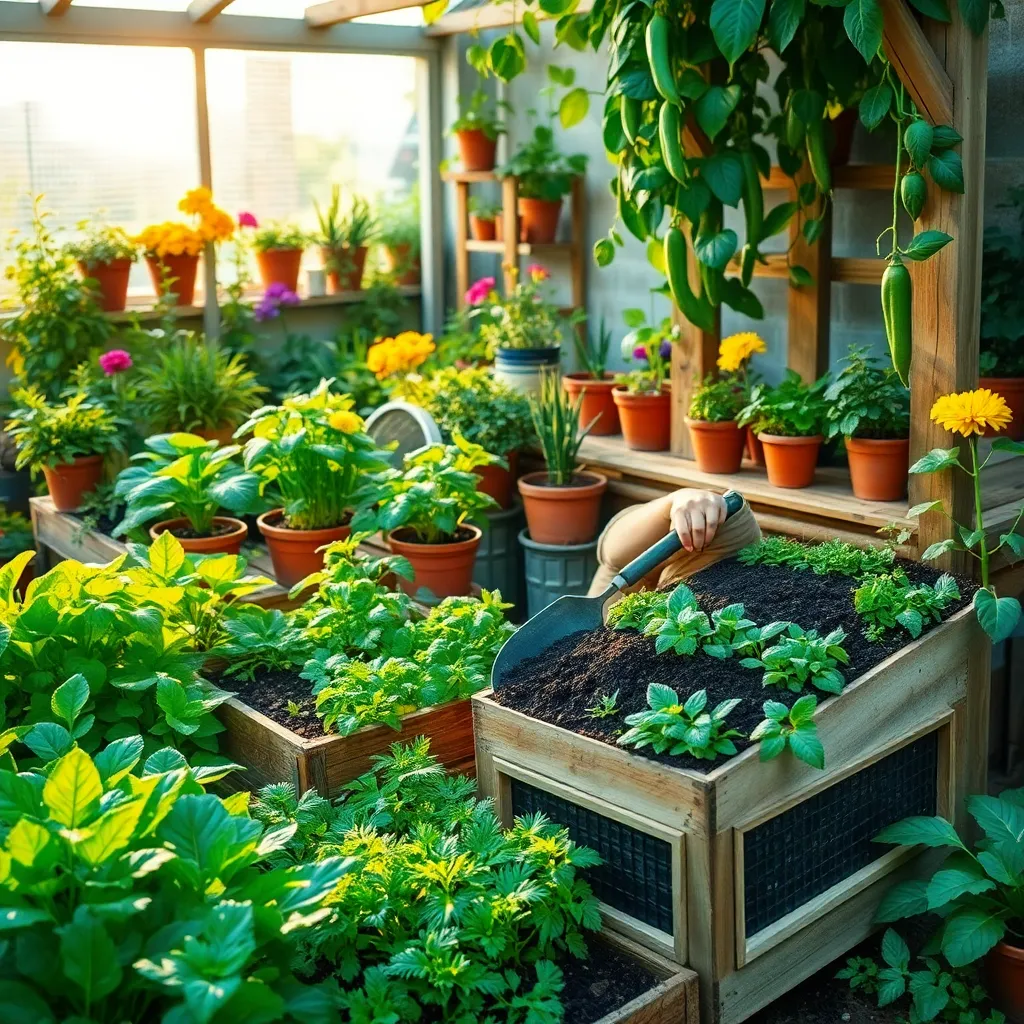
Incorporating compost into your small garden can significantly enhance soil quality and boost plant health. Start by incorporating a thin layer of compost—about one inch—into the topsoil to enrich it with essential nutrients.
Compost improves soil structure, leading to better drainage and root penetration. For container gardens, mix compost with potting soil in a 1:3 ratio to balance nutrient content without overwhelming your plants.
Regularly adding compost around the base of your plants acts as a natural fertilizer. This practice not only provides a steady release of nutrients but also helps retain moisture, reducing watering frequency.
To maximize the benefits of compost, focus on using it with plants that thrive in nutrient-rich environments, such as tomatoes and leafy greens. Advanced gardeners can experiment with compost tea, which involves steeping compost in water to create a nutrient-rich liquid fertilizer for more targeted feeding.
Conclusion: Growing Success with These Plants
In this heartening journey through ’10 Small-Space Composting Guides,’ we’ve uncovered invaluable insights to nurture your relationship’s growth, much like tending to a thriving compost. From fostering open communication and practicing patience to setting shared goals and creating personal spaces, each concept is a stepping stone towards a healthier, more resilient partnership. We’ve also touched on the importance of mutual respect, active listening, and celebrating small successes together, while emphasizing the role of forgiveness, adaptability, and shared responsibilities in maintaining harmony.
Your next empowering step is to choose one of these practices and integrate it into your relationship today—perhaps start by having an open conversation about shared goals or acknowledging each other’s efforts in small yet meaningful ways.
As you embark on this journey towards relationship success, be sure to bookmark this article for future reference. It will serve as a guiding light whenever you seek to refresh and deepen your connection. Remember, successful relationships are built on continual growth and understanding. With these tools in hand, you’re well on your way to cultivating a love that thrives, regardless of the space you have. Keep nurturing your bond, and watch it flourish beyond your expectations.