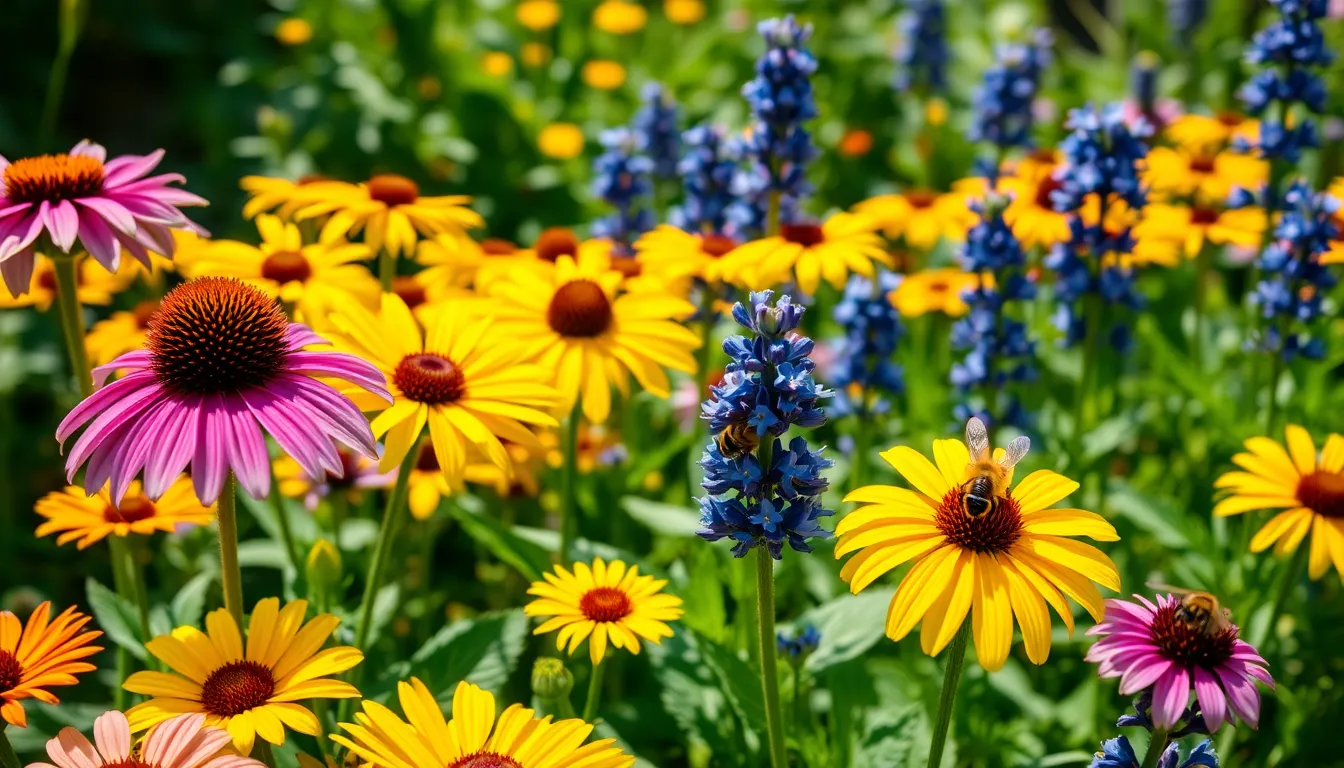
Welcome to a world where nature’s charm meets the comfort of your home—indoor gardening. Whether you’re dipping your toes into the soil for the first time or have a seasoned green thumb, embracing indoor gardening can transform your living space into a lush, tranquil sanctuary. This article will guide you through 12 creative indoor gardening projects, each designed to inspire and challenge you in delightful ways.
Indoor gardening is more than just a hobby; it’s a doorway to a healthier, happier lifestyle. Plants not only purify the air but also bring a sense of calm and well-being to your surroundings. You’ll discover how to craft captivating terrariums, nurture exotic orchids, and even cultivate a thriving herb garden right on your kitchen windowsill. Each project is carefully curated to ensure you experience the joy of nurturing life, regardless of your expertise level.
Embarking on these projects, you’ll learn how to optimize your space, select the right plants, and master the art of plant care. Our step-by-step guidance will empower you to tackle each project with confidence and creativity. Whether you’re looking to add a splash of greenery to a small apartment or create a vibrant indoor oasis, this article will equip you with the knowledge and inspiration to make your indoor gardening dreams a reality. Let’s dig in and grow something beautiful together!
Building a Vertical Herb Garden
Creating a vertical herb garden is a fantastic way to maximize space and bring fresh herbs into your home. To start, choose a sunny spot near a window where your herbs can receive at least six hours of sunlight daily.
Use lightweight pots or containers with good drainage to prevent waterlogging. Fill them with a high-quality potting mix that’s rich in organic matter, which will help your herbs thrive.
For beginners, select easy-to-grow herbs like basil, mint, and parsley, which are forgiving and resilient. Ensure you water them regularly, but allow the soil to dry slightly between waterings to avoid root rot.
Experienced gardeners might experiment with more challenging herbs such as rosemary or thyme, which require well-draining soil and less frequent watering. Additionally, consider using a vertical planter system with a built-in irrigation feature for consistent moisture levels.
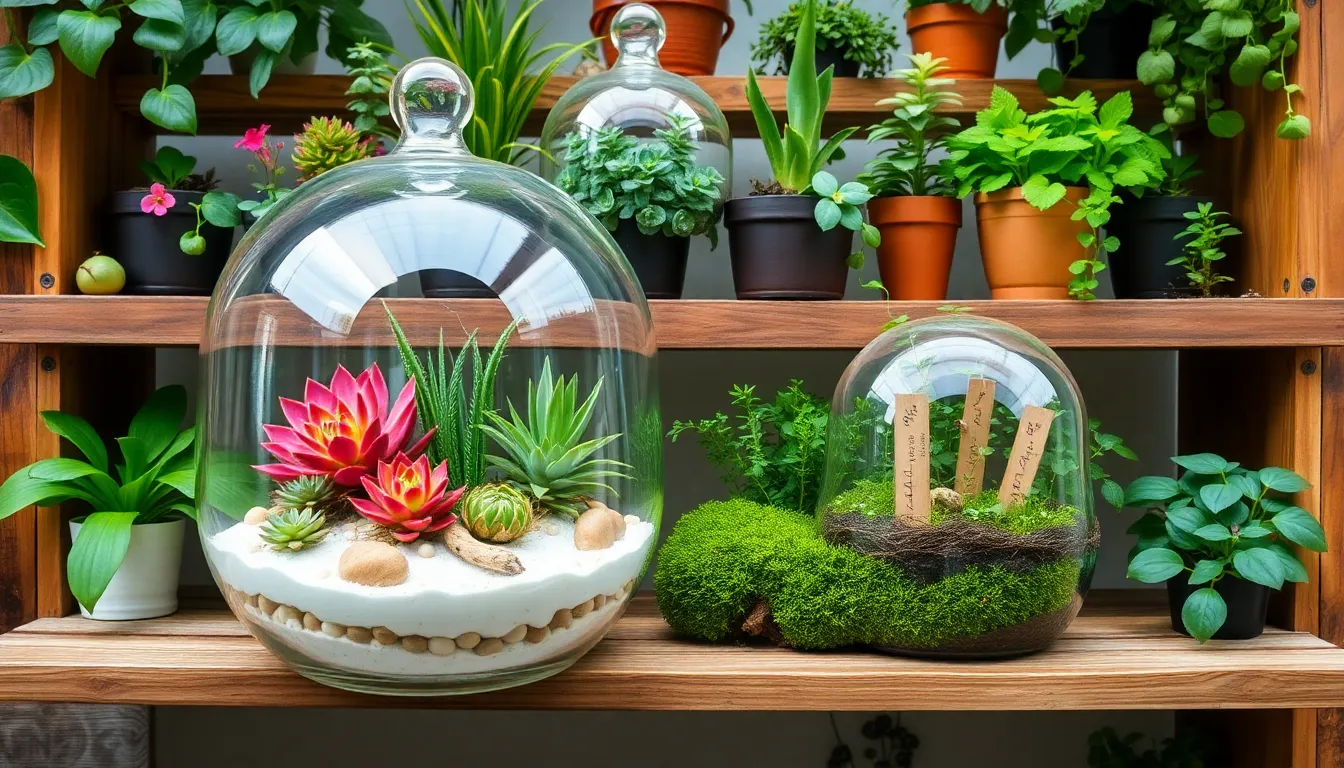
Creating a Succulent Terrarium
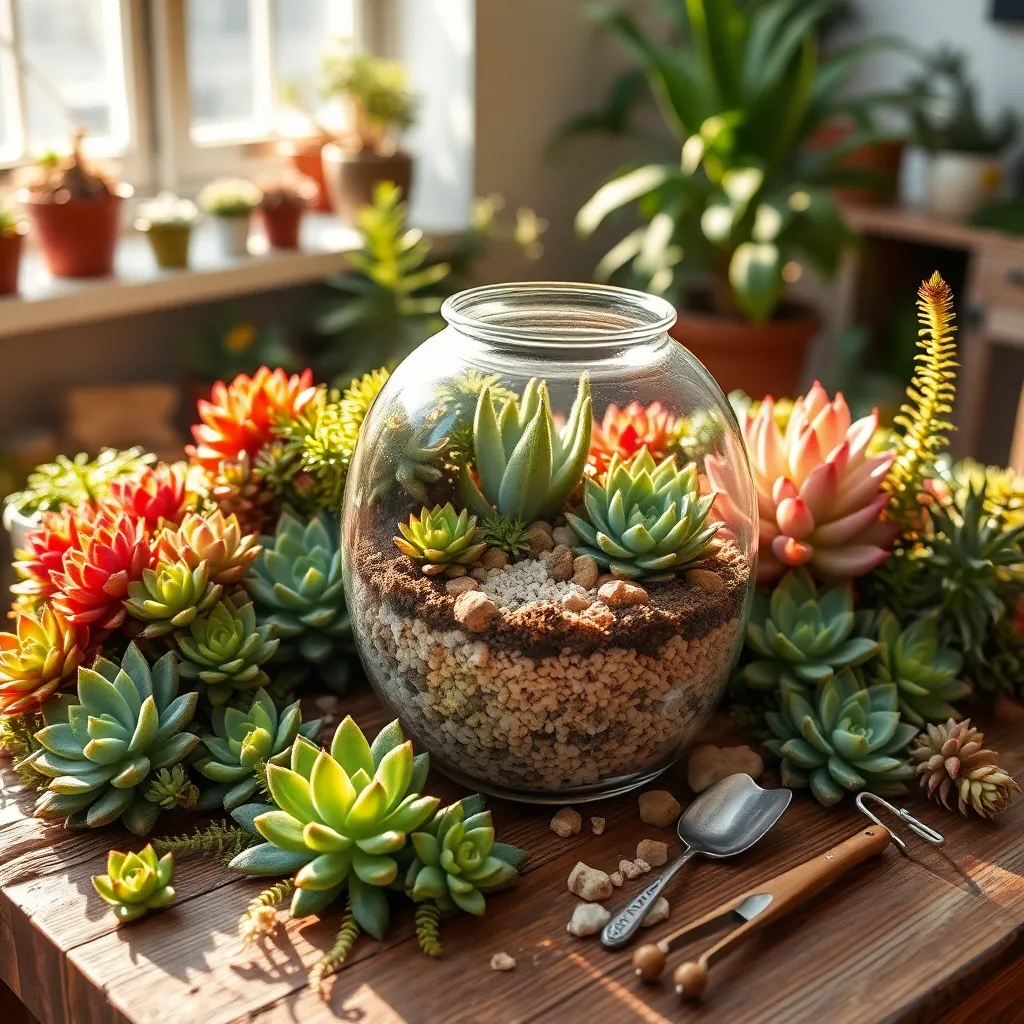
Creating a succulent terrarium is a delightful way to bring a touch of greenery indoors with minimal maintenance. Begin by selecting a glass container that allows for good air circulation, as succulents thrive in environments where excess moisture can easily escape.
To ensure proper drainage, start by adding a layer of small pebbles or gravel at the bottom of your container. This step is crucial because succulents are prone to root rot if their roots sit in water for too long.
Next, use a cactus or succulent-specific potting mix, which is designed to provide the right balance of drainage and nutrients. Gently plant your succulents in the soil, arranging them to create a visually pleasing composition while ensuring that they’re not too crowded.
Once planted, water the terrarium sparingly, allowing the soil to dry completely between waterings. A general guideline is to water once every two to three weeks, but this may vary depending on the humidity and temperature of your home.
For advanced care, consider adding activated charcoal beneath the soil layer to help absorb odors and toxins. Position your terrarium in a bright location where the succulents can receive indirect sunlight, which helps them maintain their vibrant colors and compact form.
Designing a Miniature Zen Garden

Creating a miniature Zen garden indoors can be a calming and fulfilling project for both novice and experienced gardeners. To start, choose a shallow container with a flat base, such as a ceramic tray or a wooden box, ensuring it fits the space where you plan to display it.
Next, fill the container with a layer of fine sand or gravel, which serves as the base for your garden. Opt for light-colored sand to reflect light and enhance the tranquil feel of your design.
Incorporate small plants like moss or dwarf ferns to add greenery and texture to your miniature landscape. These plants thrive in low light and require minimal care, needing only occasional misting to stay lush and vibrant.
Add rocks or stones as focal points, arranging them in a way that mimics natural landscapes. Use smooth, rounded stones for a softer look, and consider painting some of them to add a pop of color if desired.
To maintain your Zen garden, regularly rake the sand to create patterns that evoke water or waves. This not only keeps your garden looking fresh but also provides a meditative activity that promotes mindfulness and relaxation.
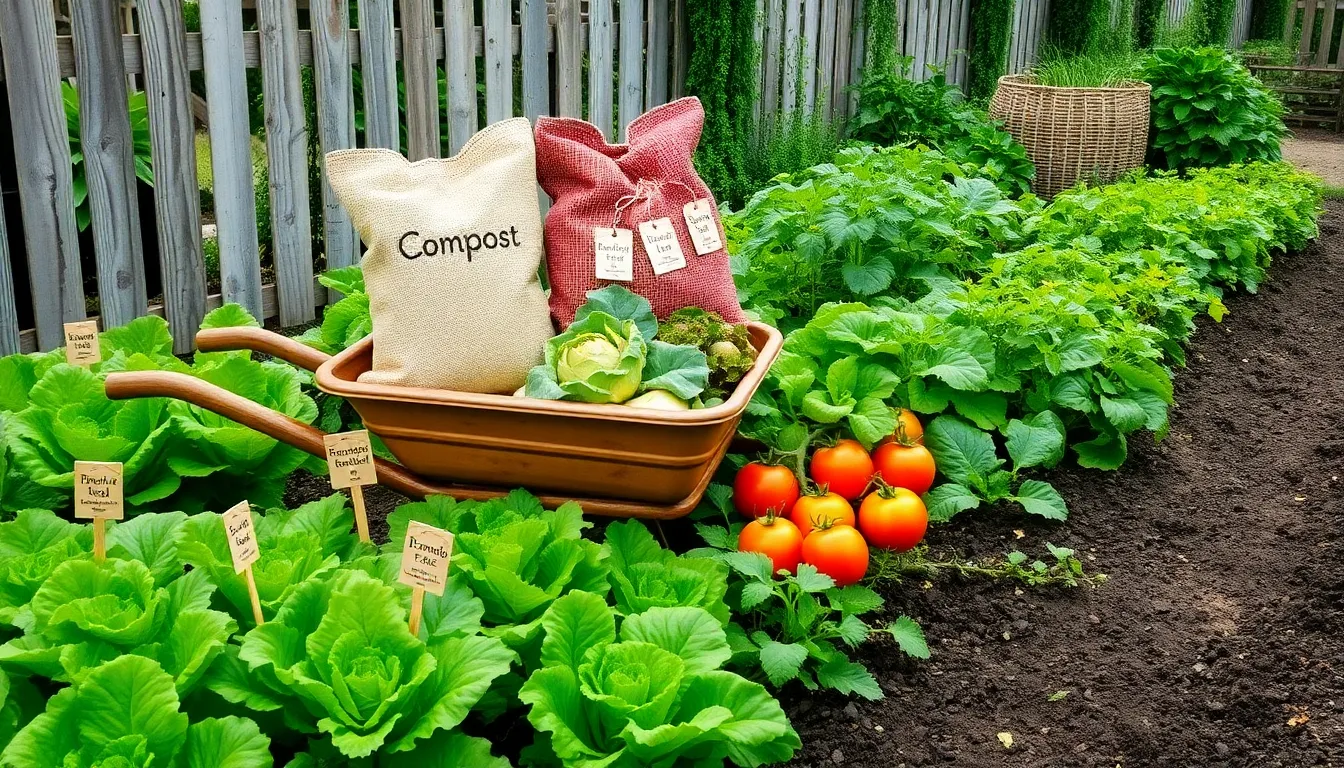
Upcycling Containers for Planters
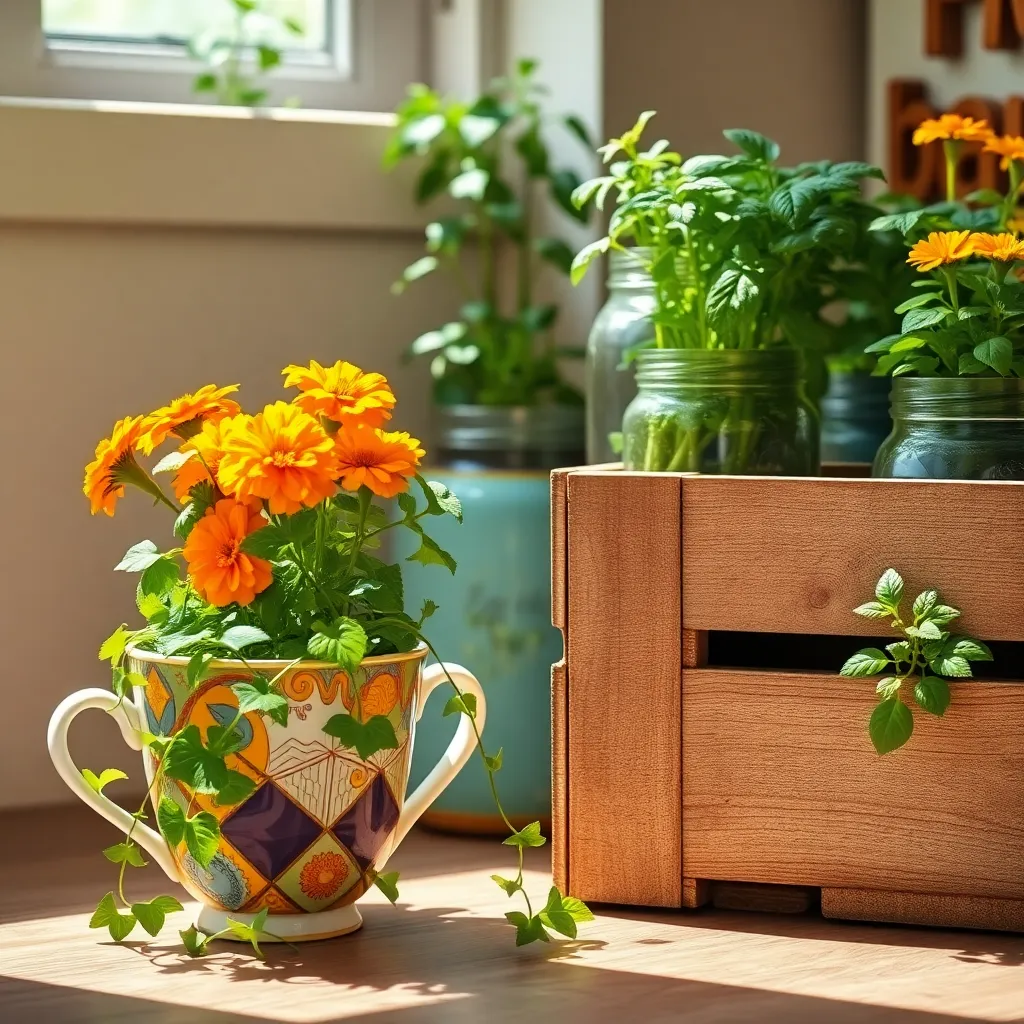
Reusing old containers for planters is an excellent way to combine sustainability with creativity in your indoor gardening projects. Look around your home for items like old teapots, tin cans, or even broken toys—they can all be repurposed into unique plant containers.
Before using any container, ensure it has proper drainage to prevent water from accumulating at the bottom. You can easily add drainage holes using a drill or a hammer and nail for metal or plastic items.
Choose the right plants based on the size and material of your upcycled container. Succulents and herbs are great choices for smaller containers because they require less soil and are drought-tolerant.
For beginners, a simple soil mix of potting soil and sand can provide adequate drainage for most plants. More advanced gardeners might experiment with adding perlite or vermiculite to enhance aeration and moisture retention.
Watering frequency will depend on the material and size of your container, as well as the plant species. Check the soil moisture by inserting your finger about an inch deep; if it feels dry, it’s time to water.
Growing Microgreens on Windowsills
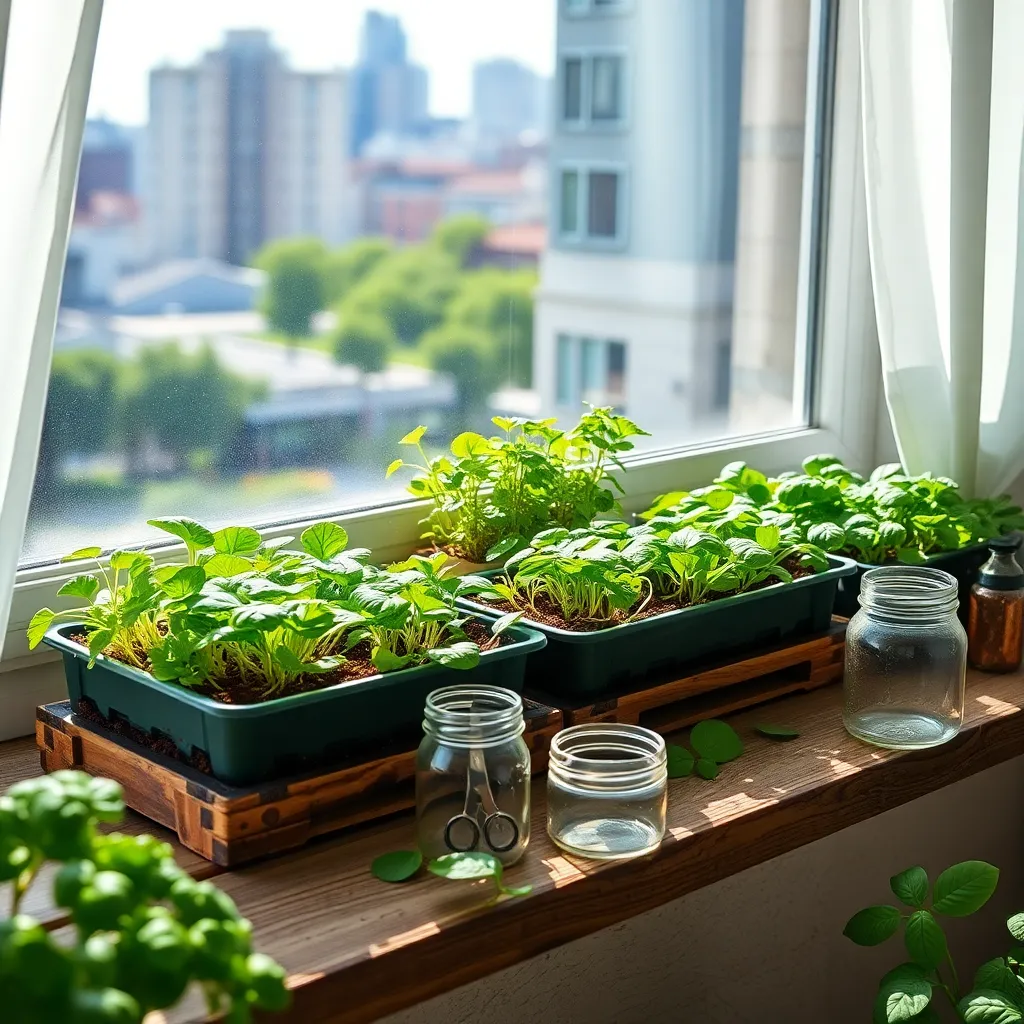
Microgreens are a fantastic way to bring fresh, nutrient-rich greens into your home, and they can be grown easily on your windowsill. Start by selecting a shallow tray or container with drainage holes, and fill it with a fine, organic potting mix or coconut coir.
Once you have your container ready, sprinkle the seeds evenly across the surface and press them gently into the soil. Water the seeds lightly using a spray bottle, ensuring the soil stays consistently moist but not waterlogged.
Place the tray on a windowsill that receives plenty of natural light, ideally 4-6 hours of direct sunlight each day. If natural light is limited, consider using a small grow light positioned about 6 inches above the container to ensure your microgreens thrive.
Within a week, you should begin to see tiny shoots emerging from the soil. Harvest the microgreens when they reach about 2-3 inches in height, using scissors to snip them just above the soil line for a continuous supply.
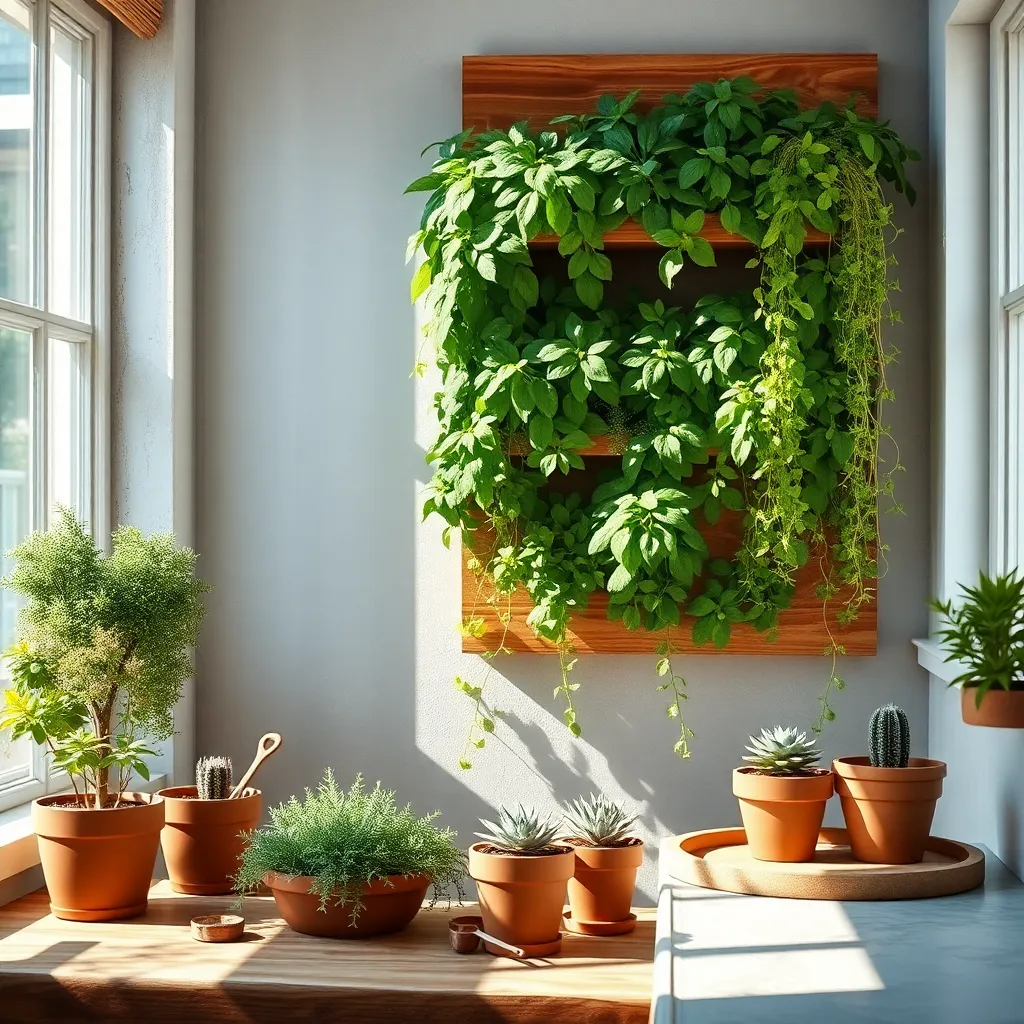
Crafting Hanging Plant Displays
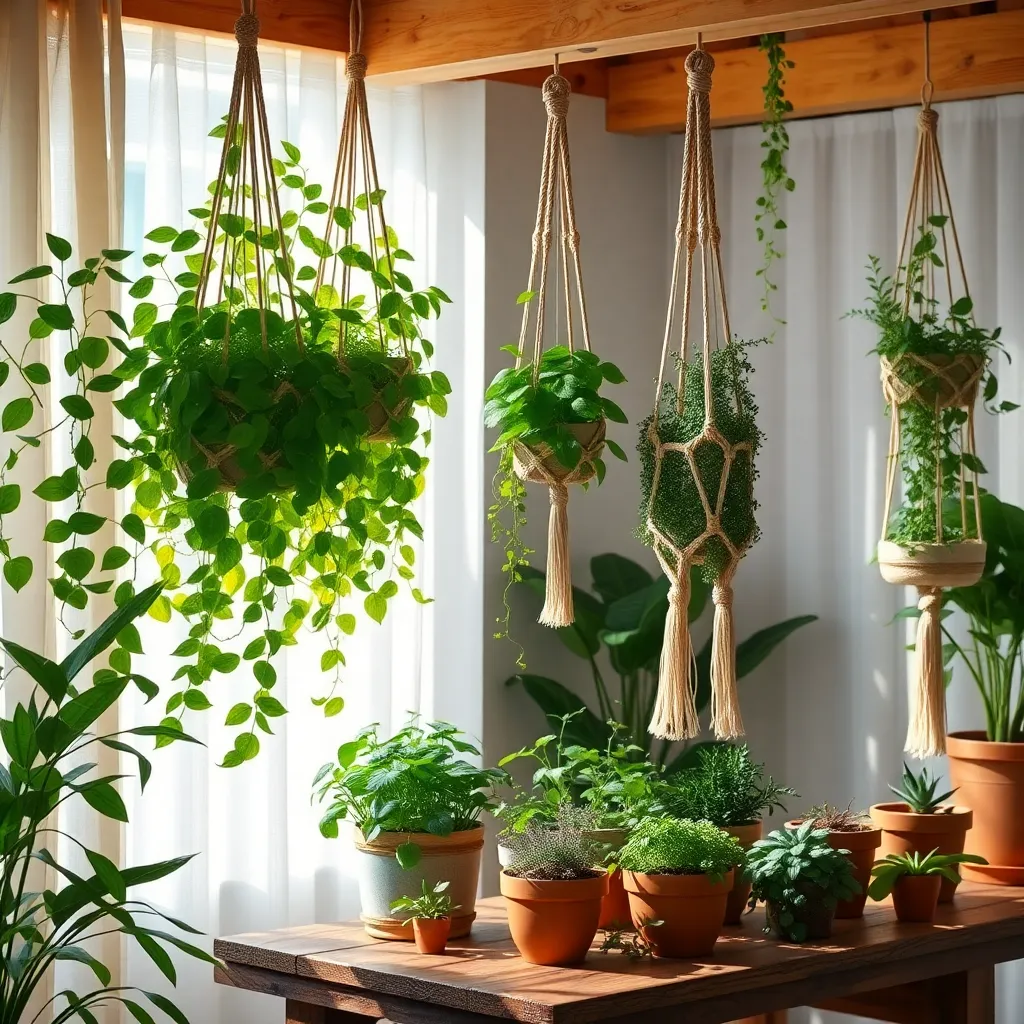
Creating hanging plant displays can transform any indoor space into a lush, vibrant oasis. To start, select containers with proper drainage to ensure your plants thrive.
Choose plants that suit your indoor environment, such as ferns, pothos, or spider plants, which are well-suited for hanging displays. These varieties are hardy and can adapt to various light conditions, making them ideal for beginners.
For advanced gardeners, consider incorporating trailing plants like string of pearls or lipstick plant for a dramatic effect. These plants require more specific care, such as bright, indirect light and precise watering schedules to prevent root rot.
When hanging your plants, use sturdy hooks or brackets to support the weight of the pots, especially as they grow. Grouping plants together can create a stunning visual impact, but ensure there is adequate air circulation around each plant to avoid mold and pests.
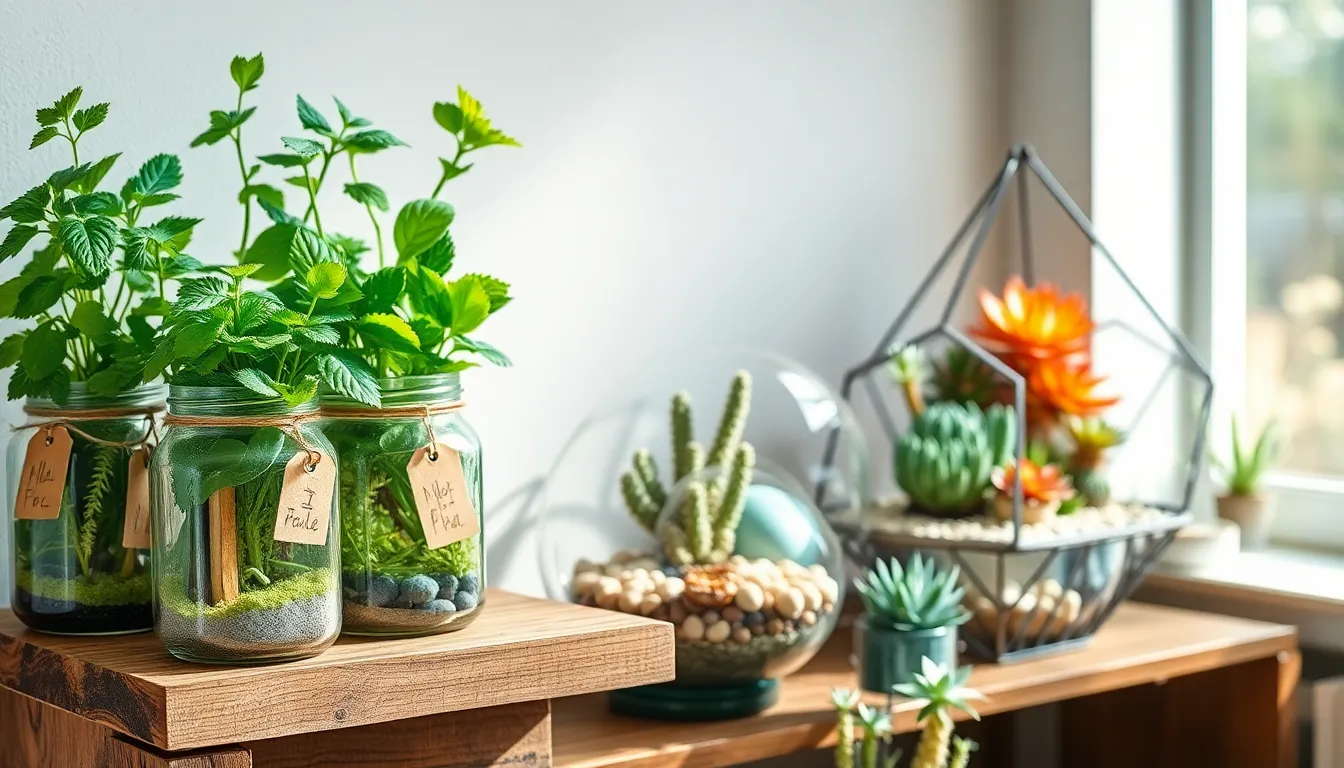
Assembling a Bottle Garden

Creating a bottle garden is an excellent way to bring a slice of nature into your home. This self-contained ecosystem allows you to grow plants with minimal effort, making it perfect for busy gardeners.
To start your bottle garden, choose a clear glass container with a wide mouth for easy access. Wash the container thoroughly to ensure it’s free of any residues that might harm your plants.
Next, layer the bottom of the bottle with small stones or gravel to ensure proper drainage. This step is important because it prevents water from accumulating at the roots, which can lead to rot.
On top of the gravel, add a layer of activated charcoal to keep the environment fresh and prevent odors. Follow this by adding a layer of potting soil suitable for the plants you intend to grow.
Select small plants that thrive in humid environments, such as ferns, moss, or small tropical plants. Arrange them carefully in the soil, ensuring they have enough space to grow and receive light.
Water the bottle garden lightly, using a spray bottle to avoid disturbing the plants or soil. It’s crucial to monitor the moisture level and only water when the soil feels dry to the touch.
Place your bottle garden in a location with indirect sunlight to prevent overheating. For advanced gardeners, consider experimenting with different plant combinations to observe how they interact and thrive together.
Establishing a Kitchen Windowsill Garden
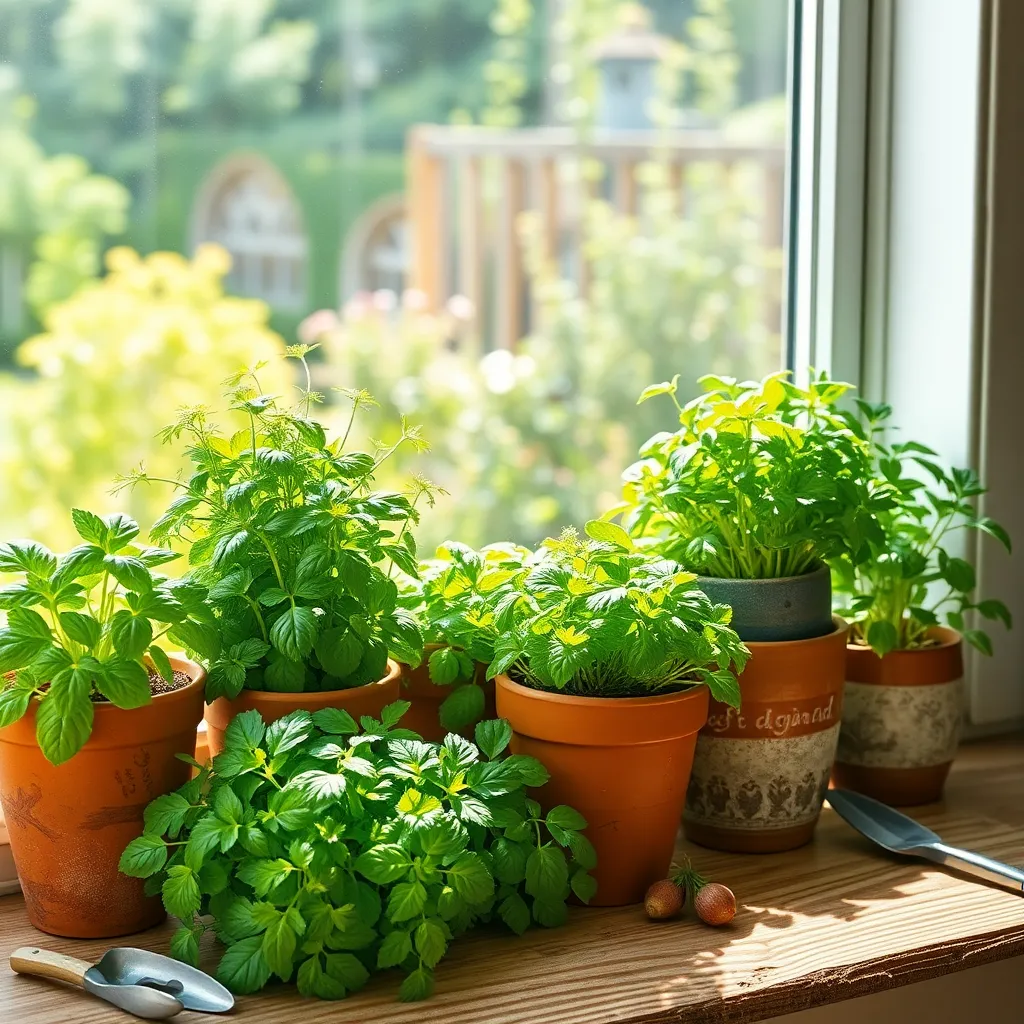
A kitchen windowsill garden is a delightful way to bring fresh flavors and greenery into your home. Start by selecting a sunny windowsill that receives at least 4-6 hours of direct sunlight each day, as most herbs and small vegetables thrive in bright conditions.
Choose containers with drainage holes to prevent waterlogging, using saucers to catch excess water. For soil, opt for a high-quality potting mix, enriched with organic matter to support healthy plant growth.
Begin with easy-to-grow herbs like basil, parsley, and chives, which are perfect for beginners and provide fresh seasoning for your meals. Keep the soil consistently moist but not soggy, watering only when the top inch feels dry to the touch.
For advanced gardeners, consider adding dwarf vegetable varieties like cherry tomatoes or small peppers, which can thrive in larger pots. Regularly trim herbs to encourage bushy growth, and rotate your containers every couple of weeks to ensure even light exposure.
Cultivating Air Plants Creatively
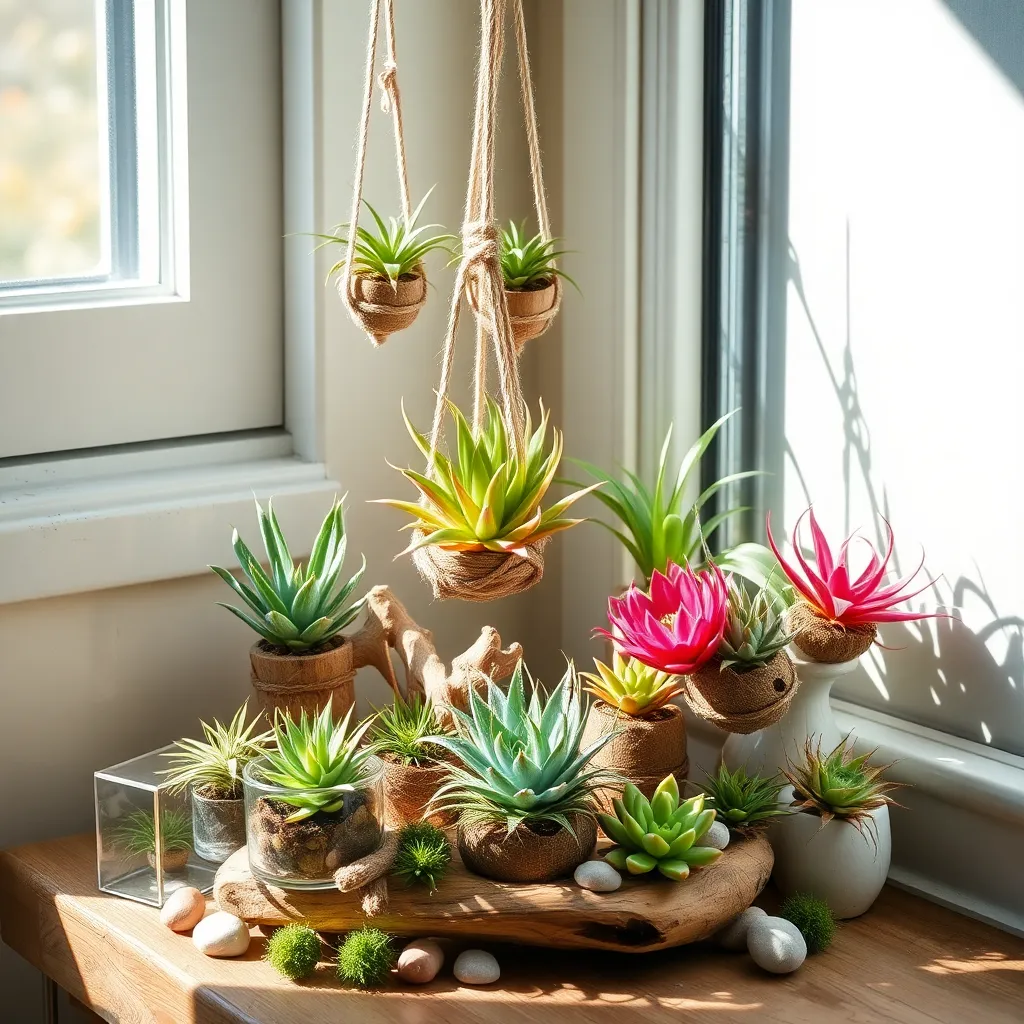
Air plants, or Tillandsias, offer a unique opportunity to experiment with creative displays indoors. Due to their epiphytic nature, they don’t require soil, making them perfect for hanging arrangements or wall mounts.
To keep your air plants thriving, ensure they receive bright, indirect light. Direct sunlight can scorch their leaves, so placing them near a window with filtered light is ideal.
Watering air plants is straightforward but crucial; soak them in water for about 20 to 30 minutes once a week. After soaking, shake off excess water and allow them to dry fully before returning them to their display, preventing rot.
Consider using decorative containers that allow for air circulation, such as glass terrariums with open tops. For an added touch of creativity, mount them on pieces of driftwood or in seashells for a natural aesthetic.
Constructing a Tabletop Water Garden
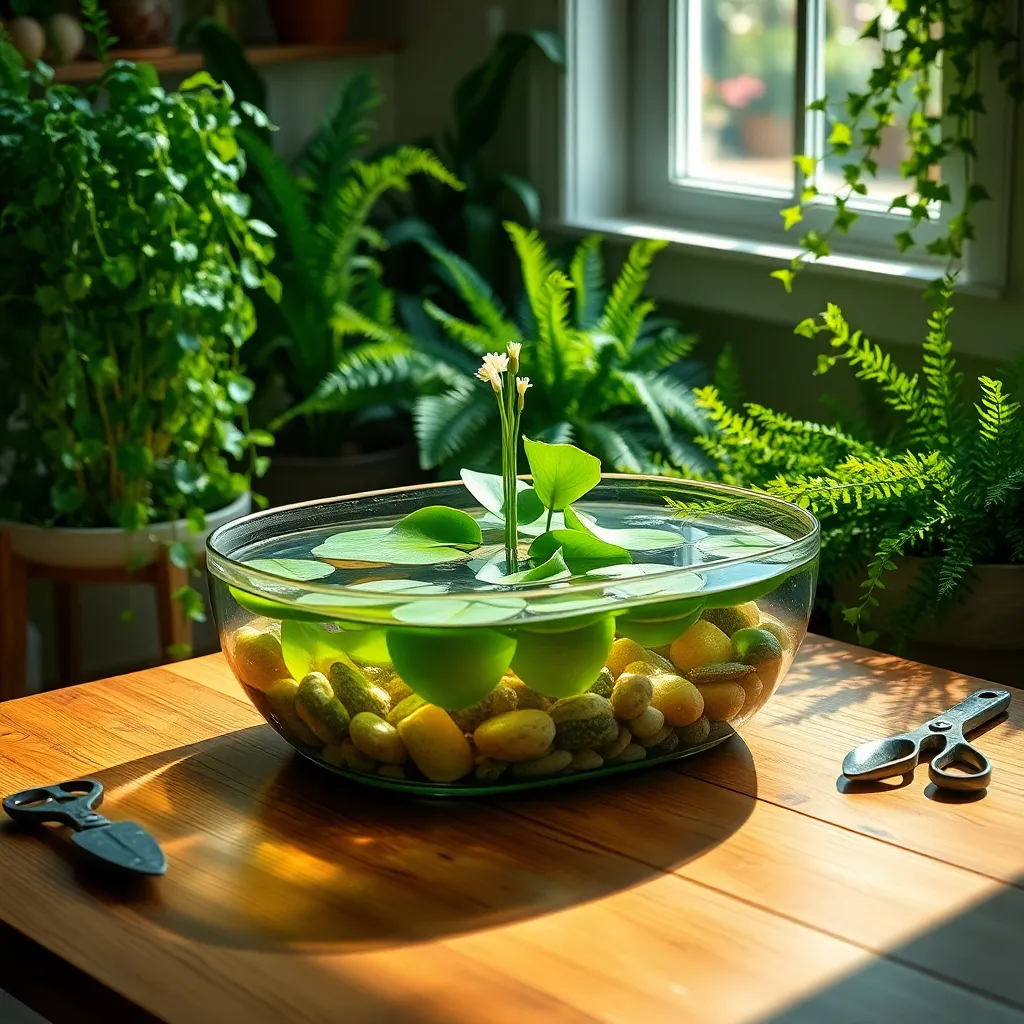
Creating a tabletop water garden is an excellent way to bring a touch of tranquility into your indoor space. First, select a waterproof container, such as a glass bowl or ceramic pot, that will serve as the base for your water garden.
Next, choose aquatic plants that thrive in indoor conditions, like water lilies or dwarf papyrus. For a beginner-friendly option, consider including **floating plants** like water lettuce, which are easy to maintain and require minimal care.
Fill the container with clean water, ensuring it covers the plants adequately while leaving some space at the top. Change the water every couple of weeks to prevent algae growth and maintain the health of your plants.
Place your tabletop water garden in a location that receives indirect sunlight, as too much direct light can promote algae. For advanced gardeners, consider adding a small water pump to create a gentle flow and mimic a natural pond environment.
Developing a DIY Moss Wall
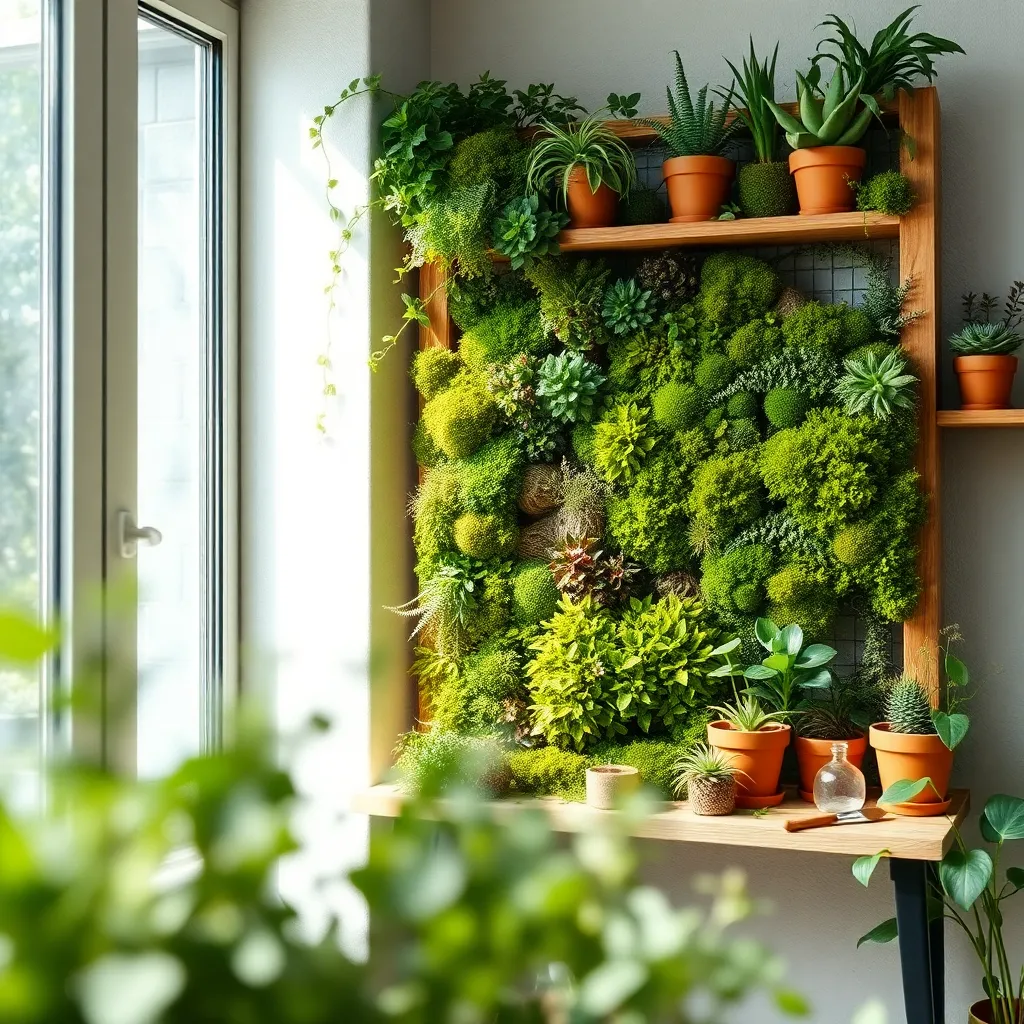
Creating a DIY moss wall is a fantastic way to bring a touch of nature indoors. Start by choosing a location that receives indirect sunlight, as moss thrives in low light conditions.
To begin, you’ll need a sturdy frame, such as a picture frame or a wooden panel, onto which you can attach your moss. Line the frame with a mesh or chicken wire to support the moss as it grows.
Next, select the type of moss you wish to use, such as sheet moss or cushion moss, which are both popular choices due to their lush appearance. Purchase these from a nursery or gather them from a location where you have permission.
Moisten the moss before attaching it to the frame using a mixture of half water and half buttermilk, which helps the moss adhere and encourages growth. Secure the moss to the mesh using fishing line or floral wire, ensuring it’s snug but not overly tight.
For maintenance, mist the moss wall lightly with water once to twice a week, ensuring the surface remains damp but not soaked. If you notice the moss drying out, increase the frequency of misting, especially in drier indoor climates.
Advanced gardeners might consider adding small air plants or ferns into the design for added texture and interest. Ensure these additions receive the same care, as they also prefer humid conditions and indirect light.
Integrating Smart Plant Technology
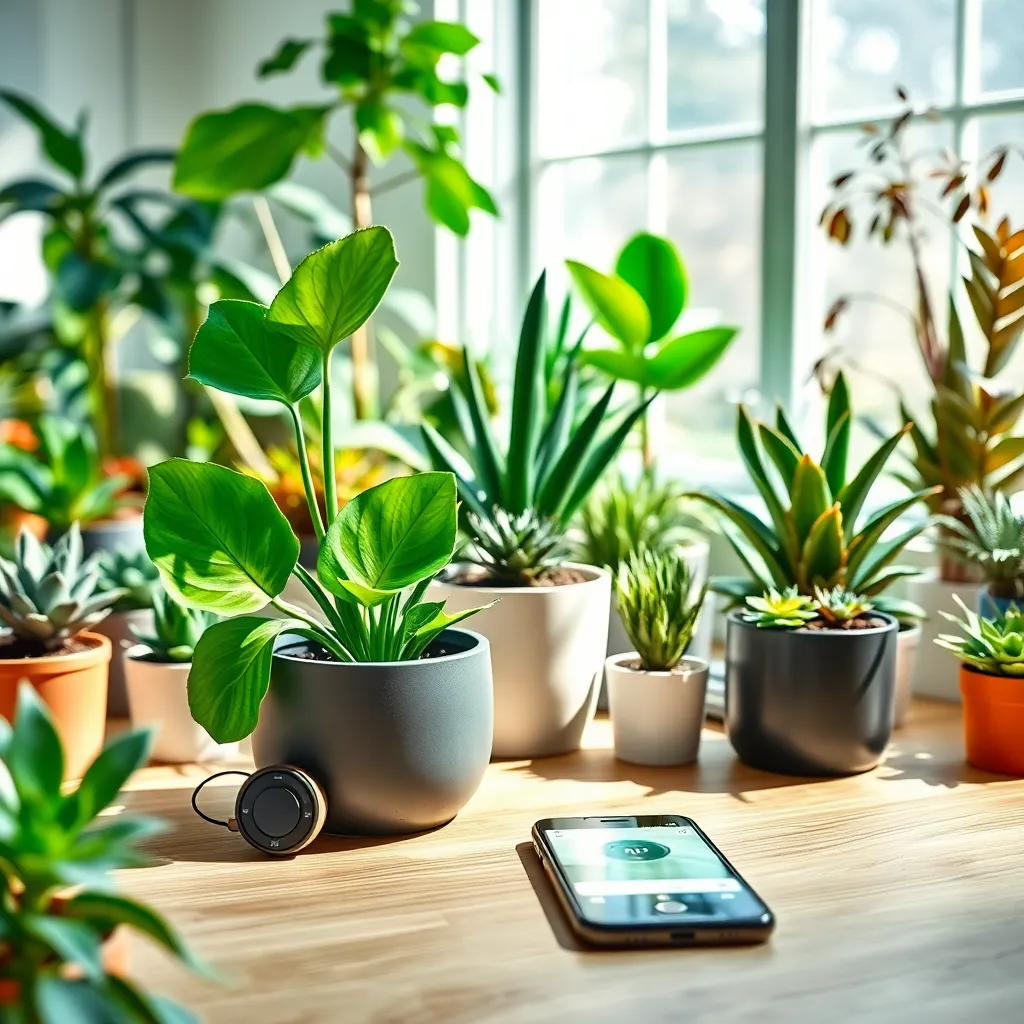
Integrating smart plant technology into your indoor garden can significantly enhance plant health and growth efficiency. By using tools like smart sensors and automated watering systems, you can maintain optimal growing conditions with minimal effort.
Smart sensors can monitor moisture levels, light exposure, and temperature, providing real-time data to help you adjust your care routine precisely. For example, if sensors detect low moisture levels, you can increase watering frequency or adjust the settings on an automated watering system.
Consider investing in a smart plant care app that syncs with your devices to provide customized care advice based on the data collected. These apps can send alerts to remind you of essential tasks like fertilization, making plant care more manageable and timely.
For beginners, starting with a basic smart planter that includes built-in sensors and a self-watering reservoir can simplify the learning curve. Advanced gardeners might explore integrating these systems with smart home devices for seamless voice-activated control.
When selecting smart plant technology, ensure compatibility with your existing devices and choose systems that suit your specific plant types. Look for products that offer detailed instructions and customer support to assist with setup and troubleshooting, ensuring a smooth transition to tech-enhanced gardening.
Conclusion: Growing Success with These Plants
In exploring the ’12 Creative Indoor Gardening Projects’, we delved into the nurturing parallels between cultivating a lush garden and fostering thriving relationships. From learning the importance of patience with projects like herb spirals to understanding mutual growth through shared endeavors like vertical gardens, each concept highlights the value of care, communication, and creativity in relationships. As you embark on your journey toward relational enrichment, consider starting with a small, shared gardening project at home. This simple act can spark meaningful conversations and strengthen your bond through collaboration.
To ensure these insights remain at your fingertips, bookmark this article as a valuable resource that offers guidance and inspiration. Every relationship, much like a garden, requires attention and effort, but the blooms of deep connection and joy are well worth it. As you nurture both your indoor garden and your relationships, remember that success is a journey, not a destination. Keep tending to your connections with love and care, and watch them flourish into something truly beautiful. Embrace the journey today, and let this article be your companion along the way.