Welcome to a world where creativity meets sustainability, all within the nurturing confines of your garden. Whether you’re just starting your gardening journey or have years of soil under your nails, “12 Creative Ways to Use Recycled Materials in Your Garden” invites you to transform the ordinary into the extraordinary. This guide offers a treasure trove of ideas that will not only elevate the aesthetic appeal of your green space but also contribute to a more sustainable planet. Imagine the satisfaction of seeing your garden flourish, knowing that you’ve played a part in giving new life to materials that might otherwise have been discarded.
Using recycled materials in your garden is more than just an eco-friendly choice; it’s a gateway to endless possibilities that combine practicality with innovation. These techniques promise to enhance your gardening experience, offering cost-effective solutions that are as kind to your wallet as they are to the Earth. With each project, you’ll gain practical skills that deepen your connection to your garden and boost your confidence in nurturing life and beauty. So, grab your tools, let your imagination run wild, and prepare to reap the joyful rewards of a garden where creativity knows no bounds.
Transform Tires into Planters
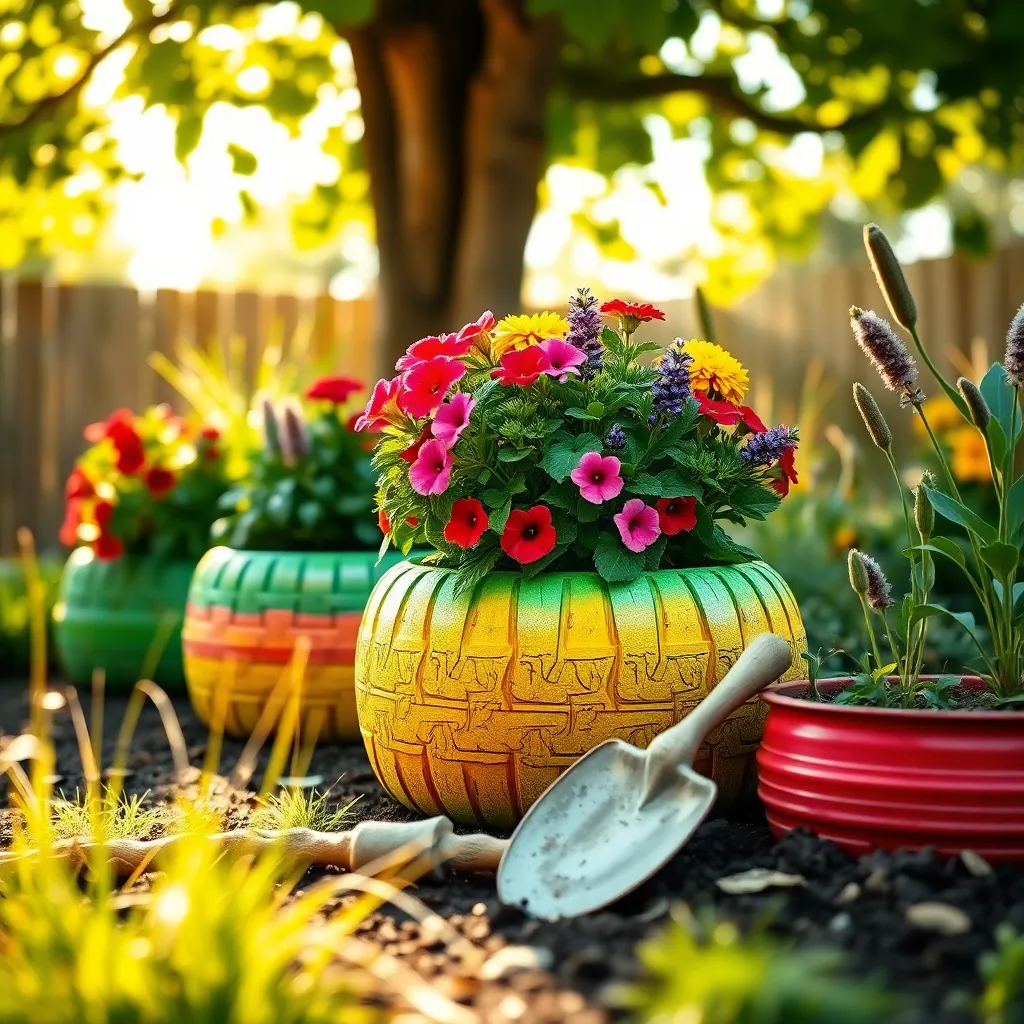
Repurposing old tires as planters is both eco-friendly and visually striking, adding a unique touch to any garden. Start by thoroughly cleaning the tires and drilling drainage holes at the bottom to prevent waterlogging.
Fill the tire with a good-quality potting mix, ensuring it is rich in organic matter to support healthy plant growth. For best results, choose plants that thrive in well-drained soil, such as succulents or herbs like rosemary and thyme.
Position your tire planters in a sunny spot, as most plants prefer at least six hours of sunlight daily. Water the plants regularly, but be careful not to overwater, especially if you are growing drought-tolerant varieties.
For an advanced touch, consider painting the tires with non-toxic, weather-resistant paint to enhance their appearance and protect them from the elements. This step not only boosts aesthetics but also extends the life of your tire planters.
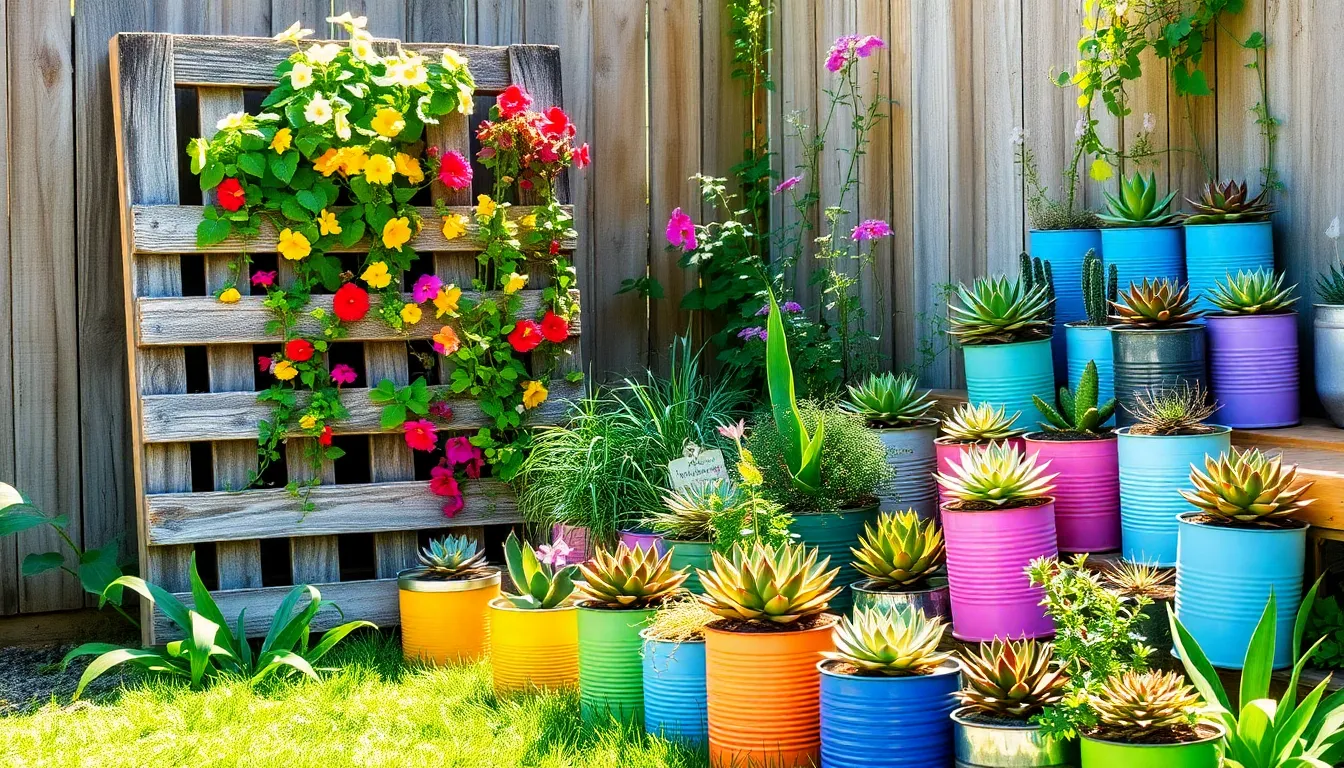
Repurpose Pallets for Vertical Gardens

Repurposing pallets for a vertical garden is an excellent way to maximize space and add a rustic charm to your garden setup. Start by ensuring the pallet is clean and free from any harmful chemicals—look for pallets stamped with ‘HT’ for heat-treated wood, which is safe for growing edibles.
Once cleaned, position the pallet vertically against a sturdy wall or fence, securing it with brackets if necessary for stability. Fill the pallet spaces with high-quality potting soil, ensuring it’s well-draining yet retains enough moisture for plant roots.
Consider planting a variety of herbs, such as basil, thyme, and mint, which thrive in vertical gardens due to their compact root systems and minimal space requirements. For a splash of color, add trailing plants like nasturtiums or petunias, which will cascade beautifully over the pallet edges.
Maintain your pallet garden by watering regularly, especially during dry spells, making sure the water reaches all levels of the pallet. Fertilize with a balanced, water-soluble fertilizer every four to six weeks to promote lush growth and healthy plants.
Craft Birdhouses from Old Teapots
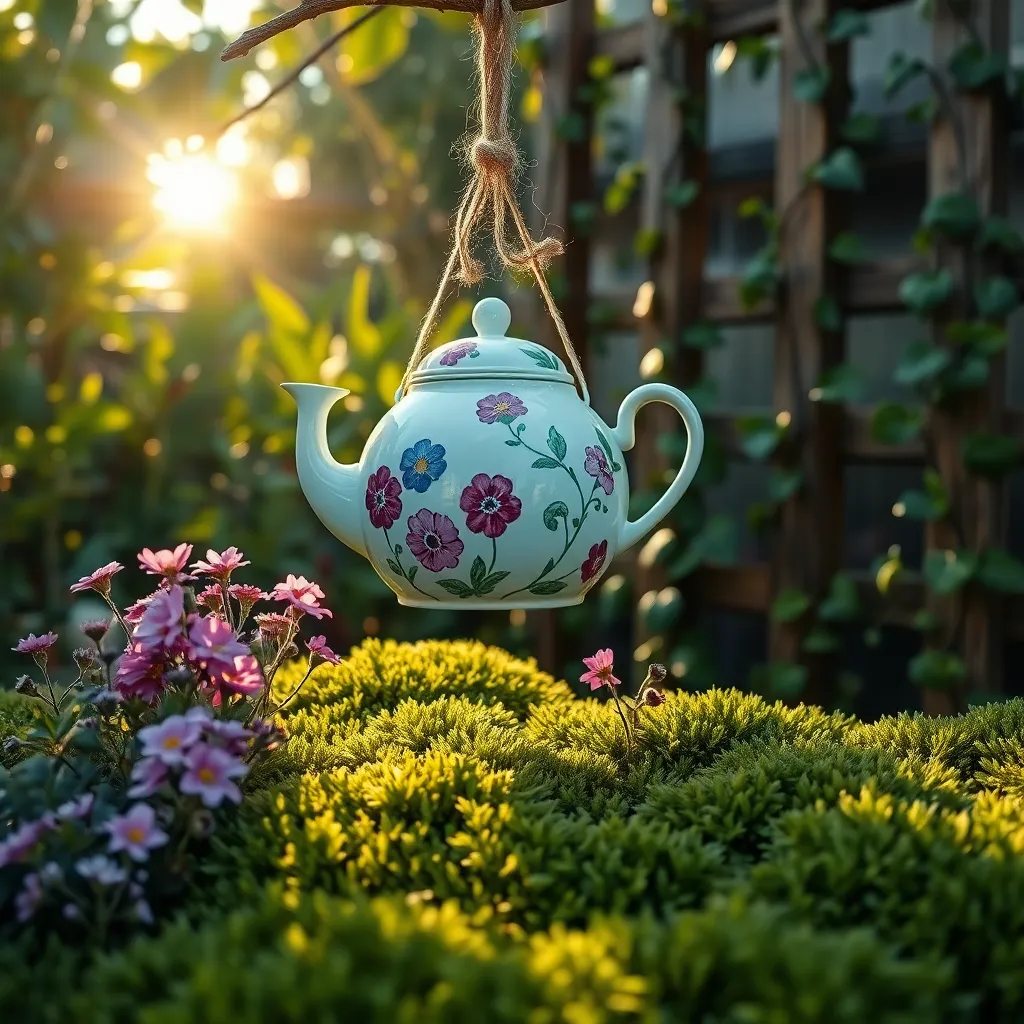
Transforming old teapots into birdhouses is a creative way to add charm and functionality to your garden. Begin by selecting teapots that are made of durable materials like ceramic or metal, as they will withstand the elements better.
To start the process, carefully drill a small entry hole on the side of the teapot, ensuring it is large enough for small birds such as chickadees or wrens. Keep in mind that a hole about 1 1/4 inches in diameter is ideal to accommodate these birds while keeping larger predators away.
Once the entry hole is made, secure the teapot to a sturdy tree branch or garden post using a strong wire or bracket. Ensure the birdhouse is tilted slightly downward to prevent rainwater from entering and nest buildup inside the pot.
For added comfort, line the bottom of the teapot with a thin layer of dry grass or soft twigs. This layer provides insulation and encourages birds to build their nests inside your new creation.
Use Wine Bottles as Edging
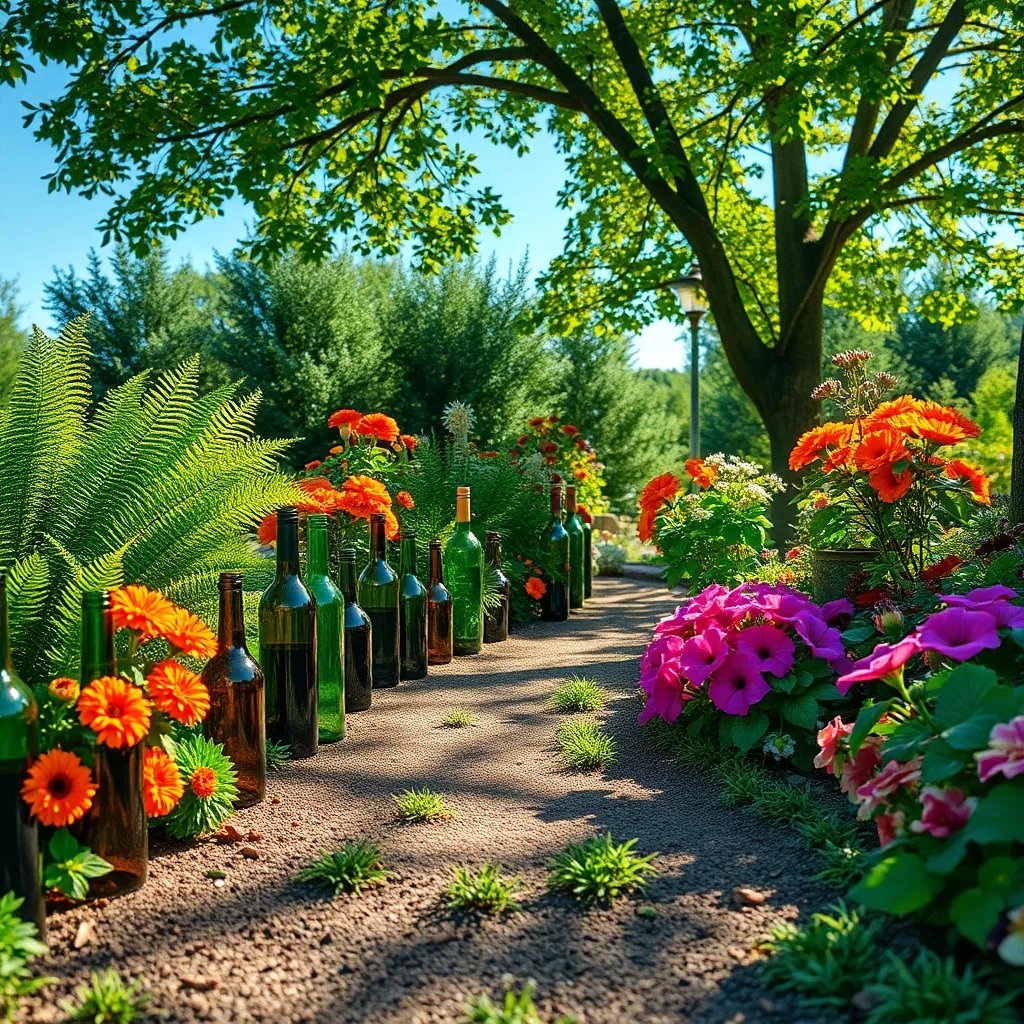
Transforming old wine bottles into garden edging can add a unique and colorful accent to your garden beds. Begin by collecting enough bottles to line the perimeter of your garden, ensuring they are all similar in shape and size for a uniform look.
Start by digging a shallow trench around your garden bed, deep enough to bury about a third of each bottle. This will provide stability and keep the bottles from toppling over, especially during watering or heavy rains.
Before placing the bottles, fill them with sand or gravel to add weight, making them more resistant to wind or accidental bumps. Position each bottle neck down in the trench, pressing them firmly into the soil so they stand upright.
For added creativity, consider arranging the bottles in a pattern or alternating colors to create an eye-catching design. This method not only reuses materials but also provides a distinct border that helps keep soil and mulch contained, reducing maintenance.
Create Pathways with Broken Dishes
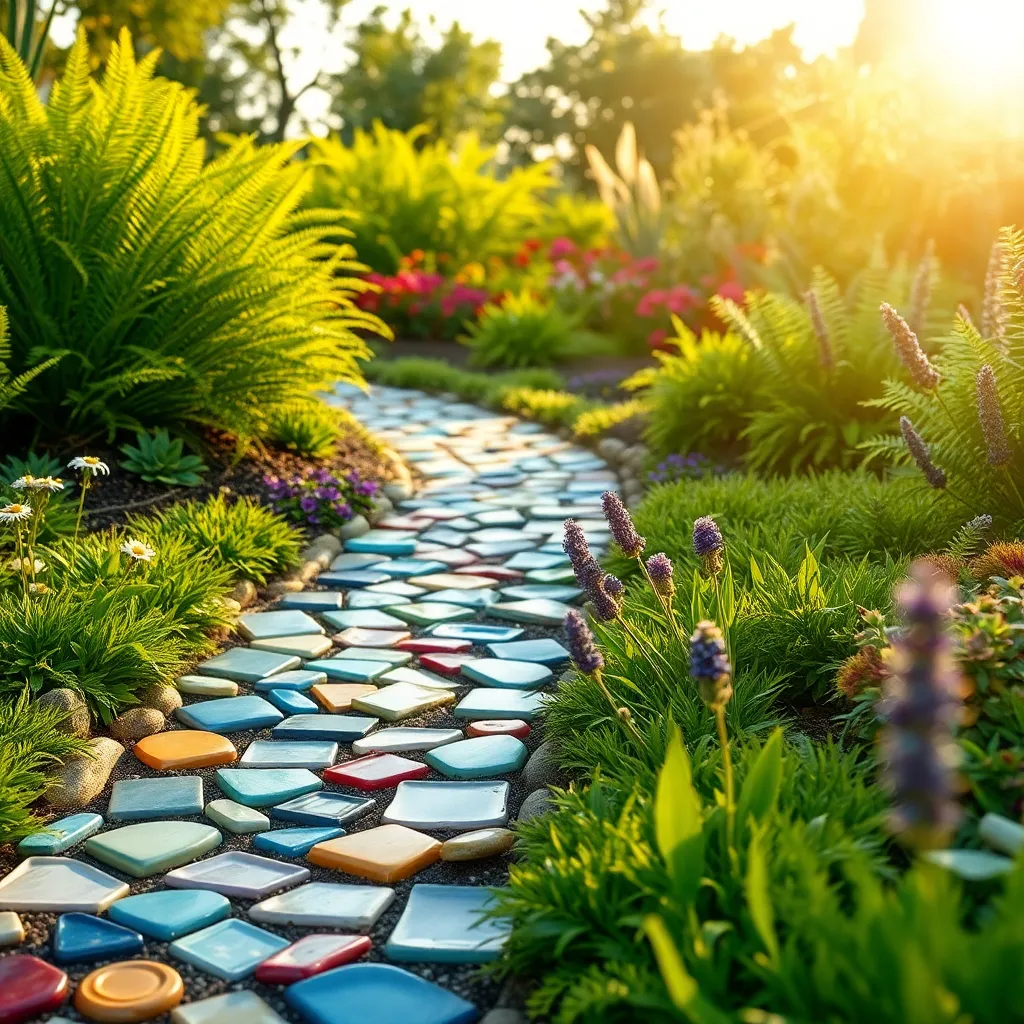
Transforming broken dishes into garden pathways is an excellent way to add a whimsical touch to your garden while recycling. Start by collecting and cleaning your broken dishes, preferably those with vibrant colors or interesting patterns.
Ensure the pieces are free of sharp edges to prevent injuries. Use a tile cutter or hammer gently wrapped in cloth to smooth out any jagged parts if necessary.
Lay out your design on the ground before setting the pieces permanently. This helps you plan the layout and ensures that the pieces fit together nicely, creating a unique mosaic effect.
Once you’re satisfied with the arrangement, use a mix of sand and cement to secure the pieces in place. This blend will provide a stable base and protect the dishes from shifting over time.
For those looking to add an artistic element, consider incorporating small, hardy plants like thyme or creeping Jenny between the dish pieces. These plants thrive in partial sun and require minimal watering, enhancing the pathway’s aesthetic appeal with their lush greenery.
Build Compost Bins from Pallets
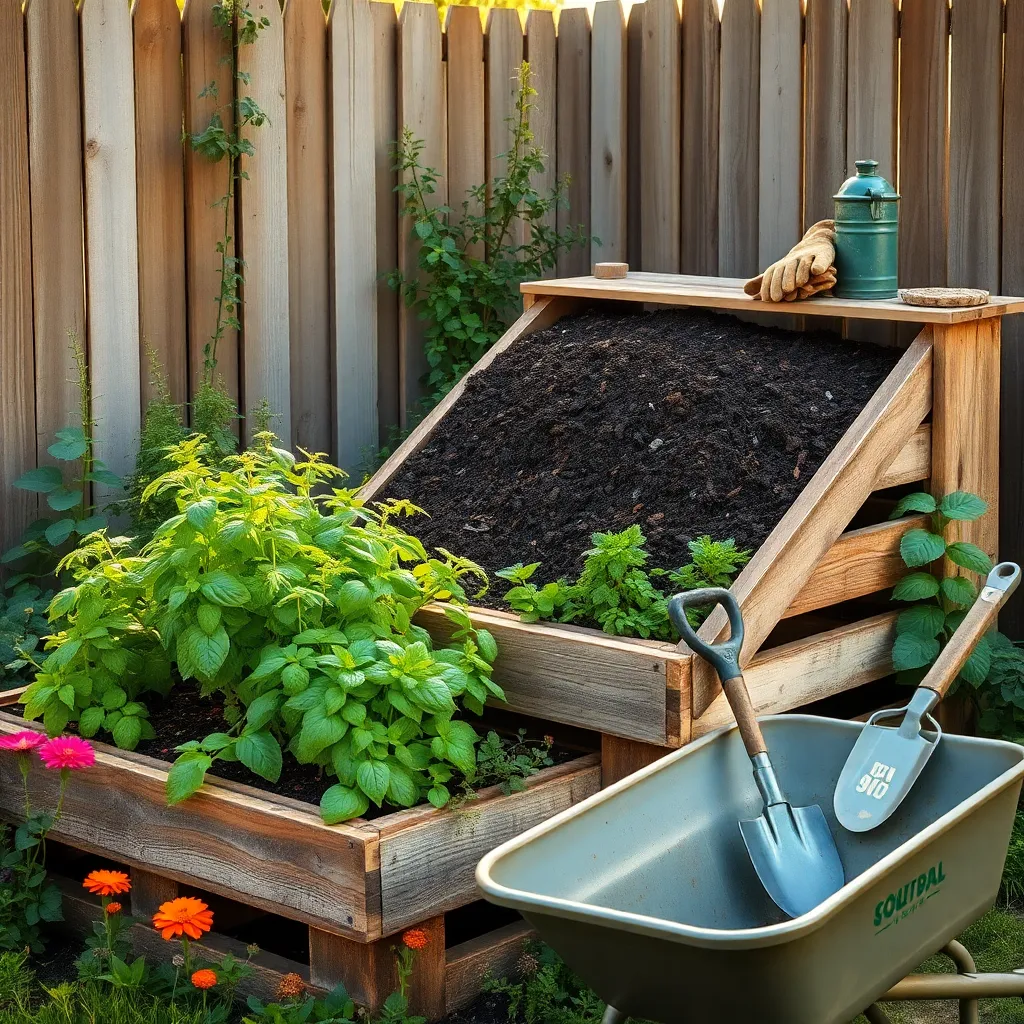
Building a compost bin from pallets is an excellent way to recycle while enriching your garden soil. To start, gather three to four wooden pallets, ensuring they are untreated and free from harmful chemicals.
Position the pallets upright to form a box shape, securing them together with sturdy wire or screws. This design allows for ample airflow, which is crucial for breaking down organic matter efficiently.
Layer your compost materials, alternating between green (nitrogen-rich) and brown (carbon-rich) materials for optimal decomposition. Green materials include grass clippings and vegetable scraps, while brown materials are things like dried leaves and small branches.
Keep the compost moist but not waterlogged, and turn it every few weeks to speed up the decomposition process. As an advanced tip, you might consider adding a compost accelerator or some mature compost to introduce beneficial microorganisms.
Fashion Watering Cans from Milk Jugs
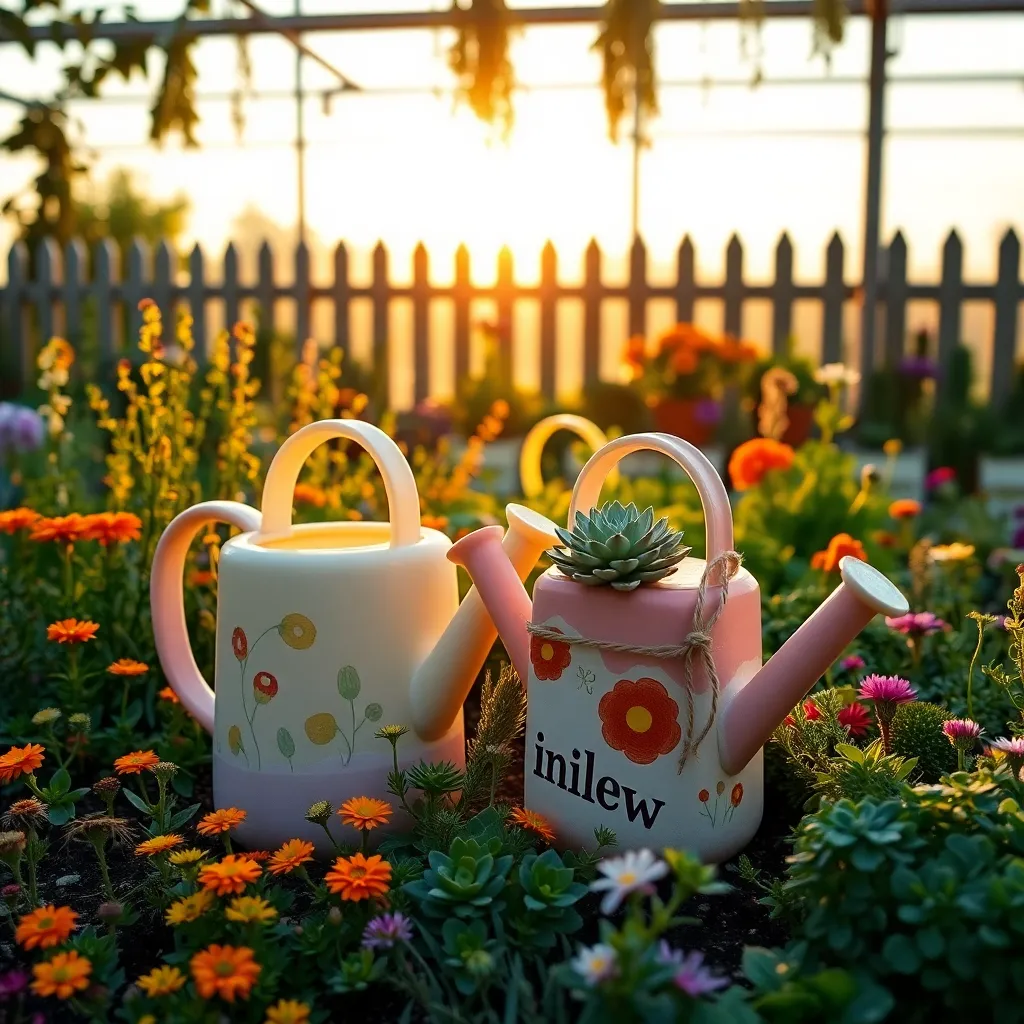
Reusing milk jugs as watering cans is a simple and effective way to enhance your garden. Begin by thoroughly cleaning the jug to eliminate any residual milk, which can attract pests or mold.
To create your watering can, use a heated needle or a small drill to make several holes in the cap. This will help distribute water evenly, simulating rain and preventing soil erosion around your plants.
Adjust the number of holes depending on your garden’s needs; fewer holes for delicate seedlings and more for mature plants. This method allows you to control the flow, ensuring that each plant receives adequate moisture without overwatering.
For an advanced touch, you can paint or decorate your milk jug to blend with your garden’s theme. Not only does this add a personal touch, but it also helps remind you to keep your garden tools in good condition.
Using milk jugs as watering cans is particularly beneficial for small gardens or container plants. The lightweight nature of the jug makes it easy to handle, perfect for quickly tending to indoor plants or rooftop gardens.
Design Garden Art with Scrap Metal
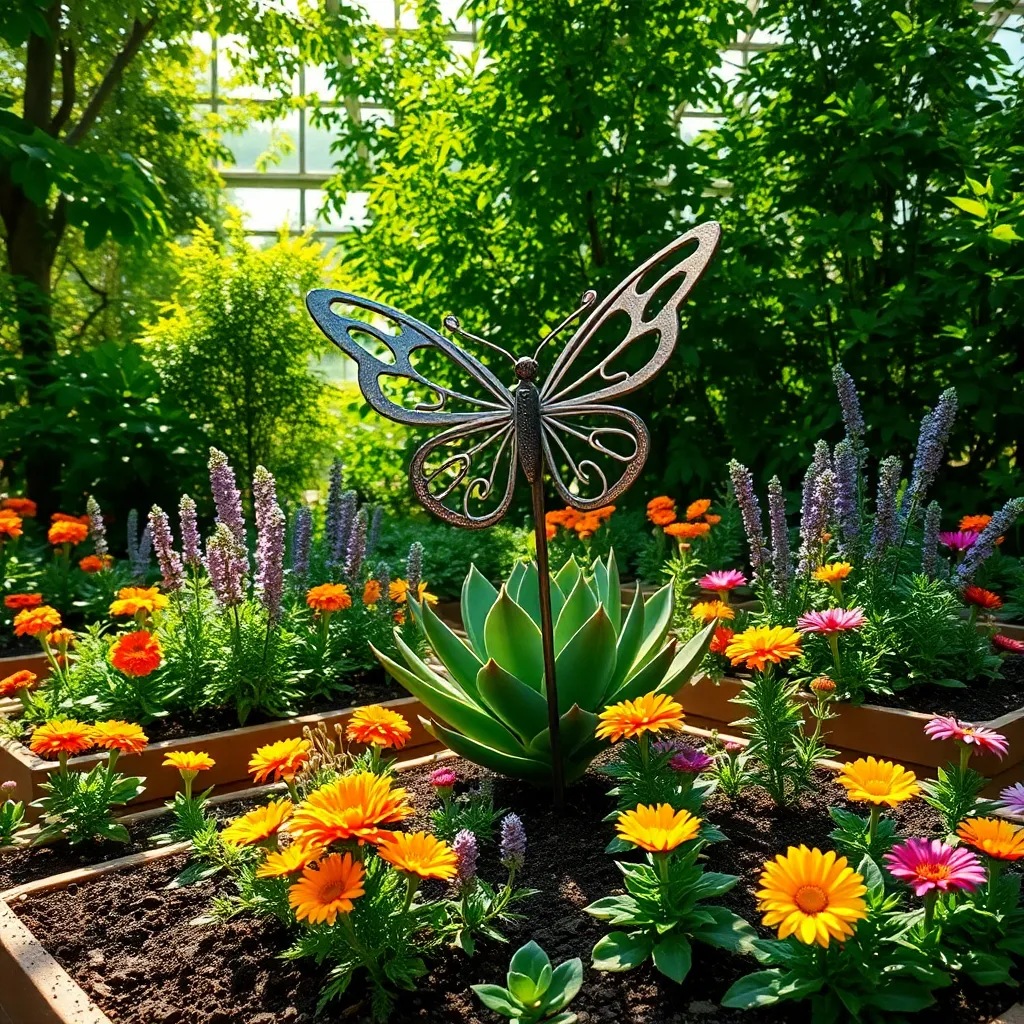
Transforming scrap metal into garden art is a creative way to add personality and charm to your outdoor space. Start by collecting old metal pieces like gears, pipes, and utensils that can be repurposed into unique sculptures or features.
Beginner gardeners can start with simple projects, such as crafting wind chimes from old spoons and forks. For more advanced projects, consider welding larger metal pieces together to form abstract sculptures that can serve as focal points in your garden.
When designing metal art, ensure the pieces are secured and stable to withstand weather elements. You can use a weather-resistant sealant to protect the metal and prevent rusting, thus extending the life of your artwork.
Incorporate your metal art into the garden by surrounding it with plants that complement its color and texture. Choose drought-tolerant plants if your art is situated in a sunny spot, or opt for shade-loving varieties if it’s in a more sheltered area.
Construct Trellises from Discarded Ladders
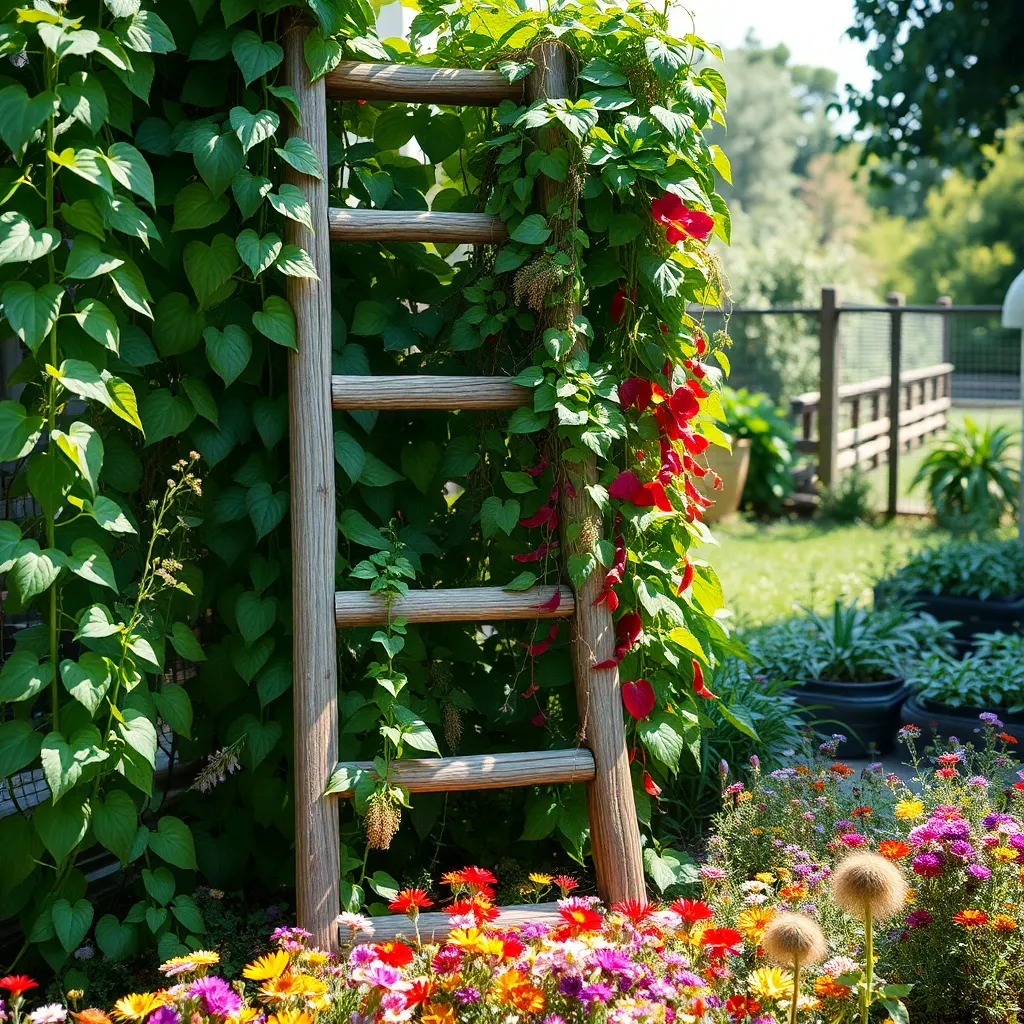
Transforming discarded ladders into trellises is a fantastic way to recycle while enhancing your garden’s vertical space. Start by ensuring the ladder is sturdy and safe, as it will need to support the weight of climbing plants.
Choose the right plants for your ladder trellis, such as peas, beans, or climbing roses, which thrive with vertical support. It’s important to place your ladder where it will receive adequate sunlight based on the plant’s needs, typically at least 6-8 hours a day for flowering climbers.
To secure the ladder, dig approximately 6-12 inches into the ground and anchor the legs firmly with soil or stakes. This helps prevent the trellis from tipping over, especially during windy conditions.
Consider painting the ladder with a weather-resistant finish to prolong its life and add a pop of color to your garden. For an advanced touch, attach small pots or planters along the rungs to create a layered effect, allowing for a diverse range of plants and blooms.
Make Seed Starters from Egg Cartons
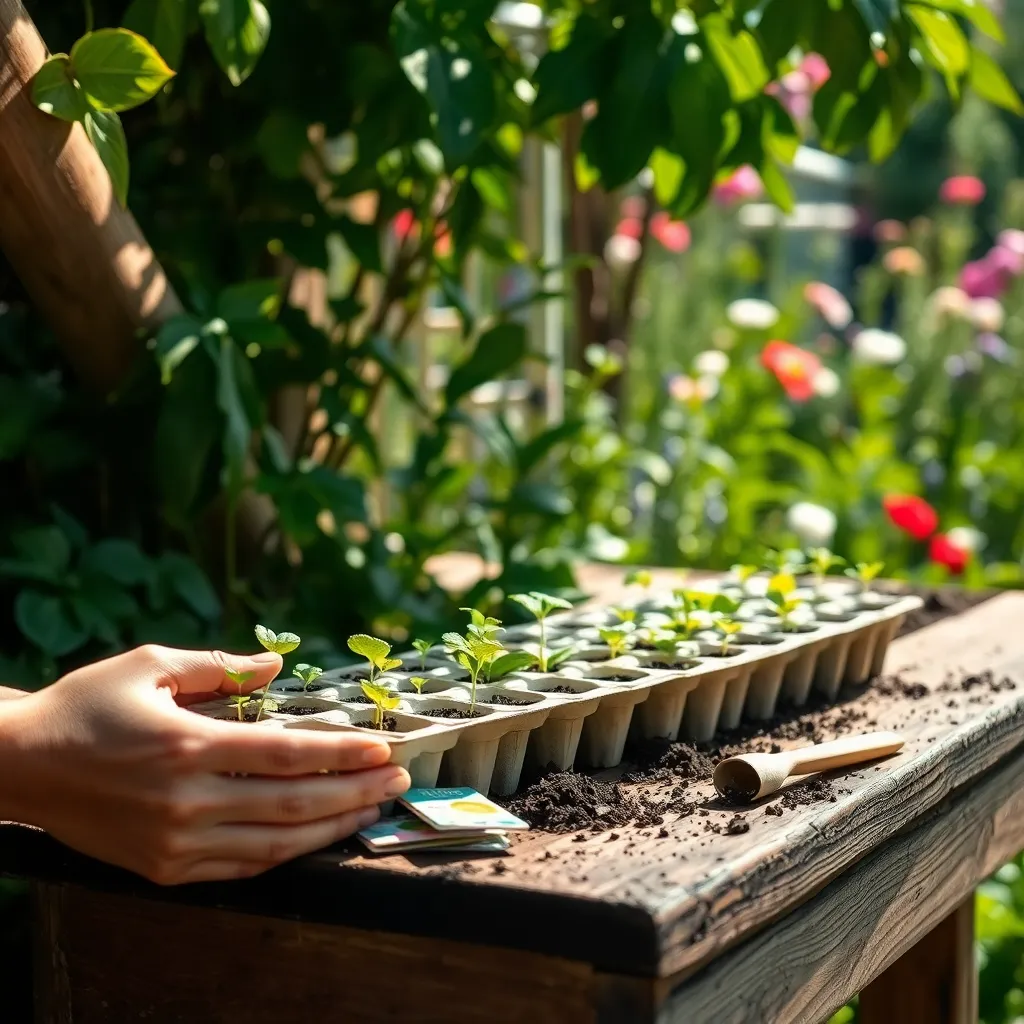
Egg cartons are a fantastic and eco-friendly way to start seeds in your garden. They are biodegradable, making them a perfect choice for the environmentally conscious gardener. Begin by cutting the lid off the carton, leaving you with the base of twelve small compartments. Fill each compartment with a good quality seed-starting mix, which is lighter and more nutrient-rich than regular soil.
Choose seeds that are suitable for transplanting, such as tomatoes or herbs, which thrive when started indoors. Ensure each seed is placed at the recommended depth, typically about twice the seed’s size, and cover them lightly with the mix. Lightly water the seeds with a spray bottle to keep the soil moist but not soggy, as excessive water can lead to mold. Position the egg carton in a sunny window, ensuring the emerging seedlings receive plenty of light to grow strong and healthy.
As the seedlings grow, they will need regular attention to ensure their success. Rotate the carton every few days to encourage even growth and prevent the seedlings from leaning towards the light source. Once the seedlings have developed a couple of sets of true leaves, they are ready to be transplanted into larger pots or directly into your garden. To make this process seamless, simply cut apart the compartments and plant them directly into the soil, as the carton will decompose over time.
For gardeners looking to maximize their efforts, consider using a heat mat to speed up germination, especially for heat-loving plants like peppers. Additionally, adding a diluted liquid fertilizer when the seedlings are a few weeks old can provide an extra boost. Remember to harden off your seedlings by gradually introducing them to outdoor conditions over a week before planting them outside. This ensures they are robust and ready to thrive in your garden environment.
Turn Glass Jars into Lanterns
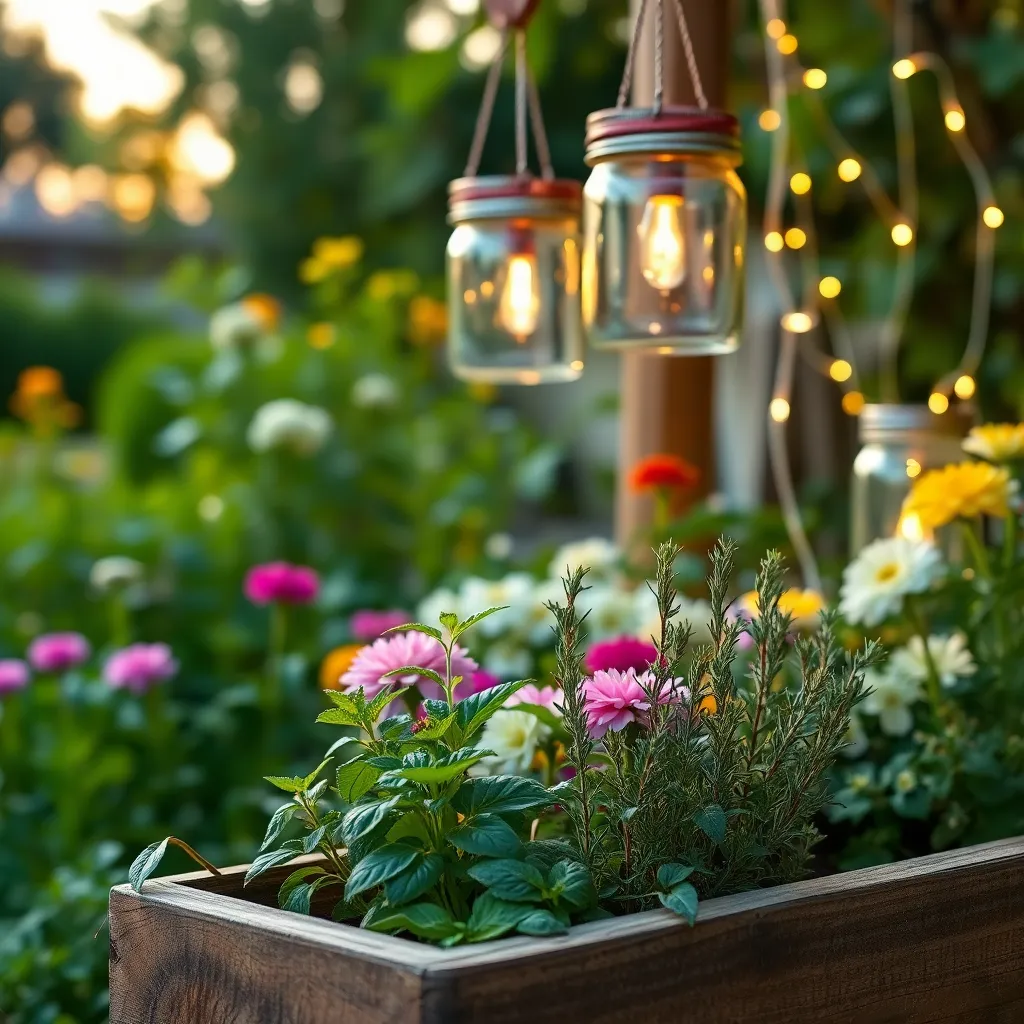
Transforming glass jars into lanterns is a delightful way to bring ambiance to your garden. Begin by thoroughly cleaning any residual labels or adhesive from the jars to ensure a smooth surface for your design.
To create a soft, warm glow, place a small candle or LED light inside each jar. Consider using battery-operated fairy lights for a safer and longer-lasting option, especially if you have pets or children.
Decorate the exterior of the jars with glass paint or frosted spray for a diffused lighting effect. This not only enhances the aesthetic appeal but also provides an opportunity for personalization with designs or patterns.
For added stability, secure the jars with wire or twine to hang from branches or hooks. Ensure the wire is tightly wound around the neck of the jar to prevent slipping, and choose a sturdy branch or hook that can support the jar’s weight.
Set Up Rain Barrels with Old Drums

Repurposing old drums as rain barrels is an environmentally friendly way to conserve water for your garden. Begin by thoroughly cleaning the drums to remove any residues, ensuring they are safe for collecting rainwater.
Drilling a hole near the bottom of the barrel allows you to install a spigot for easy water access. Position your rain barrel beneath a downspout to maximize water collection during rainfall.
For stability and efficient water flow, place the barrel on a sturdy platform such as concrete blocks or bricks. Ensure the setup is level and secure to prevent tipping, especially when the barrel is full.
Advanced gardeners can connect multiple barrels with linking kits to increase water storage capacity. This system is particularly useful during dry spells, providing a sustainable water source for your plants.
Conclusion: Growing Success with These Plants
Embracing creativity in our gardens mirrors the nurturing required in our relationships. This article explored 12 inventive ways to enhance your garden using recycled materials, from transforming old pallets into vertical planters to using glass bottles as garden borders. Each method emphasizes sustainability, resourcefulness, and the beauty of renewal—much like tending to a flourishing relationship.
As you step into your garden, consider how these eco-friendly practices can inspire a fresh approach to your personal connections. Start small: perhaps by selecting one recycled material idea to implement today, fostering both your garden’s growth and your own sense of accomplishment.
Remember, relationships, like gardens, thrive with ongoing care and creativity. Bookmark this article so you can revisit these strategies and continue to draw inspiration for both your green spaces and your personal bonds. By integrating these practices into your daily life, you’re not only enhancing your environment but also planting the seeds for a more connected and harmonious future. Here’s to nurturing both your garden and your relationships, ensuring they both flourish with time and attention.