Welcome to the world of vertical composting, where transforming kitchen scraps into rich, nourishing soil becomes a space-saving art. Whether you’re a seasoned gardener looking to maximize your urban oasis or a curious beginner eager to start your composting journey, vertical composting offers a sustainable solution that fits any lifestyle. This innovative technique not only helps reduce waste but also enriches your garden with vital nutrients, turning your green space into a thriving ecosystem.
In this guide, you’ll discover 13 insightful approaches to vertical composting that cater to various living arrangements and gardening styles. From sleek balcony setups to rustic backyard towers, each method is designed to make composting both practical and rewarding. We’ll explore the essentials of setting up your system, along with tips to maintain effective decomposition and troubleshoot common challenges. By the end of this article, you’ll be equipped with the knowledge to create a vibrant, eco-friendly garden, regardless of your space constraints or experience level.
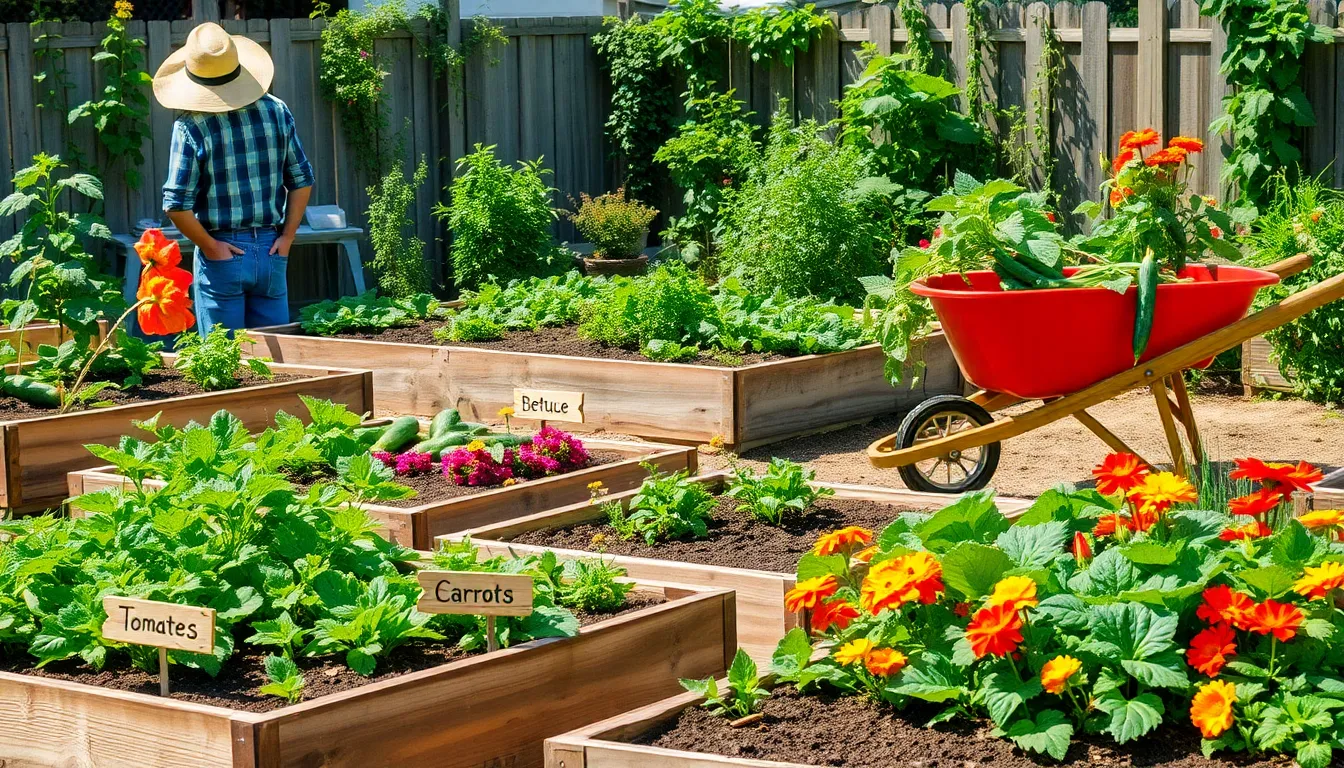
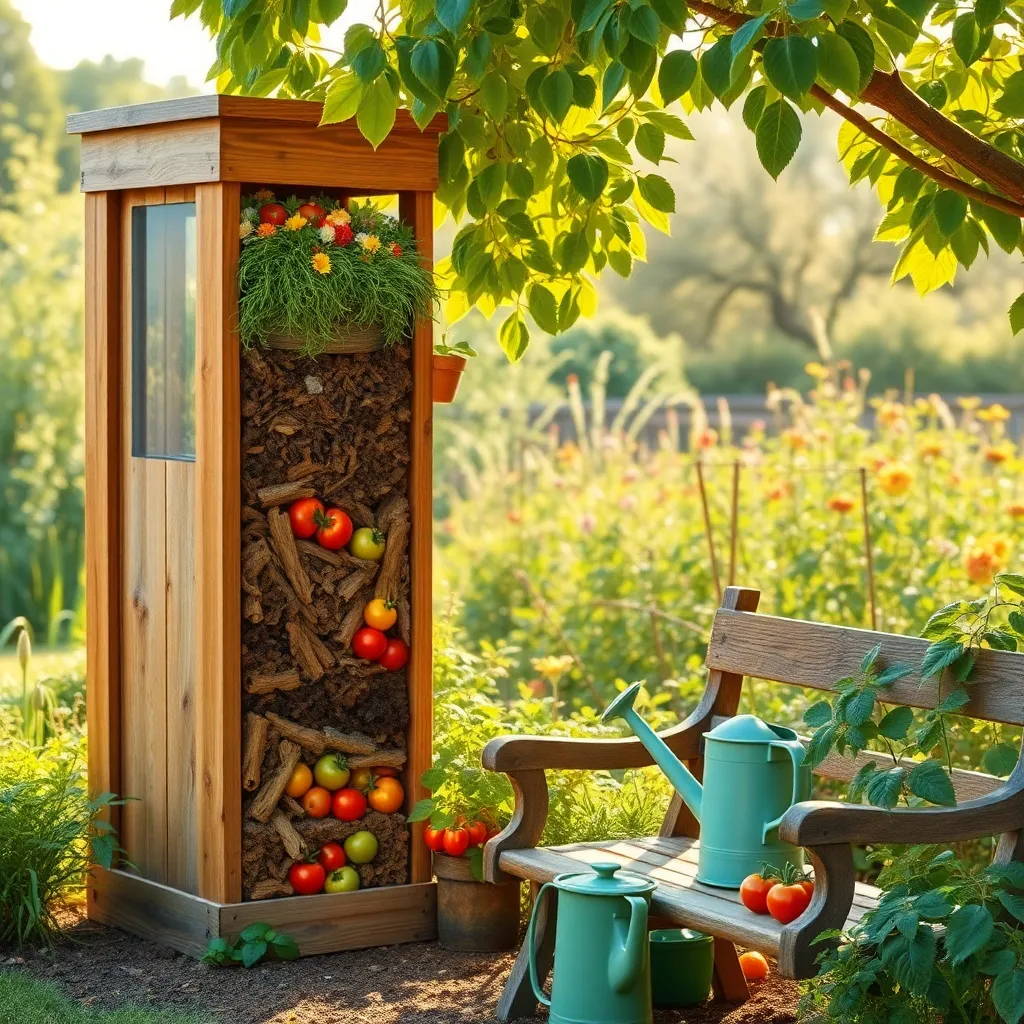
Select a Composting Container
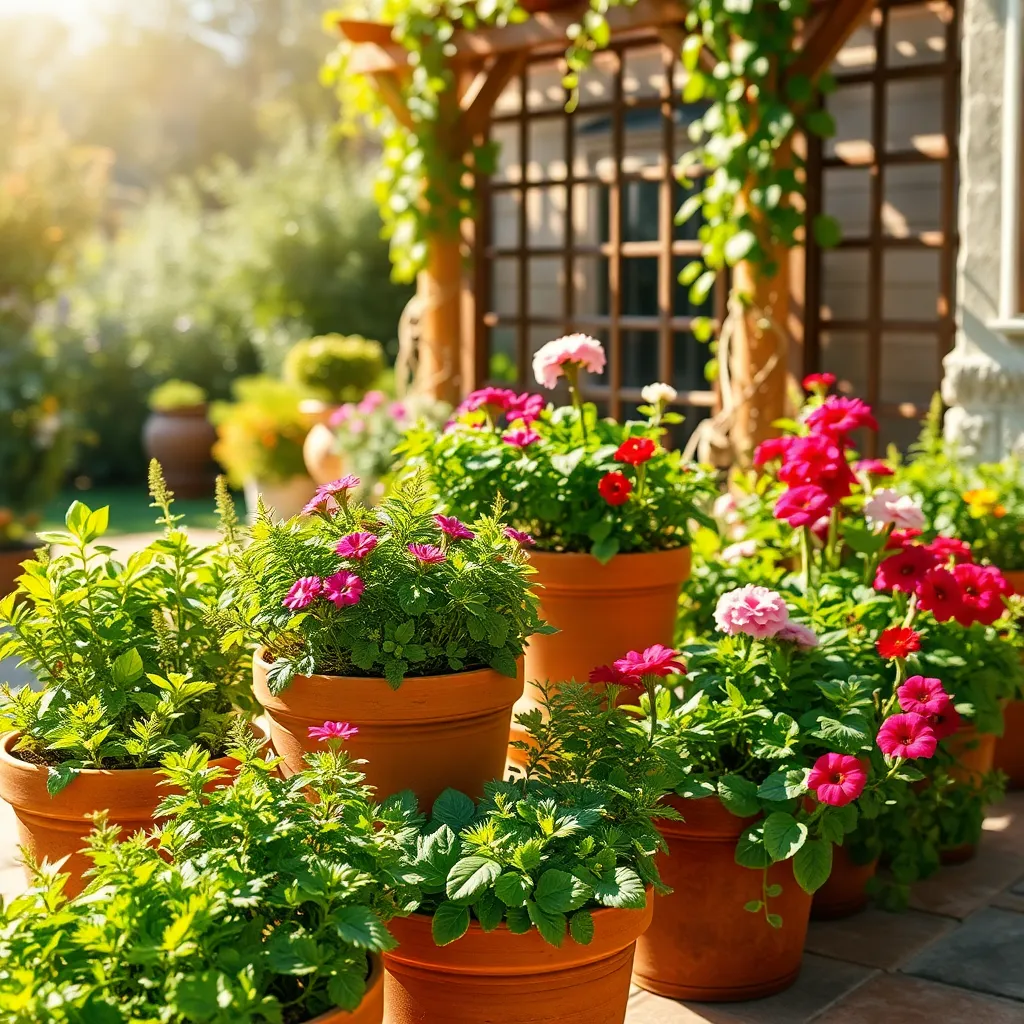
When selecting a composting container for your vertical garden, consider the space available and the amount of organic waste you typically generate. Smaller gardens benefit from compact, stackable bins, which maximize vertical space while maintaining efficiency.
Look for containers with good aeration to facilitate decomposition and reduce odors. Options with adjustable vents or holes are ideal, allowing you to control airflow and maintain the right moisture levels for effective composting.
For those in colder climates, insulated compost bins can help maintain a consistent temperature, speeding up the decomposition process. Consider a container with a built-in thermometer, which allows you to monitor the internal temperature and adjust conditions as necessary.
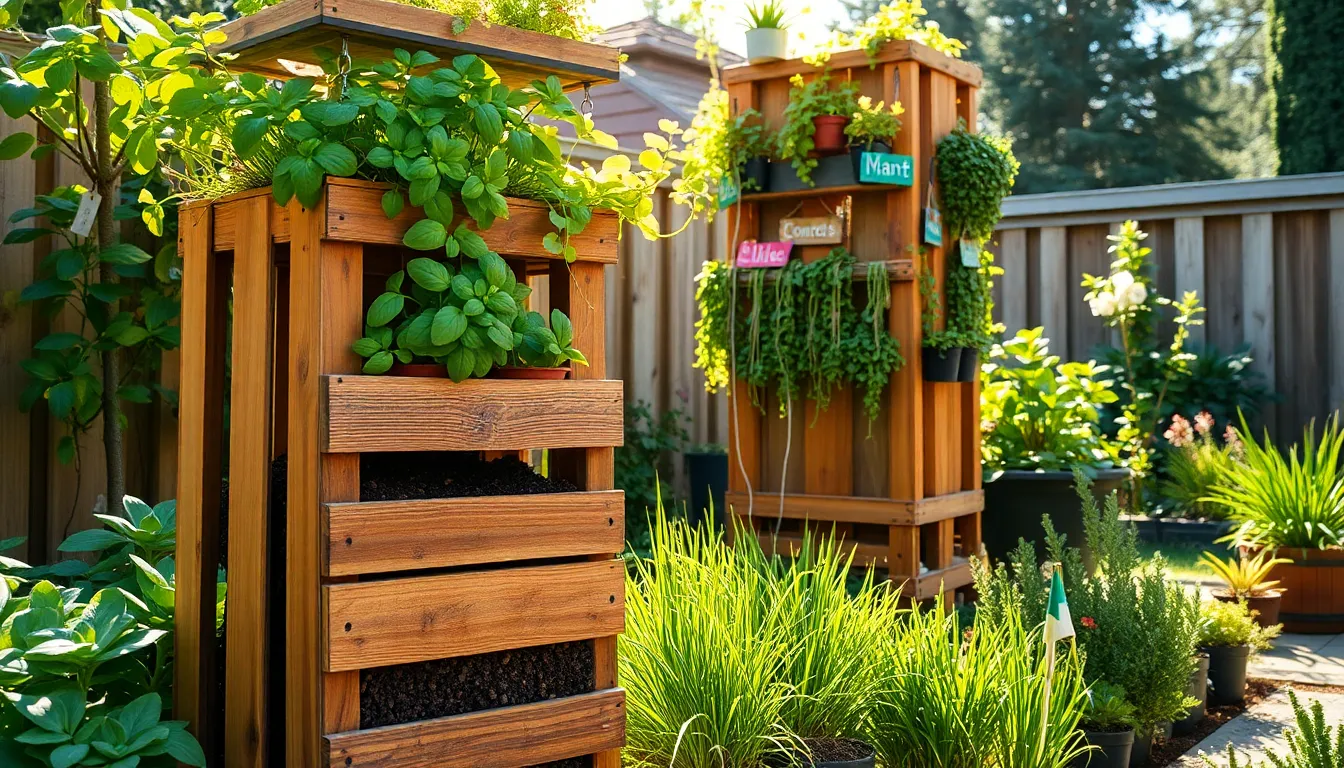
Advanced gardeners might explore homemade solutions, such as converting rain barrels or using stackable crates with drilled holes. This DIY approach can be both cost-effective and tailored to specific garden needs, providing a custom fit for unique spaces.
Position Container for Sunlight
Positioning your composting container for optimal sunlight is crucial for efficient decomposition. Ensure your container receives at least six hours of direct sunlight daily, as heat accelerates the breakdown of organic materials.
Consider the seasonal movement of the sun when choosing a location. In winter months, you might need to adjust the container’s position slightly to maximize exposure.
For gardeners in regions with intense summer heat, partial shade during the hottest part of the day can prevent the compost from drying out too quickly. Strategically placing your container near a deciduous tree can offer shade in summer and more sun in winter.
Regularly monitor the compost’s moisture level, as sunlight can rapidly dry out the materials. If the compost feels too dry, watering it lightly can help maintain the necessary moisture balance for decomposition.
Gather Organic Waste Materials
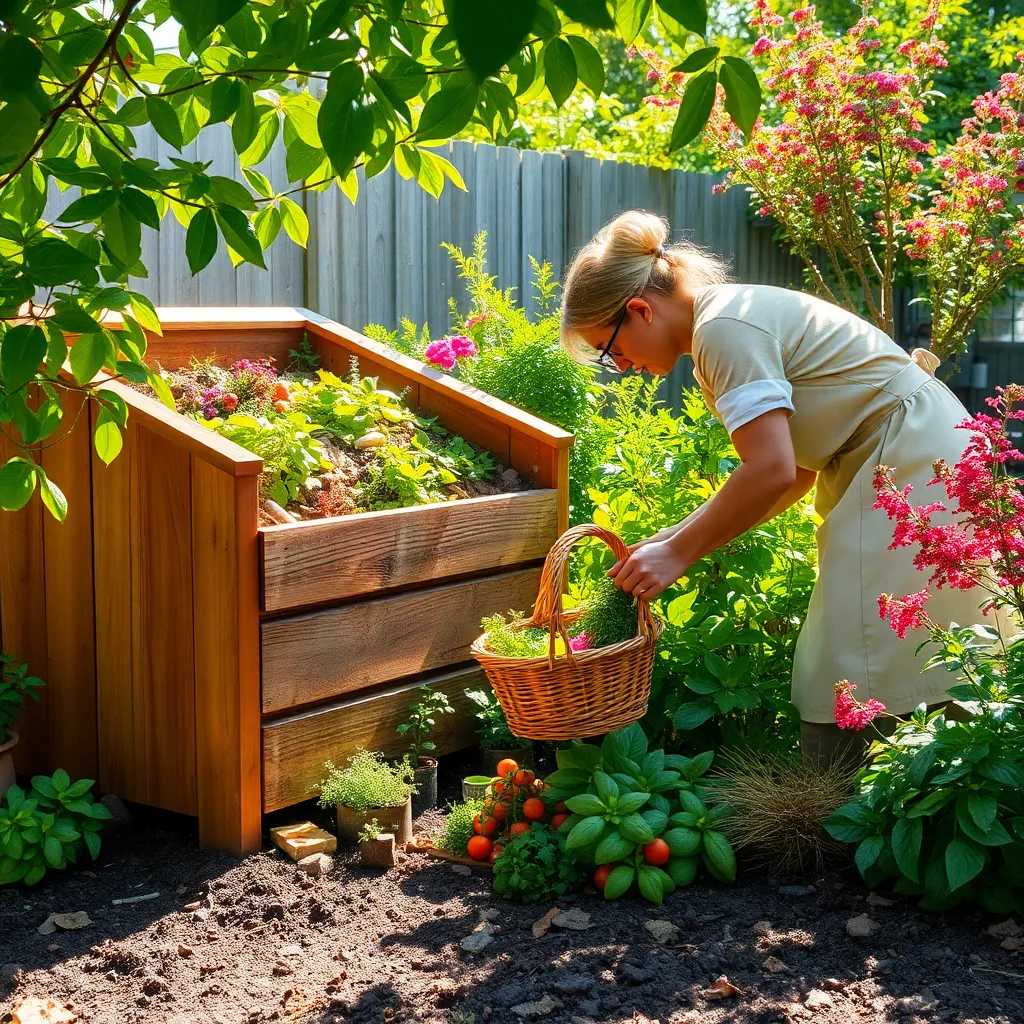
Begin your vertical composting journey by gathering a diverse range of organic waste materials. It’s important to include both “green” materials like fruit and vegetable scraps and “brown” materials such as dry leaves and shredded paper, as this balance promotes effective decomposition.
Consider setting up separate bins in your kitchen and garden to make collecting organic waste more convenient. Green materials provide nitrogen, while brown materials supply carbon, both of which are essential for a healthy compost pile.
To enhance the efficiency of your composting process, chop larger items into smaller pieces. This increases the surface area and helps microorganisms break down the materials more quickly, speeding up the composting cycle.
For advanced composting, consider adding materials like coffee grounds, which are rich in nitrogen, or crushed eggshells that offer calcium. These additions not only enrich the compost but also improve the soil structure when used in your garden.
Layer Green and Brown Waste
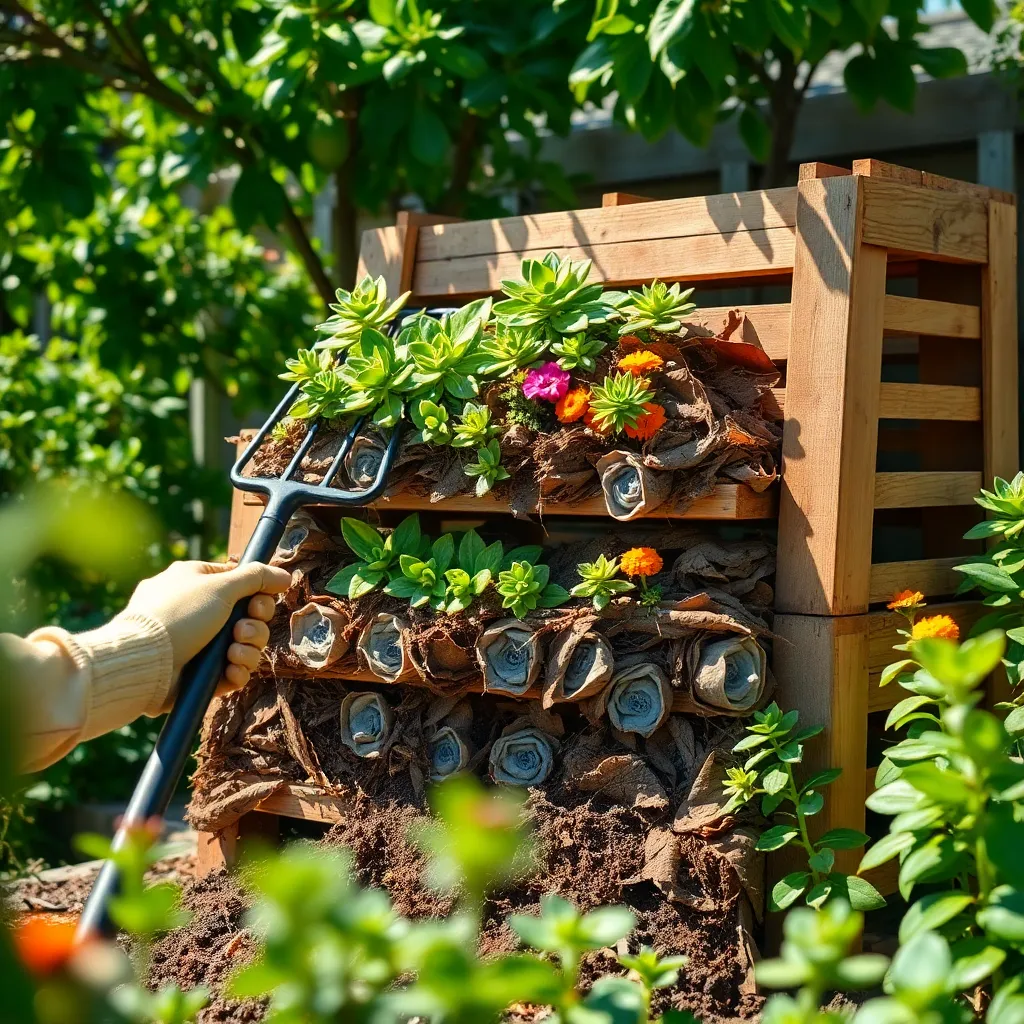
Creating a balanced vertical compost pile involves layering green and brown waste materials effectively. Green waste includes items like grass clippings and kitchen scraps, which are rich in nitrogen, while brown waste consists of materials such as dried leaves and small branches, which provide carbon.
Begin by laying down a layer of coarse brown material at the bottom of your compost bin or pile. This helps with aeration and drainage, which are crucial for efficient decomposition. Alternate layers of green and brown waste, aiming for a ratio of about 2:1 in favor of brown materials.
Each layer should be around 6 to 8 inches thick to maintain the right balance of moisture and airflow. If the pile becomes too dry, sprinkle it lightly with water to maintain a damp consistency, like a wrung-out sponge. Remember, too much green waste can make the pile smell, while too much brown waste can slow decomposition.
For those with more experience, consider adding a thin layer of soil or finished compost between layers to introduce beneficial microorganisms. These microbes accelerate the breakdown of organic matter, enhancing the composting process. Regularly turning the pile every few weeks can also help maintain an even temperature and speed up decomposition.
Add Moisture to Compost Layers
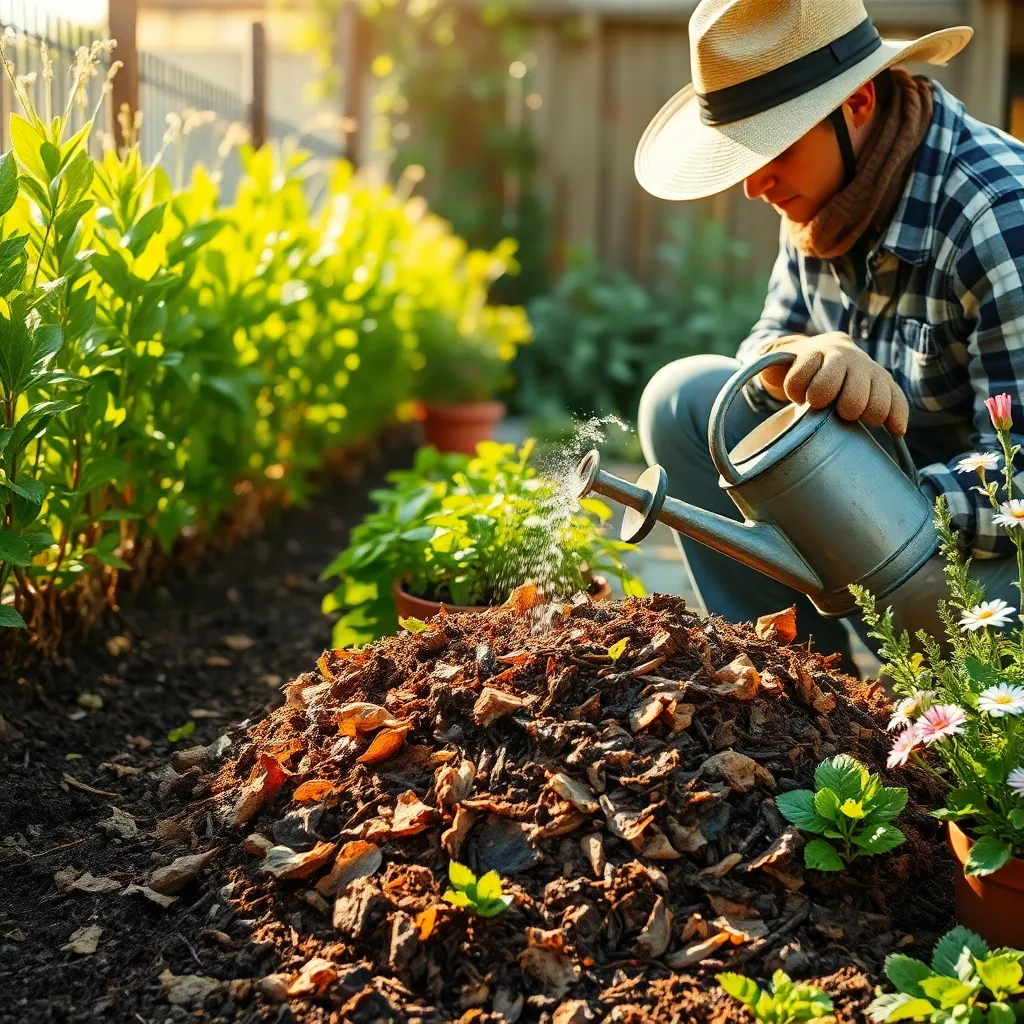
Moisture is a crucial component in the composting process, as it facilitates the breakdown of organic matter. To keep your compost active, aim for a consistency similar to a wrung-out sponge, which means it should be damp but not soaking wet.
When adding moisture, use a watering can or garden hose with a spray attachment to evenly distribute water across the layers. This method ensures that both the green and brown materials are adequately moistened, preventing any dry pockets that could slow down decomposition.
Begin by adding water every time you add a new layer of material to your vertical compost bin. If you’re in a particularly dry climate or if your compost bin is located in a sunny spot, check moisture levels every week and adjust as necessary.
For more advanced composters, consider incorporating moisture-retentive materials like shredded newspaper or cardboard, which can help maintain balance. Additionally, using a compost thermometer can help you monitor the internal temperature, ensuring your heap is neither too dry nor too wet.
Introduce Composting Worms
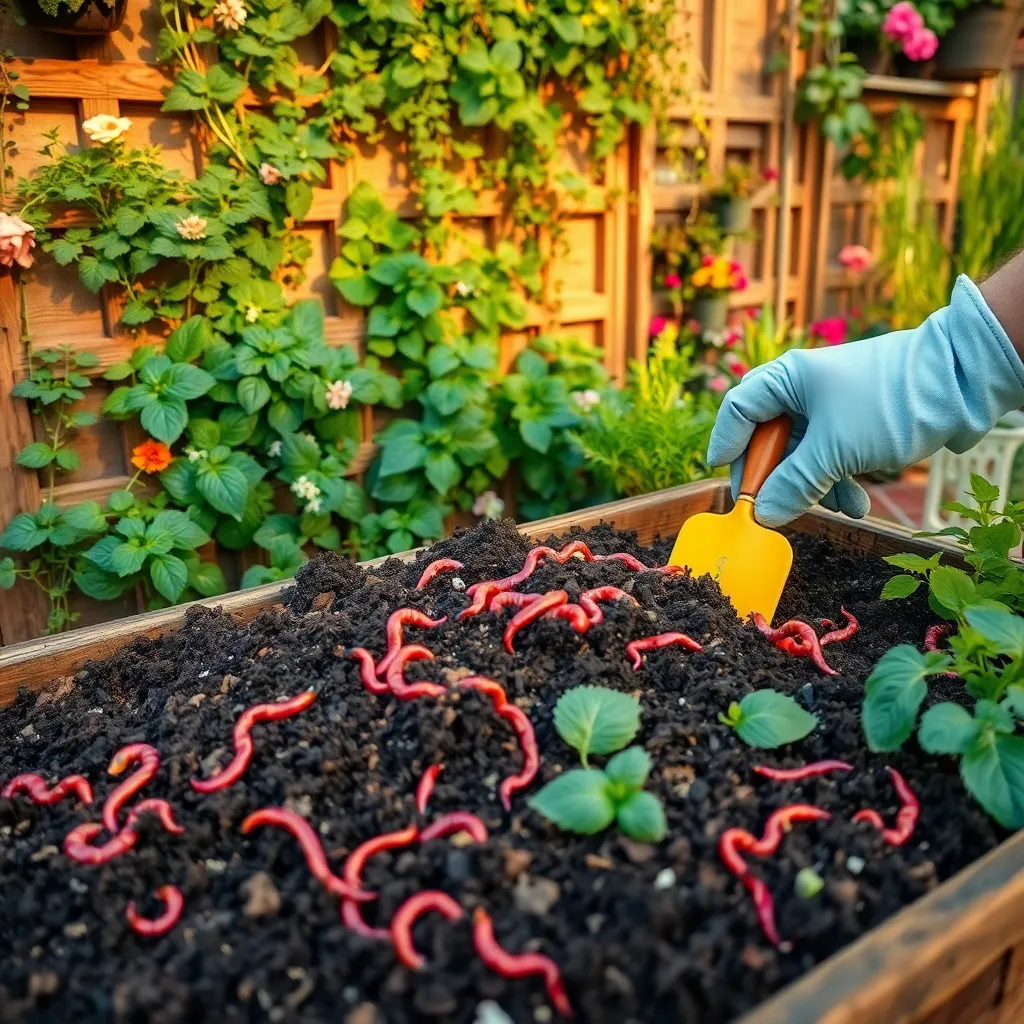
Introducing composting worms to your vertical composting system is a fantastic way to accelerate the breakdown of organic matter. Red wigglers (Eisenia fetida) are the most popular choice due to their efficiency and adaptability to a wide range of temperatures.
To start, purchase your composting worms from a reputable source to ensure they are healthy and active. Aim for about 1,000 worms per square foot of composting area for optimal results.
Before adding the worms, prepare their new home by creating a suitable environment. This involves adding a mix of damp shredded newspaper, cardboard, and kitchen scraps to provide both moisture and food.
Ensure the compost is not too acidic by avoiding large quantities of citrus peels and onions, which can harm the worms. Balance is key; a diverse mix of kitchen scraps, leaves, and garden waste will help maintain a neutral pH level.
Once your worms are introduced, they will start working immediately, consuming their weight in organic matter daily. Keep the compost moist but not waterlogged, checking regularly to ensure a thriving environment for the worms.
For advanced gardeners, consider adding a small amount of calcium carbonate to maintain pH levels if you notice any signs of acidity. Monitoring and adjusting these conditions will enhance the efficiency of your vertical composting system, leading to rich, fertile compost.
Monitor Temperature Consistently
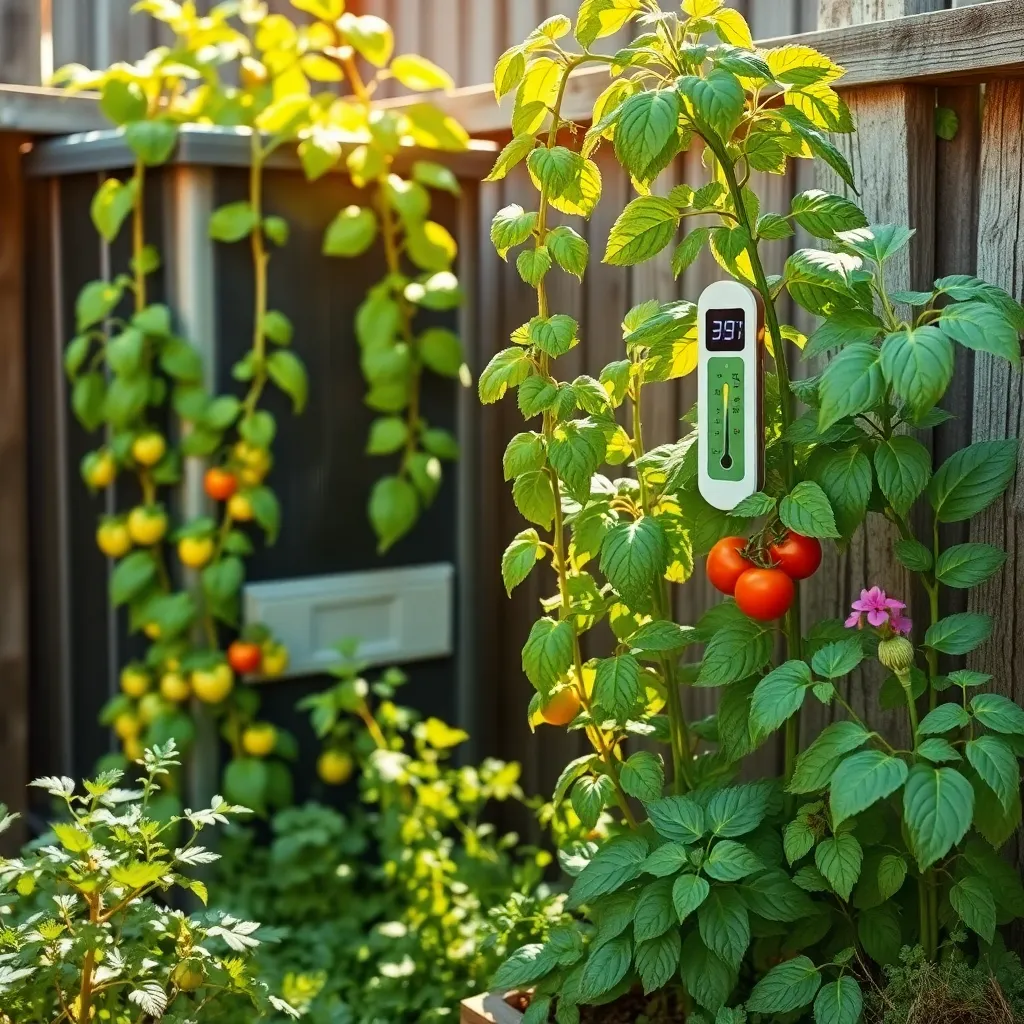
Consistently monitoring the temperature of your vertical composting system is crucial for maintaining optimal conditions. Composting is a biological process that relies on the right temperature to break down organic matter effectively, turning it into nutrient-rich compost.
To start, invest in a reliable compost thermometer that can reach deep into your compost pile. This tool will help you keep track of the internal temperature, which ideally should range between 110°F and 160°F for efficient composting.
Temperature fluctuations can significantly affect the composting process, slowing down decomposition or killing beneficial microbes. If you notice the temperature dropping, try adding more green materials like grass clippings or kitchen scraps to boost microbial activity.
On the other hand, if your compost pile gets too hot, it can dry out and lose essential moisture. In such cases, consider adding water or turning the pile to help dissipate some heat and introduce more oxygen.
Advanced gardeners might use a compost aerator tool to maintain the right balance of air and heat in their compost piles. Regularly turning your compost will not only regulate temperature but also speed up the breakdown of materials.
For those new to composting, keep in mind that a healthy compost pile is like a living organism that needs attention and care. By monitoring and adjusting the temperature, you’re actively contributing to the creation of high-quality compost that will enrich your garden soil.
Turn Compost Regularly
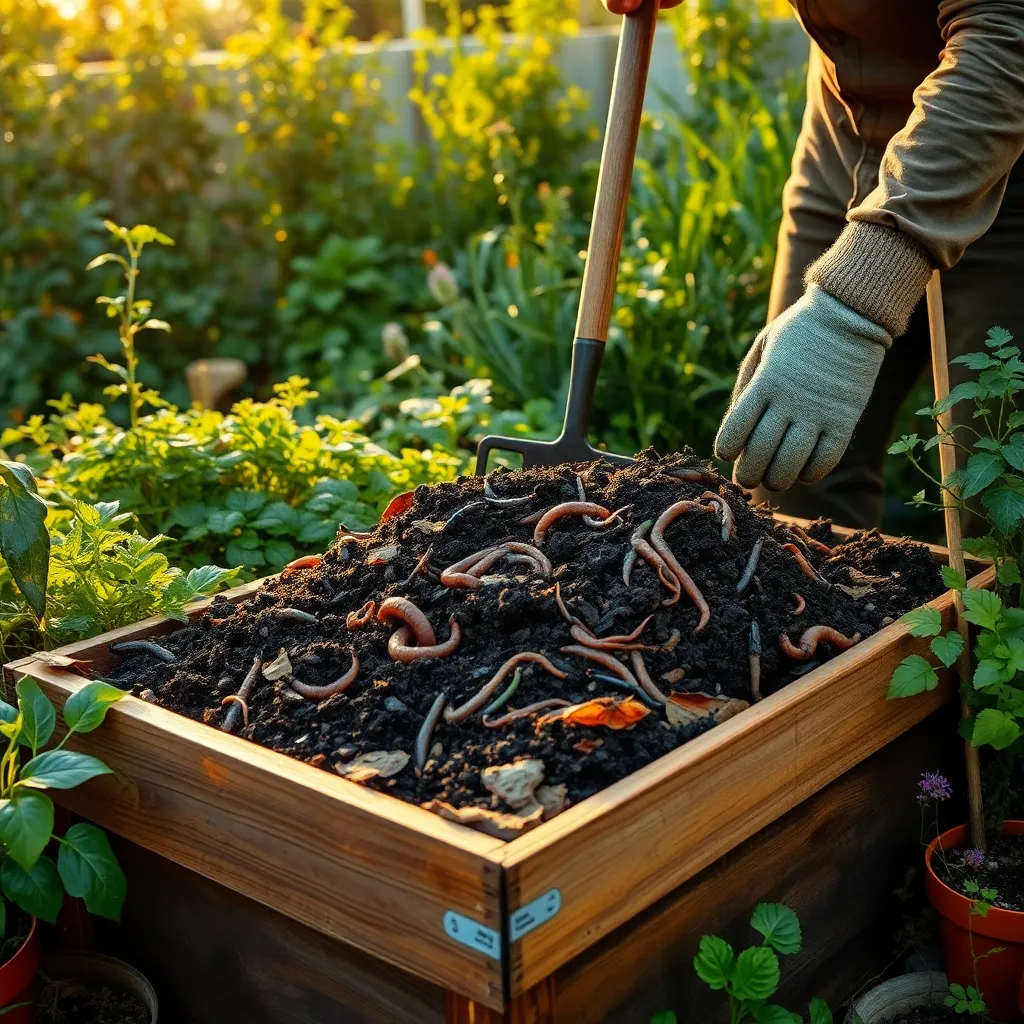
Regularly turning your compost is essential for maintaining a healthy decomposition process. This action helps aerate the pile, introducing oxygen that is crucial for the microbes breaking down the materials.
Incorporating a mix of green and brown materials as you turn the pile can enhance the composting process. Green materials like vegetable scraps provide nitrogen, while brown materials such as dried leaves add carbon, creating a balanced environment.
For beginners, turning the compost every two weeks is a good start. As you gain experience, you might find that turning it weekly can speed up the process, especially during warmer months when decomposition is naturally faster.
Advanced gardeners can monitor moisture levels by squeezing a handful of compost; it should feel like a damp sponge. If it’s too dry, add water as you turn it; if too wet, incorporate more brown materials to absorb excess moisture.
Check Moisture Levels Often

Regularly checking the moisture levels in your compost pile is crucial for maintaining its health and efficiency. An optimal moisture level, which feels like a wrung-out sponge, promotes the activity of beneficial microorganisms that break down organic matter.
To accurately assess moisture, dig a small hole into the pile and feel the material with your hand. If the compost feels dry, add water gradually until the desired moisture level is reached, being careful not to overwater.
Incorporating materials that retain moisture, such as straw or shredded leaves, can help maintain consistent moisture levels. Avoid adding too much green material, like fresh grass clippings, which can lead to excessive moisture and a slimy texture.
For those with more experience, consider using a moisture meter for precise readings. This tool can offer a more accurate measure, helping you adjust watering practices and balance your compost more effectively.
Manage Compost Odor Effectively
Compost odors can be managed effectively by maintaining a proper balance between green and brown materials within your compost. Green materials, such as vegetable scraps and grass clippings, provide nitrogen, while brown materials, like dried leaves and straw, offer carbon, which together create a well-balanced environment that minimizes odor.
Turning your compost regularly is crucial for keeping it aerated, which helps prevent unpleasant smells. By using a pitchfork or a compost tumbler every few weeks, you ensure that oxygen reaches all areas, aiding in the breakdown of materials and reducing odor.
Excess moisture can lead to anaerobic conditions, which often cause foul smells. To counteract this, ensure your compost has the consistency of a damp sponge—if it’s too wet, add more brown materials; if too dry, sprinkle a bit of water.
For those dealing with persistent odors, consider adding a biofilter layer on top of the compost pile. This can be done by layering a few inches of straw, shredded newspaper, or finished compost, which helps trap odors and maintain a fresh-smelling garden.
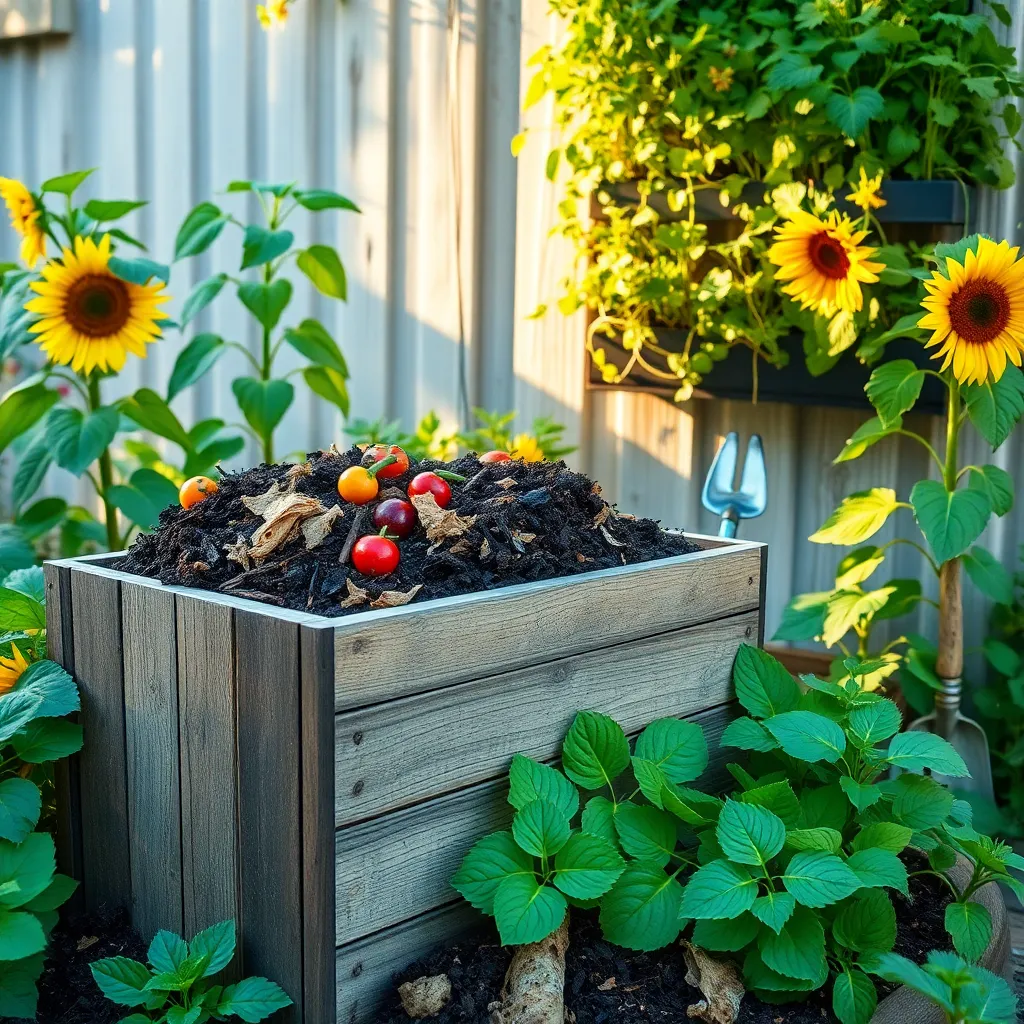
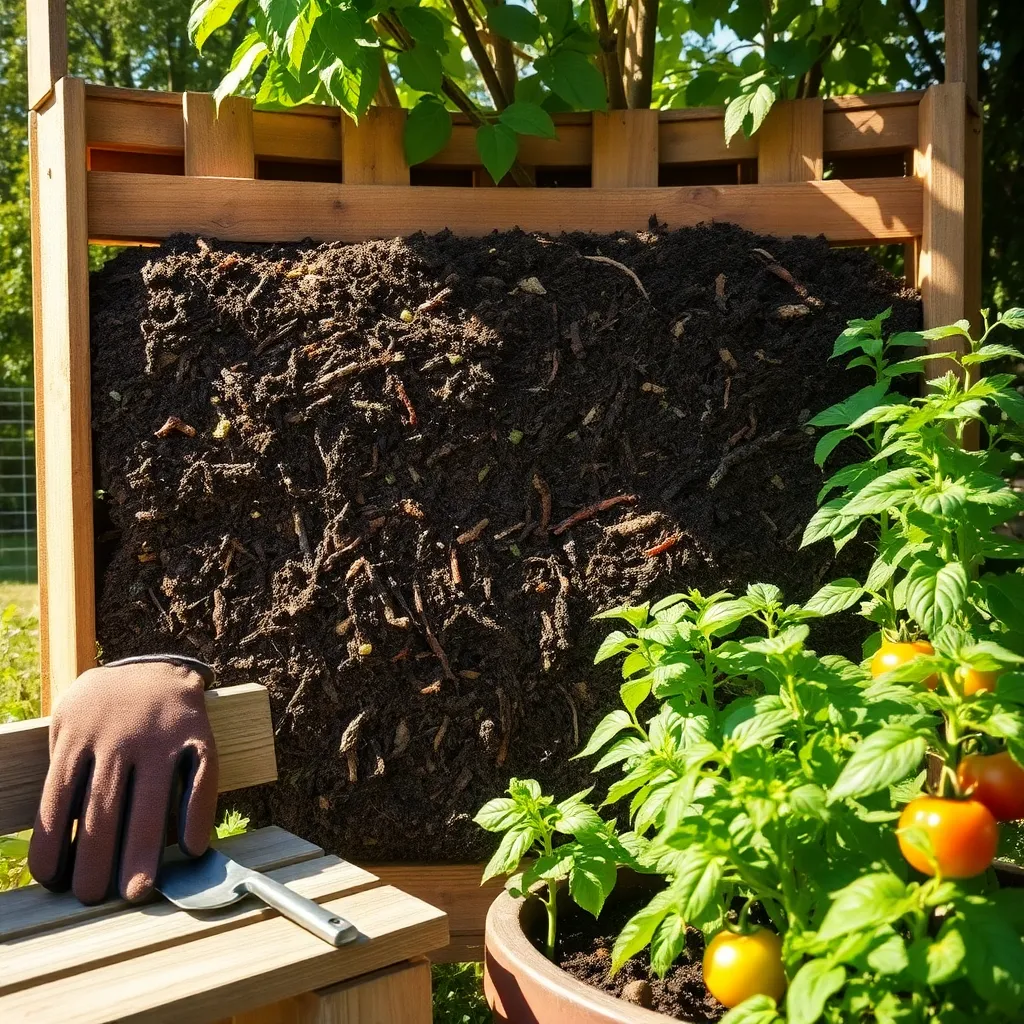
Harvest Finished Compost
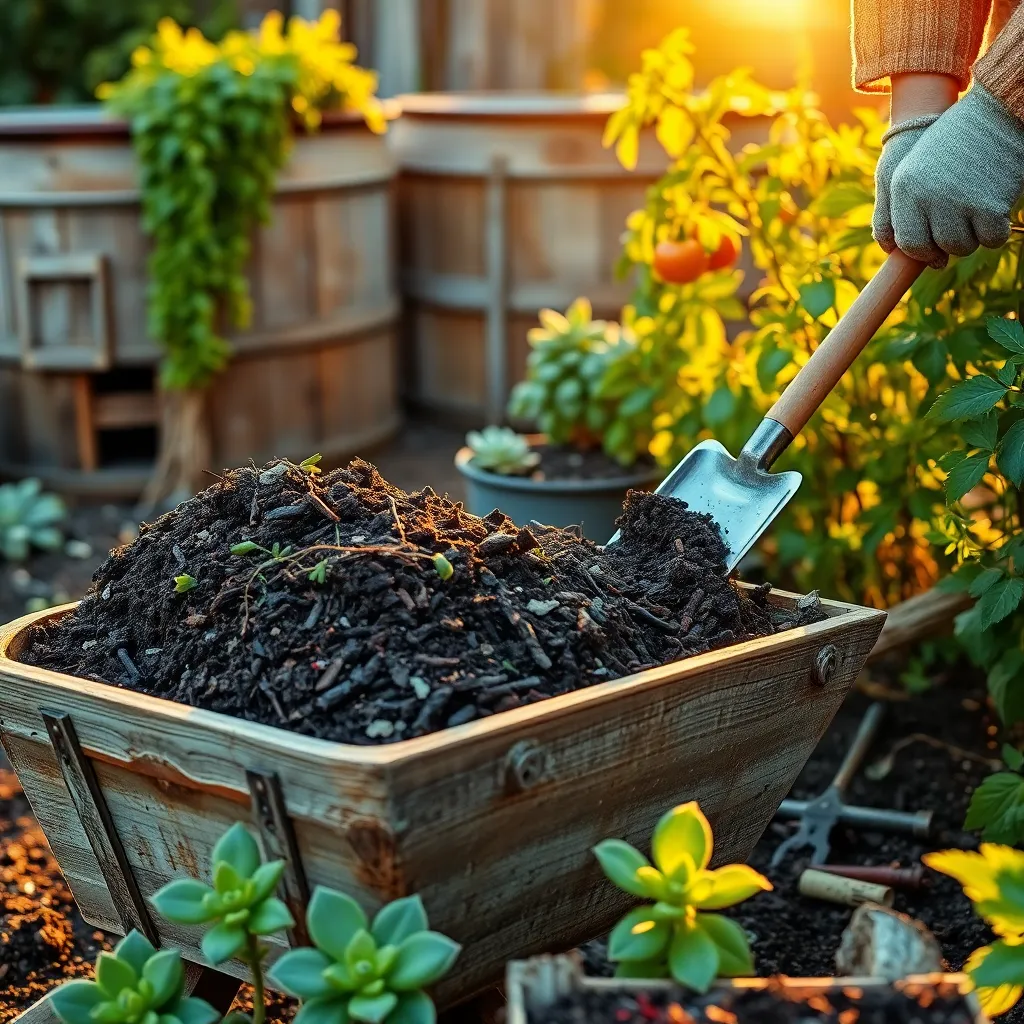
Once your vertical compost has matured, it’s time to harvest the finished compost for use in your garden. Finished compost is typically dark, crumbly, and smells earthy, indicating it’s ready to nourish your plants.
To harvest, carefully remove the compost from the bottom of your vertical composting system, where it should be most fully decomposed. Use a garden fork or trowel to gently sift through the compost, ensuring any large, undecomposed items are returned to the bin for further breakdown.
Finished compost can be used as a top dressing or mixed into soil to enhance its fertility and structure. For best results, spread a 1 to 2-inch layer over your garden beds and gently work it into the topsoil, enriching the area where plant roots grow.
If your compost is too wet or compacted, allow it to dry slightly before use to prevent clumping in the soil. Ensure the material is not soggy, as excessive moisture can hinder its effectiveness and introduce unwanted pathogens.
Advanced gardeners can create a compost tea by soaking finished compost in water for a few days, then using the liquid to water plants. This nutrient-rich solution can provide an additional growth boost, particularly for heavy feeders like tomatoes and roses.
Clean Container Thoroughly
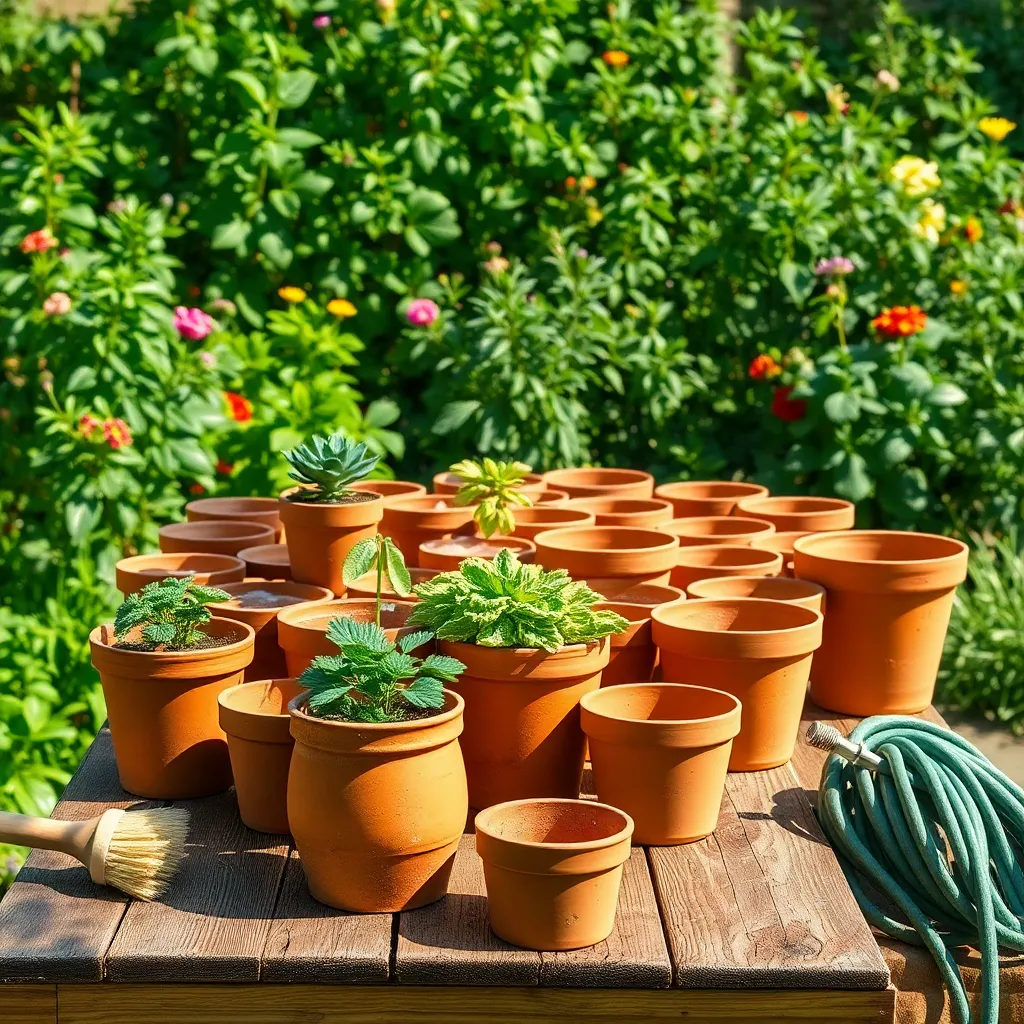
Cleaning your composting container thoroughly is crucial to maintaining a healthy composting process. Begin by emptying any remaining compost and rinsing the container with water to remove loose debris.
Next, use a mixture of one part vinegar to nine parts water to scrub the interior. This helps to eliminate any lingering odors and prevents the growth of unwanted mold or bacteria.
For tougher stains or residues, a brush with stiff bristles can be used to scrub the surfaces more effectively. Rinse thoroughly with water afterward to ensure no cleaning solution remains, which could affect your compost’s quality.
After cleaning, allow the container to air dry completely before adding new materials. This step prevents excess moisture, which can lead to anaerobic conditions that slow down the composting process.
Advanced tip: Consider applying a layer of diatomaceous earth along the bottom and sides of your clean container. This can help deter pests and absorb excess moisture, creating an optimal environment for decomposition.
Replenish with Fresh Materials
After thoroughly cleaning your container, it’s time to replenish it with fresh materials to kickstart your vertical composting. Begin by gathering a balanced mix of “greens” and “browns,” which are essential for creating a nutrient-rich compost. The “greens” are rich in nitrogen and include items like fresh grass clippings and vegetable scraps. On the other hand, “browns” are high in carbon and can be sourced from dried leaves and shredded newspaper.
Layer these materials in your container to promote effective decomposition. Start with a layer of browns to improve aeration, followed by a layer of greens to introduce moisture and nitrogen. Continue alternating between these layers, ensuring each is about 2-4 inches thick. This layering technique helps maintain the right balance of moisture and air, crucial for the composting process.
For beginners, remember to turn the compost pile every 1-2 weeks to aerate it and speed up decomposition. Advanced gardeners might consider adding a compost activator or a handful of garden soil to introduce beneficial microorganisms. These microorganisms will break down the organic matter more efficiently, reducing the time it takes to produce usable compost. Additionally, monitoring the moisture level is essential; aim for a consistency similar to a wrung-out sponge.
Regularly adding fresh materials will keep your compost active and productive. Avoid adding items like meat, dairy, and oily foods, as they can attract pests and slow down decomposition. Instead, focus on kitchen scraps and garden waste, which are both abundant and effective. By consistently following these practices, your vertical compost will thrive, providing you with rich, organic fertilizer for your garden.
Conclusion: Growing Success with These Plants
In navigating the intricate layers of relationship building, the ’13 Vertical Composting Guides’ offer invaluable insights. From nurturing a foundation of trust and open communication to understanding the nuances of personal space and shared growth, each guide serves as a stepping stone towards a healthier partnership. We’ve explored the importance of empathy, the art of compromise, and how to manage conflict with grace. Additionally, learning to celebrate successes together and supporting each other’s dreams enhances the bond you share.
Now, take a moment to reflect on these insights and choose one specific area to focus on today. Whether it’s initiating a heartfelt conversation or planning an activity that strengthens your connection, small steps can lead to significant transformation.
Remember, relationships are an evolving journey. Bookmark this article as your go-to resource, ensuring these guides are readily available whenever you need a boost of wisdom or reassurance. As you move forward, let these principles guide you toward a future of enduring love and partnership. With commitment and mindfulness, the potential for your relationship to flourish is limitless. Here’s to taking action and crafting a love story that inspires for generations to come!