Creating a garden pathway is like painting a delicate stroke across your outdoor canvas, guiding the eyes and the feet through a tapestry of colors and textures. Whether you’re a beginner just starting to explore the joys of gardening or a seasoned green thumb looking to rejuvenate your space, pathways offer an opportunity to blend functionality with artistry in your garden oasis. These pathways are more than just walkways; they are invitations to explore and discover, to linger and enjoy every nook of your garden haven.
Pathways can be a daunting prospect when you’re working within a budget, but fear not—beauty doesn’t have to break the bank. In this article, we’ll explore 14 budget-friendly pathway designs that will inspire and empower you to transform your garden without straining your wallet. You’ll discover creative solutions that make use of readily available materials and learn how to tap into your own resourcefulness and creativity to craft pathways that feel personal and unique.
Each design we present will offer practical tips and insights, ensuring that you feel confident to take on the task, regardless of your gardening experience. From rustic wooden slices to charming pebble mosaics, these designs promise to elevate the elegance of your garden while keeping costs firmly in check. By the end of this journey, you’ll have a toolkit of ideas that can be tailored to suit your garden’s character and your personal style, making garden pathways a delightful and achievable project for everyone.
Choosing Cost-Effective Materials
When selecting materials for a budget-friendly garden pathway, consider using gravel as a cost-effective option. It’s not only affordable but also easy to install, requiring minimal tools and experience.
Another economical choice is using wood chips, which can often be sourced for free from local tree services or municipal facilities. They provide a natural look and help with soil conditioning and moisture retention.
For a more structured pathway, consider using recycled bricks or pavers. These materials can often be found at salvage yards or online marketplaces, allowing you to create a charming, vintage look without breaking the bank.
To ensure your pathway remains functional and attractive, it’s essential to prepare the ground properly. Level the area and lay down a layer of landscape fabric to prevent weed growth and ensure longevity.
For advanced gardeners, consider incorporating permeable materials to manage water runoff effectively. This not only helps with irrigation but also supports a healthy garden ecosystem by allowing water to seep into the ground.
Finally, don’t forget to edge your pathways using inexpensive materials like stones or logs. This keeps the path looking neat and prevents the materials from spreading into your garden beds.
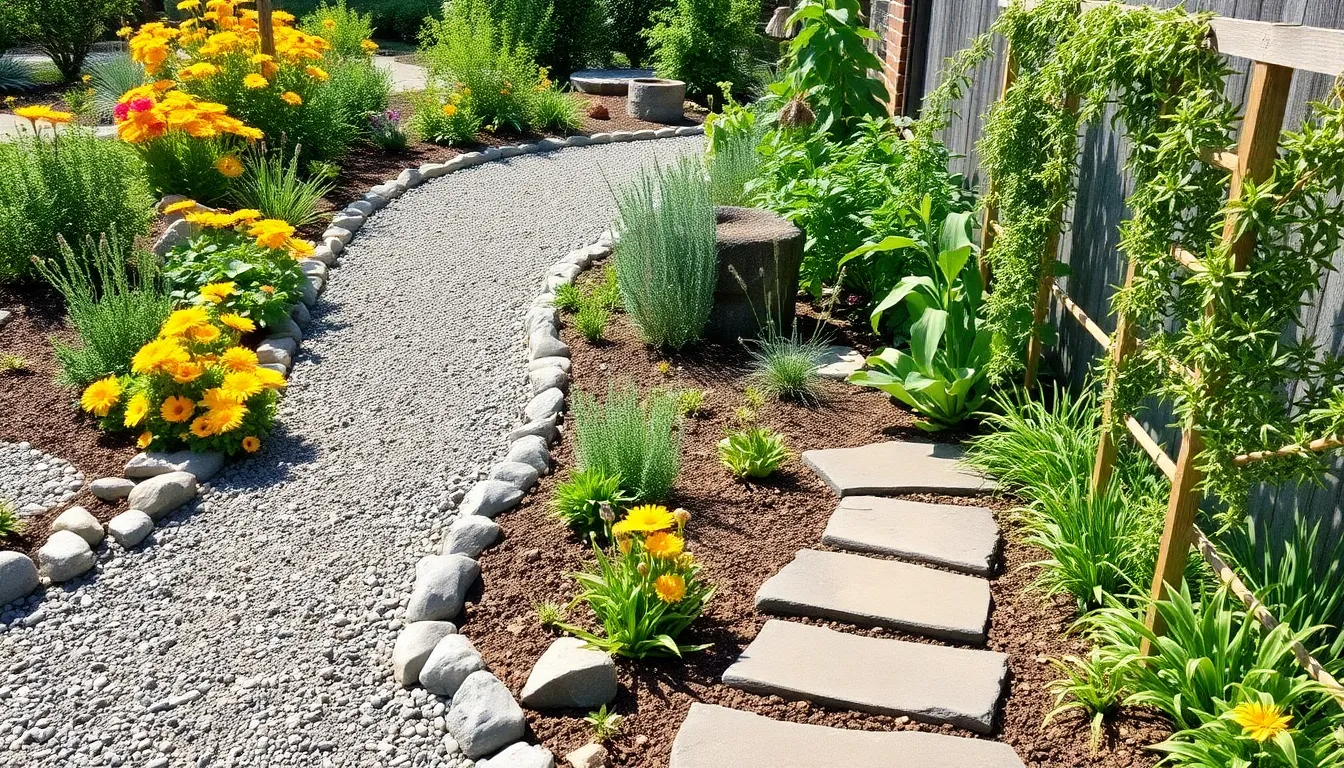
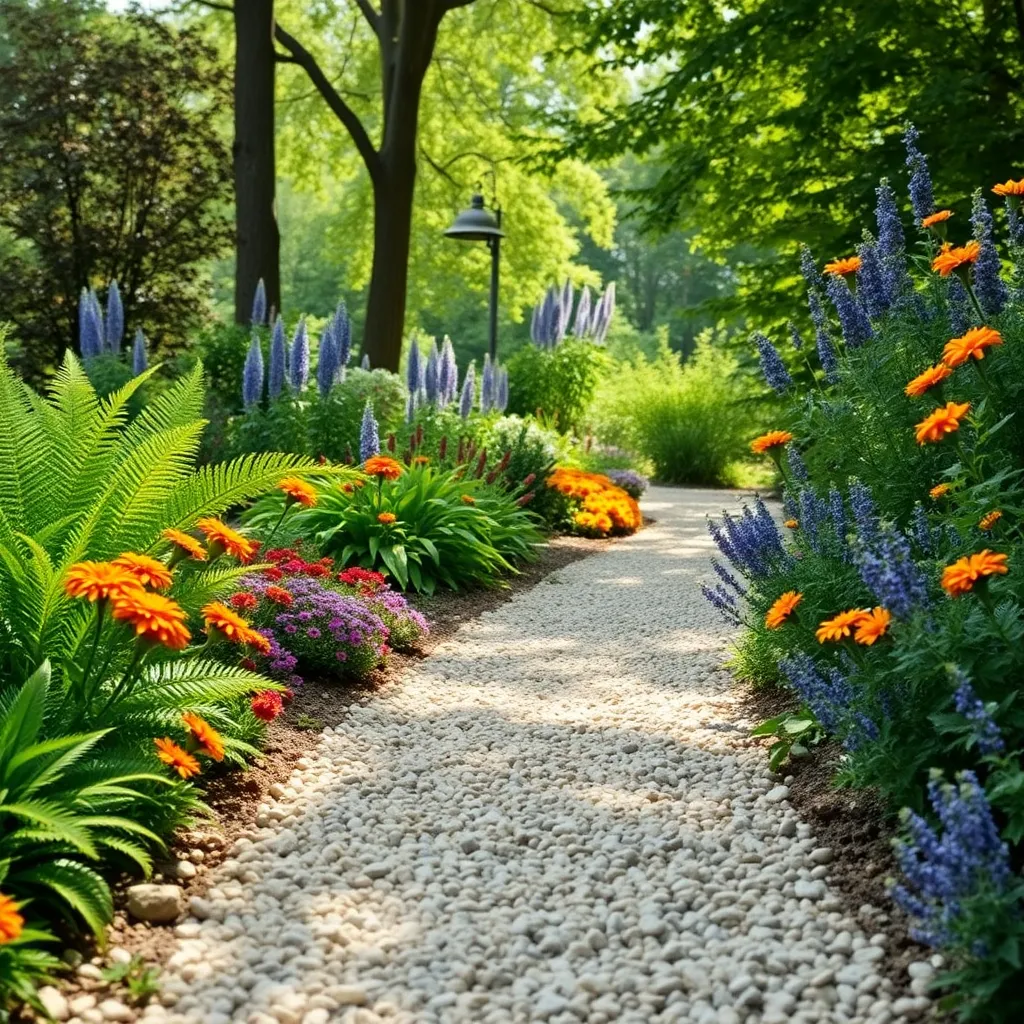
Laying a Gravel Pathway
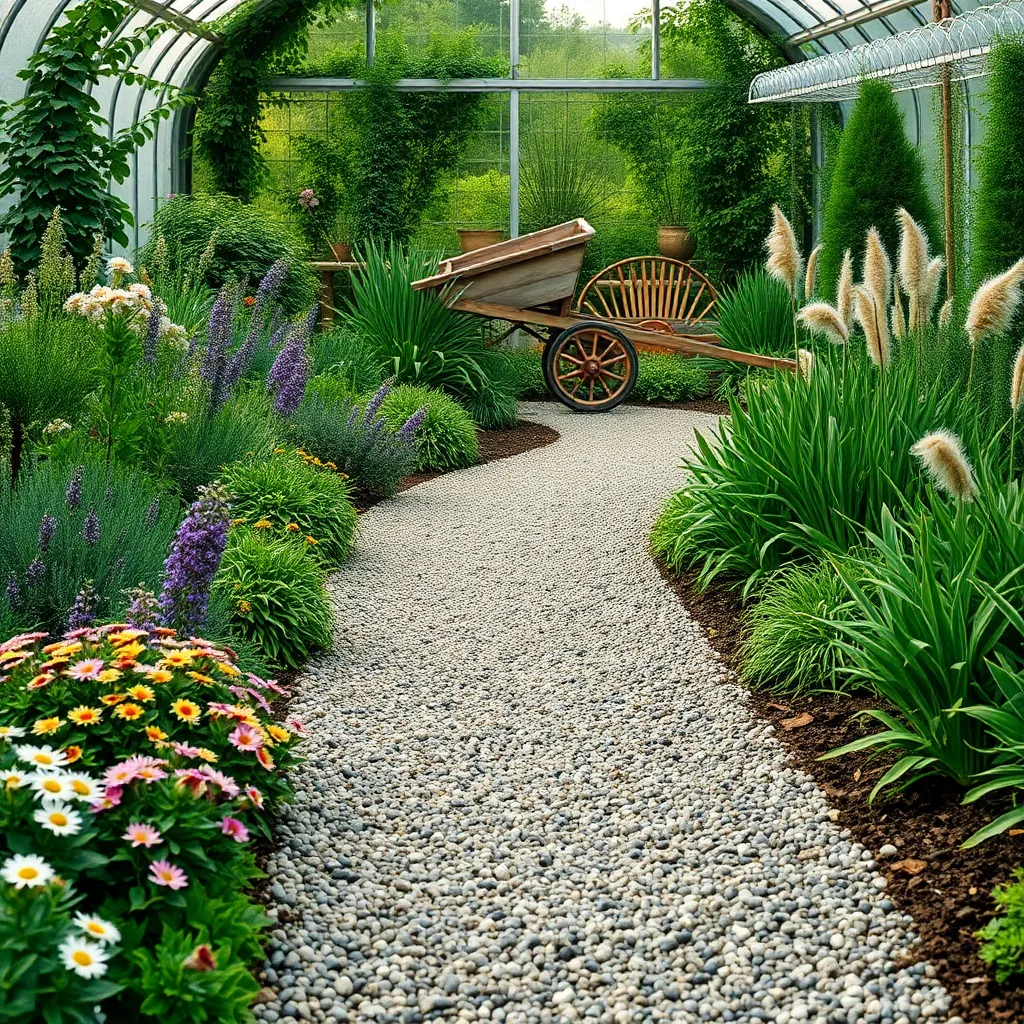
Gravel pathways offer an affordable and attractive solution for garden paths, providing both functionality and aesthetics. To begin, measure and mark the desired path with stakes and string, ensuring a clear outline for your project.
Next, dig out the pathway to a depth of about 4 to 6 inches, which allows ample room for the gravel and a solid base layer. For a more durable path, consider using a layer of landscape fabric beneath the gravel to prevent weeds and improve drainage.
Once the area is prepared, add a 2- to 3-inch layer of crushed stone or coarse sand as a base, which helps to stabilize the ground. Use a tamper or plate compactor to compact this base layer firmly, ensuring a level surface for the gravel.
After compacting the base, spread a 2- to 4-inch layer of gravel evenly over the path, using a rake to distribute it smoothly. Choose gravel types that suit your garden’s aesthetic, such as pea gravel for a softer look or crushed stone for a more rustic feel.
For added stability, edge the path with bricks, stones, or metal edging to keep the gravel contained and maintain a neat appearance. Remember to periodically rake the gravel to keep it even and replenish any areas where it has thinned over time.
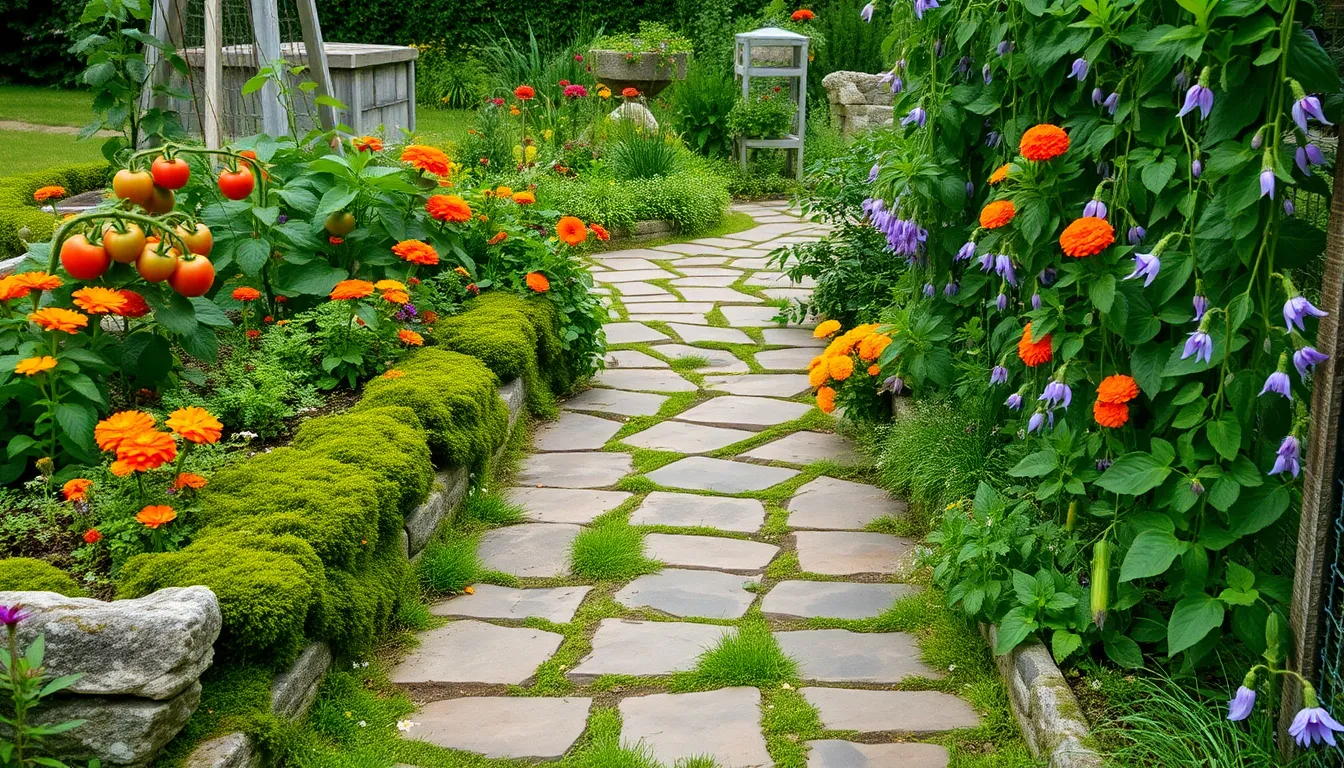
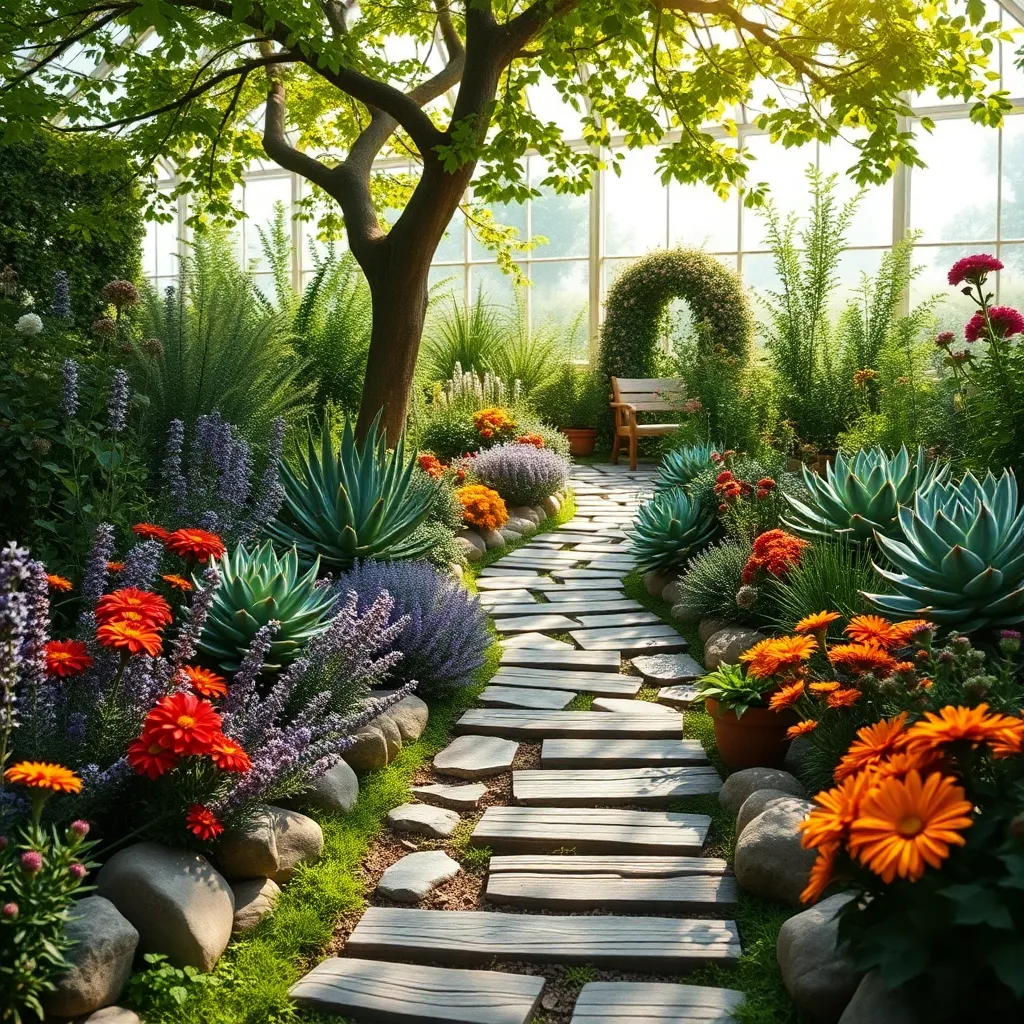
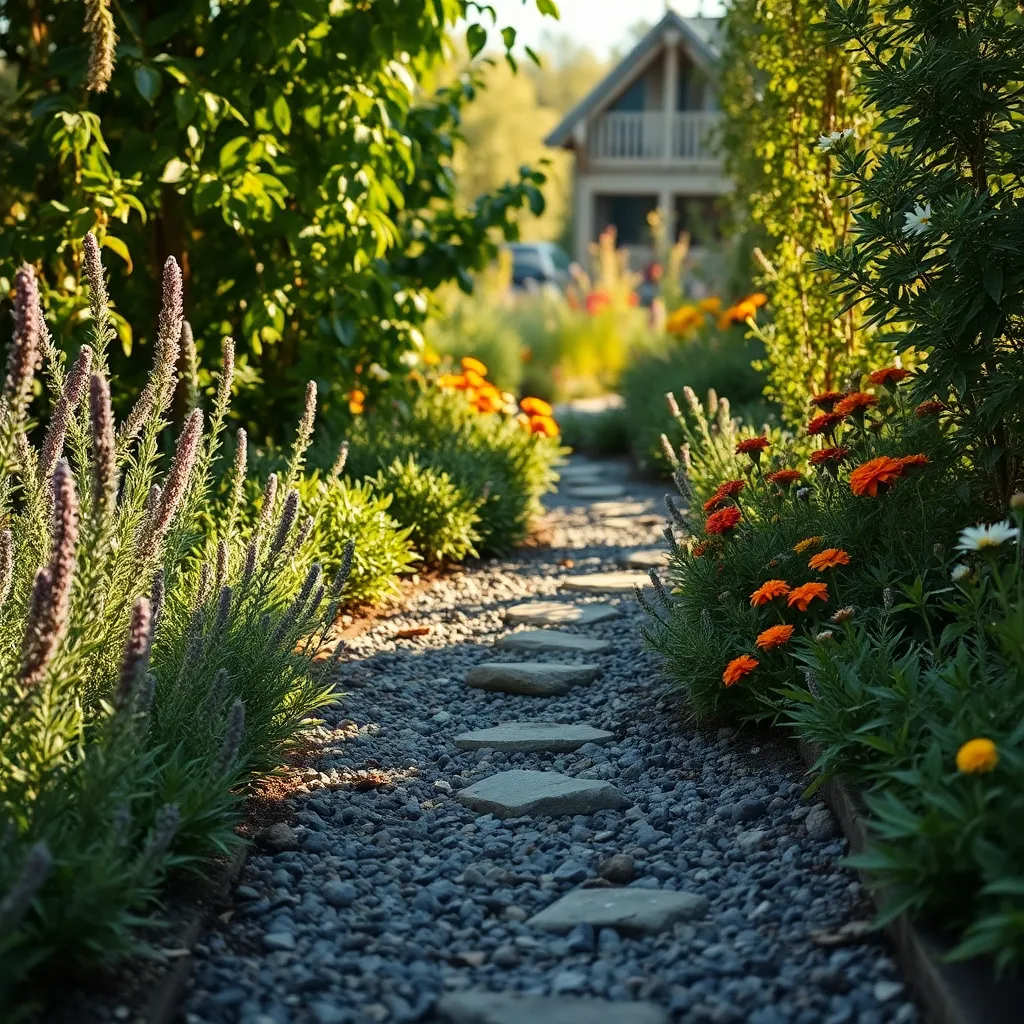
Creating a Stepping Stone Path
Creating a stepping stone path is an excellent way to add charm and functionality to your garden. This project not only enhances the aesthetic appeal but also helps direct foot traffic, preserving your plants and soil.
Start by selecting stones that are flat and stable enough to walk on comfortably. Limestone, slate, and sandstone are popular choices due to their durability and natural look.
Plan your path by laying out the stones on the ground, ensuring they are evenly spaced to match a natural stride. A gap of around 2 to 4 inches between each stone usually works well for most adults.
To install the stones, dig a shallow hole for each stone, ensuring it sits flush with the surrounding soil to avoid tripping hazards. Use a level to make sure each stone is even, which will provide a more stable walking surface.
Fill the gaps between the stones with gravel or a hardy ground cover like creeping thyme, which will fill in over time and add a splash of green. This not only secures the stones but also prevents weeds from taking hold.
Regular maintenance involves checking for stone stability and trimming any overgrown ground cover. With these simple steps, your stepping stone path can become a lasting feature that both looks great and serves a practical purpose in your garden.
Utilizing Recycled Brick Paths

Recycled brick paths offer a charming and sustainable option for garden walkways. By utilizing old bricks, you not only save money but also contribute to reducing waste and promoting eco-friendly gardening practices.
Begin by collecting enough bricks to outline your desired path. It’s important to ensure the bricks are similar in size and condition for a uniform look, which can be achieved by sourcing them from demolition sites or local classifieds.
Once you have your bricks, prepare the path by removing the grass and leveling the soil. Using a well-draining soil mix beneath the bricks will prevent waterlogging and help maintain the path’s integrity over time.
Lay the bricks in your chosen pattern, such as herringbone or basket weave, to add visual interest. As you lay each brick, tap it gently into place with a rubber mallet to ensure a snug fit and stability.
Fill the gaps between the bricks with sand or fine gravel to lock them in place and prevent shifting. This not only secures the path but also allows for natural water drainage, which is crucial in maintaining a healthy garden environment.
Finally, consider edging your path with plants that thrive in your climate, like creeping thyme or low-growing sedum. These plants complement the rustic look of recycled bricks and can help soften the edges, creating a cohesive and inviting garden space.
Incorporating Wood Chips for Charm
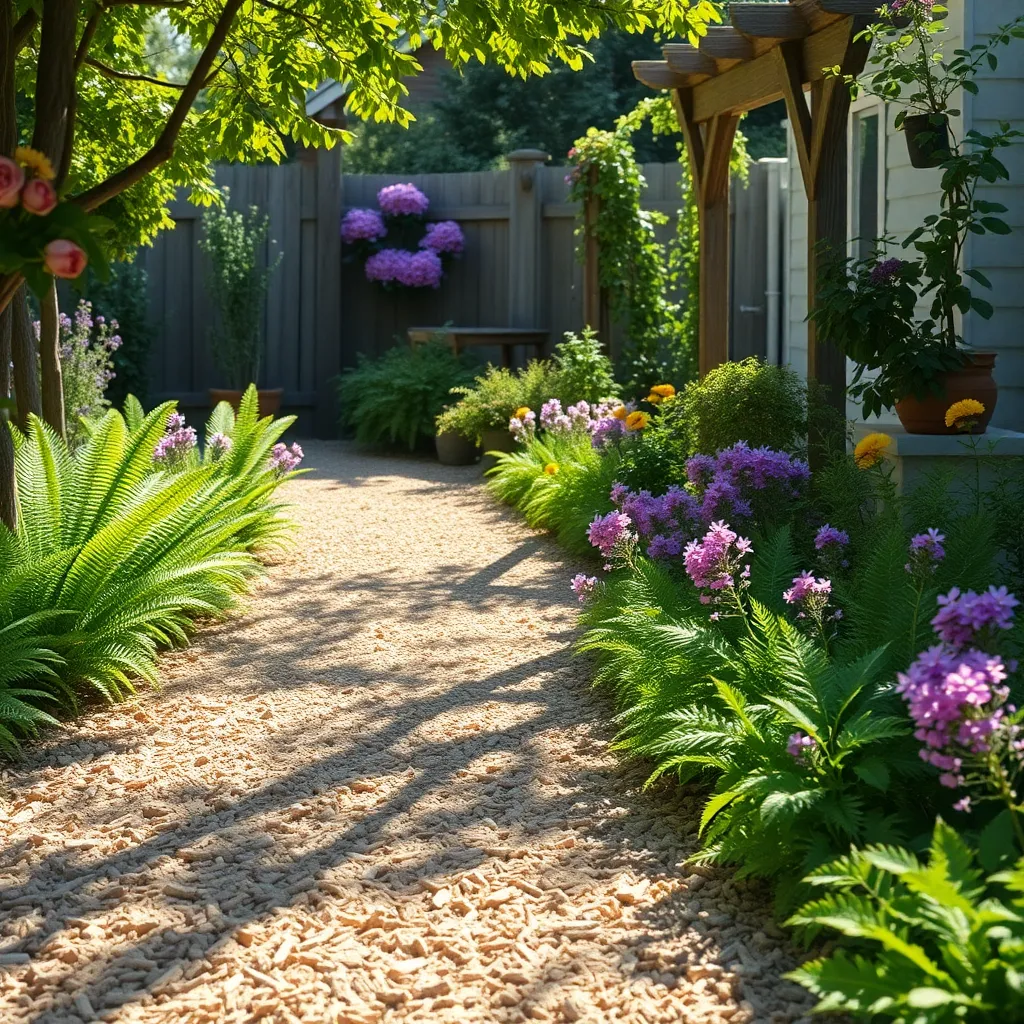
Incorporating wood chips into your garden pathways is a budget-friendly option that adds a rustic charm. Wood chips are readily available and can be sourced from local tree trimming services, often for free or at a low cost.
Start by laying down a weed barrier fabric, which will help prevent unwanted plants from sprouting through the wood chips. This simple step saves you maintenance time and keeps your pathway looking pristine longer.
Next, spread a layer of wood chips about 2-3 inches deep along your desired path. This thickness provides ample cushioning underfoot, making the path comfortable to walk on while allowing for proper drainage.
It’s important to choose wood chips made from hardwoods, as they decompose slower than softwoods, extending the life of your pathway. Hardwood chips also tend to retain their color longer, maintaining the aesthetic appeal of your garden.
To maintain the pathway, simply replenish the wood chips as they break down over time, typically every one to two years. This minimal upkeep ensures your garden path remains attractive and functional year-round.
Designing with Affordable Concrete Slabs

Using affordable concrete slabs can be an excellent way to create a durable and stylish garden pathway. These slabs are not only cost-effective but also offer great versatility in design, allowing you to customize the look of your garden paths to match your style.
Consider laying the slabs in a staggered pattern to add visual interest and make your garden path look more dynamic. This approach works well on flat surfaces and can be adjusted to navigate gentle slopes, providing a smooth transition throughout your garden.
For beginners, focus on ensuring the ground is level before laying the slabs. Use a layer of sand or gravel underneath each slab to improve drainage and stability, which is crucial for preventing the slabs from shifting over time.
Experienced gardeners might experiment with different spacing between the slabs to allow low-growing plants like creeping thyme or Irish moss to flourish in the gaps. This not only softens the hard edges of the concrete but also introduces color and fragrance to your pathway.
Maintain your concrete slab pathway by periodically checking for any unevenness and adjusting as necessary. Regularly sweep the path to prevent dirt and debris buildup, which helps keep the slabs looking their best and extends their lifespan.
Using Mulch for Natural Paths
Creating a natural path using mulch is an excellent way to enhance your garden’s aesthetics while remaining budget-friendly. Mulch pathways are easy to install, requiring minimal tools and materials, making them perfect for gardeners of all levels.
Start by choosing the right type of mulch for your path, such as wood chips, bark, or straw, each offering unique textures and appearances. Wood chips and bark mulch are particularly durable, making them ideal for high-traffic areas.
Before laying down mulch, prepare the path area by removing weeds and leveling the soil surface. This ensures a smooth and even pathway, preventing trip hazards and allowing for optimal drainage.
For added durability, consider installing a weed barrier fabric underneath the mulch. This step not only suppresses weeds but also helps retain moisture, benefiting surrounding plants.
Maintain your mulch path by replenishing it with fresh mulch every few months. As mulch breaks down, it enriches the soil, providing a natural benefit to your garden ecosystem.
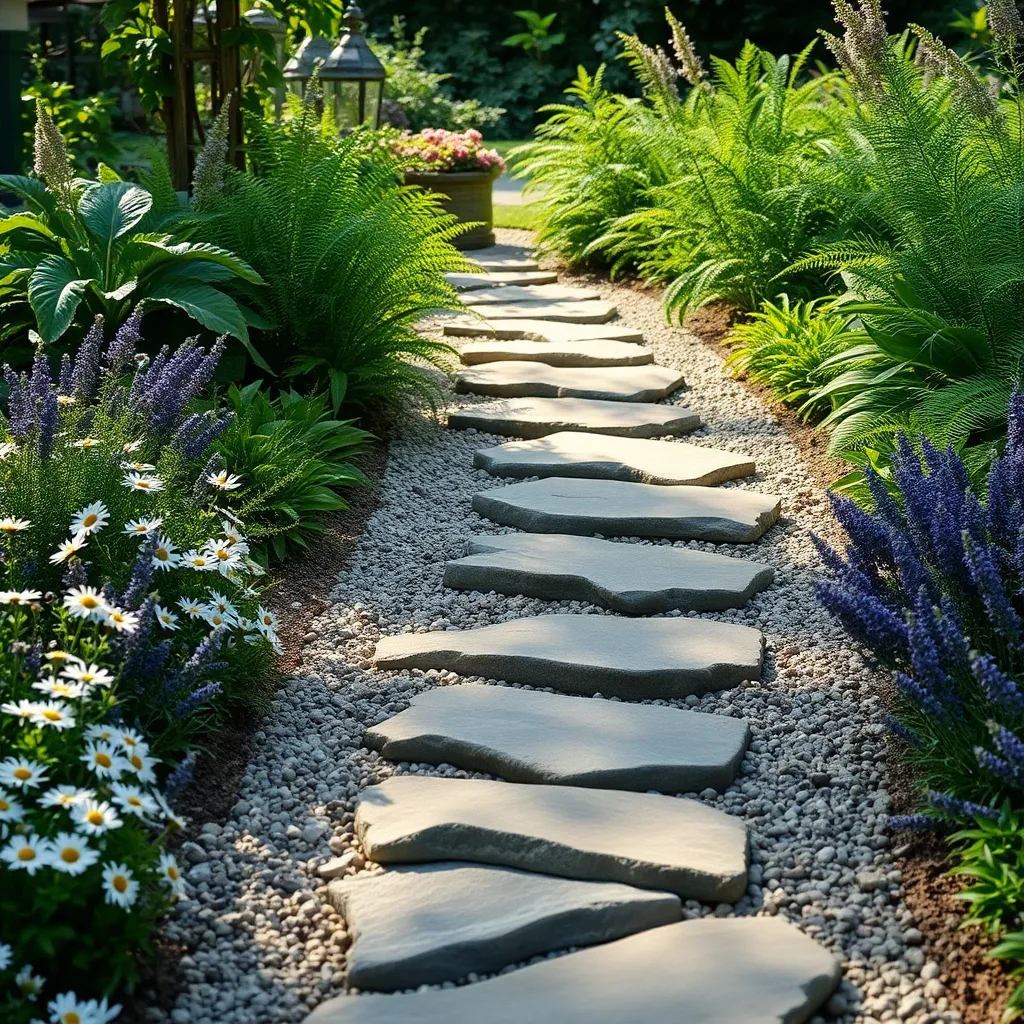
Exploring Flagstone for Elegance
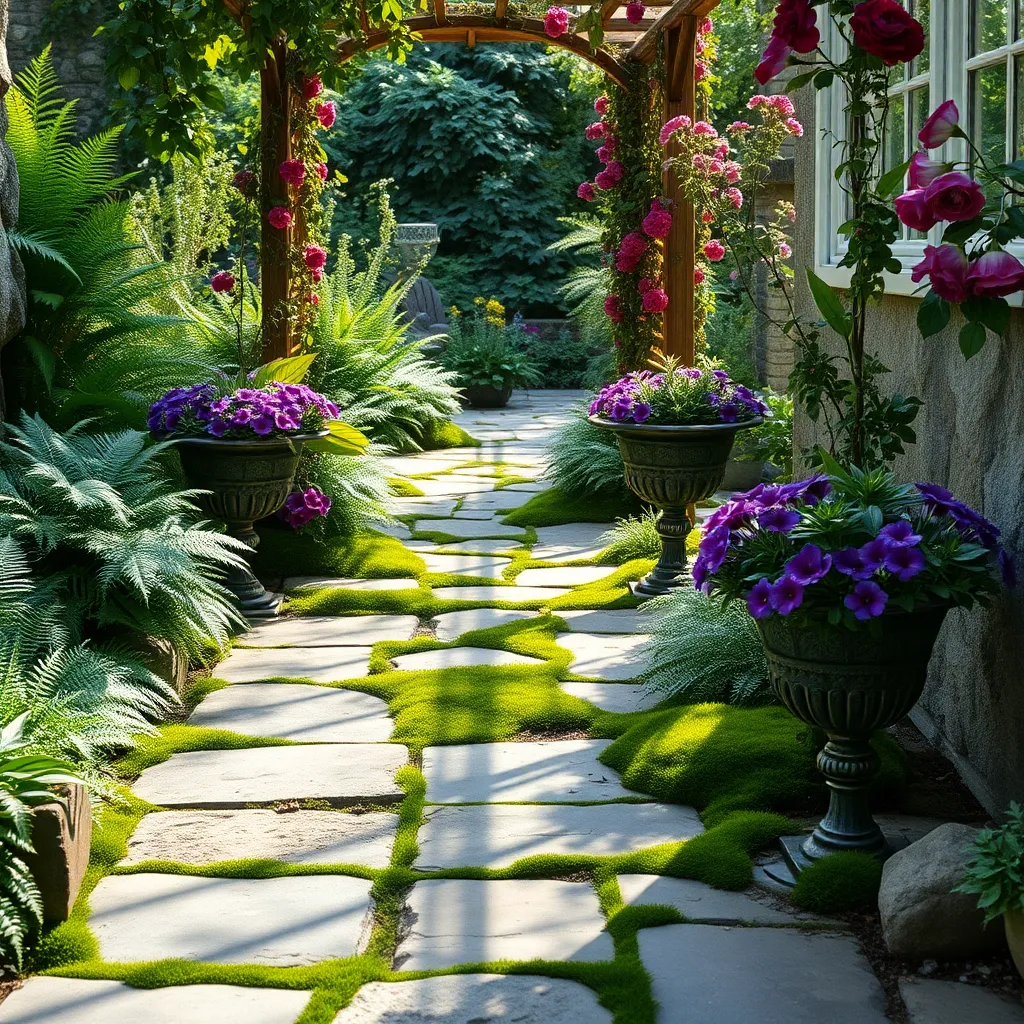
Flagstone paths add a touch of elegance and durability to any garden, making them an excellent choice for those looking to enhance their outdoor space affordably. To start, you’ll need to choose flagstones that are about two inches thick for optimal stability, which can be found at most garden centers or stone suppliers.
When laying a flagstone path, it’s essential to prepare the ground properly to ensure longevity. Begin by marking the path with stakes and string, then remove any grass and soil to a depth of around four inches, providing a level base for your stones.
Next, create a solid foundation by filling the area with a layer of gravel or crushed stone, which helps with drainage and prevents shifting. Compact this layer thoroughly before placing the flagstones, adjusting each one until they fit snugly together with minimal gaps.
For a more polished look, consider planting low-growing ground covers such as creeping thyme or moss between the stones. These plants not only add visual interest but also help to secure the stones in place and suppress weeds.
Crafting Paths with Pallet Wood
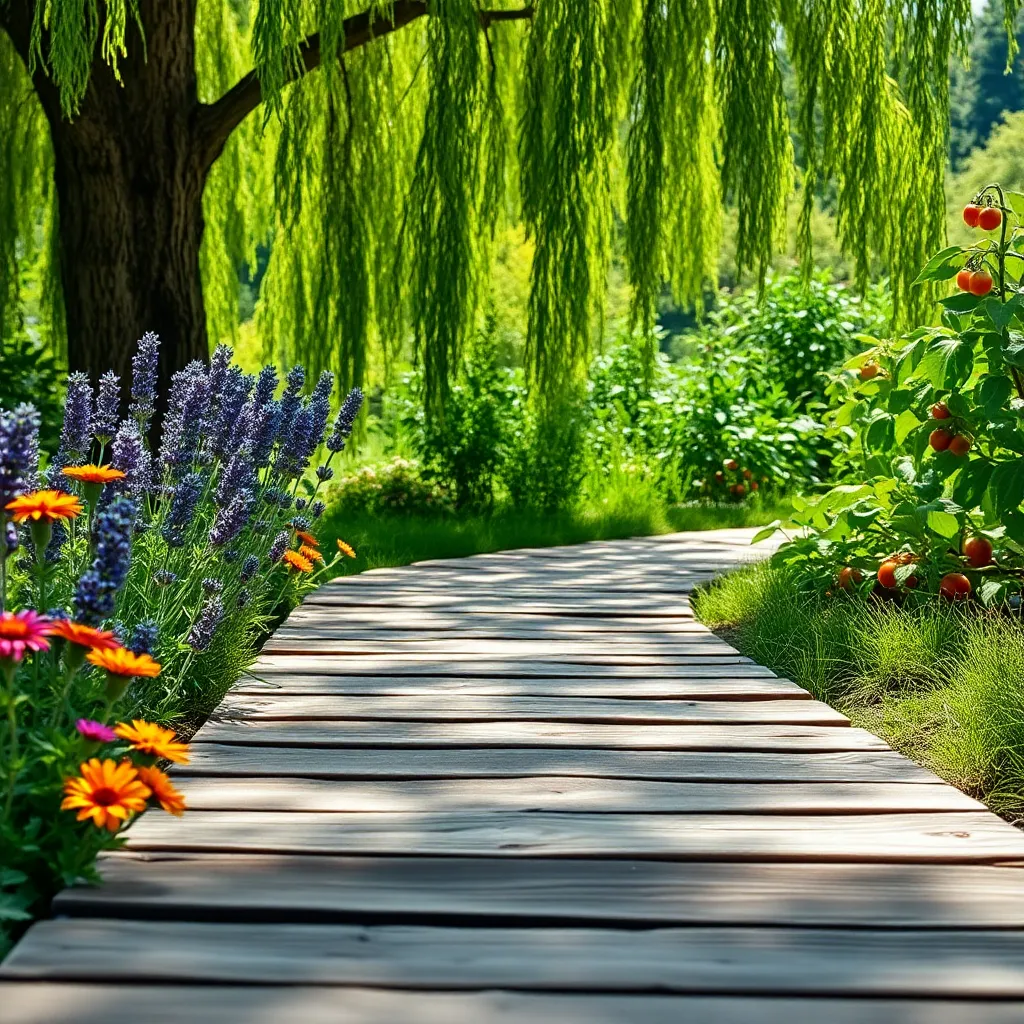
Pallet wood offers an eco-friendly and cost-effective way to create charming garden paths. By repurposing wooden pallets, you can add a rustic touch to your garden without breaking the bank.
To start, select pallets made of hardwood, as these are more durable and resistant to the elements. Ensure the pallets are free from chemicals by choosing ones marked with “HT” for heat-treated wood.
Once you’ve sourced your pallets, dismantle them carefully to obtain usable planks. Use a crowbar or a reciprocating saw with a metal-cutting blade to ease this task and avoid splitting the wood.
Lay the planks on a leveled soil bed, ensuring the ground is well-drained to prevent water accumulation. Consider adding a layer of gravel or sand underneath to facilitate drainage and provide stability.
For a longer-lasting path, treat the wood with a weatherproof sealant, focusing on all sides of the planks. This not only extends the life of your path but also enhances the natural beauty of the wood grain.
Regular maintenance will keep your path looking fresh and safe. Sweep away debris and apply a new coat of sealant annually to protect the wood from moisture and UV damage.
Integrating Mosaic Tiles Creatively
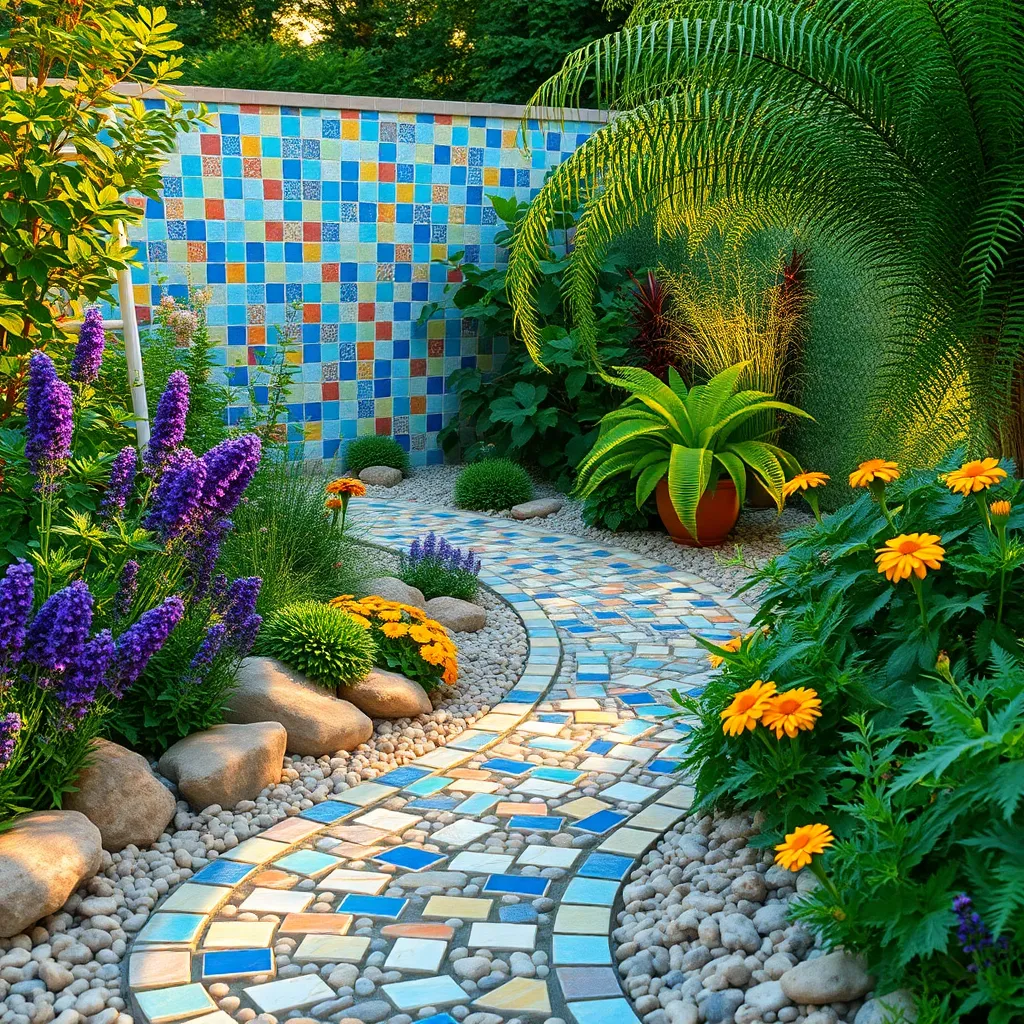
Enhancing your garden pathways with mosaic tiles can add a splash of color and personality without breaking the bank. To start, gather leftover tiles from previous projects or visit second-hand stores for discounts, ensuring you select durable, weather-resistant options.
Begin by planning your design on paper, considering the overall theme and style of your garden. Use this as an opportunity to express creativity—even simple geometric patterns can have a stunning effect.
Once your design is ready, lay out your tiles on the pathway to ensure they fit as planned. For beginners, it’s advisable to use a mix of broken tiles to achieve an organic look, while experienced gardeners might prefer more intricate designs.
Prepare the ground by leveling the soil and adding a layer of sand or gravel to ensure proper drainage. This prevents water from pooling and damaging your tiles over time.
Finally, set the tiles in place using a strong adhesive suitable for outdoor use, and apply grout to secure them. Regularly check for loose tiles and reapply grout as needed, guaranteeing your pathway remains beautiful and functional throughout the seasons.
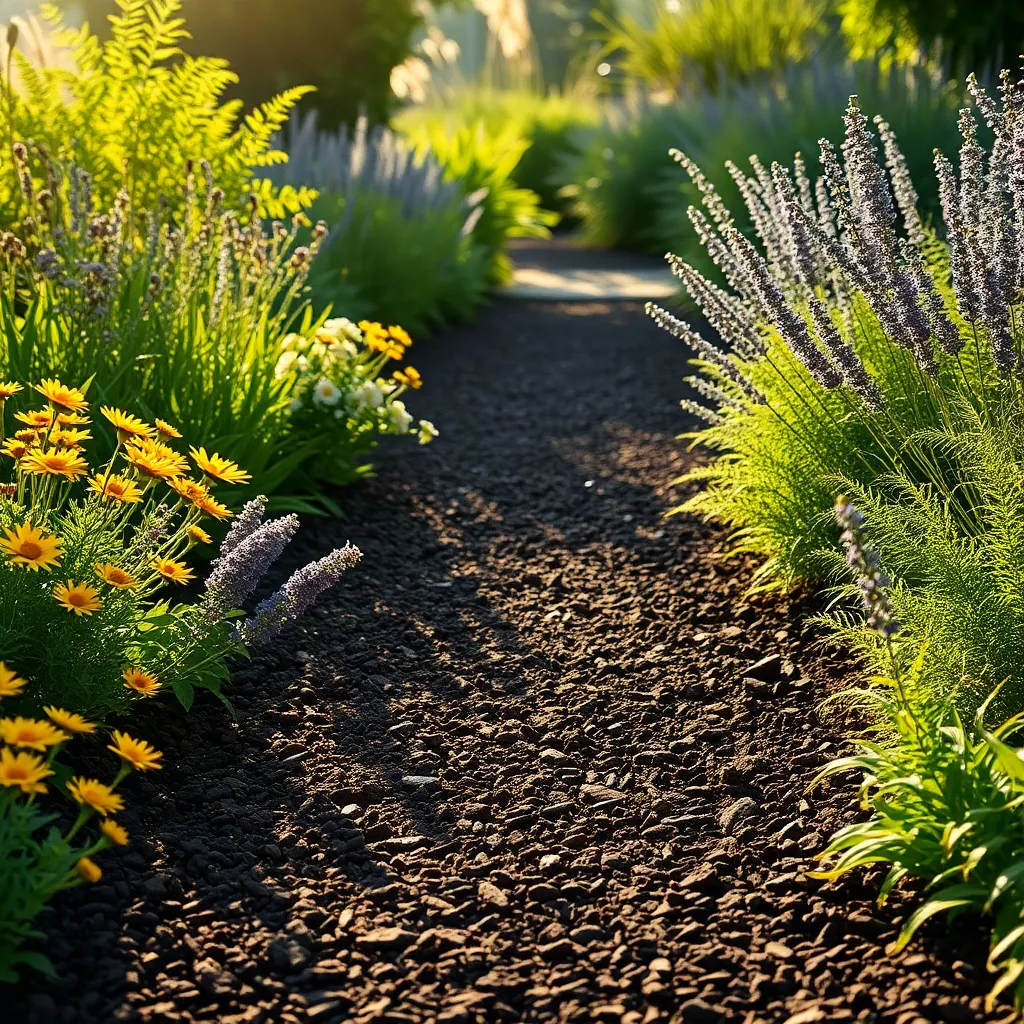
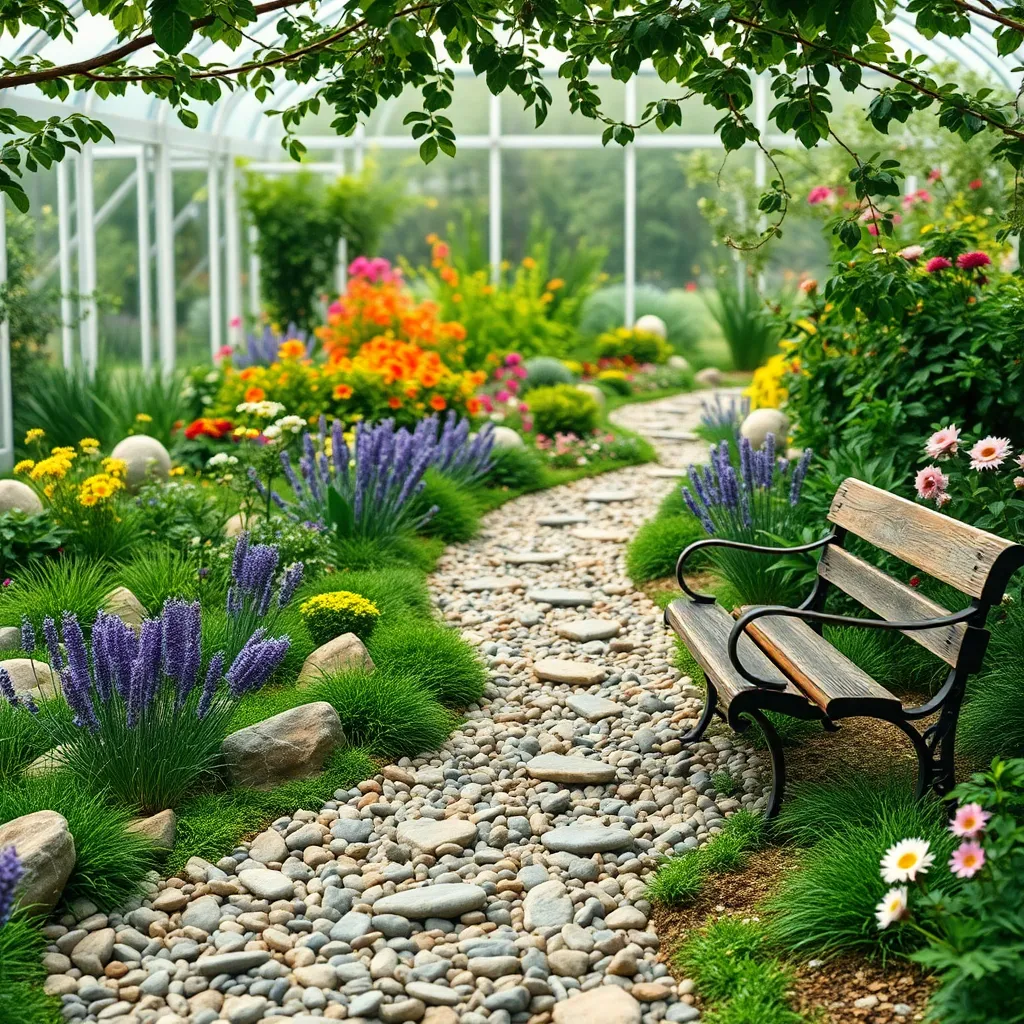
Forming Paths with Crushed Stone
Creating pathways with crushed stone offers a cost-effective and aesthetically pleasing solution for garden design. These paths provide excellent drainage, making them ideal for areas with heavy rainfall or poor soil conditions.
To start, choose the right type of crushed stone for your garden path, such as limestone or granite, which are durable and widely available. Consider the color and size of the stone to complement your garden’s overall design and ensure it fits well with your existing landscape.
Before laying the stone, prepare the area by removing grass and weeds from the intended path space. Next, level the ground and install a landscape fabric to prevent future weed growth, which will help maintain your path’s appearance over time.
Spread the crushed stone evenly over the prepared area, aiming for a depth of about 2-3 inches to provide stability and comfort. Use a rake to smooth the surface and a tamper to compact the stone, ensuring a sturdy and long-lasting pathway.
Opting for Simple Lawn Pathways
Creating a simple lawn pathway is an excellent way to add charm and functionality to your garden without breaking the bank. Start by mapping out the route where the path will go, ensuring it complements the natural flow of your garden.
Once you’ve outlined your path, use a garden hose or rope to define the edges. This helps to visualize the space and make any necessary adjustments before committing to digging.
Next, remove the grass along the designated path using a spade or a manual edger. For a neat finish, dig down about two to three inches to create a slight trench.
Fill the trench with a layer of fine gravel or sand to improve drainage and prevent weeds. Top this with stepping stones or flat rocks, spacing them evenly for a comfortable walk.
For advanced gardeners, consider planting low-maintenance ground covers like creeping thyme between the stones. These plants add color and fragrance while naturally suppressing weeds.
Water the path area lightly after installation to help settle the materials and encourage any plantings to establish. Regularly check for any stones that may shift and adjust them as needed to maintain a stable pathway.
Combining Pathways with Ground Covers
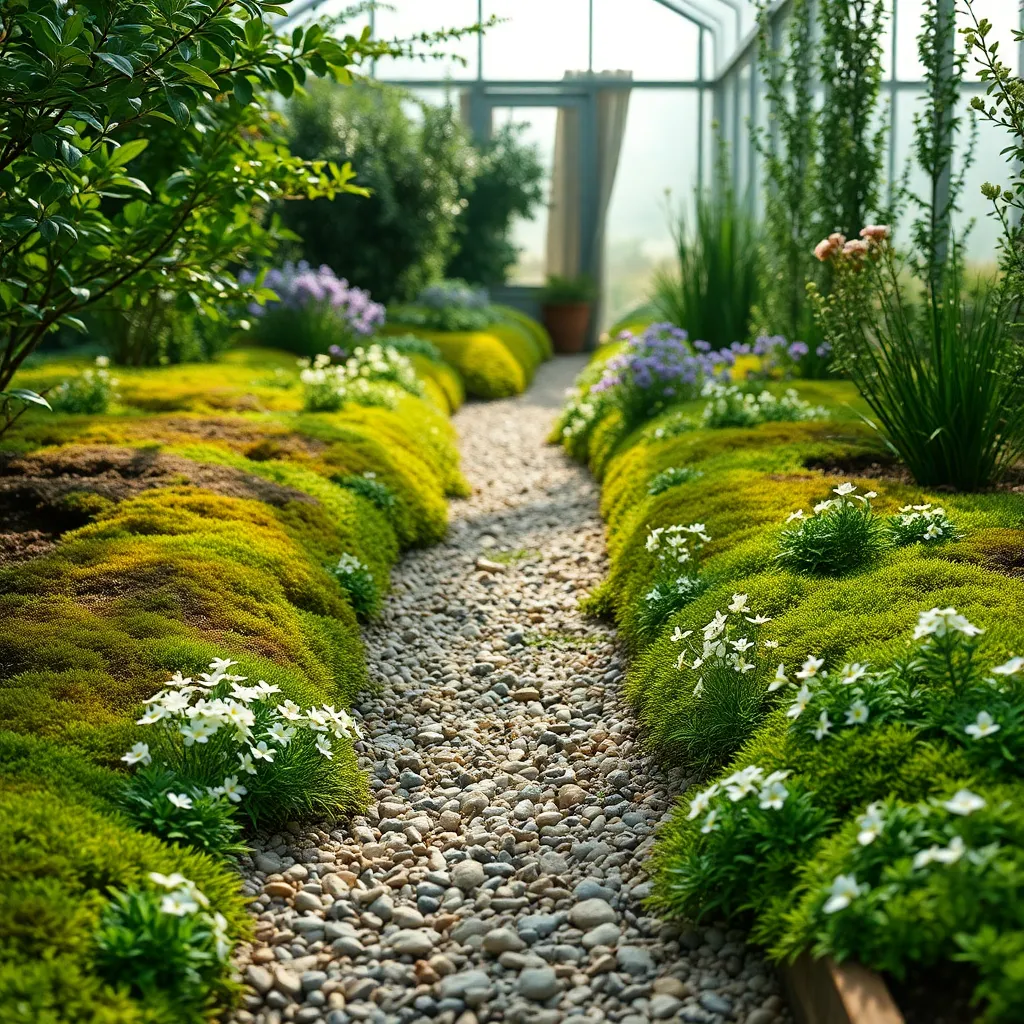
Combining pathways with ground covers can create a beautiful, cohesive look in your garden while also being practical. Ground covers such as creeping thyme, Irish moss, or sedum are ideal choices as they are low-growing and can withstand light foot traffic.
To successfully integrate ground covers with pathways, consider the sunlight and moisture levels of your garden area. Most ground covers thrive in well-drained soil, so ensure your pathway base allows for adequate drainage to prevent waterlogging.
Begin by preparing the soil around your pathway, ensuring it is loose and free of weeds. Plant your chosen ground cover at the edges of the pathway, allowing it to gradually spread and fill in the space over time.
Regular maintenance is key to keeping your ground covers healthy and lush. Water regularly until established, then reduce frequency as the plants mature and develop deeper root systems.
For more advanced gardeners, consider interspersing different ground covers for a mosaic effect that’s not only visually striking but also beneficial for biodiversity. Select complementary species that share similar growing requirements to ensure they thrive together without competing for resources.
Maintaining Your Budget Pathways
When maintaining your budget-friendly garden pathways, consider using locally available materials such as gravel, wood chips, or recycled bricks. These options are not only cost-effective but also environmentally friendly, helping you reduce your garden’s carbon footprint.
Regular upkeep is essential to keep pathways looking their best and functional. Rake gravel paths weekly to distribute stones evenly and ensure a smooth walking surface, while wood chips may need topping up annually to maintain their depth.
Staying ahead of weed growth is crucial for tidy pathways. Use a pre-emergent herbicide or lay down a weed barrier fabric beneath your pathway materials to prevent unwanted plants from spoiling the appearance.
For areas with heavy foot traffic, compact the pathway materials to provide a stable foundation. You can use a hand tamper or rent a powered compactor, which can be particularly beneficial for larger projects and ensure longevity.
Conclusion: Growing Success with These Plants
As we journey through the 14 budget-friendly garden pathway designs, we uncover not just physical pathways but metaphorical ones for nurturing relationships. Each design, from the rustic charm of stepping stones to the elegance of mosaic tiles, embodies key relationship concepts: creativity, commitment, communication, patience, flexibility, shared vision, appreciation of simplicity, adaptability, nurturing growth, embracing change, teamwork, attention to detail, celebrating uniqueness, and fostering a sense of belonging. These principles remind us that, like garden paths, relationships require care, intention, and inspiration to flourish beautifully.
Now, take an immediate step towards enriching your connections. Choose one design idea and collaborate with your partner or a loved one to bring it to life in your own space, using it as a catalyst for deeper connection and shared experiences.
Remember, nurturing relationships is an ongoing journey. Bookmark this article as a cherished resource to revisit these concepts and designs whenever you seek inspiration or need a gentle reminder of the beauty in cultivating strong, meaningful bonds.
Looking forward, let these pathways lead you to a more fulfilling, harmonious relationship landscape, where every step is a testament to love and growth. Your journey continues, and with each thoughtful step, success in love is well within your reach.