Imagine stepping into your backyard and being greeted by the delightful scent of fresh herbs, each one ready to elevate your culinary creations. Whether you’re a budding gardener or a seasoned green thumb, “14 Budget-Friendly Herb Garden Tips” offers a treasure trove of insights designed to help you cultivate a thriving herb garden without breaking the bank.
For those just beginning their horticultural journey, this guide serves as an encouraging companion, offering easy-to-follow tips that make success feel attainable. Experienced gardeners will also find new ideas to refresh their existing practices, discovering innovative ways to maximize their space and resources.
By exploring these cost-effective strategies, you’ll not only enhance your garden’s productivity but also enjoy the satisfaction of growing your own flavorful herbs. Get ready to dig in and watch your garden—and your confidence—flourish as you implement these practical and joyful techniques.
Start with Affordable Seed Packs
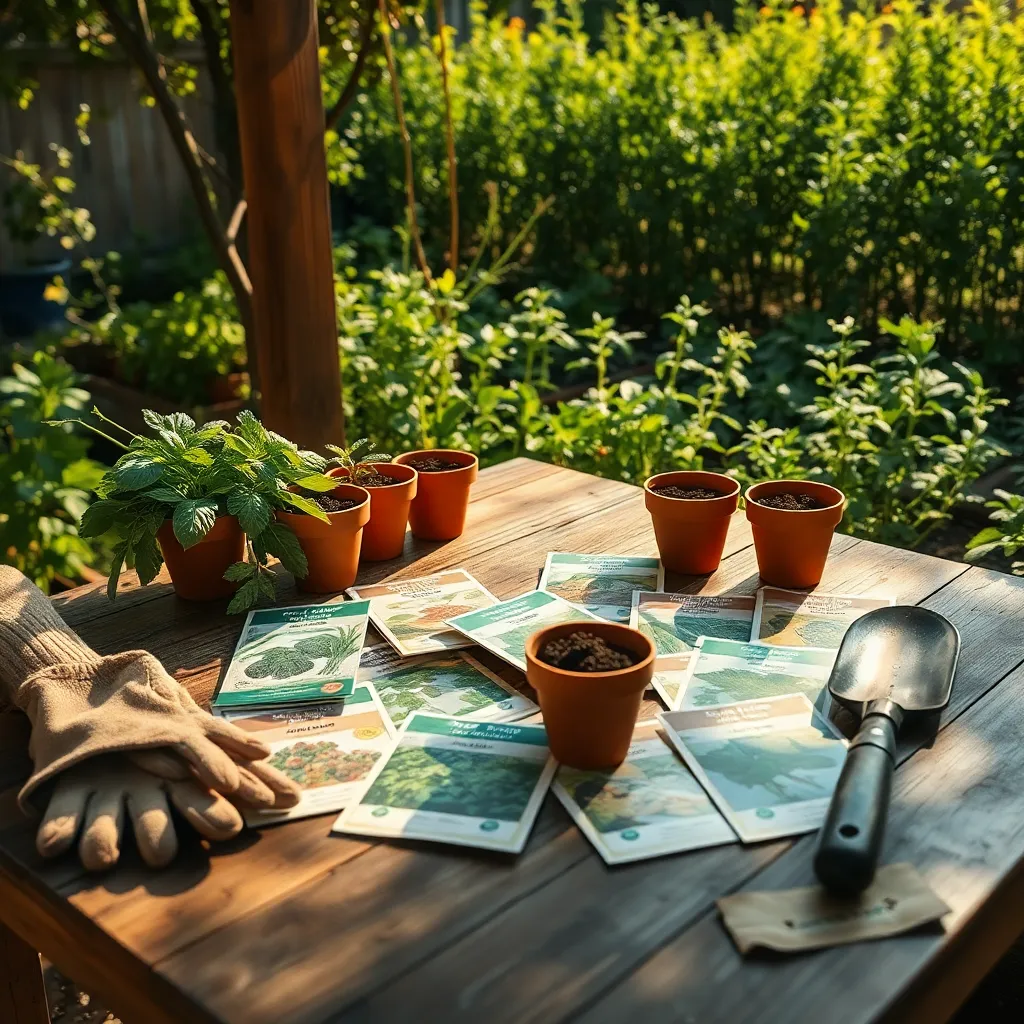
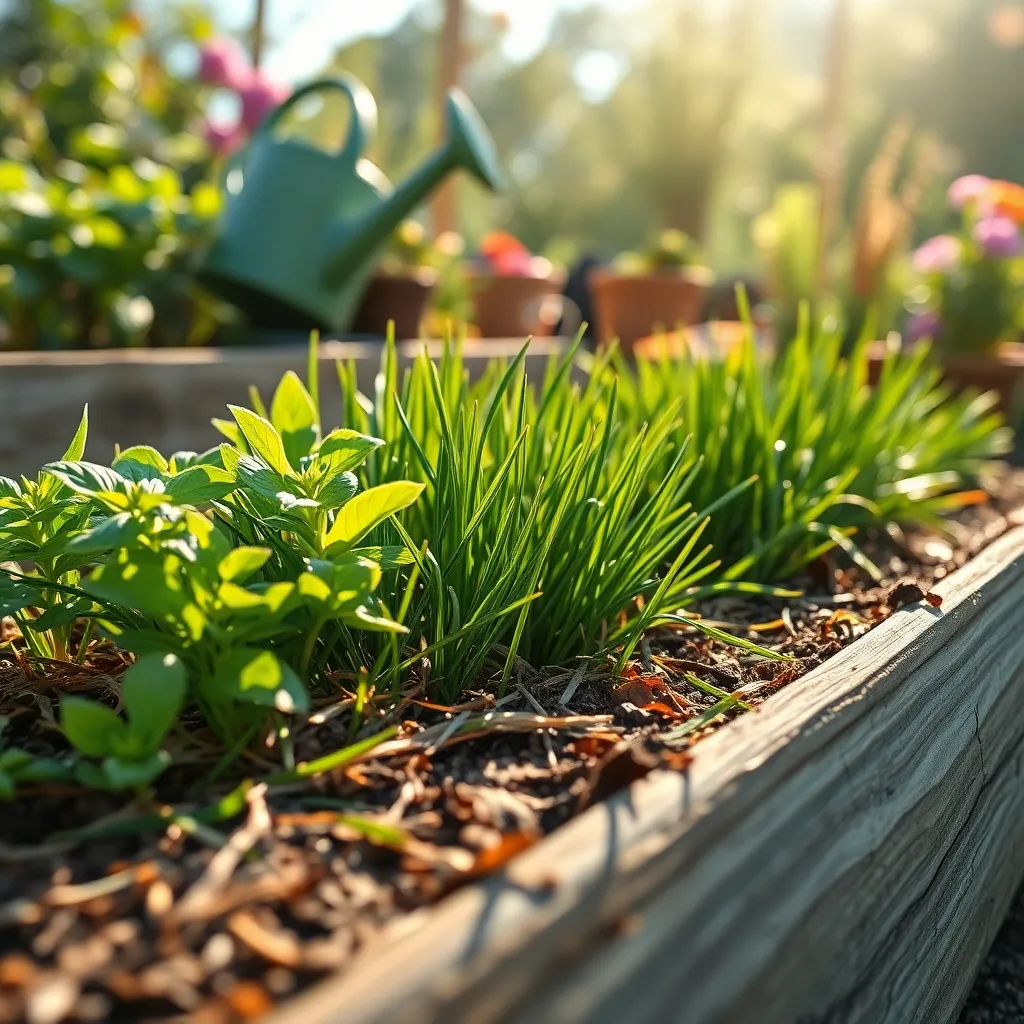
Affordable seed packs are a fantastic way to kickstart your herb garden without breaking the bank. Look for packs that offer a variety of herbs, such as basil, cilantro, and parsley, so you can enjoy different flavors and scents.
When selecting seed packs, check for ones labeled as organic or non-GMO to ensure healthier plants. These seeds often come with instructions, making the process easy for beginners and offering insights into the best planting techniques.
Plant your seeds in well-draining soil to prevent waterlogging, which can stunt growth or cause rot. For most herbs, a loamy soil mix with a bit of sand or perlite will work wonders in providing the necessary drainage.
Ensure your herbs receive at least six hours of sunlight daily, as most varieties thrive in bright conditions. If natural light is scarce, consider using grow lights to supplement their needs, especially during the shorter days of winter.
Utilize Recycled Containers for Pots
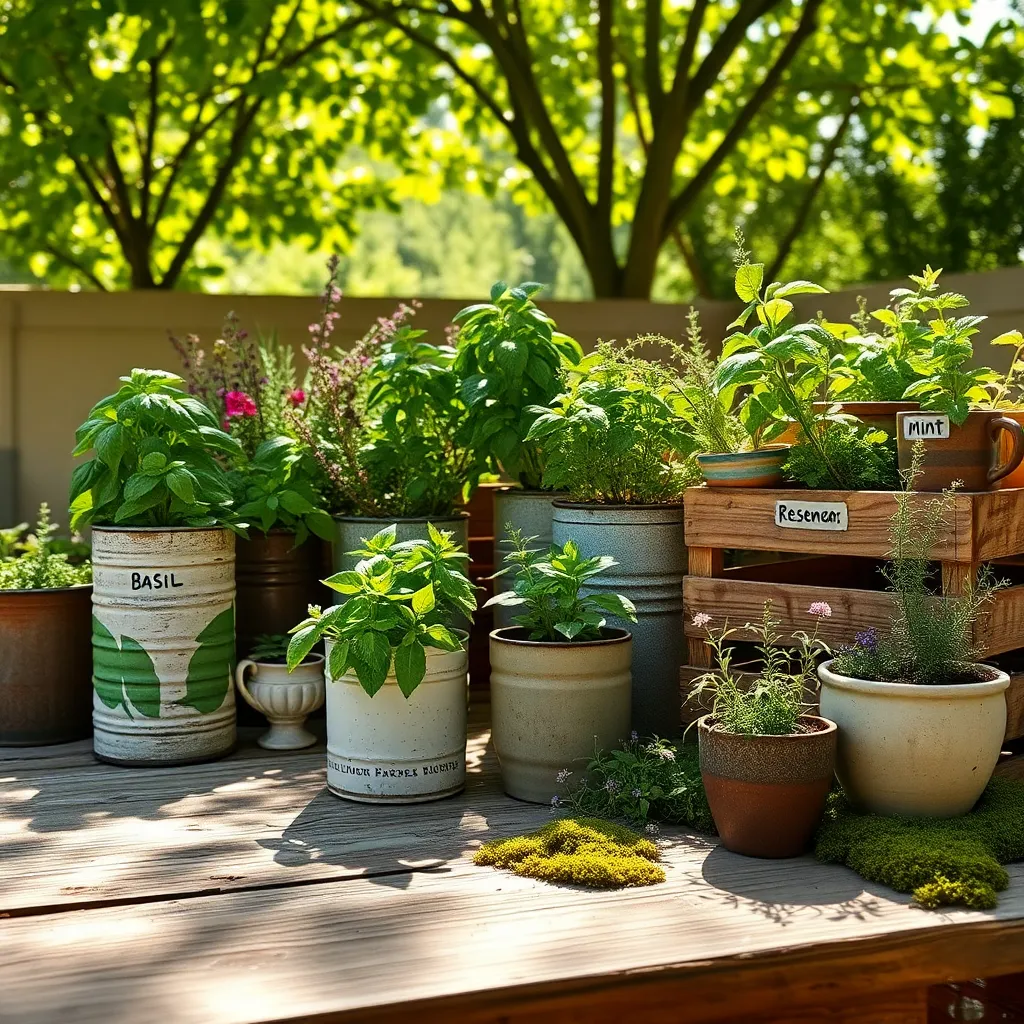
Recycled containers can be a creative and eco-friendly option for growing herbs. Look around your home for old jars, cans, or even plastic bottles to repurpose as pots; just ensure they have drainage holes to prevent root rot.
Using varied container sizes allows you to grow a wide range of herbs, from small chives to larger rosemary plants. Proper drainage is crucial—consider placing pebbles at the bottom of the containers before adding soil to keep herbs healthy.
Choose a lightweight potting mix that retains moisture but drains well, such as a mix containing perlite or vermiculite. Herbs typically prefer a slightly dry environment, so water only when the top inch of soil feels dry to the touch.
As herbs thrive with ample sunlight, place your recycled containers in areas where they receive at least six hours of sun daily. Rotate the containers regularly to ensure even growth and prevent the herbs from leaning towards the light source.
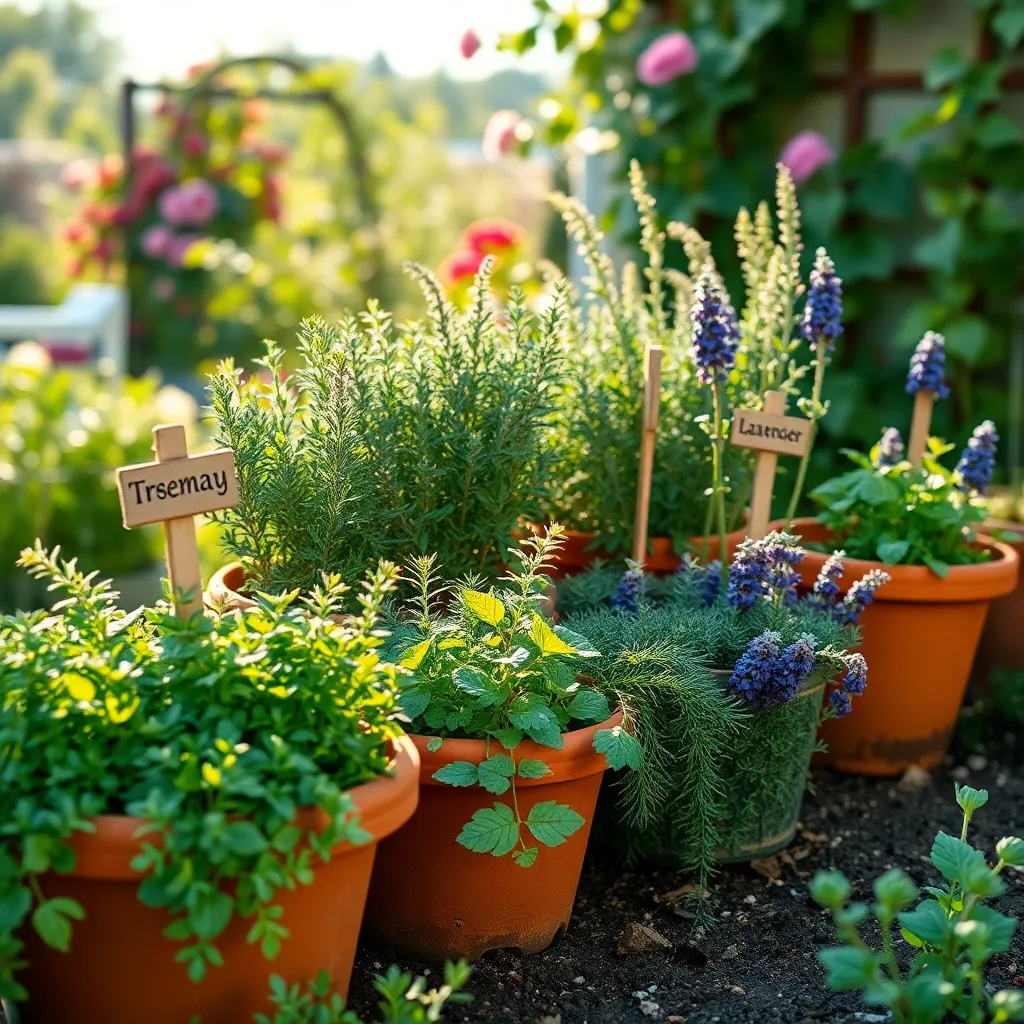
Create DIY Herb Markers
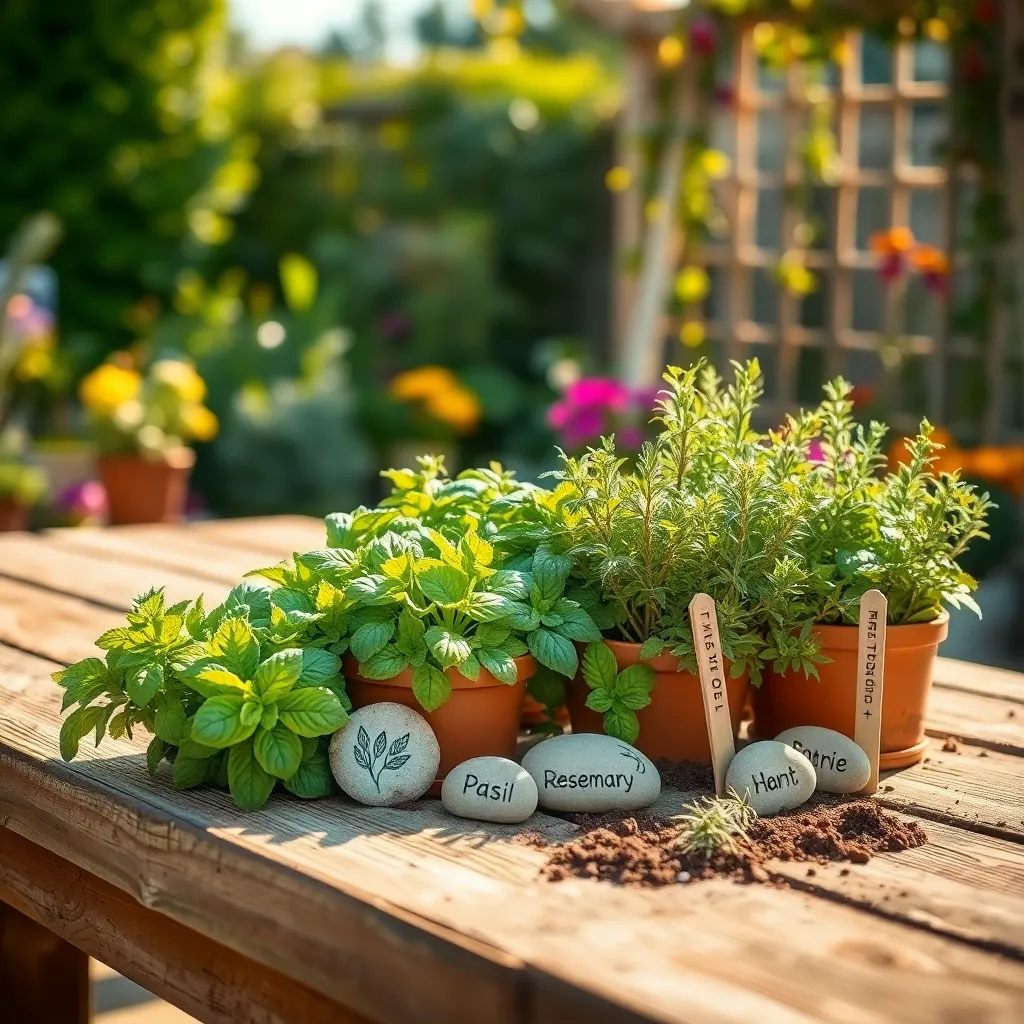
Creating DIY herb markers is a fun and practical way to keep your garden organized. Start by gathering materials you likely have at home, such as popsicle sticks, flat stones, or wine corks.
On each marker, write the name of the herb using a waterproof marker to ensure the label lasts through the seasons. Get creative by painting or decorating the markers to add a personal touch to your garden.
For added durability, consider sealing your markers with a clear weatherproof sealant. This simple step helps protect against rain and sun exposure, making your markers last longer.
Advanced gardeners might want to include additional information on the markers, such as ideal sunlight conditions or watering frequency. For example, indicate that basil needs full sun and regular watering, while rosemary prefers less frequent watering and well-drained soil.
Harvest Regularly to Promote Growth
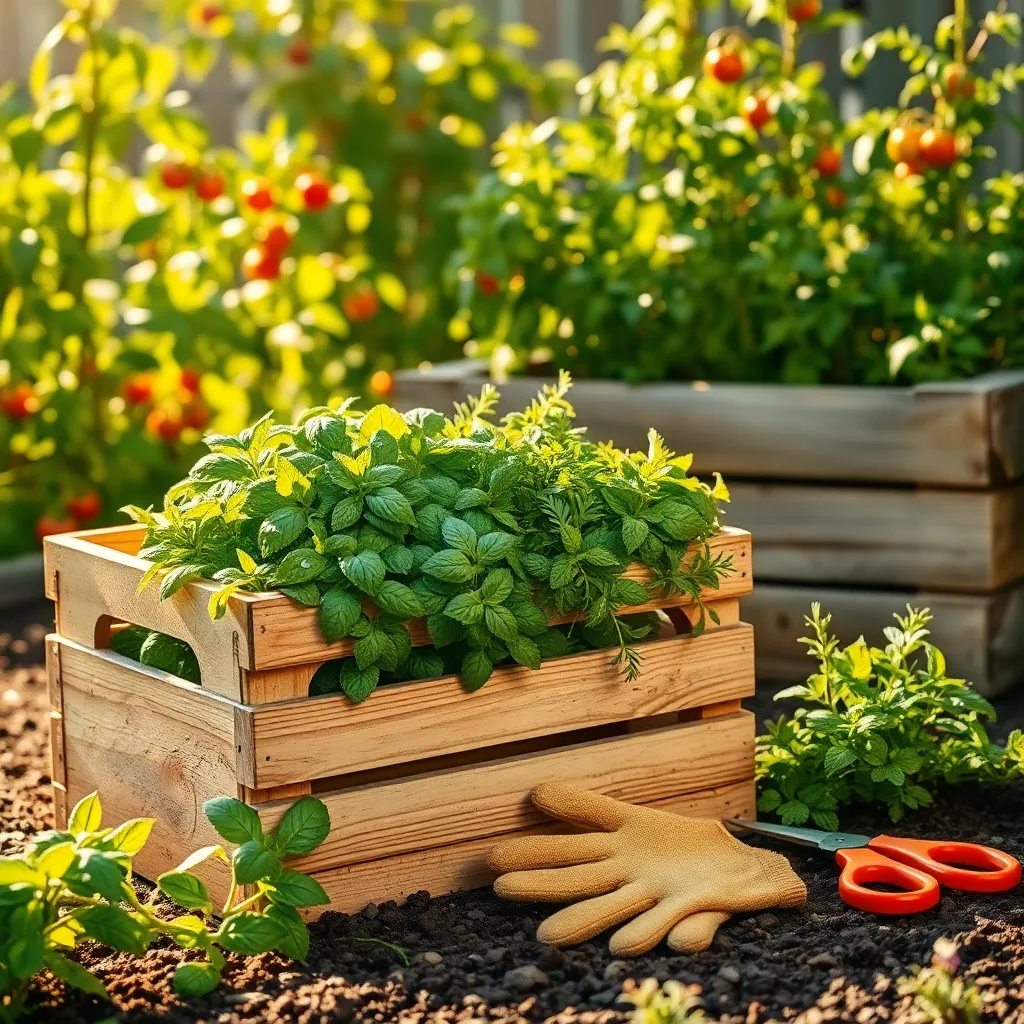
Harvesting your herbs regularly not only provides fresh ingredients for your kitchen but also encourages the plants to produce more foliage. By cutting back the herbs, you signal the plant to focus on new growth, ensuring a continuous supply throughout the growing season.
For beginners, it’s important to know that herbs like basil, mint, and cilantro thrive when pruned often. Snip the top two sets of leaves from these plants once they’ve grown to about six inches tall, which will help them become bushier and more robust.
Advanced gardeners can experiment with different harvesting techniques to optimize growth. For instance, when harvesting thyme or rosemary, be sure to cut just above a leaf node to promote lateral growth, leading to a fuller plant.
Keep an eye on the weather, especially in regions where temperatures soar. During hot spells, herbs might need more frequent harvesting to prevent them from bolting, which is when they prematurely produce flowers and seeds, often leading to a bitter taste.
Soil health is crucial for a thriving herb garden. Consider adding organic compost to your soil to provide essential nutrients that support vigorous regrowth after harvesting. This not only benefits the plants but also enhances the overall quality of your herbs.
Use Kitchen Scraps for Compost
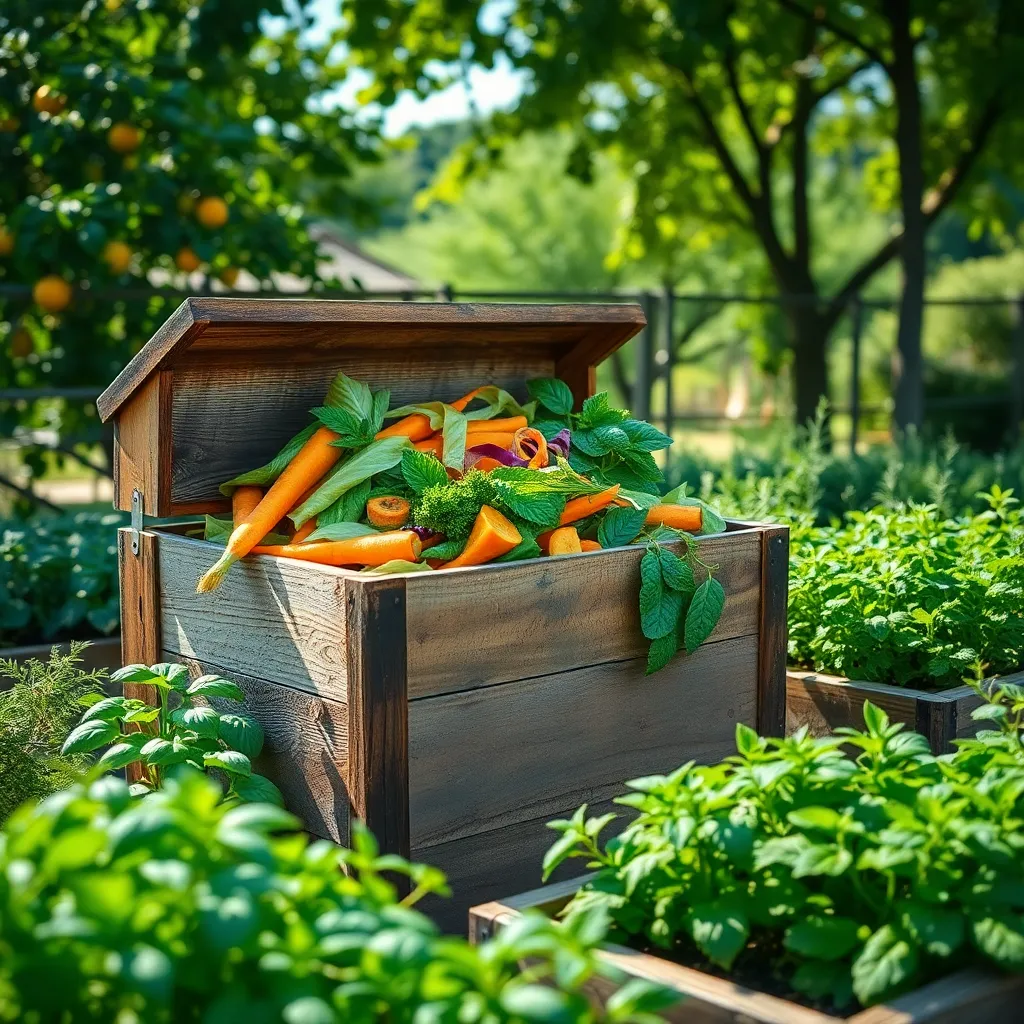
Consider using kitchen scraps as an effective way to enrich your compost pile. Not only does this reduce waste, but it also provides a wealth of nutrients that can enhance soil quality, promoting healthier herb growth.
To start, collect scraps such as fruit peels, vegetable trimmings, and coffee grounds. Avoid adding meat, dairy, or oily foods as they can attract pests and create odors.
Mixing your scraps with garden waste like dried leaves and grass clippings helps balance the nitrogen and carbon content in your compost. Turn your compost pile regularly to aerate it, speeding up the decomposition process and preventing unpleasant smells.
For beginners, creating a small compost bin in your kitchen can be a manageable first step. More experienced gardeners might want to experiment with vermicomposting, using worms to break down organic matter even faster.
Install a Simple Drip Irrigation
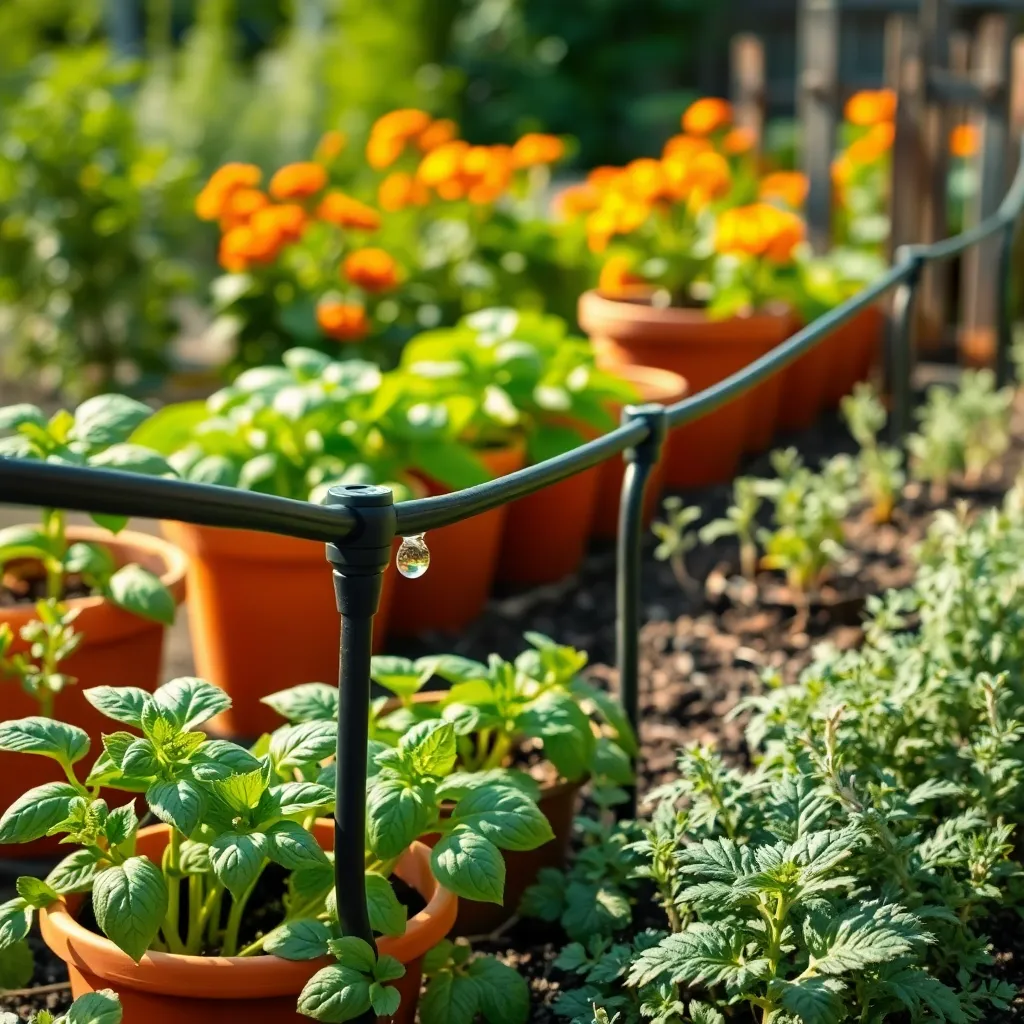
Installing a simple drip irrigation system can significantly enhance the efficiency of watering your herb garden. This method ensures that water is delivered directly to the roots, minimizing evaporation and water waste.
To get started, you will need a basic drip irrigation kit, which typically includes tubing, emitters, and connectors. These kits are affordable and can be easily set up with just a few tools.
Begin by planning your layout, considering the placement of your herbs and the space available. Lay the tubing along your garden bed, ensuring it reaches each plant’s base for optimal watering.
Position emitters near the root zones of your herbs for precise water delivery. For herbs like basil and rosemary, maintaining consistent moisture is crucial for healthy growth, making drip irrigation an excellent choice.
Regularly check your system for clogs or leaks to ensure it’s functioning effectively. Adjust the flow rate based on the season, increasing it during hot, dry periods and reducing it when the weather is cooler or wetter.
For more advanced gardeners, consider adding a timer to automate your watering schedule. This addition can help maintain a consistent routine, freeing you to focus on other garden tasks.
Choose Low-Cost, High-Yield Herbs
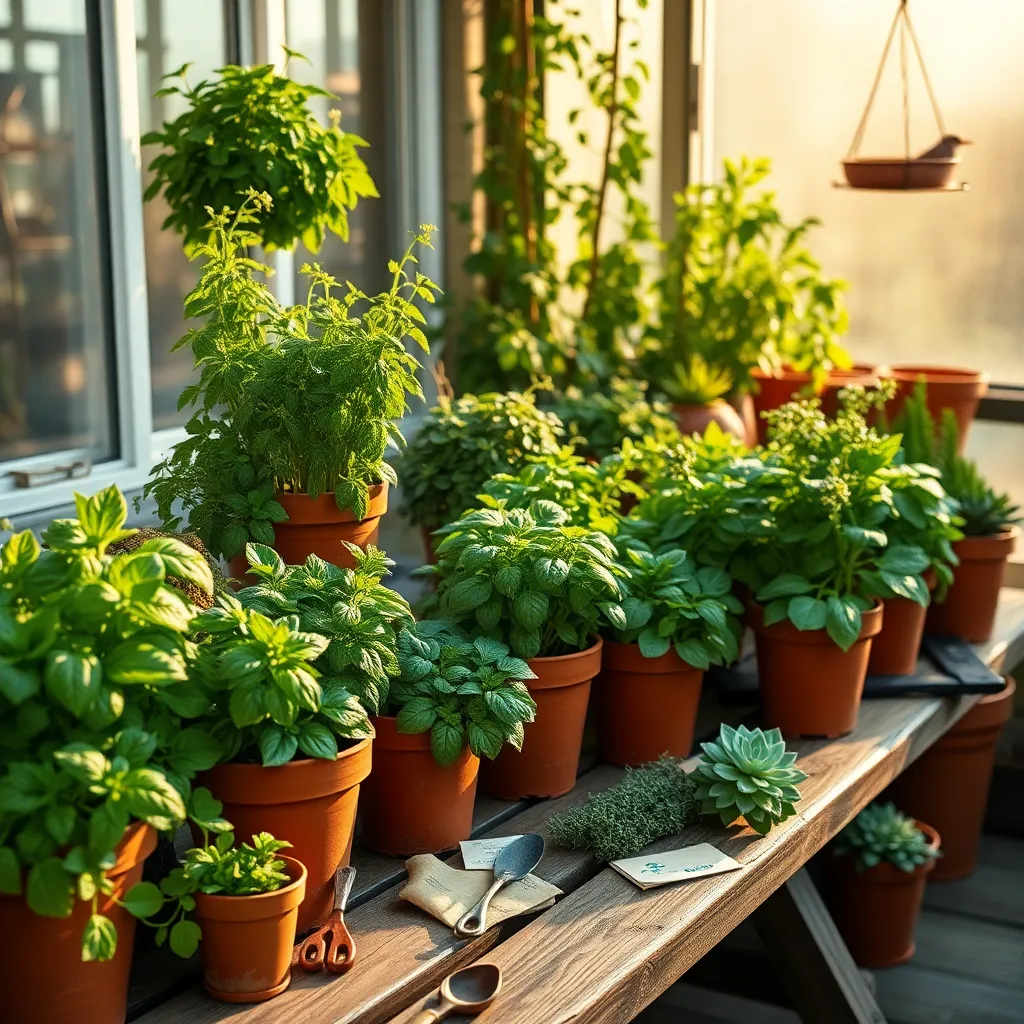
Choosing low-cost, high-yield herbs is a smart way to maximize the benefits of your garden without breaking the bank. Basil, parsley, and chives are excellent choices that thrive with minimal investment and effort.
Basil is a sun-loving plant that flourishes in well-drained soil enriched with organic matter. Water it regularly, ensuring the soil remains moist but not waterlogged, and pinch off the tops to encourage bushier growth.
Parsley grows well in sunny or partially shaded areas, and it prefers nutrient-rich, slightly moist soil. For a continuous harvest, snip the outer stems frequently, allowing the inner leaves to mature for future use.
Chives, another low-maintenance herb, can tolerate poor soil conditions but thrive in well-draining, fertile soil. Divide the clumps every few years to maintain vigor and increase your yield.
To maximize your garden’s output, consider growing these herbs from seeds, as they are more economical than purchasing established plants. Starting with seeds allows you to grow a larger quantity of herbs for a fraction of the cost.
Repurpose Pallets for Vertical Gardens
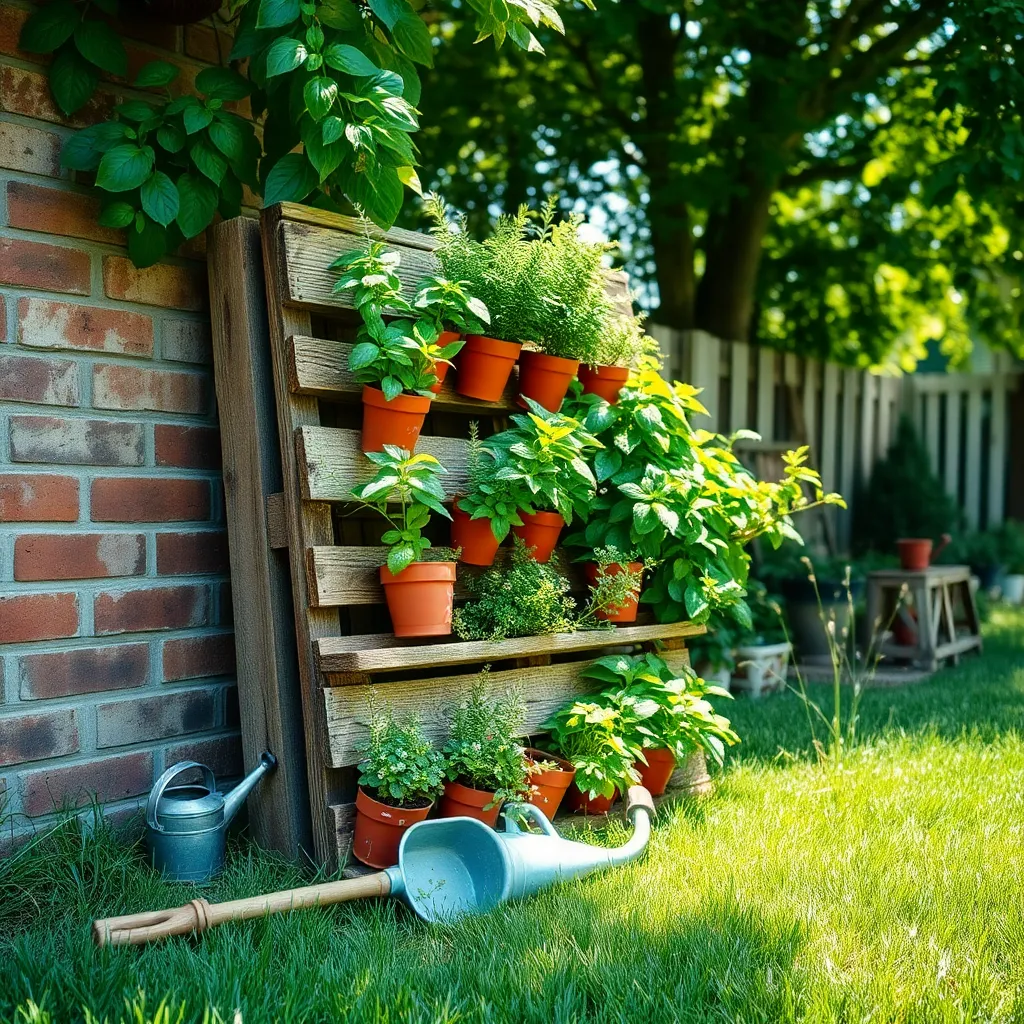
Repurposing pallets for vertical gardens is a creative and cost-effective way to expand your herb garden, especially if space is limited. Start by sourcing a sturdy pallet from local stores or online marketplaces, ensuring it’s free from harmful chemicals or treatments.
Once you have your pallet, sand it down to remove splinters and check for nails that might damage your plants. Next, line the back and sides with landscape fabric to hold the soil in place, stapling it securely to prevent leaks.
Fill the pallet with a high-quality potting mix that retains moisture but also drains well, such as a mix containing peat moss or coco coir. Select herbs that thrive in vertical gardens like thyme, oregano, and mint, which can cascade beautifully over the edges.
Water your vertical garden thoroughly after planting, ensuring the soil is evenly moist without being waterlogged. Over time, you may need to adjust the watering frequency based on the sun exposure and weather conditions, aiming to keep the soil slightly damp.
Incorporate Companion Planting Techniques
Companion planting is a smart way to enhance the growth of your herbs while maintaining a healthy garden ecosystem. By placing plants with complementary characteristics together, you can improve pest control, pollination, and ultimately yield. For example, basil can be great friends with tomatoes as it repels flies and mosquitoes while enhancing tomato growth. Similarly, planting chives near carrots can help deter carrot flies and improve flavor.
Consider the specific needs of herbs when choosing companions to ensure they thrive together. Herbs like rosemary prefer dry, well-drained soil and can be paired with sage, which shares similar growing conditions. On the other hand, herbs like parsley and cilantro enjoy more moisture and can support each other in a shared bed. By understanding these specific needs, you can create a harmonious and productive garden.
To get started with companion planting, create a simple plan by listing your herbs and their ideal partners. Group plants with similar water and sunlight requirements to make care easier and more efficient. If you’re new to companion planting, begin with a few simple combinations and observe how they affect your garden’s health. Over time, you’ll learn which pairings work best for your specific conditions and preferences.
Advanced gardeners can experiment with more intricate combinations, such as using marigolds to repel nematodes that affect herbs like dill. Additionally, try intercropping fast-growing herbs with slower ones to maximize space and minimize weeds. Keep detailed notes on your successes and challenges, which will be invaluable for future planting seasons. By applying these techniques, you can create a thriving herb garden that is both productive and budget-friendly.
Mulch with Grass Clippings
Grass clippings are an excellent, cost-effective mulch that can benefit your herb garden in multiple ways. They help retain moisture in the soil, reducing the need for frequent watering, which is especially beneficial during hot summer months.
For beginners, it’s important to use only untreated grass clippings to avoid introducing chemicals to your garden. Spread a thin layer, about 1 to 2 inches thick, to ensure air circulation and prevent mold growth.
Incorporating grass clippings as mulch can also suppress weeds, providing a low-maintenance way to keep your herb garden tidy. As the clippings decompose, they enrich the soil with nutrients, particularly nitrogen, which is vital for the growth of leafy herbs like basil and parsley.
Advanced gardeners might consider alternating layers of grass clippings with other organic materials like shredded leaves for optimal soil health. This layering technique not only enhances nutrient diversity but also promotes beneficial microbial activity in the soil.
Make Homemade Herb Fertilizer
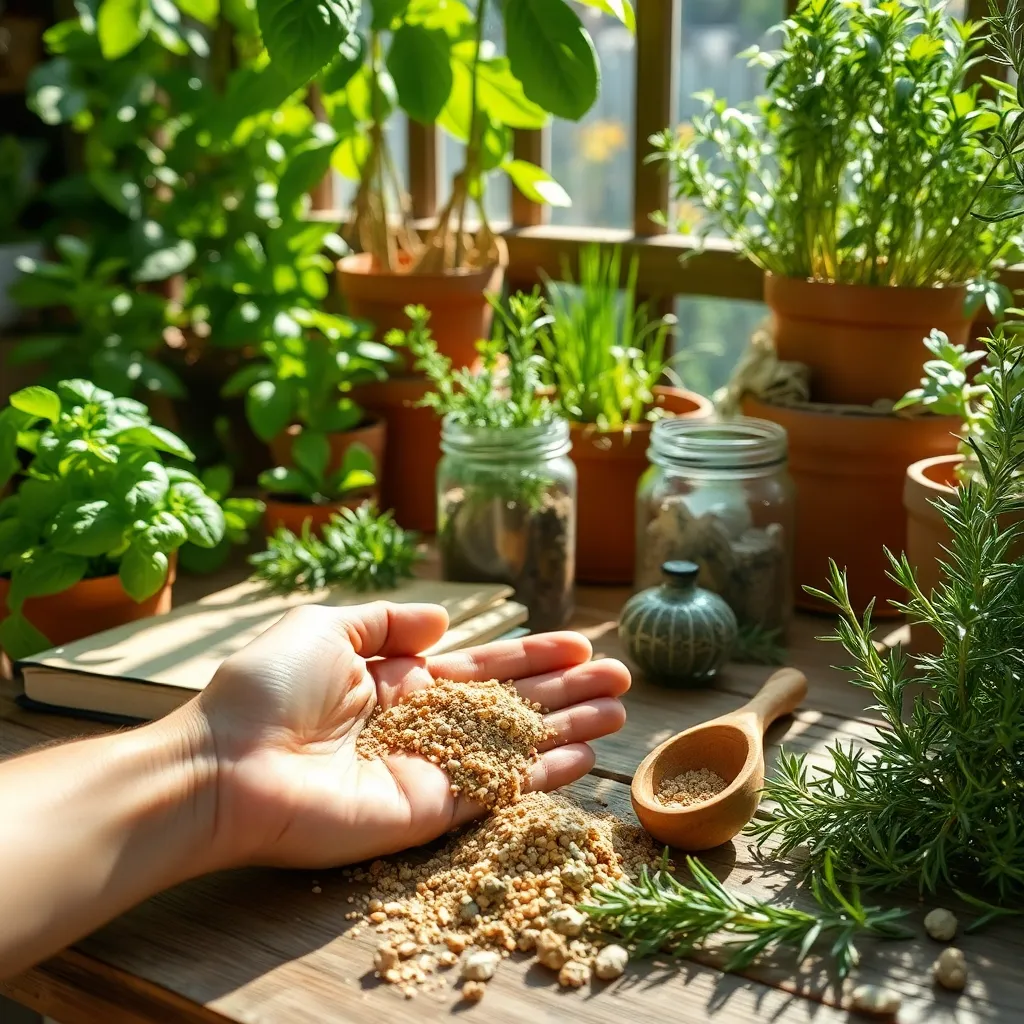
Crafting your own herb fertilizer at home is an environmentally friendly way to nourish your plants while saving money. Begin by collecting kitchen scraps such as vegetable peels, coffee grounds, and eggshells, which are excellent sources of nutrients for your garden.
Once you have gathered these scraps, create a compost pile in a bin or a designated area in your garden. Turn the compost regularly to aerate it and speed up the decomposition process, which typically takes a few months.
After the compost has matured, mix it into the soil around your herb plants to enrich the soil structure and provide essential nutrients. For a simple liquid fertilizer, consider making a compost tea by steeping mature compost in water for a few days and using the strained liquid to water your herbs.
For those interested in a more advanced approach, try vermicomposting, which uses worms to break down organic matter quickly. Worm castings, a byproduct of this process, are rich in nutrients and can be worked directly into the soil or made into a tea for foliar feeding.
Swap Herbs with Fellow Gardeners
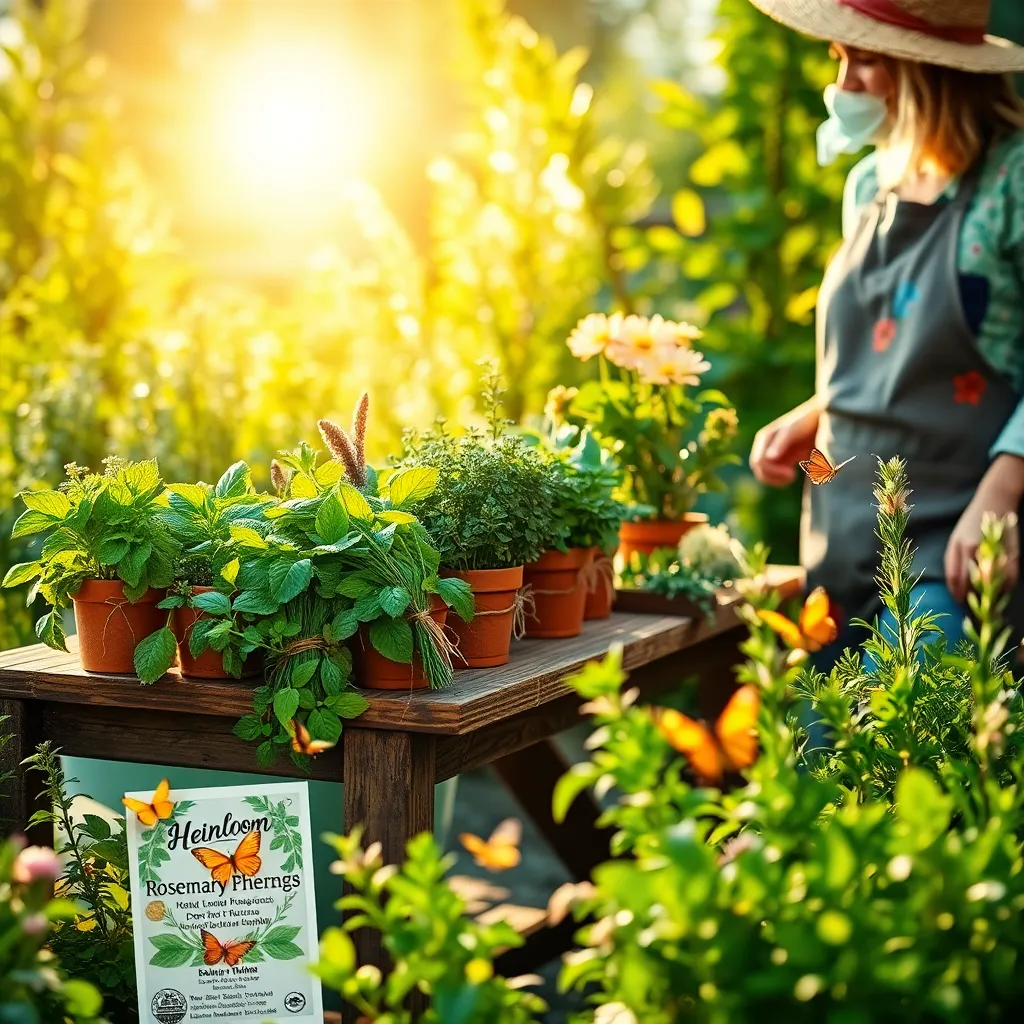
Trading herbs with fellow gardeners is a great way to diversify your garden without spending a dime. Start by connecting with local gardening clubs or online communities where you can arrange swaps and share your bounty of herbs with others.
When swapping, it’s important to ensure your herbs are healthy and pest-free. Trim any dead or diseased leaves, and wash the roots gently to avoid transferring unwanted guests to your friend’s garden.
For beginners, focusing on easy-to-grow herbs like basil, mint, or parsley can be a good starting point. These herbs are resilient and can thrive in a variety of conditions, making them ideal for swapping and sharing gardening tips.
More experienced gardeners might want to swap rarer herbs like lemon balm or tarragon, which require specific growing conditions. Discuss growing techniques, such as preferred soil types or watering schedules, to ensure these herbs flourish in their new homes.
Craft a Simple Cold Frame
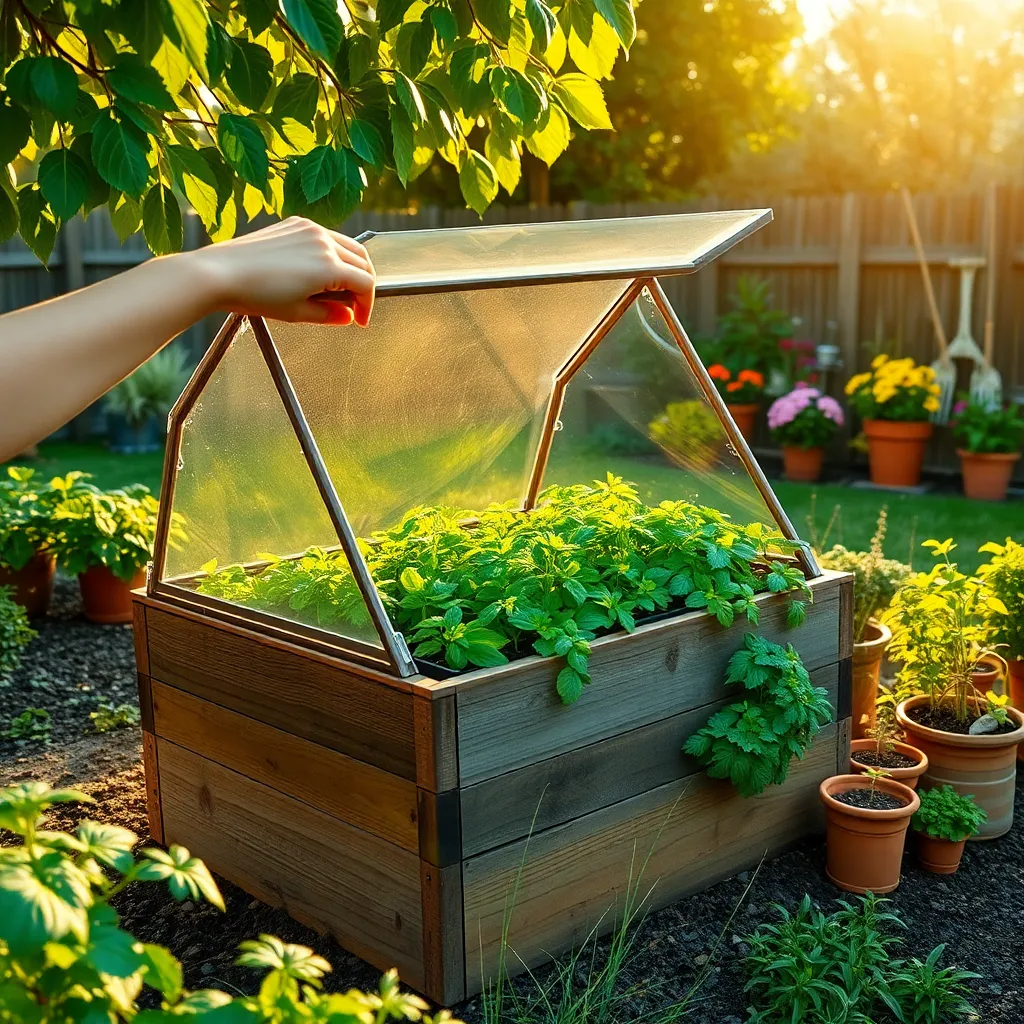
Creating a cold frame is a fantastic way to extend your herb gardening season without breaking the bank. A simple cold frame can be made using old windows and some scrap wood, providing a protective microclimate for your herbs.
Begin by selecting a sunny spot in your garden where the cold frame will receive ample sunlight. Make sure the area is level to ensure even heating, which is crucial for keeping your herbs warm during cooler months.
To construct the cold frame, use the windows as a lid and hinge them to a wooden frame that sits on the ground. This design allows easy access for watering and harvesting, while the angled lid optimizes sunlight exposure and heat retention.
Inside the cold frame, consider using a soil mix that drains well but retains enough moisture to support herb growth, such as a blend of compost and sand. Herbs like parsley, chives, and cilantro thrive in these conditions and can be sown directly into the soil.
For optimal results, monitor the temperature inside the cold frame and vent it on warmer days to prevent overheating. This simple yet effective method will help you maximize your herb harvest, even when the weather isn’t cooperating.
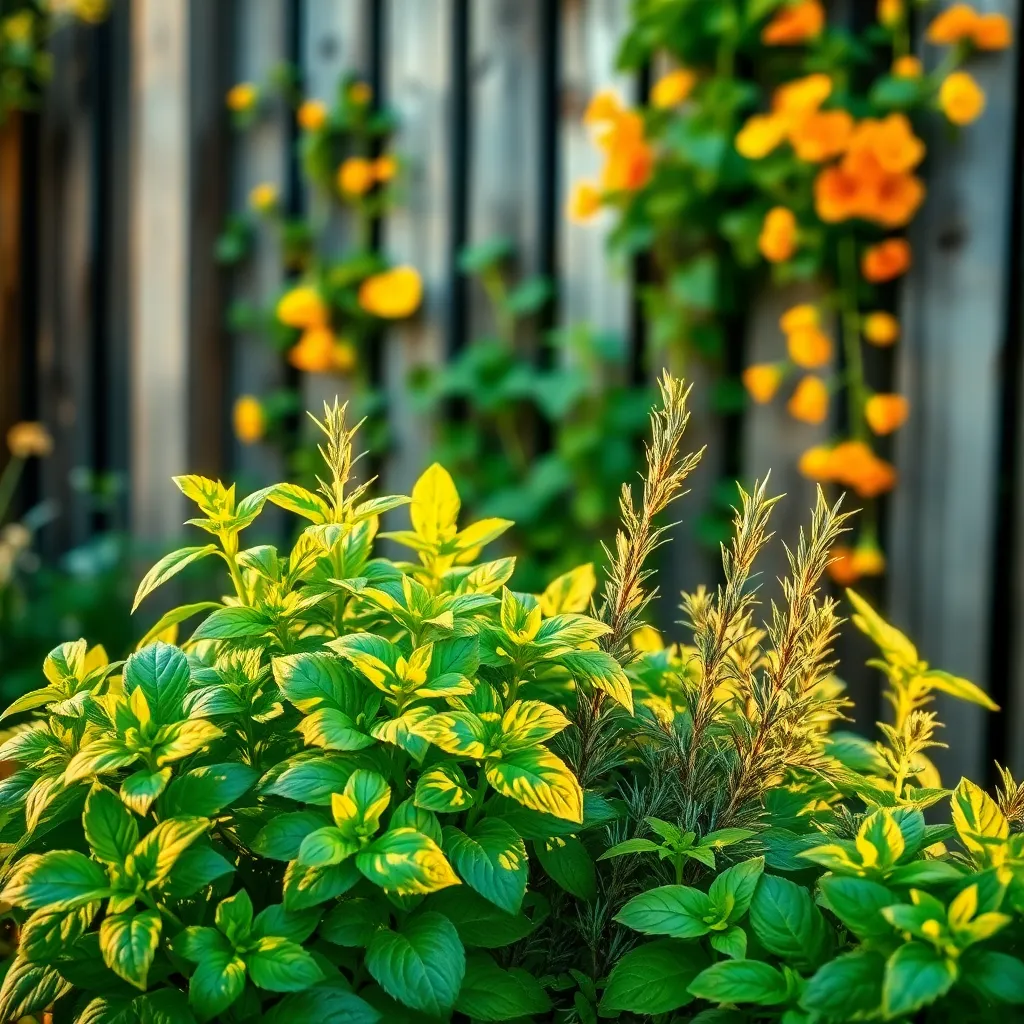
Opt for Perennial Herbs for Longevity
When planning a herb garden, consider opting for perennial herbs to enjoy a lasting yield. Perennial herbs come back year after year, saving you the hassle and cost of replanting annually.
Start with easy-to-grow options such as rosemary, thyme, and oregano, which thrive in well-drained soil and plenty of sunlight. For best results, ensure your herbs receive at least six hours of direct sunlight daily and water them deeply but infrequently, allowing the soil to dry out between watering.
To boost growth, periodically amend the soil with organic matter like compost or well-rotted manure. This not only enriches the soil but also enhances its drainage and structure, promoting healthier plants.
Experienced gardeners can experiment with layering techniques and companion planting to maximize space and nutrient availability. For instance, plant taller herbs like lavender at the back of your garden bed to provide some shade for more sensitive herbs like chives.
Conclusion: Growing Success with These Plants
As you embark on the journey to cultivate a thriving herb garden without breaking the bank, remember the 14 key tips we explored: selecting the right herbs, using recycled containers, making your own compost, strategically placing plants for optimal sunlight, rotating crops, companion planting, utilizing kitchen scraps, harvesting smartly, re-growing scraps, participating in seed swaps, embracing vertical gardening, buying in bulk, enlisting community support, and practicing patience. Each step not only nurtures your garden but also mirrors the nurturing needed in relationships.
To take immediate action, choose one tip that resonates most with you and implement it today. Whether it’s starting a compost bin or organizing a seed swap with friends, small steps lead to big growth.
To ensure these insights are at your fingertips, save or bookmark this article. It’s a resource you’ll want to revisit as your garden—and relationships—flourish.
Remember, just as a garden thrives with attention and care, so do relationships. With patience and effort, you’re laying down the roots for lasting success. Stay committed to growth, and watch as both your herbs and relationships blossom beautifully.