Indoor gardening is a delightful pursuit that brings the serenity of nature right into the heart of your home. Whether you’re a gardening novice just dipping your toes into the soil or a seasoned plant whisperer looking to expand your indoor jungle, creating a thriving indoor garden doesn’t have to break the bank. In fact, with a bit of creativity and resourcefulness, you can cultivate a lush, green oasis without straining your budget. This article will guide you through 14 cost-effective indoor gardening projects that promise to invigorate your living space and satisfy your green thumb.
For beginners, these projects offer a gentle introduction to the joys of indoor gardening, presenting simple, manageable steps to nurture your first few plants. Experienced gardeners, on the other hand, will find innovative ideas to elevate their indoor plant game, discovering new ways to repurpose household items and maximize space efficiency. By the end of this article, you’ll be equipped with practical tips and inspiring projects that transform everyday spaces into vibrant, living art. So, let’s embark on this green journey together, turning your home into a sanctuary of nature’s beauty with minimal expense and maximum creativity.
Choosing Cost-Effective Plant Varieties
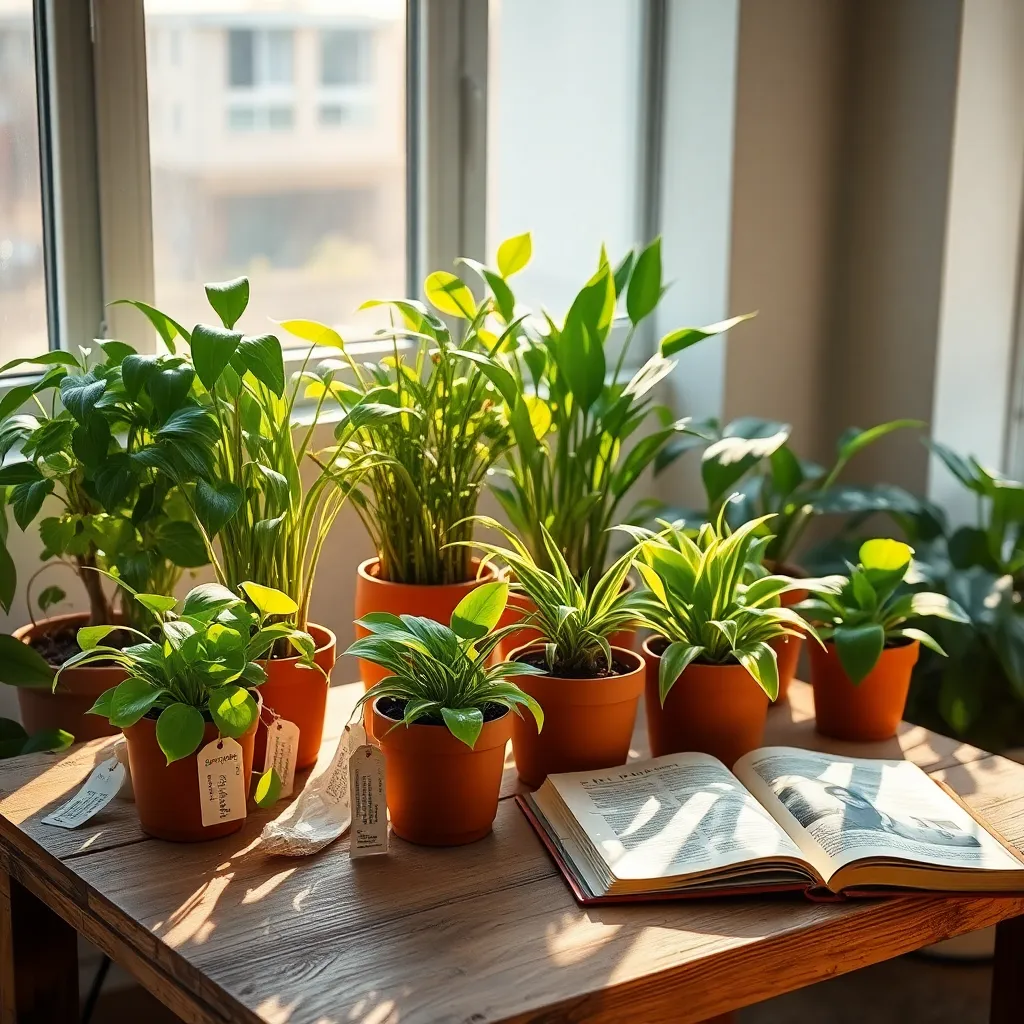
When selecting plant varieties for budget-friendly indoor gardening, consider starting with easy-to-grow species like pothos, spider plants, or succulents. These plants are not only affordable but also require minimal care, making them perfect for beginners and busy gardeners alike.
Opt for plants that thrive in typical indoor conditions, such as low to medium light and average humidity. Choosing resilient varieties like ZZ plants or peace lilies will save you money on special equipment and reduce the need for frequent replacements.
Invest in multi-purpose soil that can support a wide range of plant types. A good quality potting mix with added perlite or vermiculite ensures adequate drainage and aeration, crucial for indoor plants to thrive.
For those ready to take on a bit more challenge, consider propagating plants from cuttings to expand your collection without spending extra money. Many plants, such as jade and pothos, root easily in water, allowing you to multiply your greenery with just a glass of water and some patience.
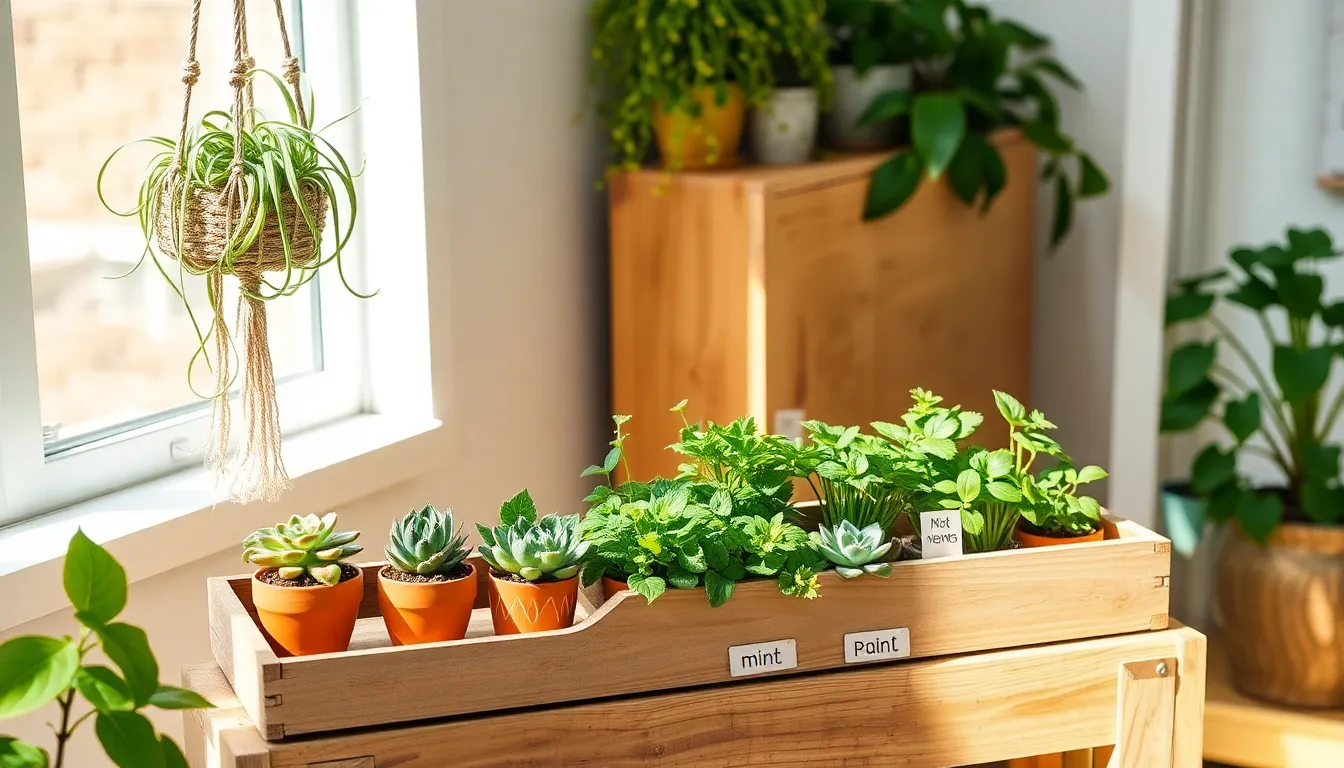
Repurposing Household Items as Planters
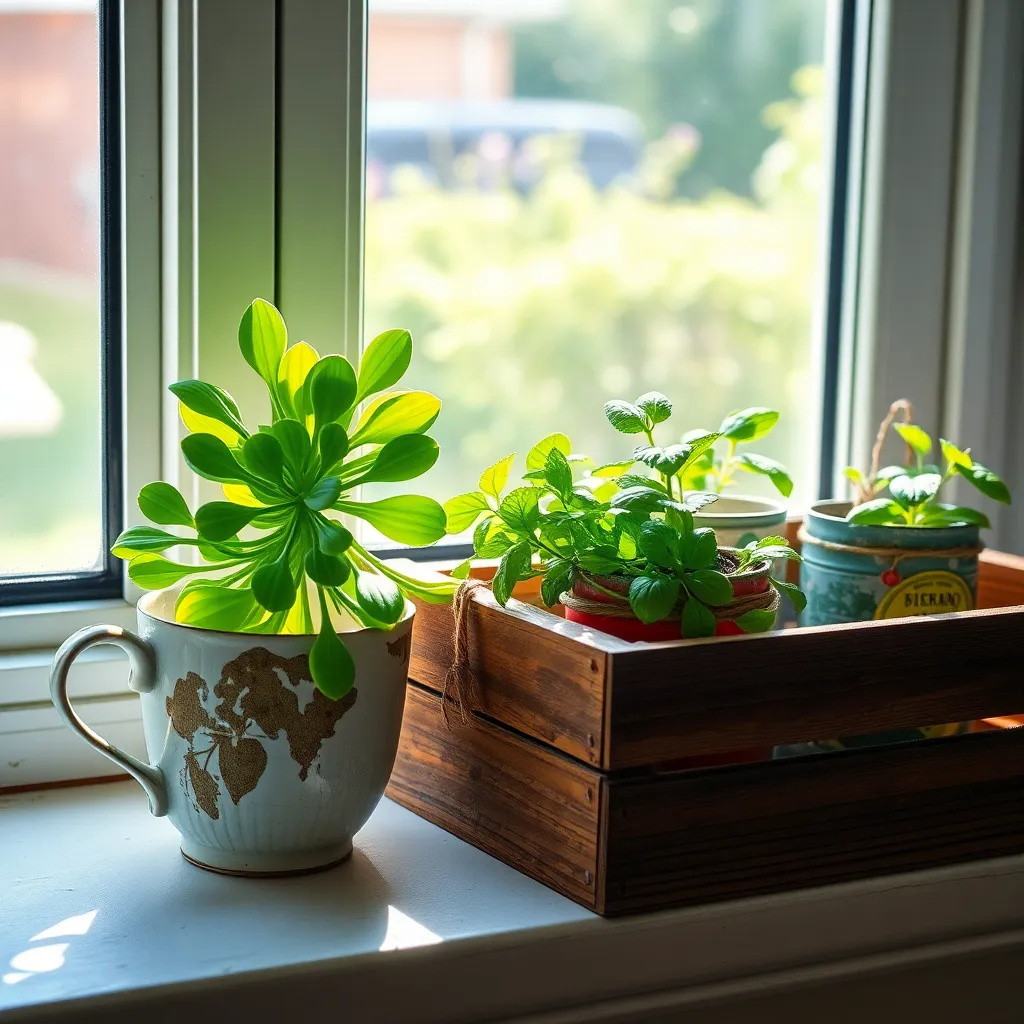
Transforming everyday household items into planters is not only eco-friendly but also a creative way to save money on gardening supplies. Look around your home for potential planters like old teapots, mugs, or even shoes, which can add a quirky touch to your indoor garden.
Start by ensuring the container has adequate drainage, as most household items won’t have pre-existing holes. You can easily drill small holes into the bottom of a ceramic mug or metal can to allow excess water to escape, preventing root rot.
For soil, use a lightweight potting mix that allows for good drainage and aeration, especially if your repurposed planter is on the smaller side. A cactus or succulent mix is ideal for containers with limited space, as it supports a variety of indoor plants with moderate watering needs.
If you’re new to indoor gardening, try starting with hardy plants like pothos or spider plants, which adapt well to different light conditions. Advanced gardeners might consider using larger items like old wooden crates or baskets lined with plastic to house multiple plants, creating a miniature indoor garden.
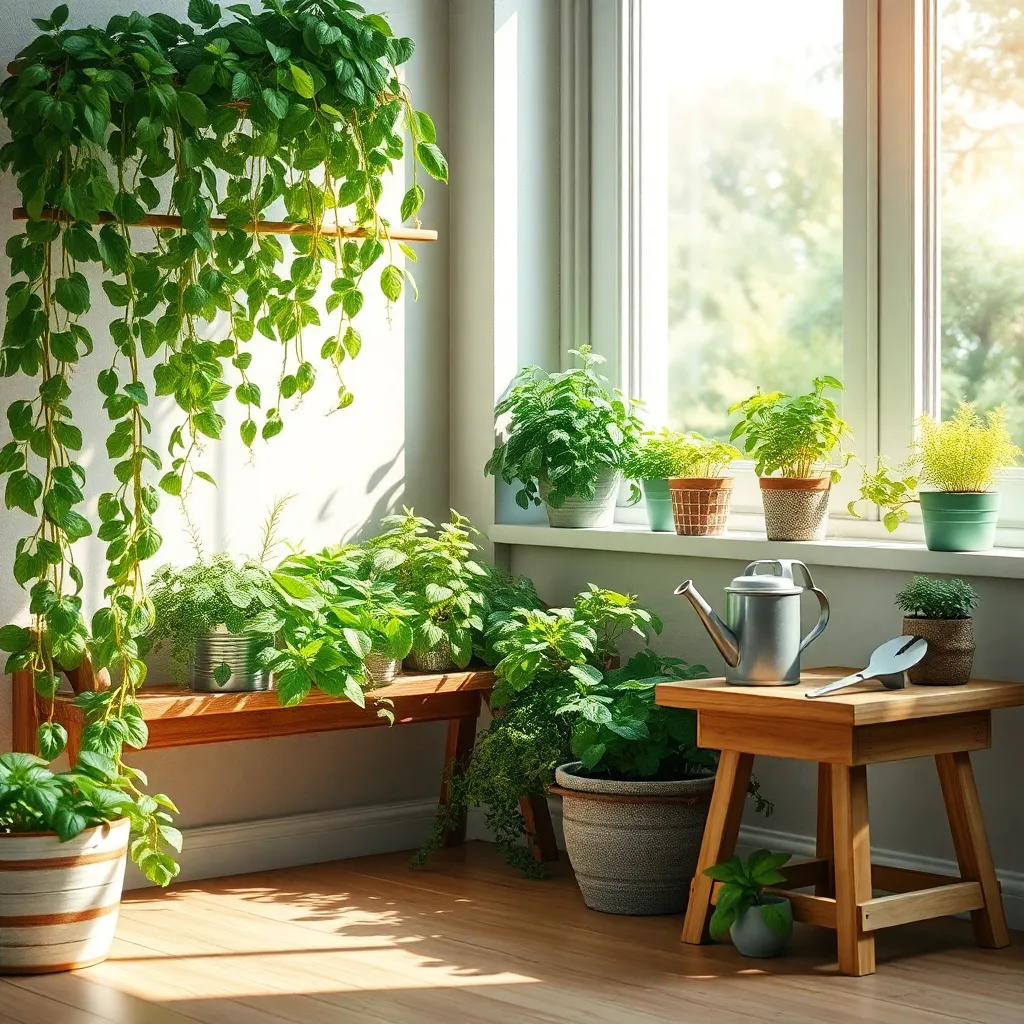
DIY Vertical Herb Gardens
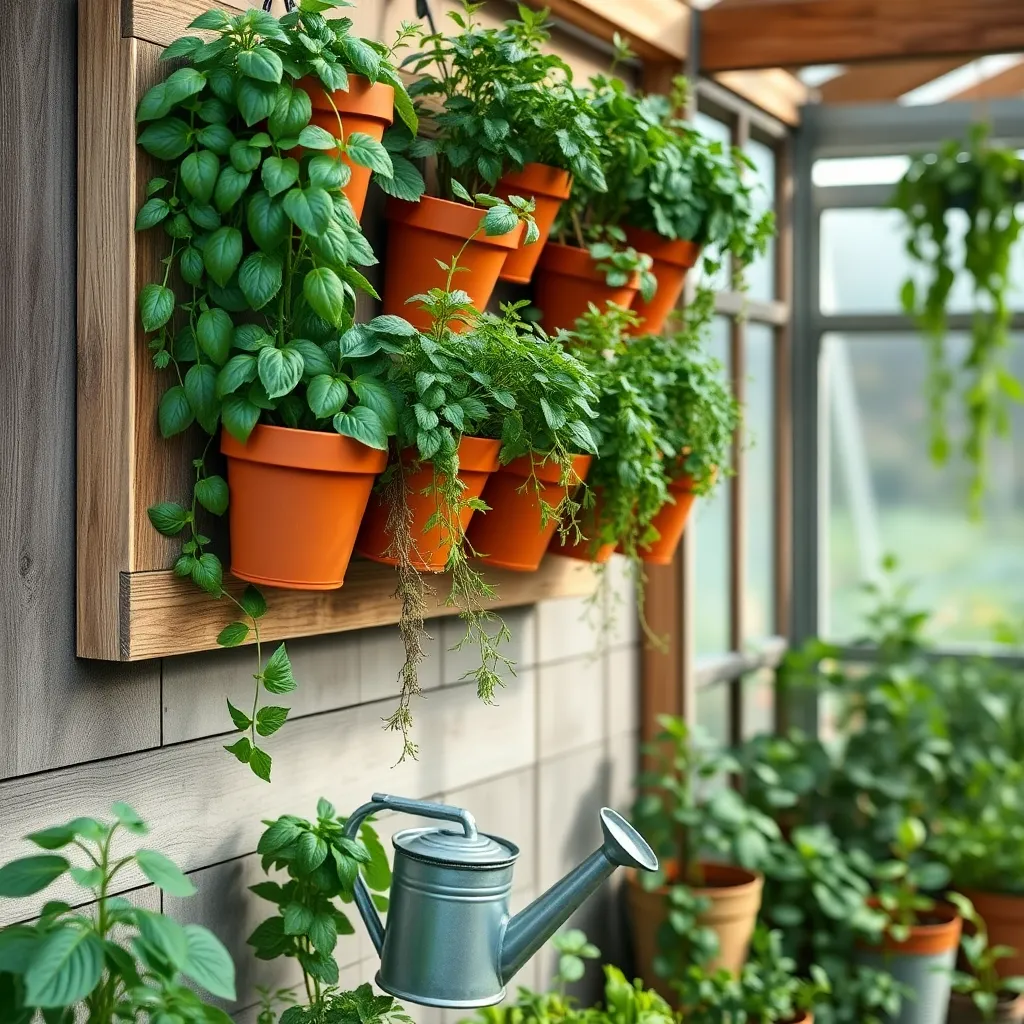
Transforming a small space into a thriving herb garden is easier than you might think. A vertical herb garden is an ideal solution for maximizing space while keeping your favorite fresh herbs within reach.
Begin by selecting a sunny spot near a window, as most herbs flourish with at least six hours of sunlight daily. If natural light is limited, consider using a grow light to supplement the light requirements.
Choose easy-to-grow herbs like basil, mint, and parsley that are well-suited for indoor environments. Use a lightweight potting mix for optimal drainage and root health, and ensure your containers have adequate drainage holes.
Water your herbs regularly, but avoid overwatering, which can lead to root rot. A good practice is to allow the top inch of soil to dry out between waterings, ensuring that your herbs remain healthy.
For advanced gardeners, consider using a vertical planter with a built-in irrigation system to maintain consistent moisture levels. Regular pruning will encourage bushy growth and continuous production, providing you with a steady supply of fresh herbs.
Creating Upcycled Container Gardens
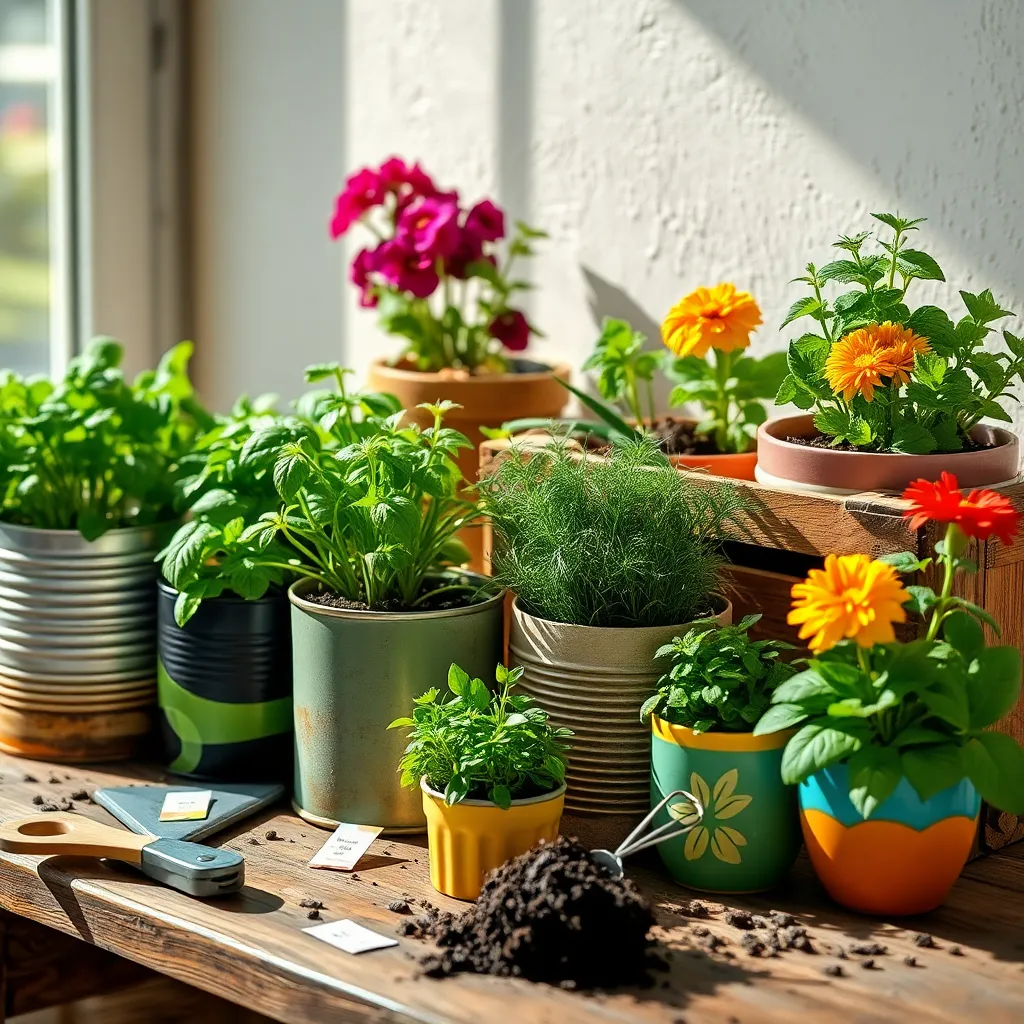
Upcycled container gardens are a creative way to bring greenery into your home while being kind to the environment. Start by collecting items such as old buckets, tin cans, or even worn-out boots to serve as your plant containers.
Ensure each container has adequate drainage to prevent waterlogged roots, which can harm your plants. Drill a few holes in the bottom of your containers if they don’t already have them, and line the base with small stones or broken pottery shards.
Choose the right soil mix for your upcycled containers to ensure healthy plant growth. A general-purpose potting mix will work for most plants, but for succulents, you might want to add some sand for better drainage.
When selecting plants, consider their light requirements and choose varieties that will thrive in the available conditions. Herbs like basil, parsley, and chives are excellent choices for sunny windows, while ferns and pothos can do well in lower light.
Watering is crucial, but it’s important not to overdo it. Check the soil moisture by inserting your finger about an inch deep; water only when the top feels dry to the touch.
For a touch of advanced gardening, try incorporating a small trellis or stake in larger containers to support climbing plants like peas or beans. This not only adds visual interest but also maximizes your growing space.
Crafting Hanging Planters from Recyclables
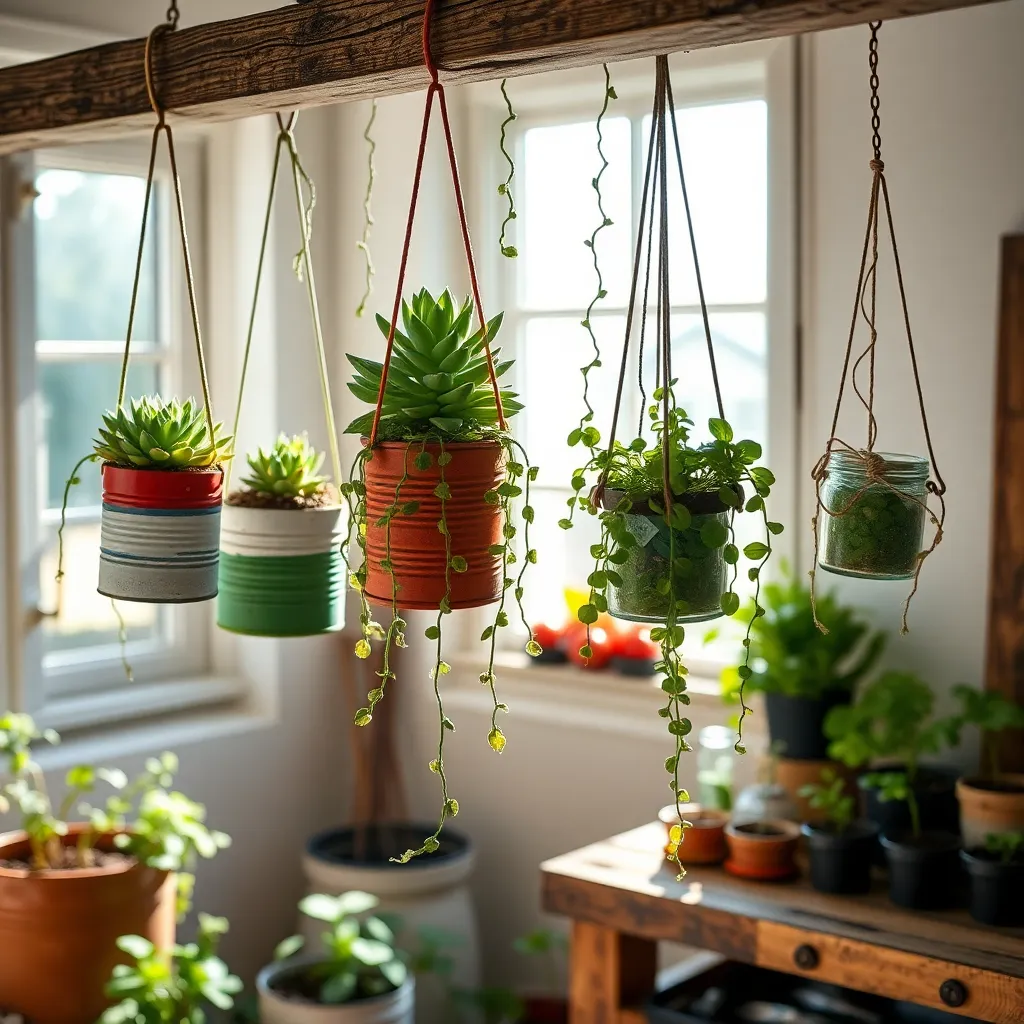
Turn your recycling bin into a treasure trove of potential with hanging planters made from everyday items. By using materials like plastic bottles, tin cans, or old baskets, you can create beautiful suspended gardens that add charm and greenery to any indoor space.
To start, thoroughly clean your chosen container and make drainage holes at the bottom to prevent root rot. It’s important to use a lightweight potting mix that retains moisture but also drains well, such as a combination of peat moss, perlite, and vermiculite.
Next, select plants suited for hanging, such as trailing varieties like pothos, spider plants, or string of pearls. These plants thrive in medium to bright indirect light and can tolerate some neglect, making them perfect for beginners.
For more experienced gardeners, consider adding a self-watering feature by including a small reservoir at the bottom of your planter. This can be achieved by using a piece of fabric as a wick, ensuring plants receive consistent moisture without overwatering.
Building a Budget-Friendly Hydroponic System

Building your own hydroponic system can be a fun and cost-effective way to grow plants indoors. Start by gathering materials like a plastic storage bin, an aquarium air pump, and net pots, all of which can be found at local stores or online.
Once you have your materials, cut holes in the lid of the storage bin to fit the net pots. Fill the bin with a nutrient solution, ensuring that it reaches the bottom of the net pots to provide your plants with the essential nutrients they need.
Selecting the right plants is crucial for a successful hydroponic setup. Leafy greens such as lettuce, spinach, and herbs are excellent choices for beginners because they thrive in hydroponic systems and don’t require complex care.
Monitor your plants regularly to maintain optimal conditions. Check the pH level of the nutrient solution weekly, keeping it between 5.5 and 6.5 to ensure that your plants can absorb nutrients efficiently.
For those looking to advance, experiment by adding a light system to support plant growth. LED grow lights are energy-efficient and can provide the necessary light spectrum for your plants, especially if natural light is limited.
Designing a Miniature Terrarium World
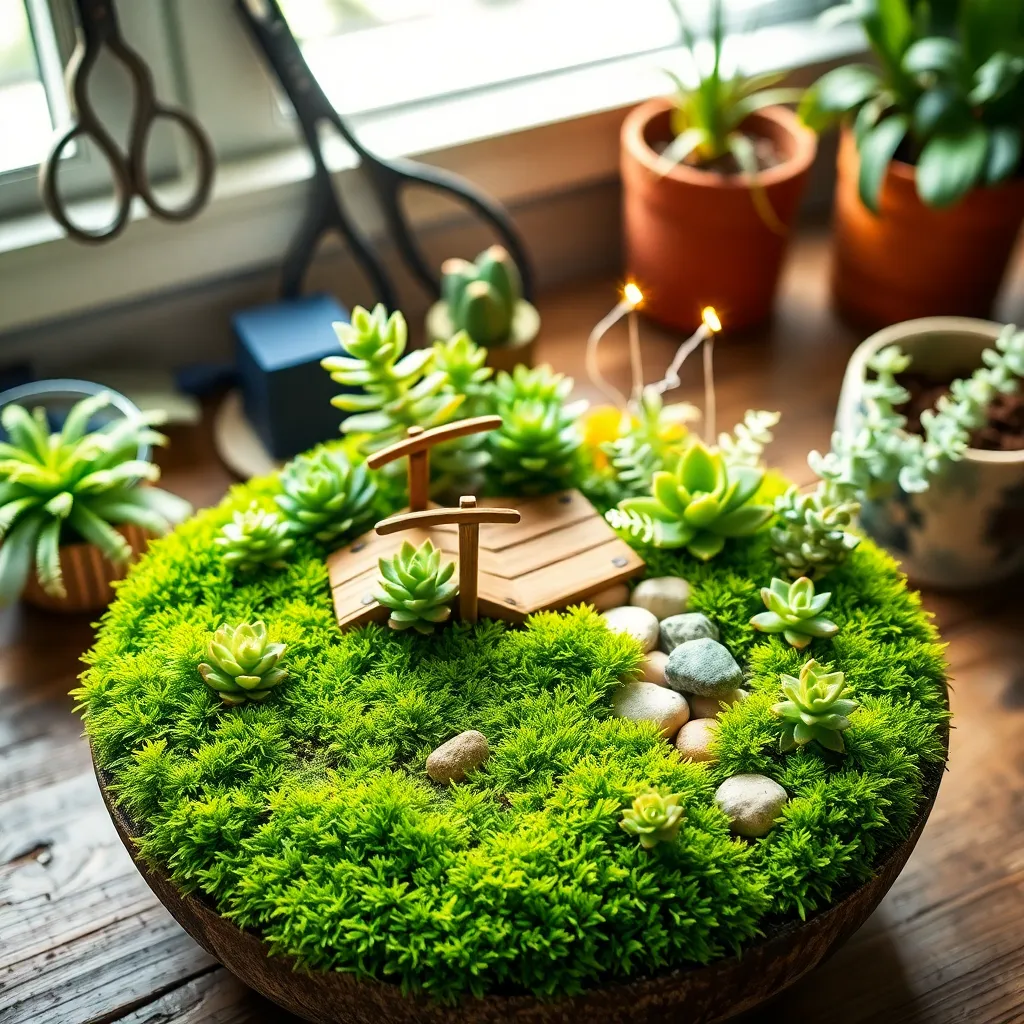
Creating a miniature terrarium world offers an enchanting way to bring nature indoors while sticking to a budget. To begin, choose a clear glass container, such as a mason jar or a fish bowl, which will allow your plants to thrive in a controlled environment.
Start by placing a layer of small pebbles at the bottom of your container for drainage, which is crucial to prevent root rot. Add a layer of activated charcoal to keep the air fresh and mitigate any odors that might develop over time.
Next, add a layer of potting soil mixed with sand, ensuring it is light and well-draining to suit the needs of your chosen plants. Succulents and small ferns are excellent choices for terrariums due to their minimal water requirements and compact size.
When planting, arrange your plants in a way that mimics a natural landscape, using small figurines or stones for added visual interest. Water sparingly—typically once a week—ensuring the soil remains slightly moist but not soggy, and keep your terrarium in indirect sunlight to prevent overheating.
Using Cuttings for New Growth
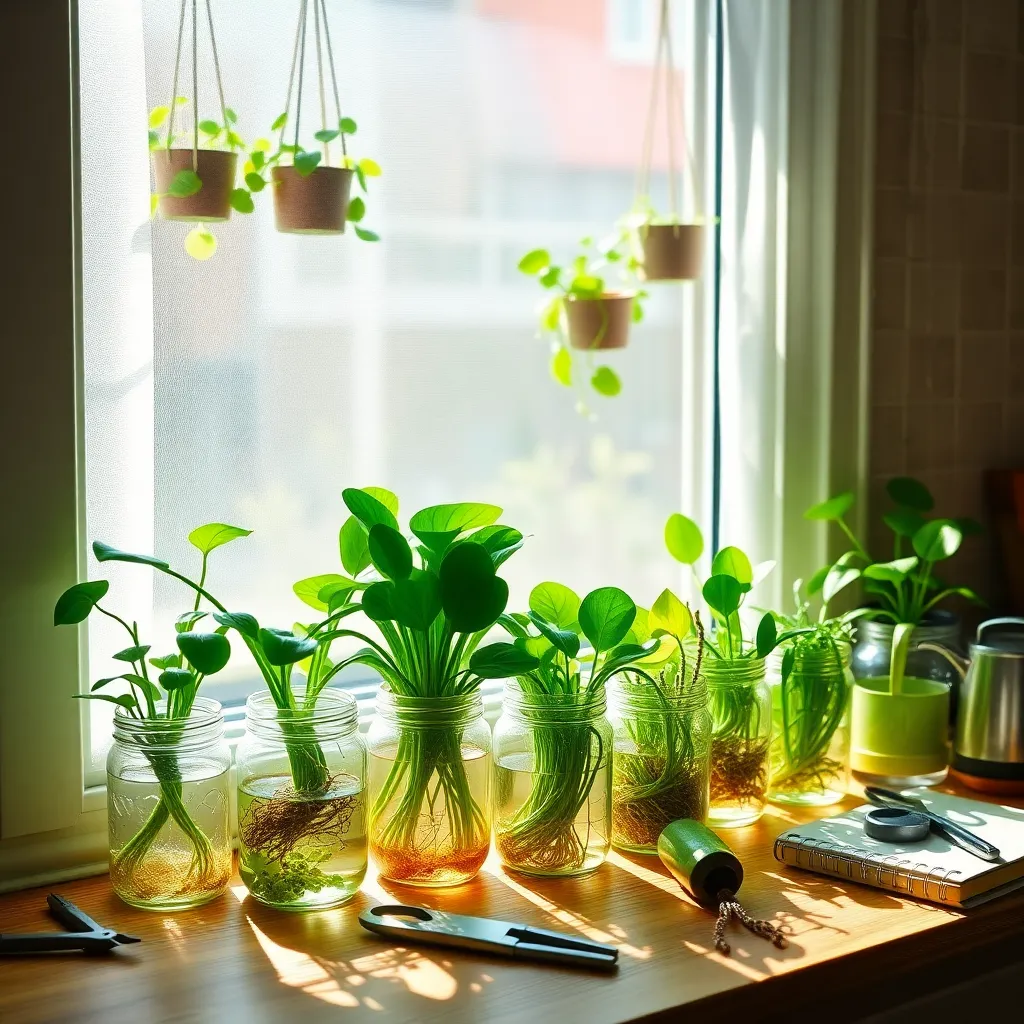
Propagating plants from cuttings is a fantastic way to expand your indoor garden without spending a dime. This simple technique involves taking a small segment of a parent plant and encouraging it to root, giving you a brand new plant to enjoy.
To get started, choose a healthy mother plant with fresh, strong growth. Using a clean pair of scissors or pruning shears, cut a 3-6 inch section just below a leaf node, as this is where roots are most likely to develop.
Remove any leaves from the lower half of the cutting to prevent rot and allow the cut end to dry for a few hours before planting. For faster root development, dip the cut end in a rooting hormone powder, which is available at most garden centers.
Next, plant the cutting in a small pot filled with a well-draining mix, such as a combination of perlite and peat moss. Water the cutting lightly and cover it with a clear plastic bag to create a mini greenhouse, maintaining high humidity to encourage root growth.
Place the potted cutting in a warm, bright spot, but avoid direct sunlight, which can scorch the tender new growth. Check the cutting every few days, watering sparingly to keep the soil slightly moist but not waterlogged.
Within a few weeks, you should notice new roots forming, signifying successful propagation. At this point, gradually acclimate the cutting to the ambient room conditions by removing the plastic cover, and soon you’ll have a thriving new plant.
Low-Cost Lighting Solutions
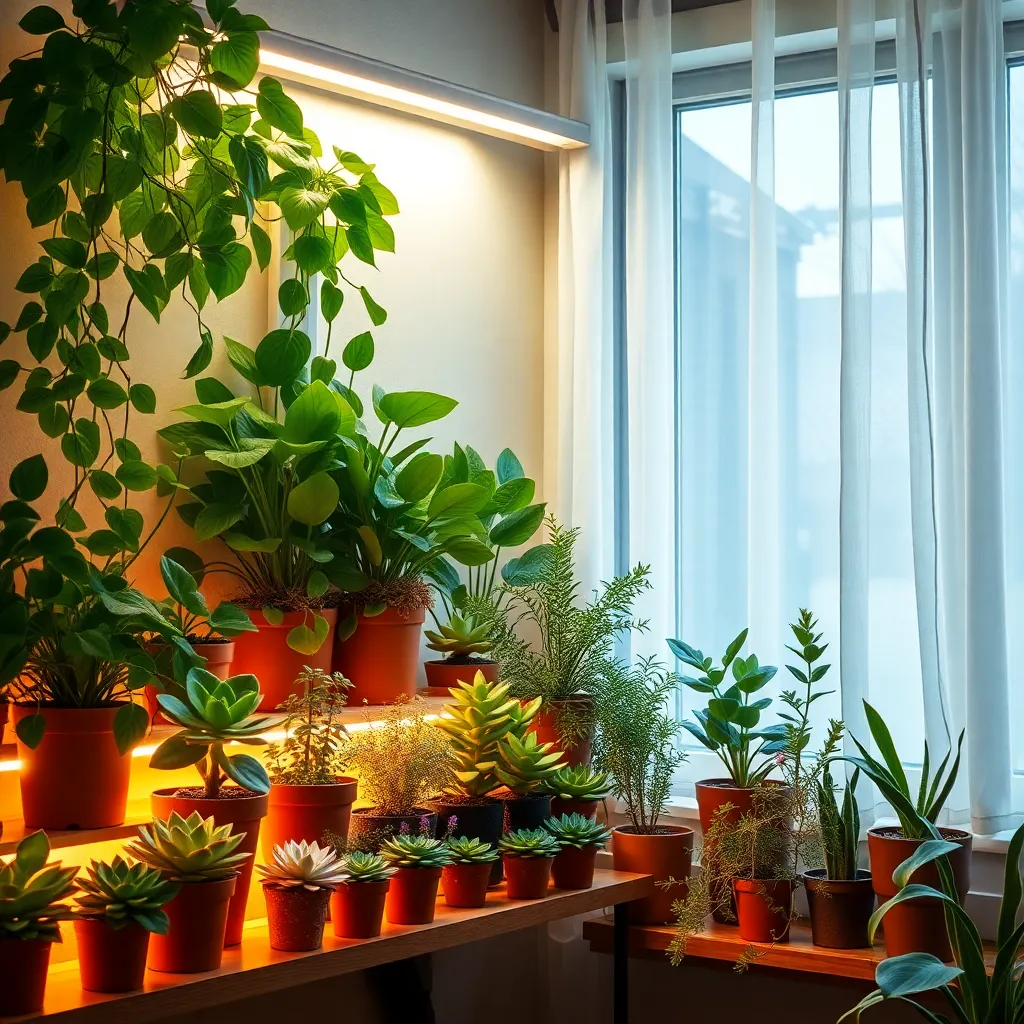
Lighting is a crucial factor in indoor gardening, especially if natural sunlight is limited. An effective low-cost solution is to use LED grow lights, which are energy-efficient and mimic natural sunlight.
Consider purchasing LED bulbs that fit into standard lamp sockets, allowing you to use existing lamps in your home. These bulbs are available at most hardware stores and are designed to support plant growth without breaking the bank.
Placement of your lights is essential for optimal plant health. Ensure that your grow lights are positioned about 12-18 inches above the plants to provide even coverage and avoid scorching the leaves.
For those with a bit more experience, using a timer can automate the lighting schedule, ensuring plants receive consistent light. Set your timer for 12 to 16 hours of light per day, depending on the plant type and its specific needs.
Another budget-friendly option is to use reflective surfaces to maximize the light your plants receive. Placing aluminum foil or a reflective sheet behind your setup can increase light intensity without additional costs.
In addition to LEDs, compact fluorescent lights (CFL) can also be used effectively. They are slightly less efficient than LEDs but still serve as a cost-effective option for smaller indoor gardens.
Natural Fertilizers from Kitchen Scraps
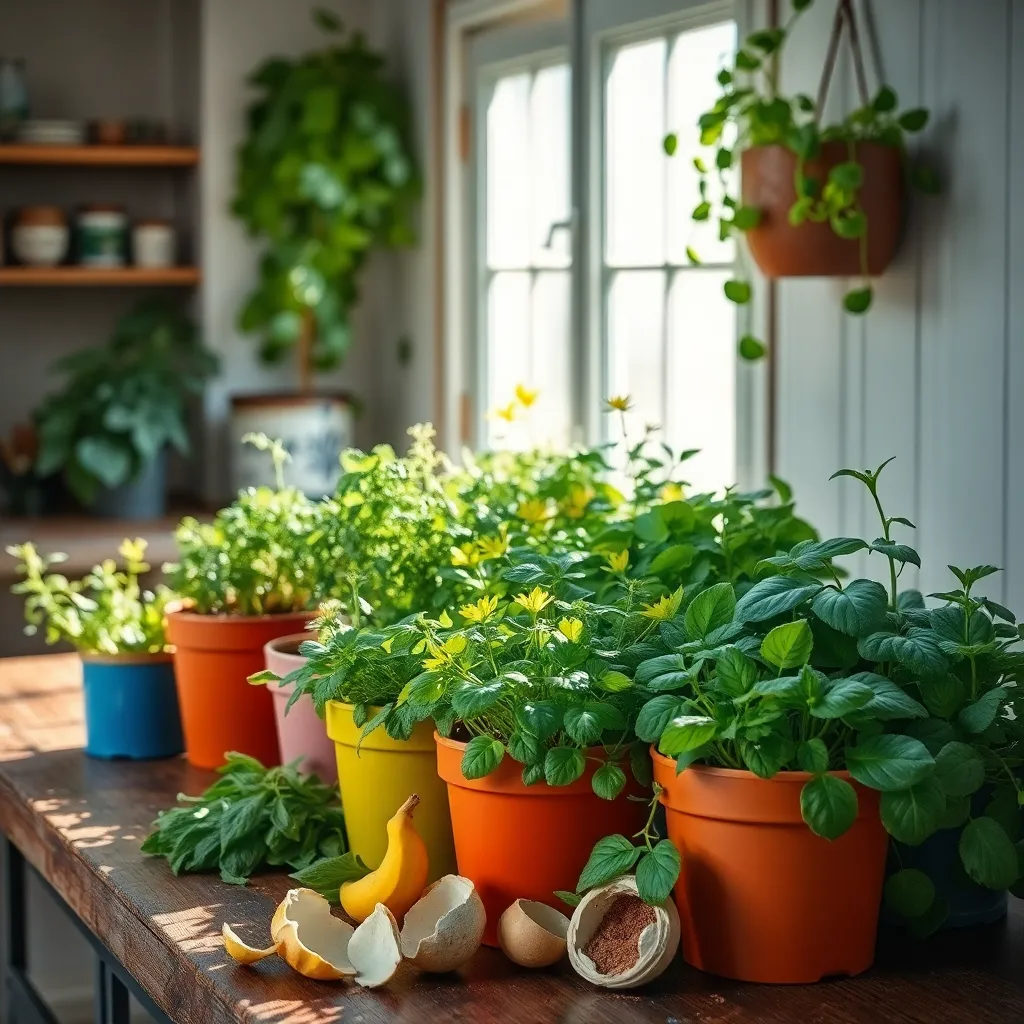
Transform your kitchen scraps into powerful natural fertilizers that can help your indoor plants thrive. Banana peels, for instance, are rich in potassium and can be chopped up and buried in your plant’s soil to encourage strong root growth and healthy flowering.
Eggshells are another excellent resource, providing a calcium boost that helps strengthen plant cell walls. Crush them finely and mix into the potting soil or steep them in water for a few days to create a liquid fertilizer.
Used coffee grounds can improve soil structure and add nitrogen, which is essential for plant growth. Just be sure to rinse them first to remove any lingering caffeine, which can harm plants in large amounts.
For a more advanced technique, create a nutrient-rich compost tea by soaking vegetable scraps in water for a week. Strain the mixture and use the liquid to water your plants, ensuring they receive a comprehensive nutrient boost.
Budget-Friendly Pest Control Methods
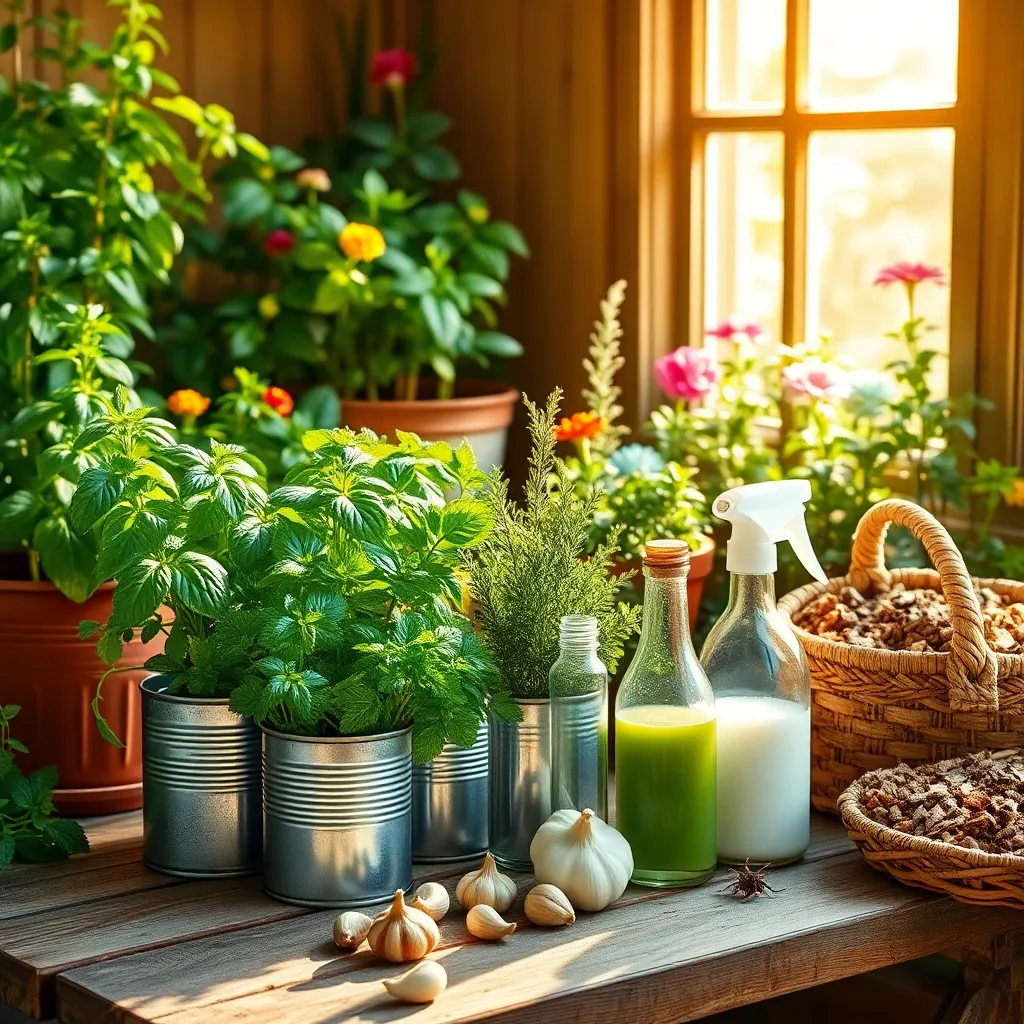
Household items can be surprisingly effective for pest control in your indoor garden. One budget-friendly method involves using a simple mixture of water and dish soap to tackle soft-bodied insects like aphids and spider mites. Mix a few drops of dish soap in a spray bottle of water and apply directly to affected plants, ensuring you cover both the tops and undersides of leaves.
Another natural remedy is neem oil, which acts as a deterrent to many pests without harming beneficial insects. It’s easy to use; just mix a teaspoon of neem oil with a liter of water and a few drops of dish soap, then spray it onto your plants every week until the pests are gone. This method is particularly useful for advanced gardeners looking for organic solutions to pest problems.
Consider using diatomaceous earth, a powdery substance that can be sprinkled around the base of plants to deter crawling insects. It’s non-toxic and works by dehydrating pests, making it safe for households with pets and children. For best results, reapply diatomaceous earth after watering or if it gets washed away.
Creating a homemade garlic spray is another cost-effective way to repel pests naturally. Crush several garlic cloves and steep them in a liter of water for 24 hours, then strain and spray the liquid onto your plants. This method is particularly effective against pests such as whiteflies and can be especially appealing to gardeners who prefer natural over chemical pest control.
Seasonal Indoor Gardening Tips
As the seasons shift, indoor gardening requires adjustments to ensure plants thrive in changing conditions. Winter months often mean less light, so consider moving plants closer to windows or using grow lights to supplement natural light.
During spring, plants may require more frequent watering as they come out of dormancy and begin to grow actively. Check the soil moisture regularly, and water when the top inch feels dry to maintain optimal growth conditions.
Summer can bring challenges with heat and humidity, which might necessitate increased ventilation. Use fans or open windows to improve air circulation, helping to prevent mold and mildew on plant leaves.
In the fall, as temperatures drop, be mindful of drafts from windows or doors and move sensitive plants away from these areas. Reducing fertilizer use during fall can help plants prepare for their winter rest period, ensuring they are not overfed as growth slows down.
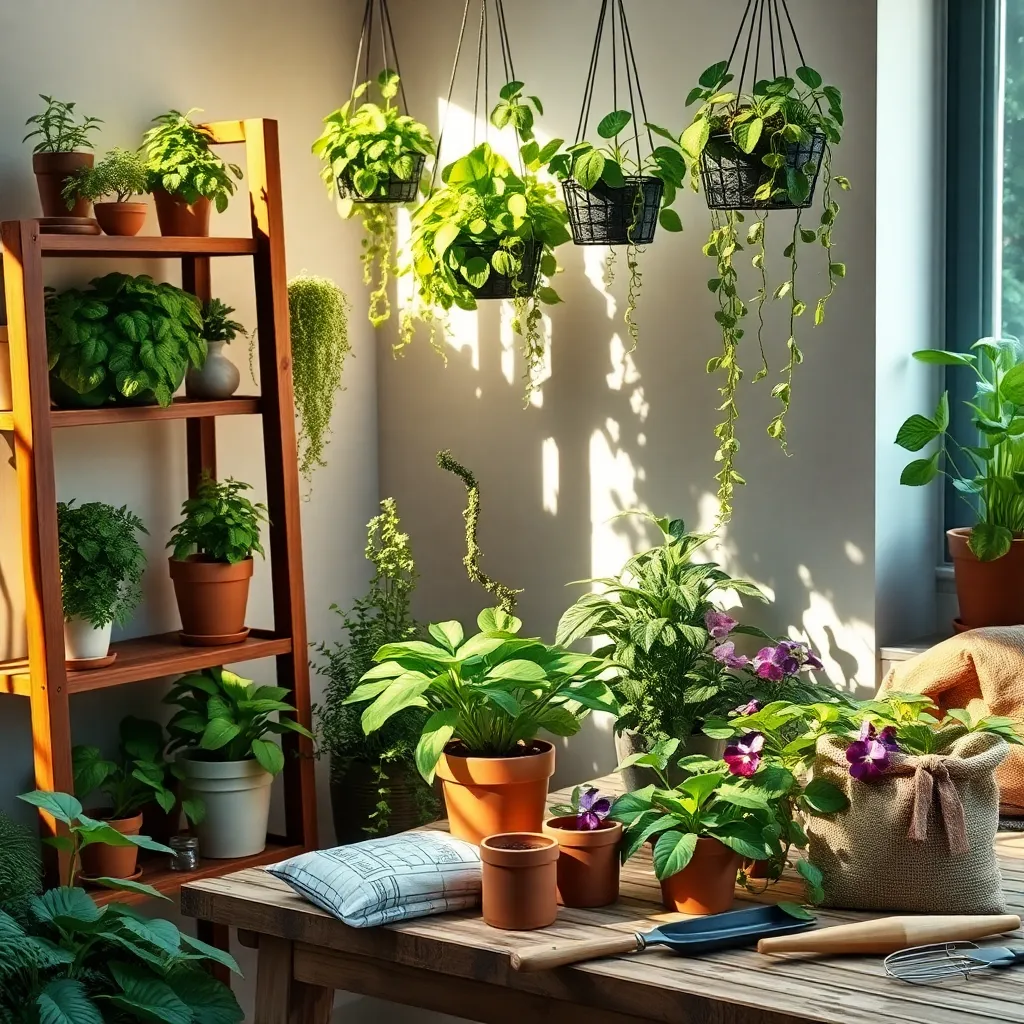
Integrating Greenery into Small Spaces
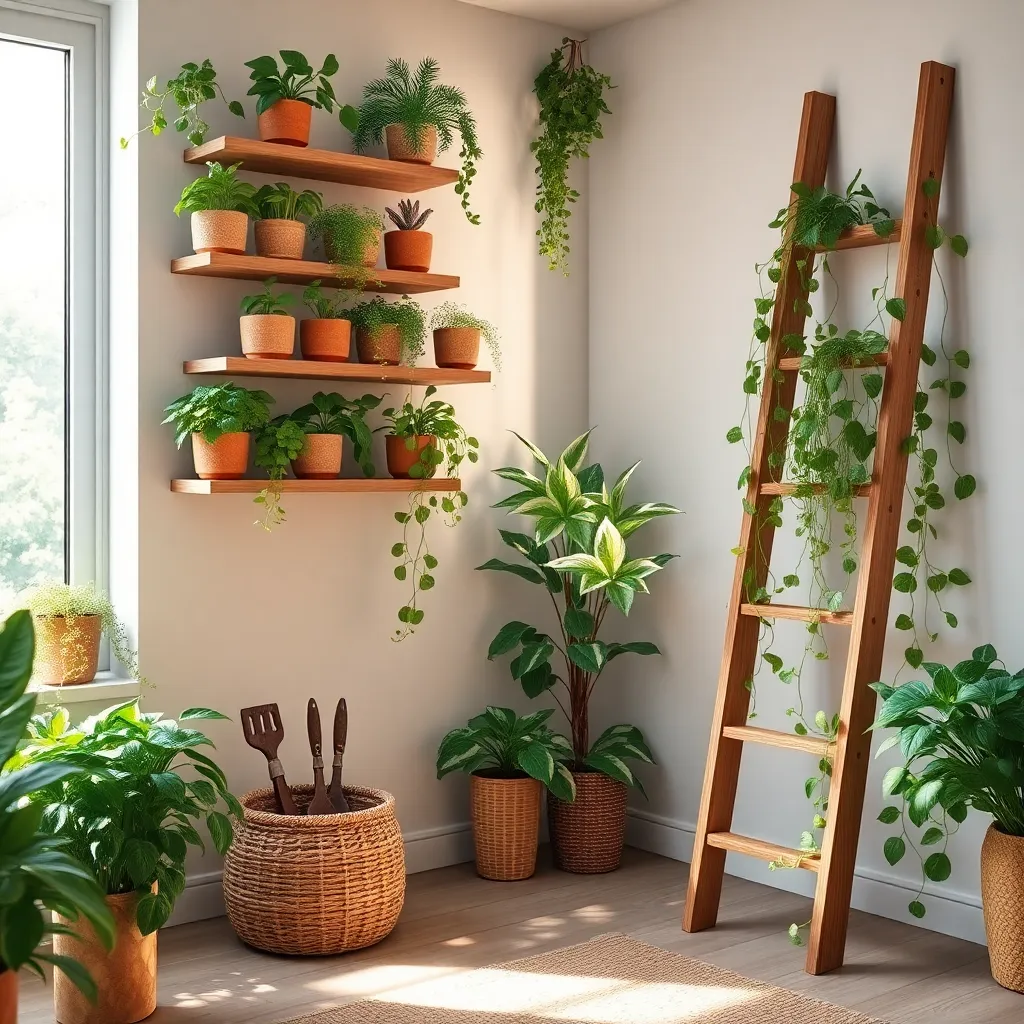
Finding space for plants in small areas can be both a creative challenge and an exciting opportunity. Utilize vertical space by installing shelves or hanging planters, which allows you to add more plants without cluttering your floor.
For small spaces, consider using compact or dwarf plant varieties that thrive in limited environments. Plants such as succulents, pothos, and herbs like basil and mint are perfect for window sills or small countertops, needing only a few hours of bright, indirect light.
Growing plants in small spaces requires careful attention to watering and soil. Use well-draining soil mixes, and be mindful of overwatering; many small plants prefer to dry out slightly between waterings to prevent root rot.
Advanced gardeners can experiment with hydroponic systems to maximize growth in tiny spaces. These systems can be set up on a small shelf or countertop and allow plants to grow with a nutrient-rich solution, reducing the need for traditional soil.
Maintaining Your Indoor Garden Economically
Keeping your indoor garden thriving doesn’t need to break the bank, and there are numerous ways to maintain it economically. Start by using recycled containers as pots, such as yogurt cups or tin cans, which can be creatively decorated to suit your indoor decor.
Soil is another area where you can save money without sacrificing quality. Create your own potting mix by combining peat moss, perlite, and compost, which not only saves money but also provides essential nutrients for your plants.
Watering your plants efficiently can also help reduce costs. Use a self-watering system by placing a bottle filled with water upside down into the soil, which can be a great way to ensure consistent moisture with minimal waste.
For those looking to enhance their indoor garden without additional cost, consider making your own compost tea. This simple method involves steeping a small bag of compost in water for a few days, providing plants with a nutrient-rich solution that can boost growth.
Conclusion: Growing Success with These Plants
In “14 Budget-Friendly Indoor Gardening Projects,” we’ve explored a variety of ways to cultivate not only your green thumb but also the nurturing dynamics of your relationships. From shared succulent gardens to creating a herb corner together, each project reinforces key relationship concepts such as teamwork, communication, patience, and mutual growth. By engaging in these activities, you learn to nurture both plants and your bond, drawing parallels between the care plants require and the attention relationships need to thrive.
To take immediate action, choose one project to start with your partner or family this weekend. Not only will this foster collaboration, but it will also provide a shared sense of accomplishment and joy. As you embark on this journey, remember to bookmark this article for future reference. These projects are a treasure trove of ideas to revisit, ensuring continuous growth in your relationships.
Looking ahead, the seeds of effort you plant today will blossom into a garden of understanding and love. By nurturing your relationships with the same care you give your plants, you set the stage for lasting success and happiness. Save this article now, and let it be your guide to flourishing relationships.