A garden is more than just a collection of plants; it’s a canvas where nature and creativity intertwine. For both novice and seasoned gardeners, designing a flower bed offers the perfect marriage of art and horticulture, transforming any patch of earth into a vibrant tapestry of color and life. Whether your thumbs are green or just budding, crafting your own flower bed is an invitation to express your unique style while enhancing the beauty of your outdoor space.
Embarking on the journey to design your flower bed can be both fulfilling and transformative. It’s an opportunity to learn how strategic plant placement can not only maximize visual appeal but also promote plant health and sustainability. In this article, we’ll dive into 15 inspiring DIY flower bed designs, each with its own flair and function, ready to spark your imagination. From classic cottage garden styles to modern minimalist layouts, you’ll discover a variety of options tailored to suit both your aesthetic preferences and gardening objectives.
By exploring these designs, you’ll gain practical insights into selecting the right plants, arranging them in harmonious patterns, and utilizing various materials to create stunning visual effects. Whether you’re looking to attract pollinators or simply seeking a peaceful outdoor retreat, these designs offer something for everyone. As you read on, you’ll find that cultivating a beautiful flower bed is not only accessible but a rewarding endeavor that brings nature’s charm right to your doorstep. So, grab your trowel and let’s get planting—your dream flower bed awaits!
Choosing the Perfect Design Style
Choosing the perfect design style for your flower bed can transform your garden into a vibrant oasis. Start by assessing the space you have and the overall aesthetic you want to achieve, whether it’s a formal, structured look or a more relaxed, natural setting.
For beginners, a simple, linear design might be the easiest to manage. Consider using low-maintenance perennials like daylilies or hostas which can thrive in a variety of soil types and require less frequent watering.
Intermediate gardeners might enjoy experimenting with a cottage garden style, which combines a variety of plant shapes, sizes, and colors. Make sure to incorporate a mix of annuals and perennials, ensuring a continuous bloom cycle throughout the growing season.
Advanced gardeners can delve into more intricate designs such as a Japanese garden or a xeriscape, which require a deeper understanding of specific plant needs. For a xeriscape, choose drought-tolerant plants like lavender and succulents, and use gravel or sand to improve drainage and reduce water usage.
Building a Raised Flower Bed
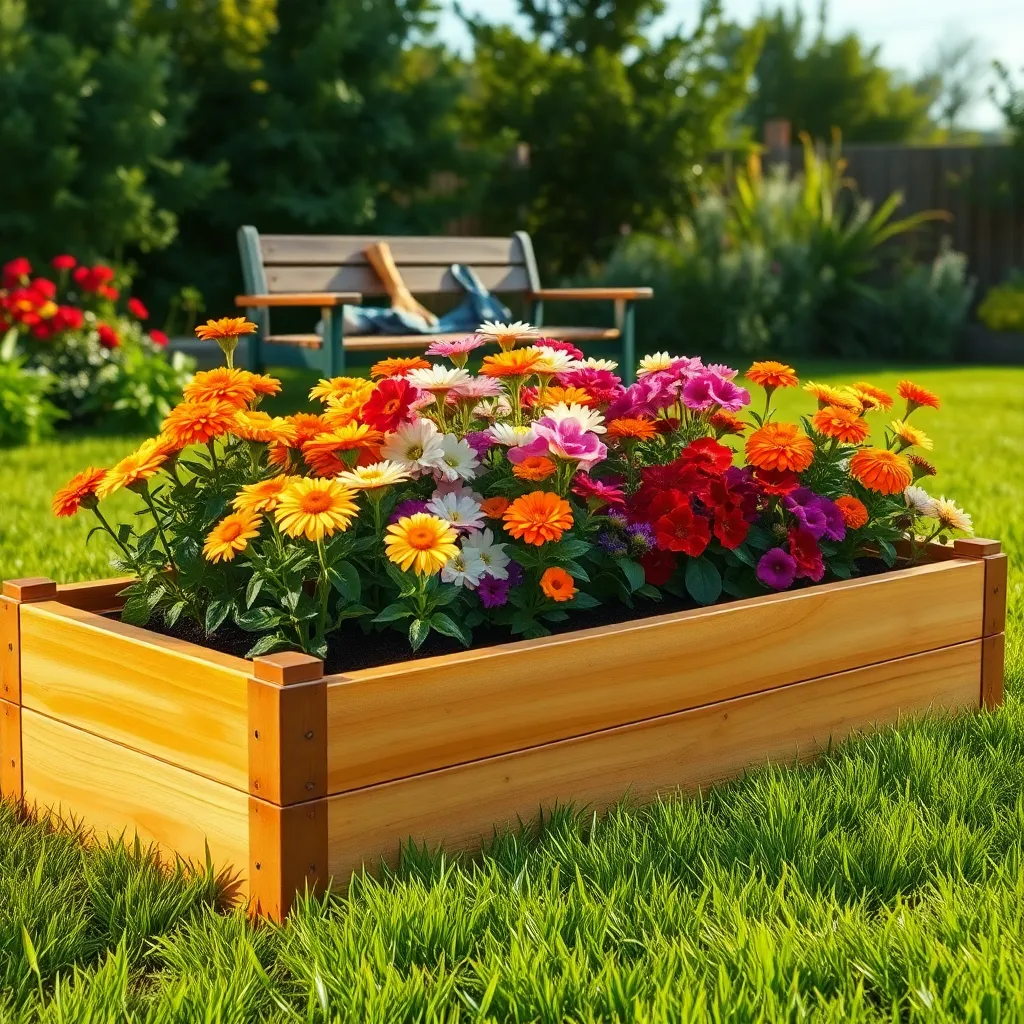
Building a raised flower bed can greatly enhance your garden’s aesthetic and functionality. By elevating your plants, you improve drainage and can easily manage soil quality, making it a perfect choice for both beginners and seasoned gardeners.
To start, select a location that receives at least six hours of sunlight daily, as most flowering plants thrive in full sun. Ensure the spot is level to prevent water run-off and uneven growth, which can affect plant health.
Once the location is chosen, gather materials such as untreated wood, bricks, or stone to construct the bed’s frame. Wood is a popular choice due to its ease of use and natural appearance, but ensure it is rot-resistant for longevity.
After building the frame, fill your raised bed with a nutrient-rich soil mix. A blend of topsoil, compost, and peat moss is ideal, providing ample nutrients while improving water retention and drainage.
When planting, consider the mature size of the plants to avoid overcrowding. Space plants according to their growth habits, and remember to rotate plant types each year to prevent soil nutrient depletion.
Watering is crucial, especially in raised beds where soil may dry out faster. Monitor moisture levels and water deeply once or twice a week, depending on rainfall and temperature.
For a vibrant flower bed, incorporate a mix of perennials and annuals to ensure continuous blooming throughout the season. Deadhead spent flowers regularly to encourage new blooms and maintain the bed’s appearance.
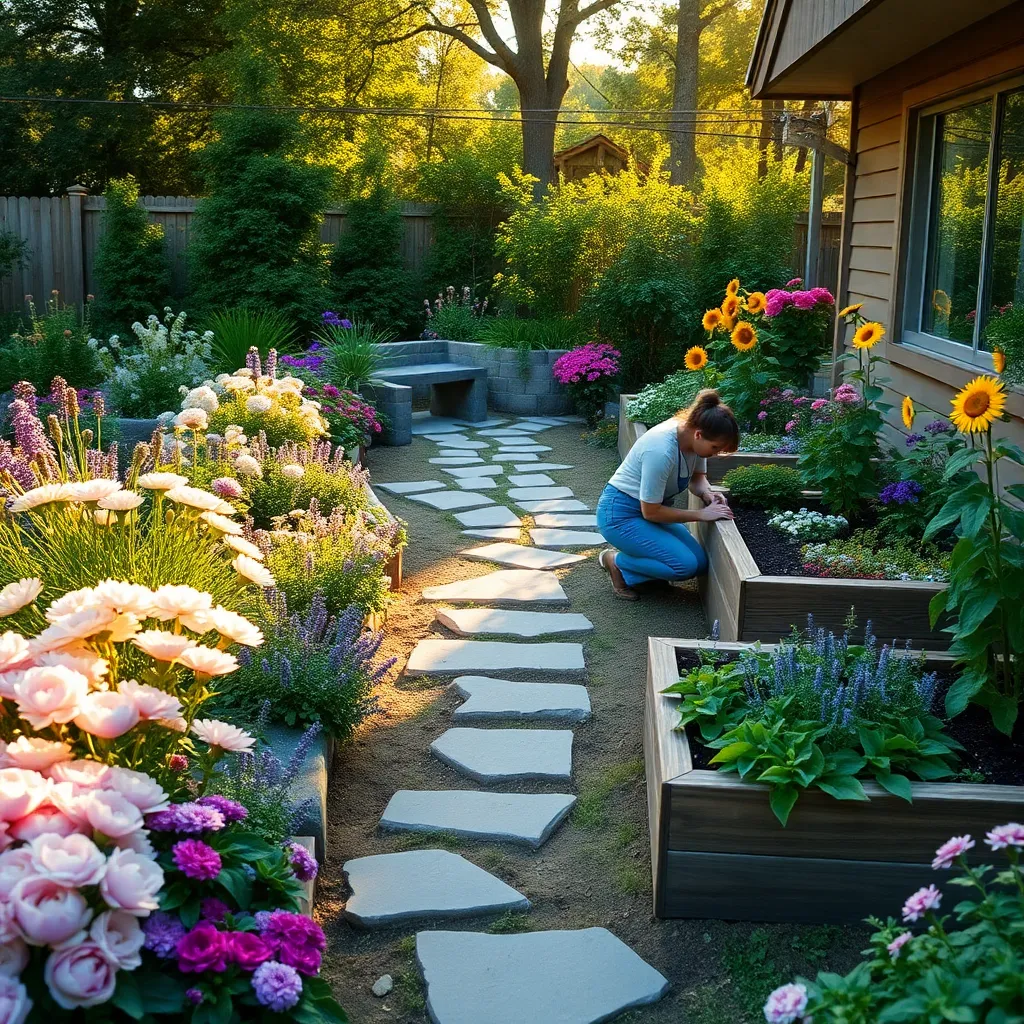
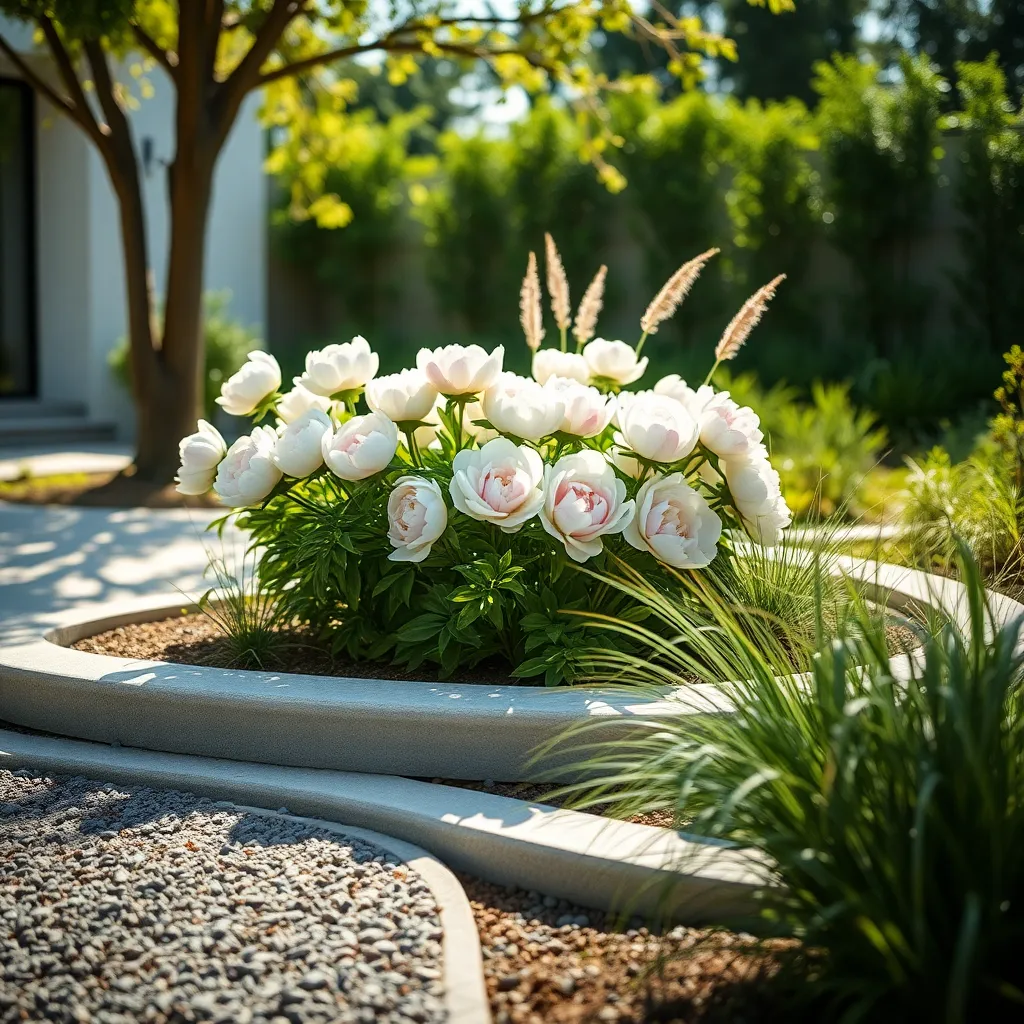
Creating Curved Flower Bed Edges
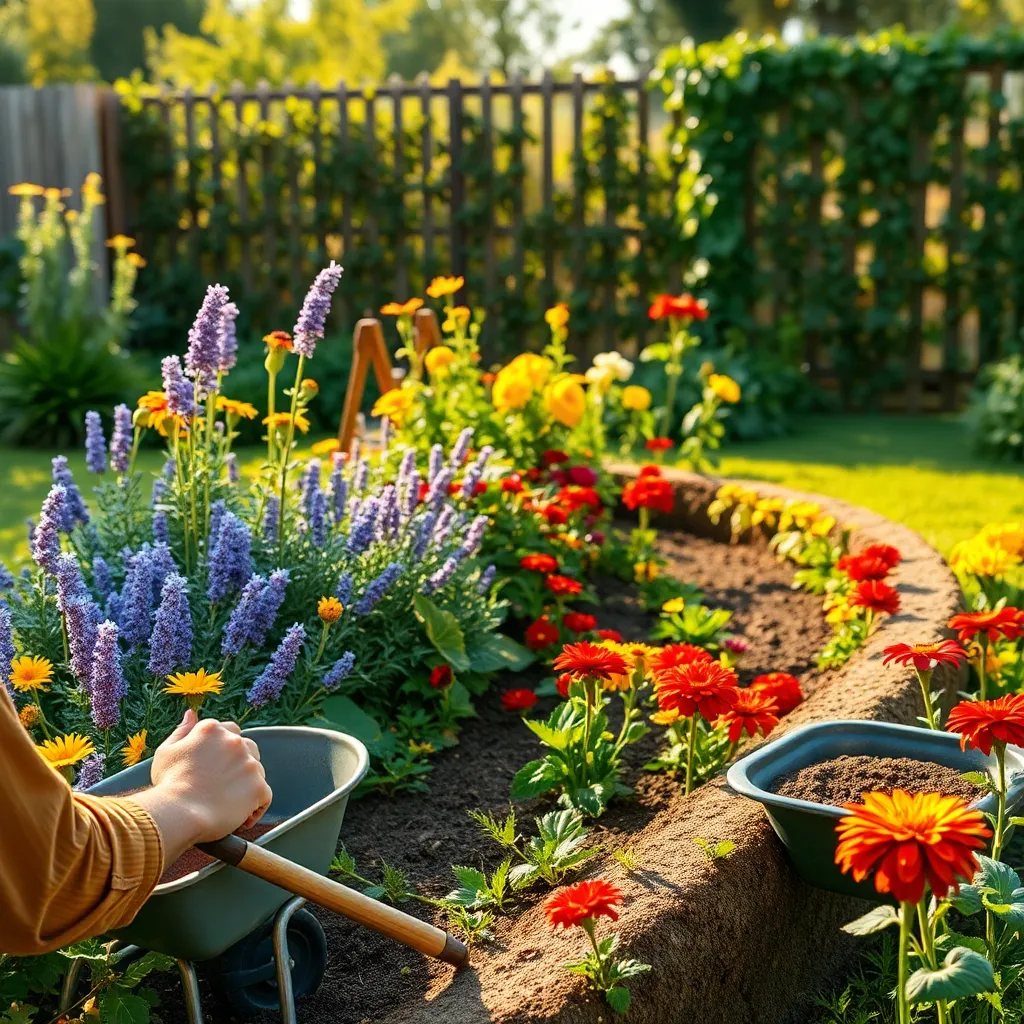
Curved flower bed edges can transform the aesthetics of your garden, adding a natural flow and softness to the landscape. To create these beautiful curves, use a garden hose or flexible rope to outline the desired shape on the ground, ensuring it complements the existing garden features.
Once your outline is ready, mark the edges with a can of spray paint to provide a clear guide for digging. It’s crucial to maintain a consistent width for the flower bed to ensure even plant distribution and to prevent overcrowding.
When digging, remove any grass or existing vegetation, and dig down about 8-10 inches to create a smooth trench. This depth will allow for a rich mix of soil and compost, promoting healthy root growth and ensuring adequate drainage.
Choose plants suited to the curve’s micro-environment, such as sun-loving flowers for south-facing edges and shade-tolerant varieties for north-facing ones. Regularly check the soil moisture, especially in curved beds, as water may collect differently compared to straight ones.
For advanced gardeners, consider incorporating a variety of heights and textures to add depth to the curved flower bed. Layer taller plants towards the back and use shorter, ground-covering plants at the front to create a lush, tiered effect that enhances visual interest.
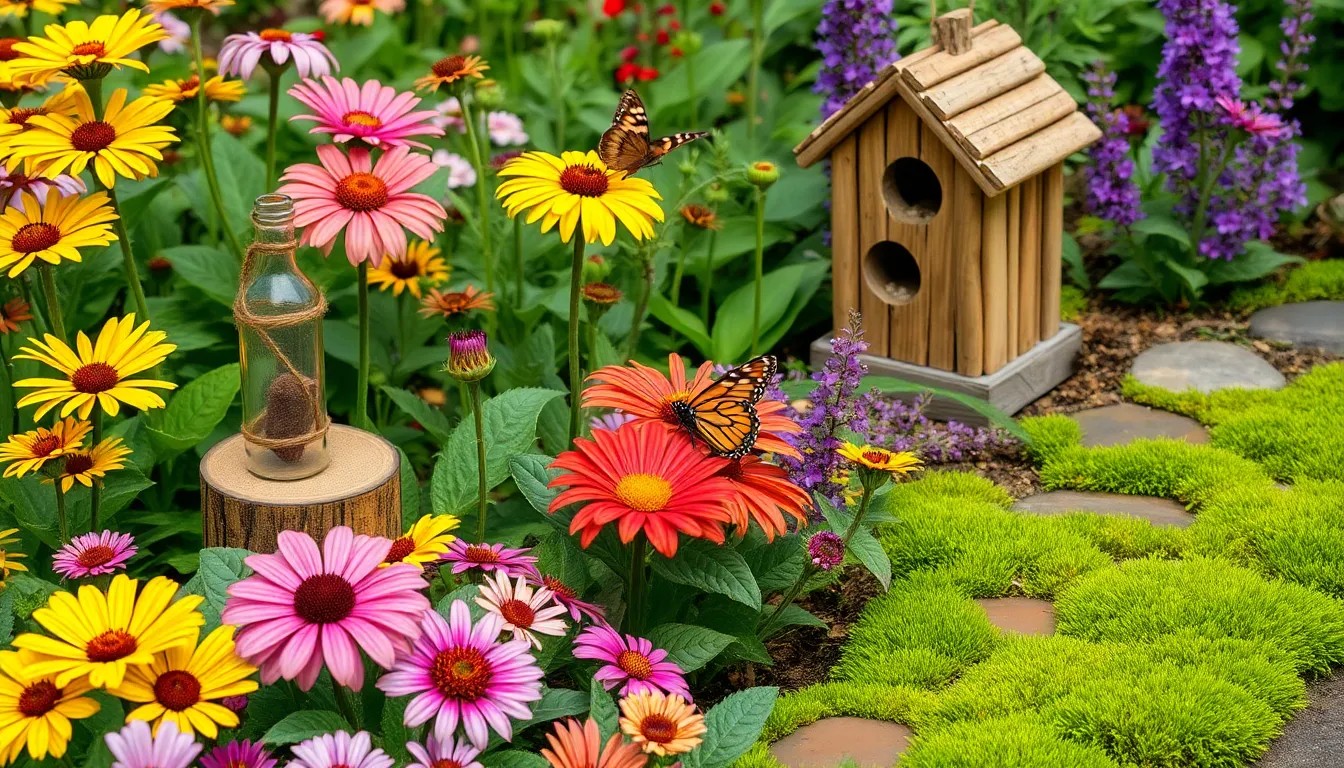
Incorporating Recycled Materials Creatively
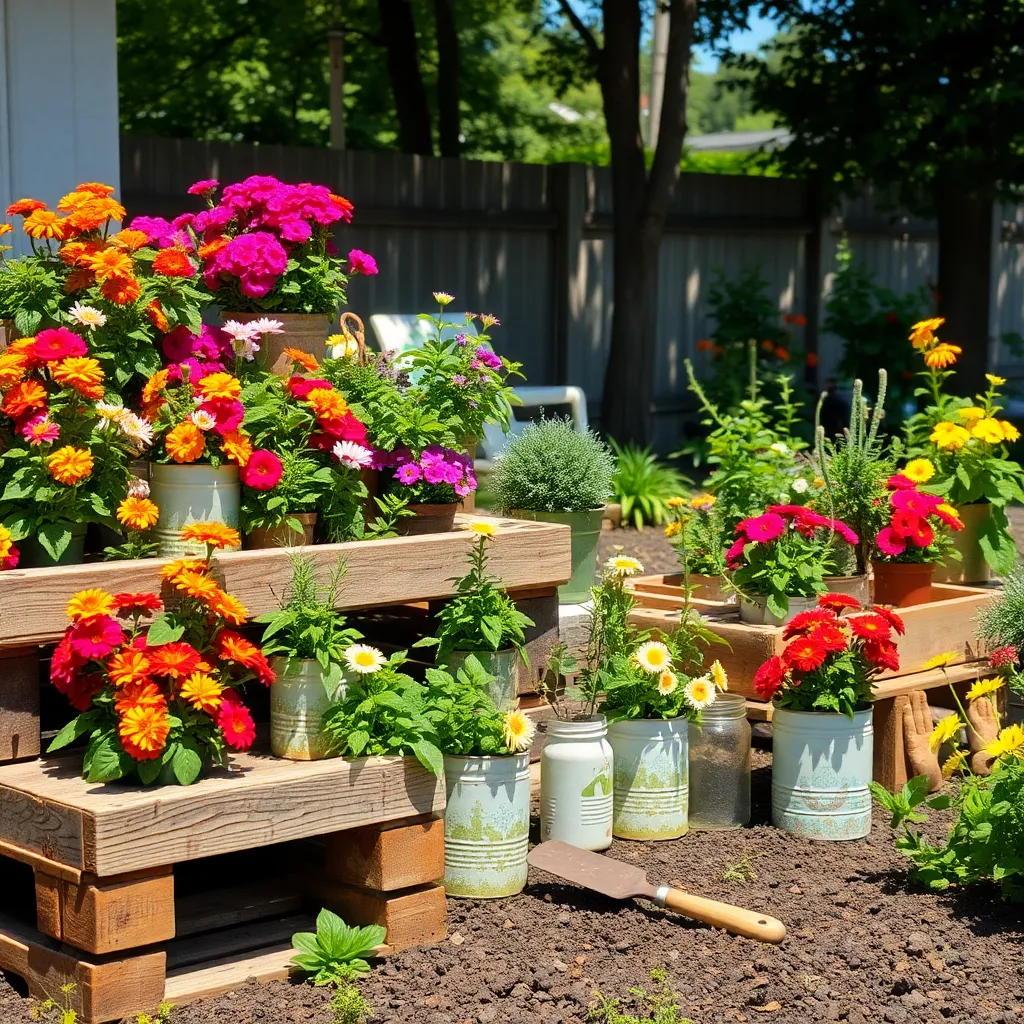
Recycling materials in your garden can be a creative way to enhance your flower beds while being environmentally friendly. Consider using old bricks or stones as edging. These materials not only add a rustic charm but also help define the boundaries of your garden beds, creating a clear demarcation for your plants.
Another option is to use reclaimed wood to build raised beds, which can improve drainage and soil warmth. Ensure the wood is untreated to avoid harmful chemicals leaching into the soil. Raised beds can be filled with a high-quality mix of garden soil and compost, providing a nutrient-rich environment for your flowers to thrive.
Incorporating glass bottles is a unique way to add color and structure to your flower bed design. By burying them neck-down along the edges, you can create a sparkling border that catches the light. This technique improves drainage and deters pests, as the glass barrier is difficult for them to climb over.
For those looking to add vertical interest, old ladders or pallets can be repurposed into vertical gardens. Securely attach small pots to the rungs or slats and plant cascading flowers like petunias or nasturtiums. This not only saves space but also adds a lush, layered look to your garden, perfect for small areas or patios.
Designing with Natural Stone Borders
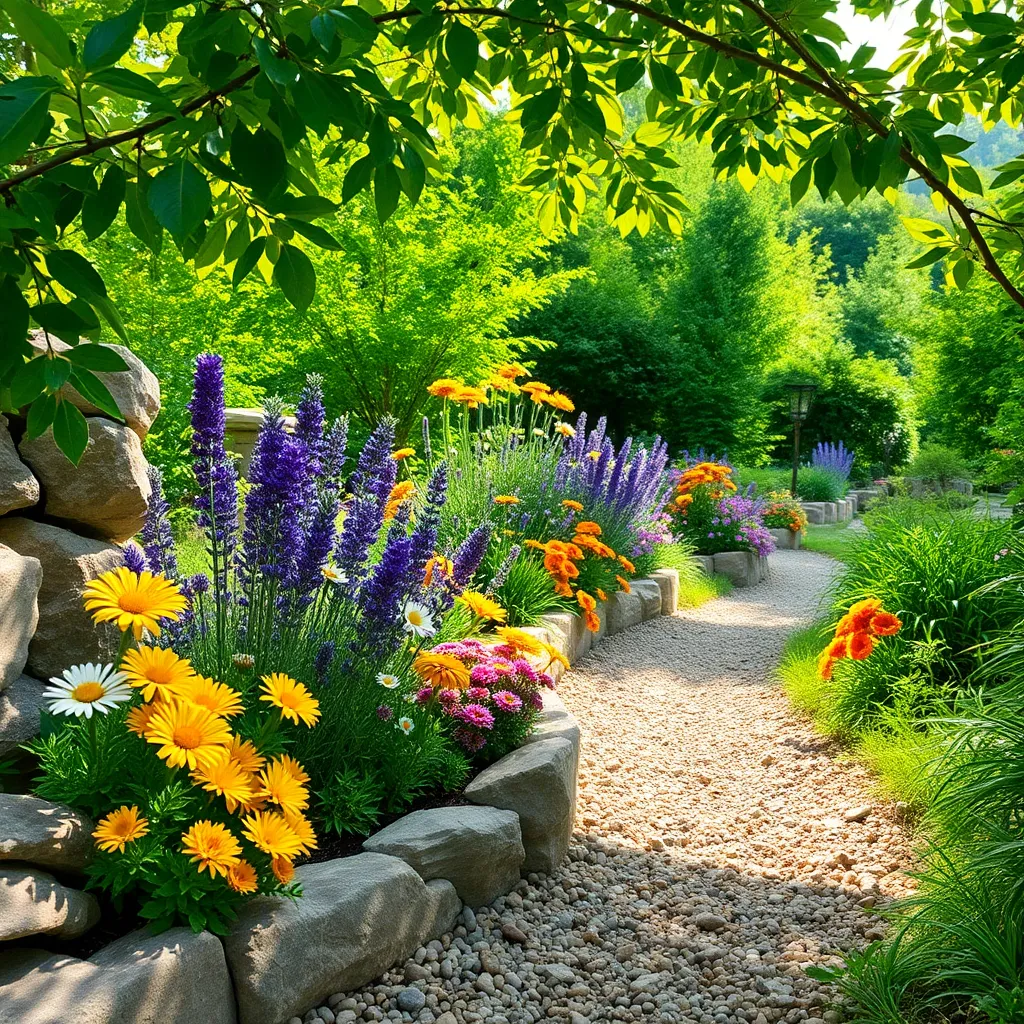
Natural stone borders can transform your flower beds into a stunning visual feature while providing practical benefits. They help define spaces, prevent soil erosion, and keep mulch in place, making them an excellent choice for both aesthetic and functional purposes.
To start, select stones that complement your garden’s overall design and color palette. Consider using locally sourced stones to ensure they blend seamlessly with your garden environment and support local ecosystems.
When installing stone borders, dig a shallow trench and place each stone snugly against the next for stability. Ensure the stones are level to prevent soil from washing out during heavy rains, which can be a common issue in sloped gardens.
For a more elaborate look, consider incorporating different stone sizes and shapes into your design. This approach can create a more natural appearance and provide additional niches for planting small, shade-loving plants like moss or creeping thyme.
Crafting a Tiered Flower Bed
Creating a tiered flower bed is a fantastic way to add depth and dimension to your garden. By using layers, you can showcase a variety of plants, each with its own unique appeal, while maximizing the use of vertical space.
Start by selecting a location that receives adequate sunlight for the plants you intend to grow. Tiered beds work well with a mix of sun-loving and shade-tolerant plants, so choose a spot that can cater to the needs of both.
To construct your tiered bed, consider using materials like wood, stone, or bricks to build a sturdy structure. Ensure each tier is wide enough to accommodate the root spread of your chosen plants, typically about 12 to 18 inches.
Soil quality is crucial for a thriving tiered garden; use a well-draining mix rich in organic matter. Regularly amend the soil with compost to maintain nutrient levels, especially for the top tiers where soil erosion is more likely.
Watering is a key aspect of maintaining a healthy tiered flower bed. Focus on consistent moisture, ensuring the lower tiers do not get waterlogged, and consider a drip irrigation system for efficiency.
For advanced gardeners, incorporate companion planting techniques to enhance growth and deter pests naturally. Plants like marigolds and nasturtiums can repel harmful insects while adding vibrant color to your display.
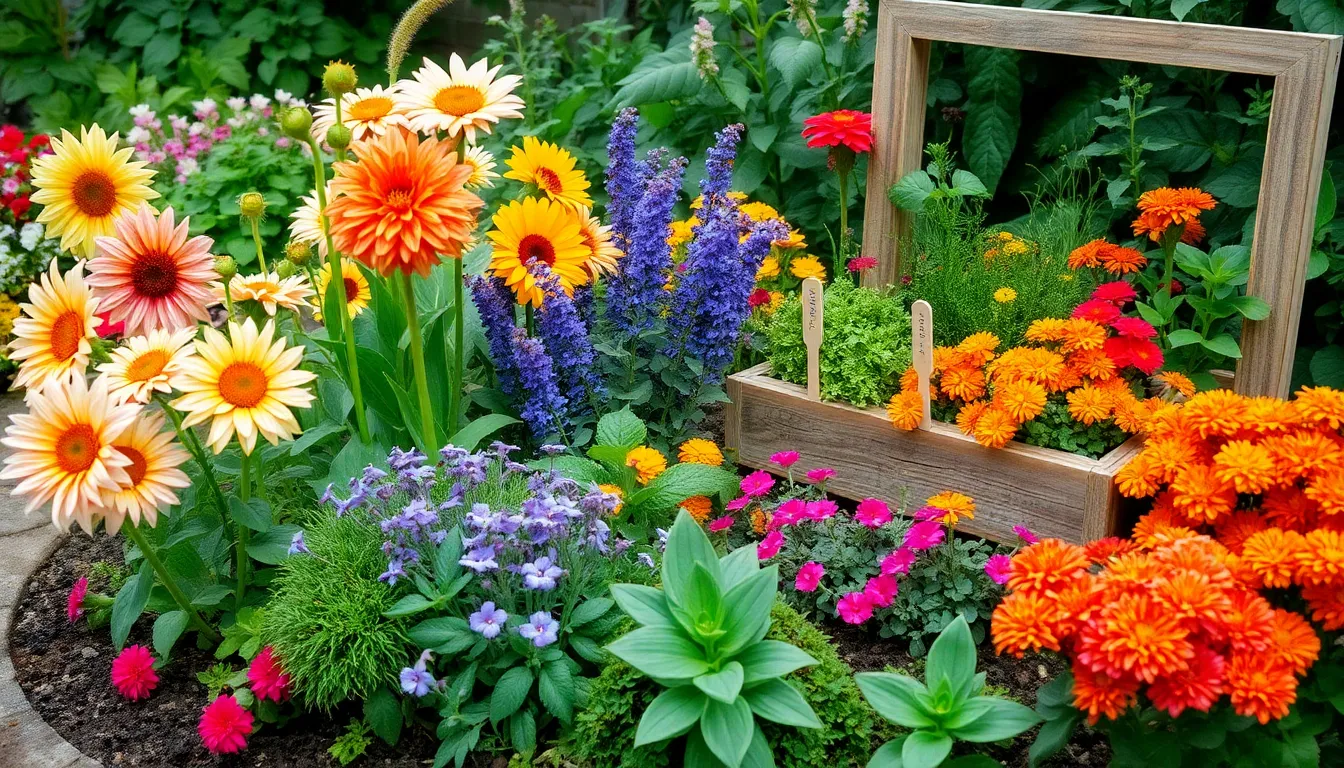
Integrating a Vegetable and Flower Mix
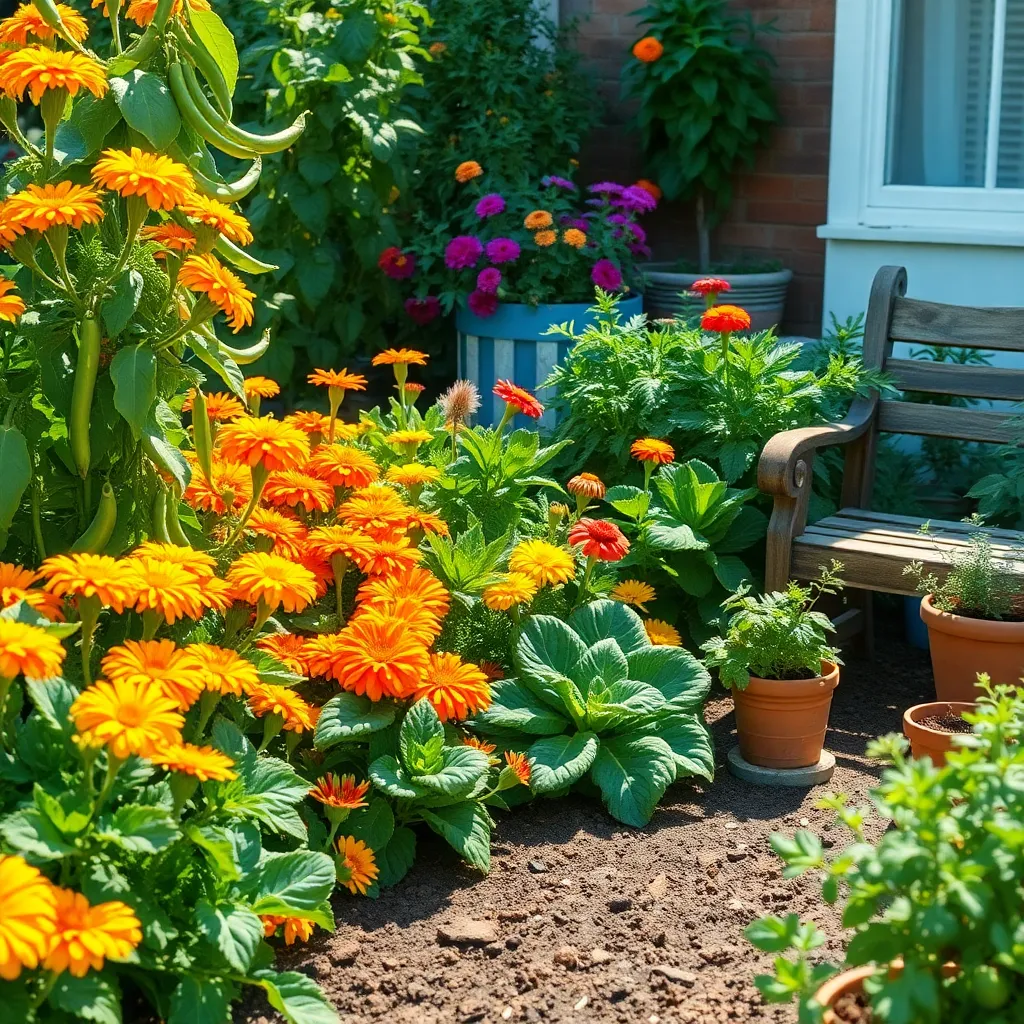
Combining vegetables and flowers in your garden can be both visually appealing and beneficial for plant health. Companion planting is a technique where plants support each other by repelling pests or improving growth conditions, making it ideal for mixed gardens.
Start by selecting plants that thrive under similar growing conditions, such as sun exposure and soil type. For instance, marigolds and tomatoes both enjoy full sun and well-drained soil, and marigolds can help deter pests from your tomato plants.
Consider the height and spread of each plant to ensure they don’t compete for sunlight or space. Plant taller vegetables like corn or sunflowers at the back of your bed, and use low-growing flowers such as nasturtiums as ground cover at the front to create a balanced look.
Watering is crucial, and it’s important to ensure that all plants receive the right amount of moisture. Drip irrigation systems are an efficient way to water mixed beds, as they deliver water directly to the roots and reduce evaporation, keeping both flowers and vegetables healthy.
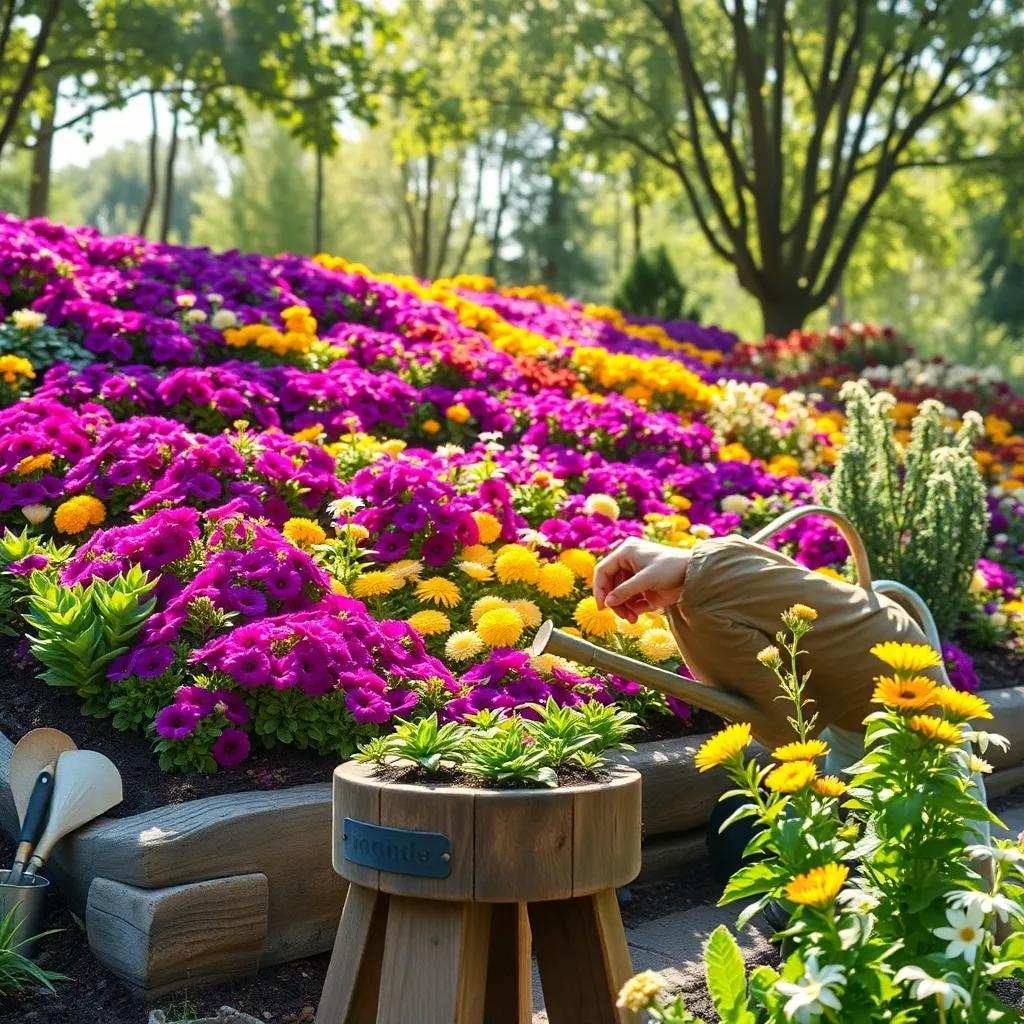
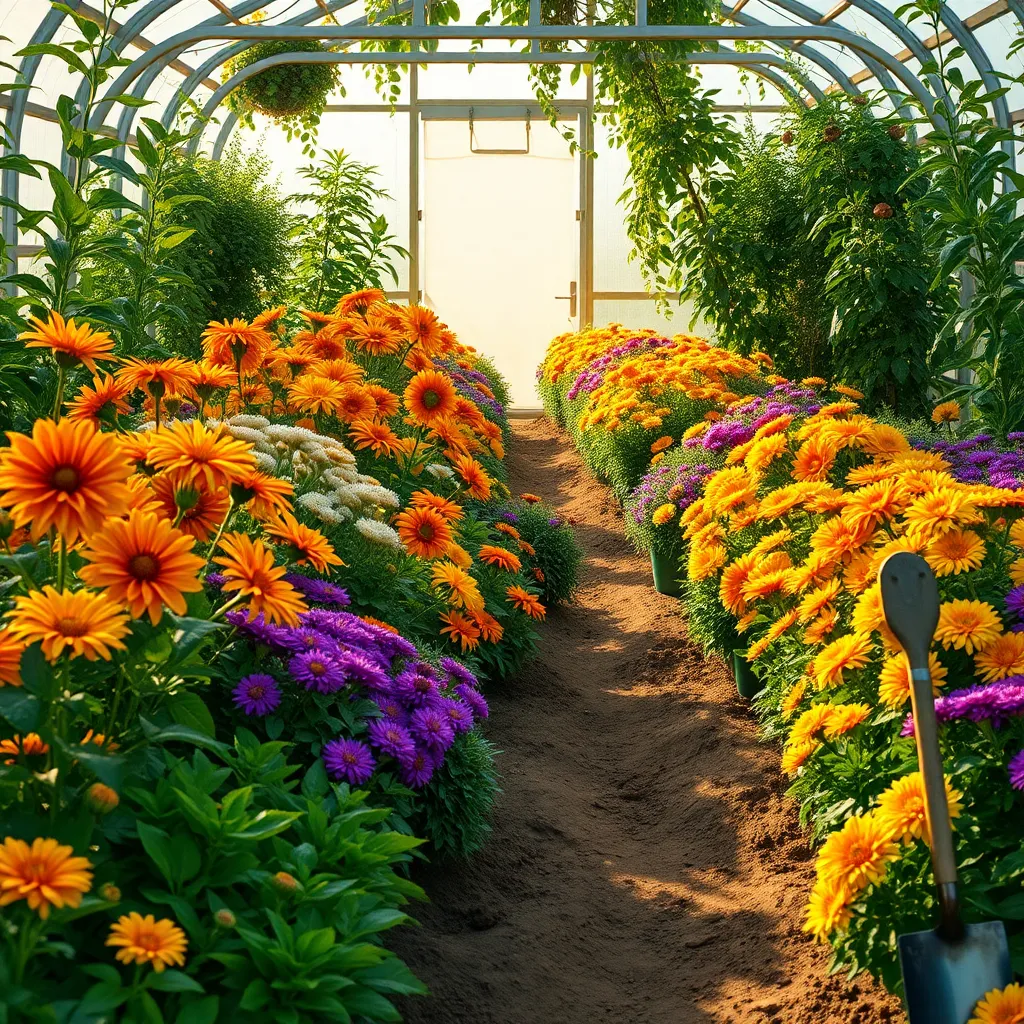
Planning a Sunburst Flower Layout

Creating a sunburst flower layout can add a dramatic focal point to your garden, combining vibrant colors in a radial pattern. Start by choosing a sunny spot, as this design thrives in full sunlight, ensuring the flowers’ colors remain vivid and bright.
Begin with selecting a variety of flowers that bloom in complementary colors, such as yellows, oranges, and reds. Marigolds, zinnias, and coneflowers are great choices for creating the sunburst effect due to their varied heights and hues.
Prepare the soil by ensuring it is well-draining and rich in organic matter; adding compost can greatly boost soil fertility. Water the plants deeply at the base once or twice a week, allowing the soil to dry out slightly between waterings to prevent root rot.
For advanced gardeners, consider incorporating different textures and leaf shapes to add depth to your sunburst design. Use taller plants like sunflowers or cosmos at the center, gradually decreasing the plant height as you move outward to create a natural gradient effect.
Constructing a Simple Wooden Frame
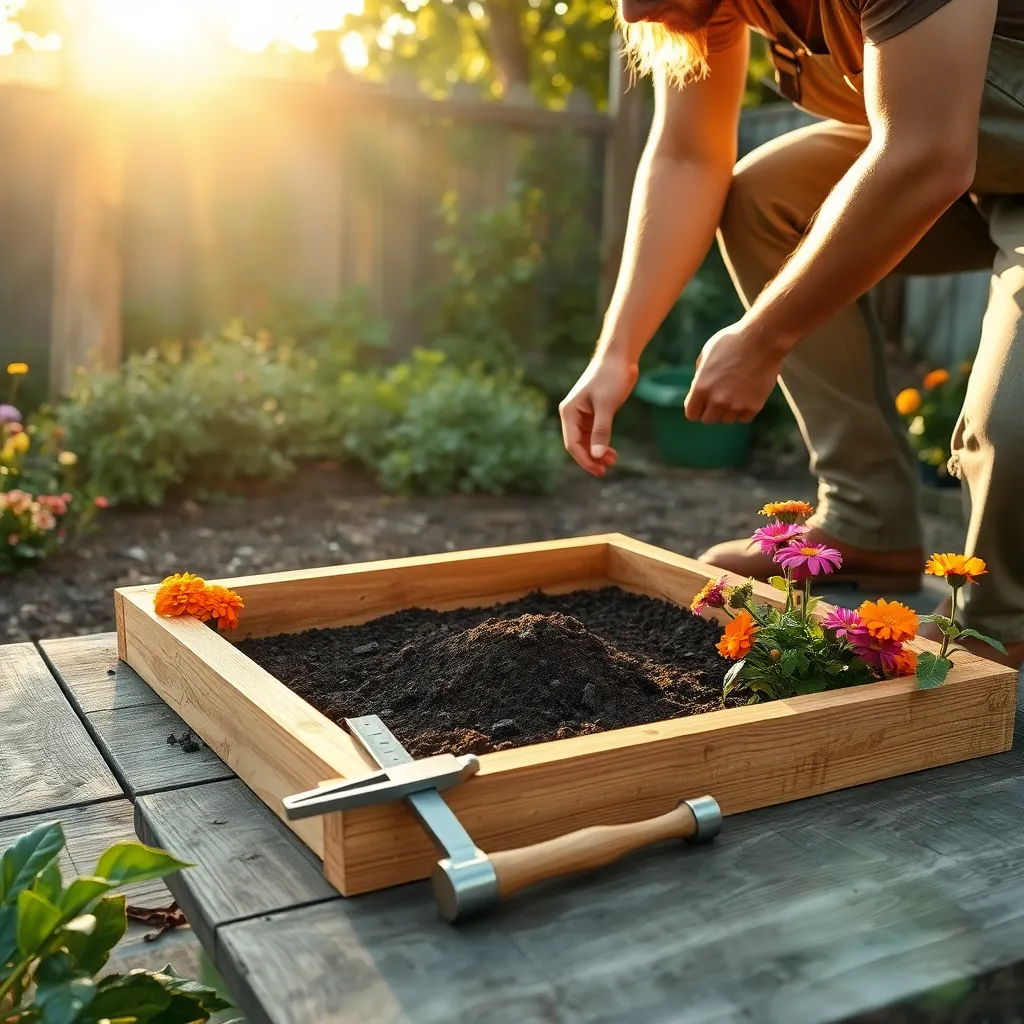
Building a simple wooden frame for your flower bed is a practical project that enhances the garden’s appearance. Begin by selecting untreated, rot-resistant wood like cedar or redwood, as these will ensure longevity and sustainability.
Measure the area you want to frame, keeping in mind the size of your plants and their growth habits. Cut the wood into pieces that fit these dimensions, using a saw for precision.
Before assembling, ensure all wood pieces are smooth to avoid splinters and make handling easier. Connect the corners using galvanized screws or brackets, which resist rust and provide a sturdy hold.
Once your frame is assembled, position it in your chosen location. Fill the frame with a high-quality garden soil mix, rich in organic matter to support healthy plant growth.
For beginners, choose easy-to-grow plants like marigolds or zinnias, which thrive in most soil types and require minimal care. Ensure your plants receive adequate sunlight, typically six to eight hours a day, and water them regularly, allowing the soil to dry between waterings.
Experienced gardeners might experiment with companion planting within the frame to naturally deter pests and enhance growth. Consider adding a layer of mulch on top of the soil to retain moisture and suppress weeds, promoting a thriving flower bed.
Decorating with Colorful Mulch Layers
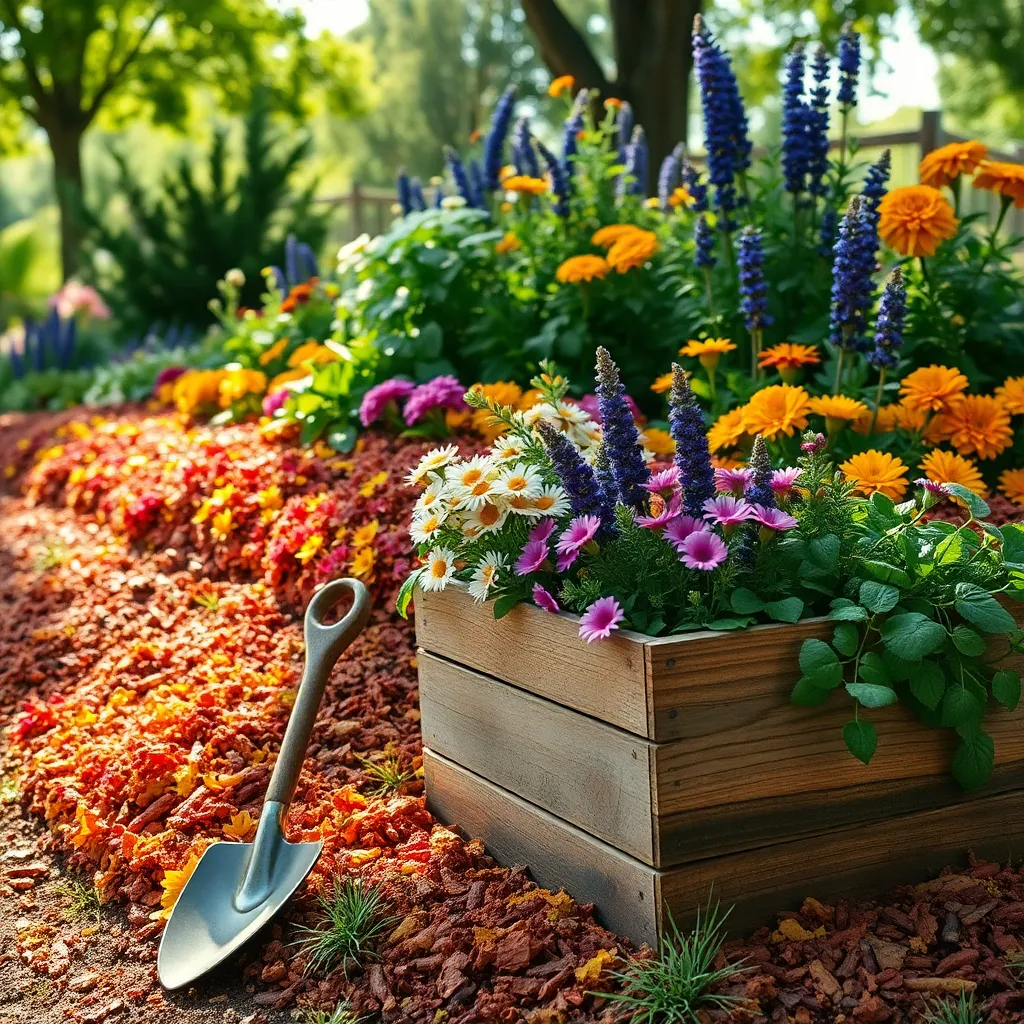
Adding colorful mulch layers is an excellent way to enhance the visual appeal of your flower beds while providing practical benefits. Mulch helps retain soil moisture, suppress weeds, and regulate soil temperature, making it an essential component of any successful garden.
Begin by choosing a mulch color that complements the existing hues in your garden. For a vibrant look, consider using red or gold mulch to make your blooms pop, or opt for black or brown mulch to create a more subtle, natural backdrop.
Before applying mulch, clear the area of weeds and debris to ensure a clean base. Spread a 2 to 3-inch layer of mulch evenly around your plants, taking care not to pile it directly against the stems or trunks, which can lead to rot.
Consider using organic mulches like wood chips, pine bark, or cocoa hulls for a more sustainable option. These materials not only enrich the soil as they decompose but also improve its structure and fertility over time.
For advanced gardeners, mixing different mulch colors can create eye-catching patterns and designs. Experiment with layering techniques to achieve a unique look that reflects your personal style while benefiting your plants.
Establishing a Cottage Garden Effect
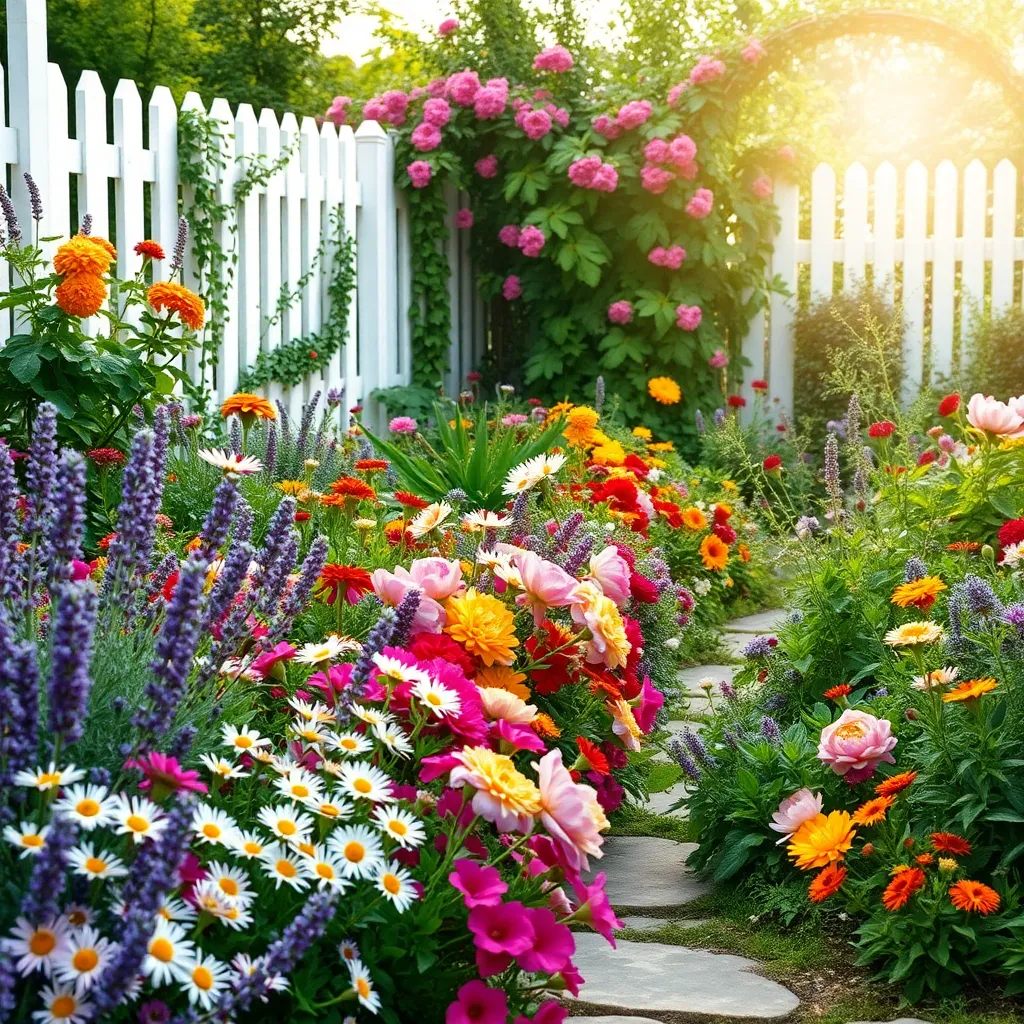
To establish a cottage garden effect, focus on creating a harmonious blend of diverse plants that bloom at different times of the year. This type of garden typically includes a mix of perennials, annuals, shrubs, and climbers, which can create a lush and vibrant aesthetic.
Consider incorporating traditional cottage garden favorites like foxgloves, delphiniums, and hollyhocks, which add vertical interest and color. Plant these tall varieties towards the back of your flower bed to create depth and dimension.
For a successful cottage garden, choose plants that thrive in your local climate and soil conditions. Most cottage garden plants prefer well-draining soil and full sun, so ensure your beds receive at least six hours of sunlight daily.
Incorporate pathways using natural materials like gravel or stepping stones, which not only provide structure but also allow for easy maintenance access. As visitors meander through, they will experience a sensory delight with different textures and fragrances.
Advanced gardeners might consider adding heirloom varieties to enhance the old-world charm of a cottage garden. These plants often have unique characteristics and can be sourced from specialty nurseries or seed exchanges.
Designing a Minimalist Flower Bed
To design a minimalist flower bed, focus on simplicity by selecting a limited palette of plants. Choose a few types of flowers that offer clean lines and subtle colors, such as white tulips or lavender.
Begin with the soil by ensuring it is well-drained and rich in organic matter. A mix of compost and sand can be ideal for most minimalist plants, providing the right balance of nutrients and drainage.
When planting, space the flowers evenly to maintain an uncluttered look. This not only enhances the minimalist aesthetic but also allows each plant to receive adequate sunlight and airflow, promoting healthy growth.
Watering needs should be consistent yet moderate. Most minimalist flower choices, like lavender, thrive with a deep watering once a week, allowing the soil to dry slightly between waterings.
Advanced gardeners can experiment with adding texture by incorporating grasses like Festuca glauca for a modern touch. These grasses require minimal maintenance and can withstand dry conditions, making them perfect companions in a minimalist design.
Incorporating Vertical Flower Displays
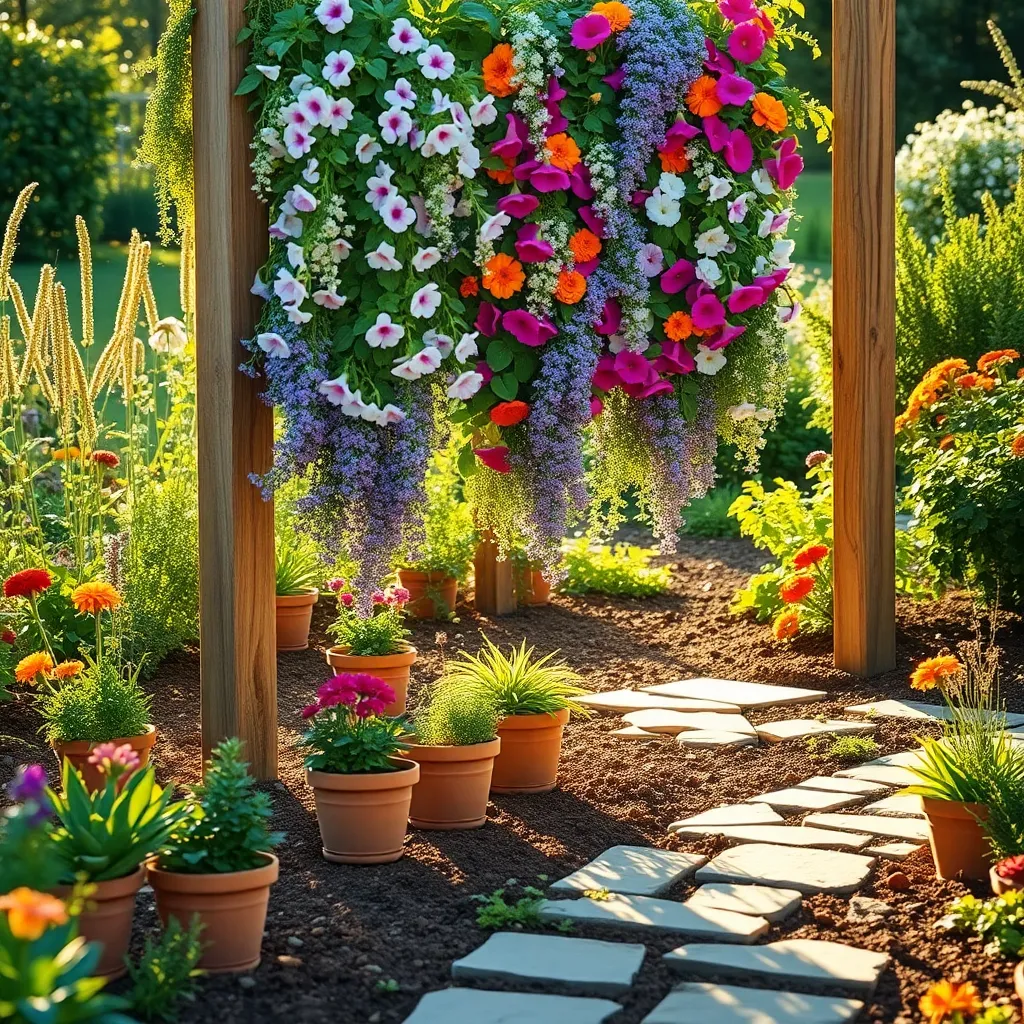
Vertical flower displays are a fantastic way to add dimension and save space in your garden. By utilizing vertical structures like trellises, wall-mounted planters, or hanging baskets, you can create stunning floral arrangements that draw the eye upward.
When selecting plants for vertical displays, consider those that naturally climb or cascade. Flowers like clematis, morning glory, and nasturtium are ideal for trellises, while petunias and ivy look beautiful in hanging baskets.
To ensure your vertical garden thrives, pay attention to the growing conditions required by your chosen plants. Most flowering plants prefer well-draining soil, and you may need to amend it with compost or peat moss if it’s too heavy.
Regular watering is crucial, especially for hanging baskets that tend to dry out quickly. Make it a habit to check the moisture level daily, and water when the top inch of soil feels dry.
For gardeners looking to maximize impact, consider planting in layers. Place taller plants at the back or top of the display and shorter, more colorful varieties towards the bottom to create depth and interest.
Advanced gardeners can experiment with creating living walls using modular systems, which allow for a mix of flowers, herbs, and even vegetables. These structures often require more attention, especially in terms of irrigation and fertilization, but they offer a truly unique and rewarding gardening experience.
Creating a Seasonal Flower Rotation
To create a seasonal flower rotation, start by understanding the blooming periods of different plants. This allows you to plan a flower bed that is vibrant and colorful throughout the year, ensuring no season is left without beauty.
Begin by selecting a variety of annuals, perennials, and biennials that thrive in your climate. Annuals like marigolds and zinnias provide bursts of color in the summer, while perennials such as tulips and daffodils can offer early spring beauty.
Consider the specific care each plant requires, such as sunlight and soil preferences. For instance, sun-loving plants like petunias need at least six hours of direct sunlight daily, while shade-preferring plants like hostas thrive in less intense light.
As you rotate your flowers seasonally, pay attention to the soil health by adding compost or organic matter annually. This practice not only enriches the soil but also helps with water retention, providing your plants with the nutrients they need to flourish.
For advanced gardeners, interplanting complementary species can enhance growth and deter pests naturally. Planting marigolds between tomatoes, for example, can help repel nematodes, creating a healthier garden ecosystem.
Maintaining Your DIY Flower Bed
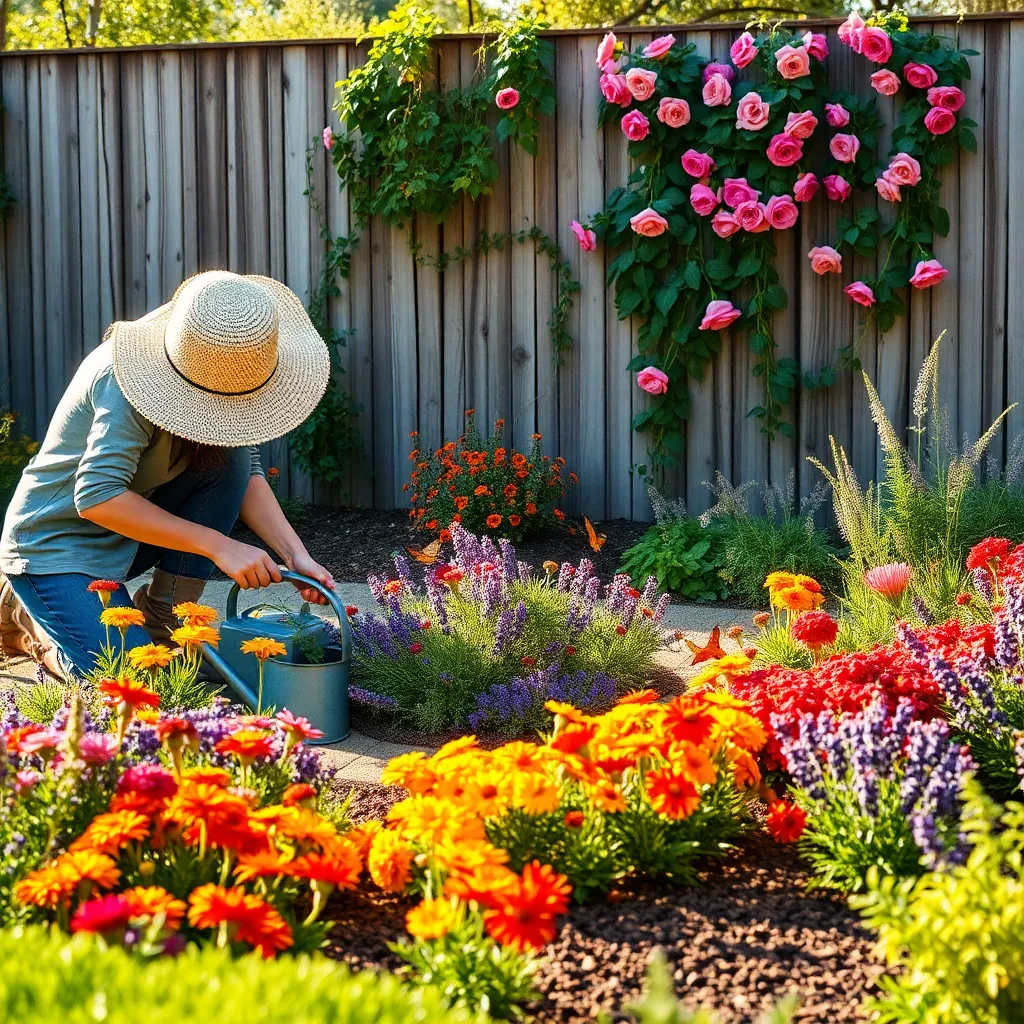
Regular maintenance is key to ensuring your DIY flower bed thrives throughout the seasons. Begin by routinely checking for weeds, which can compete with your flowers for nutrients and water.
Incorporating a layer of organic mulch can help suppress weeds and retain soil moisture. Apply a 2-3 inch layer of mulch around your plants, ensuring not to cover the stems or leaves.
Watering is crucial, especially during dry spells or after planting new flowers. Aim to water your flower bed early in the morning to minimize evaporation and allow foliage to dry throughout the day, reducing disease risk.
To keep your flower bed looking vibrant, deadhead spent blooms regularly. This practice not only maintains the aesthetic appeal but also encourages further blooming in many flowering species.
Fertilization supports healthy growth and flowering, but it’s important to apply it judiciously. Use a balanced, slow-release fertilizer in the spring and again mid-season to provide your plants with a steady nutrient supply.
For gardeners looking to take it a step further, consider testing your soil’s pH and nutrient levels. This advanced step allows you to tailor your fertilization and soil amendments precisely to your plants’ needs.
Conclusion: Growing Success with These Plants
As we journeyed through the 15 DIY Flower Bed Designs, we explored key relationship concepts such as nurturing growth, fostering collaboration, embracing creativity, and cultivating patience. Each design mirrored a valuable lesson: the importance of communication, the beauty of diversity, and the strength found in unity. These concepts remind us that relationships, like gardens, thrive with care and intention.
Now, take an actionable step: choose one concept that resonated with you and implement it in your relationship today. Whether it’s creating a new tradition, nurturing open dialogue, or simply spending quality time together, small steps lead to flourishing connections.
Don’t let these insights fade away; bookmark this article for future reference. This way, you can revisit and reinforce these lessons, ensuring your relationship continues to blossom.
Remember, successful relationships are cultivated over time. By applying these principles, you’re planting the seeds for enduring love and happiness. Embrace this opportunity to nurture your relationship garden, knowing that with each effort, you’re building a vibrant future together. Save this article as your trusty guide and watch your relationship thrive.