When it comes to nurturing a vibrant garden, composting is a truly transformative practice that can turn kitchen scraps and yard waste into nature’s very own gold. Whether you’re a novice gardener just getting your hands dirty or a seasoned horticulturalist looking to refine your techniques, understanding the art of composting is key to fostering healthy plants and sustainable practices. By delving into the world of composting, gardeners of all levels can contribute to a more eco-friendly environment while enriching their soil with nutrient-rich organic matter.
In “8 Stunning Composting Guides,” we’ll journey through an array of methods that will not only enhance the health of your garden but also simplify the composting process. From understanding the basics of a balanced compost pile to exploring advanced techniques like vermicomposting and bokashi, this article is packed with actionable insights designed to elevate your gardening skills. Get ready to embrace the wonders of composting, where each peel and pruning becomes a crucial step towards a flourishing garden.
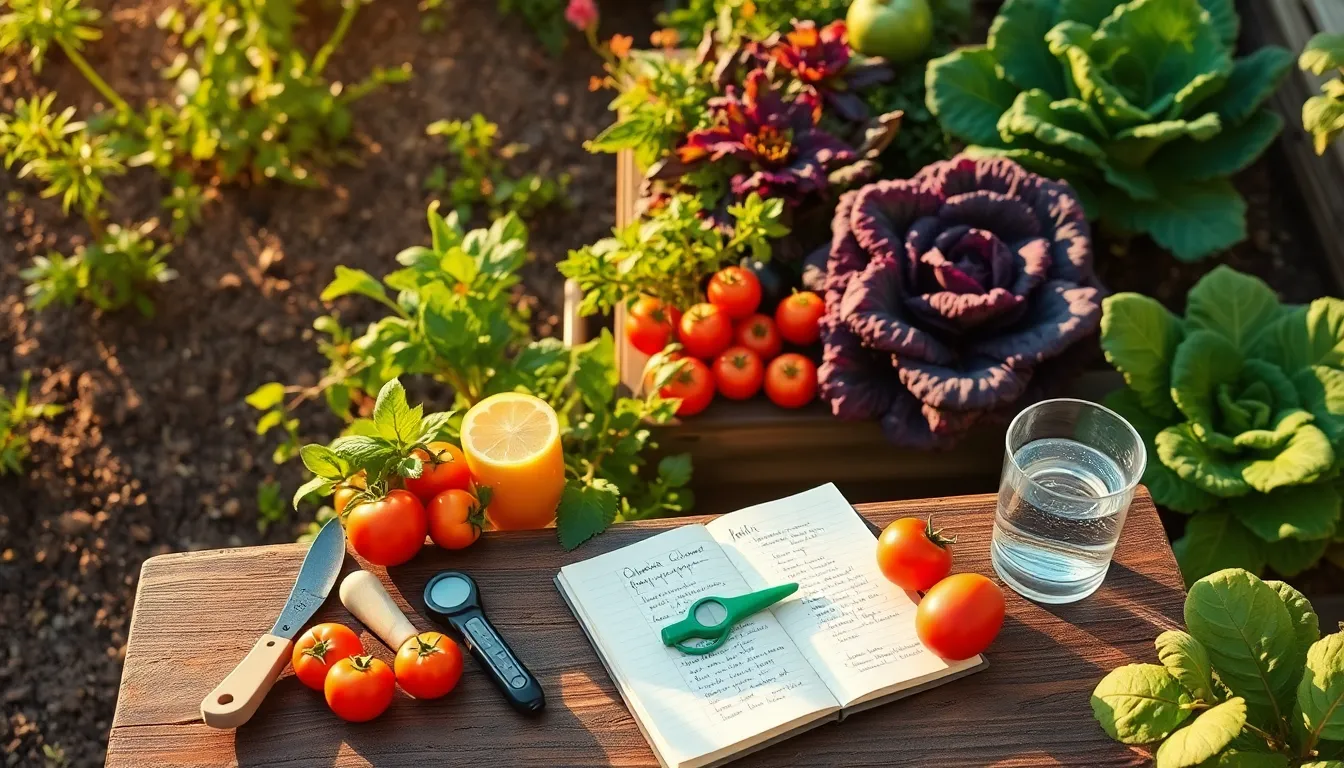
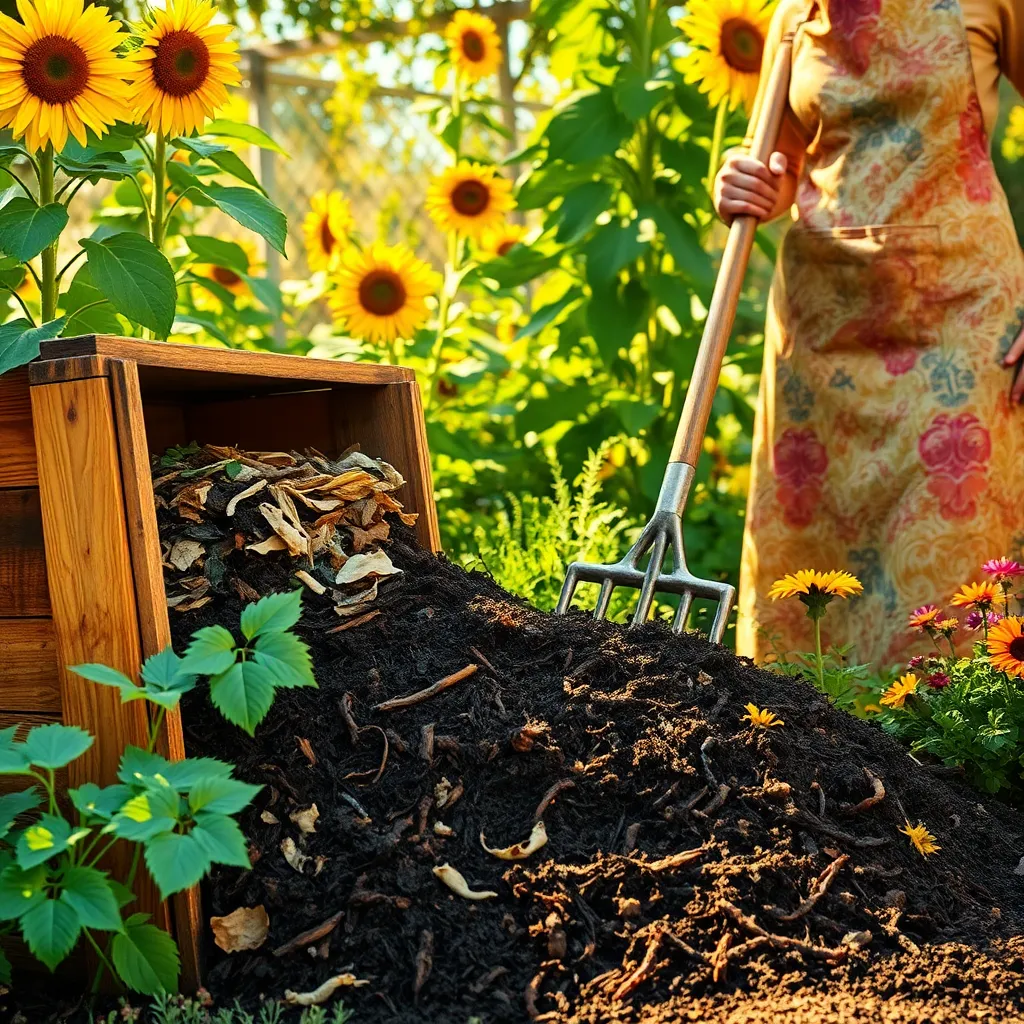
Gather Organic Waste Materials
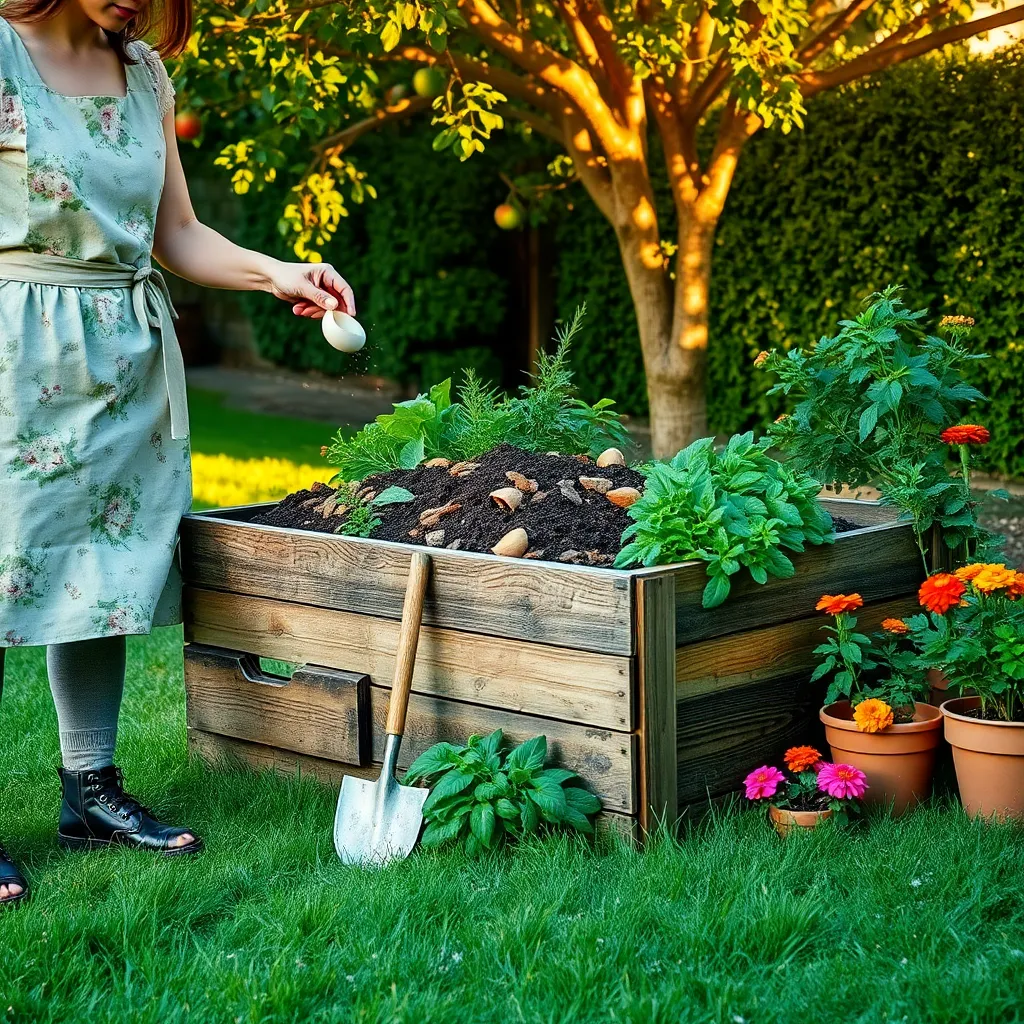
Collecting organic waste materials is the first step to creating rich, nutrient-filled compost. Begin by gathering kitchen scraps such as fruit and vegetable peels, coffee grounds, and eggshells, which are all excellent for composting.
Yard waste is another valuable resource for your compost pile. Include grass clippings, fallen leaves, and small branches to balance the nitrogen and carbon content of your compost.
Ensure you avoid adding meat, dairy, or oils, as these can attract pests and create odor issues. Instead, focus on adding a diverse mix of plant-based materials for the best results.
For those seeking advanced tips, consider shredding larger pieces of waste to speed up the decomposition process. Additionally, maintaining a balance of approximately three parts brown material (like dried leaves) to one part green material (like kitchen scraps) is crucial for a healthy compost heap.
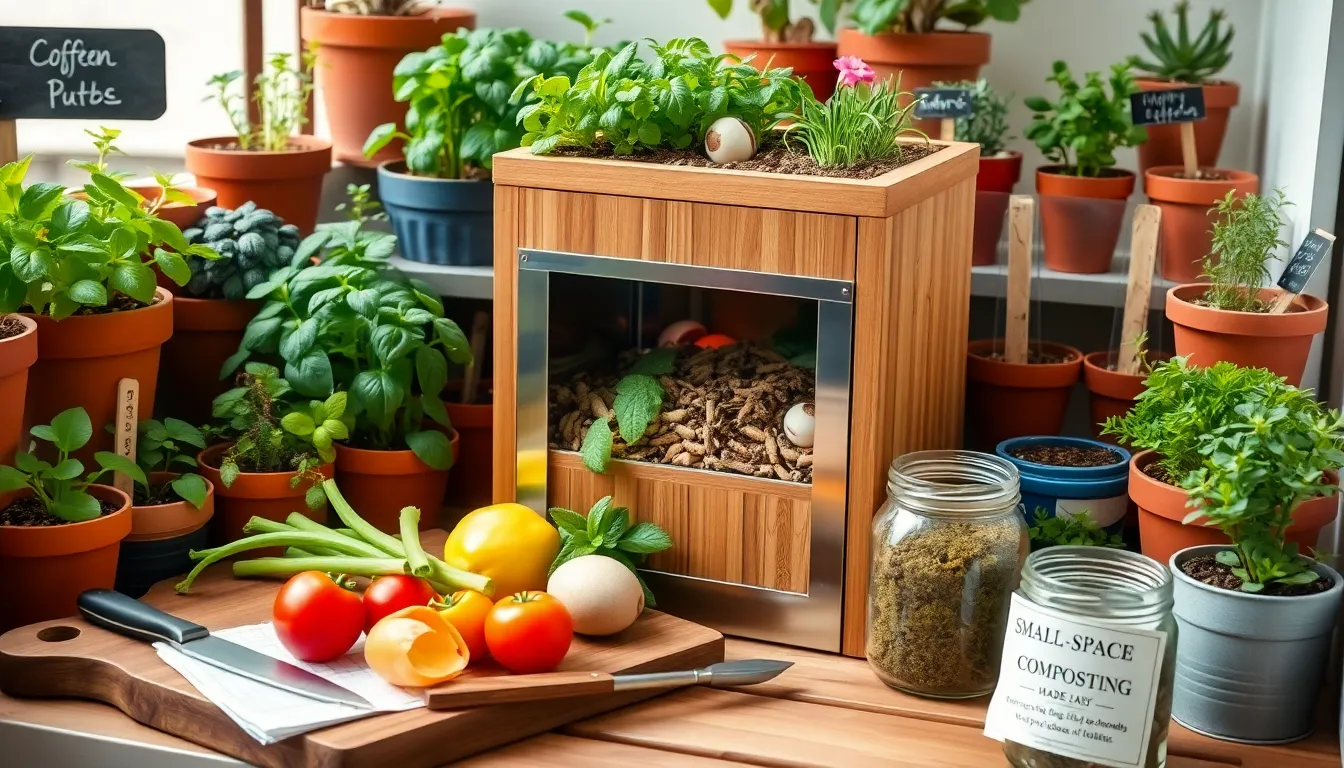
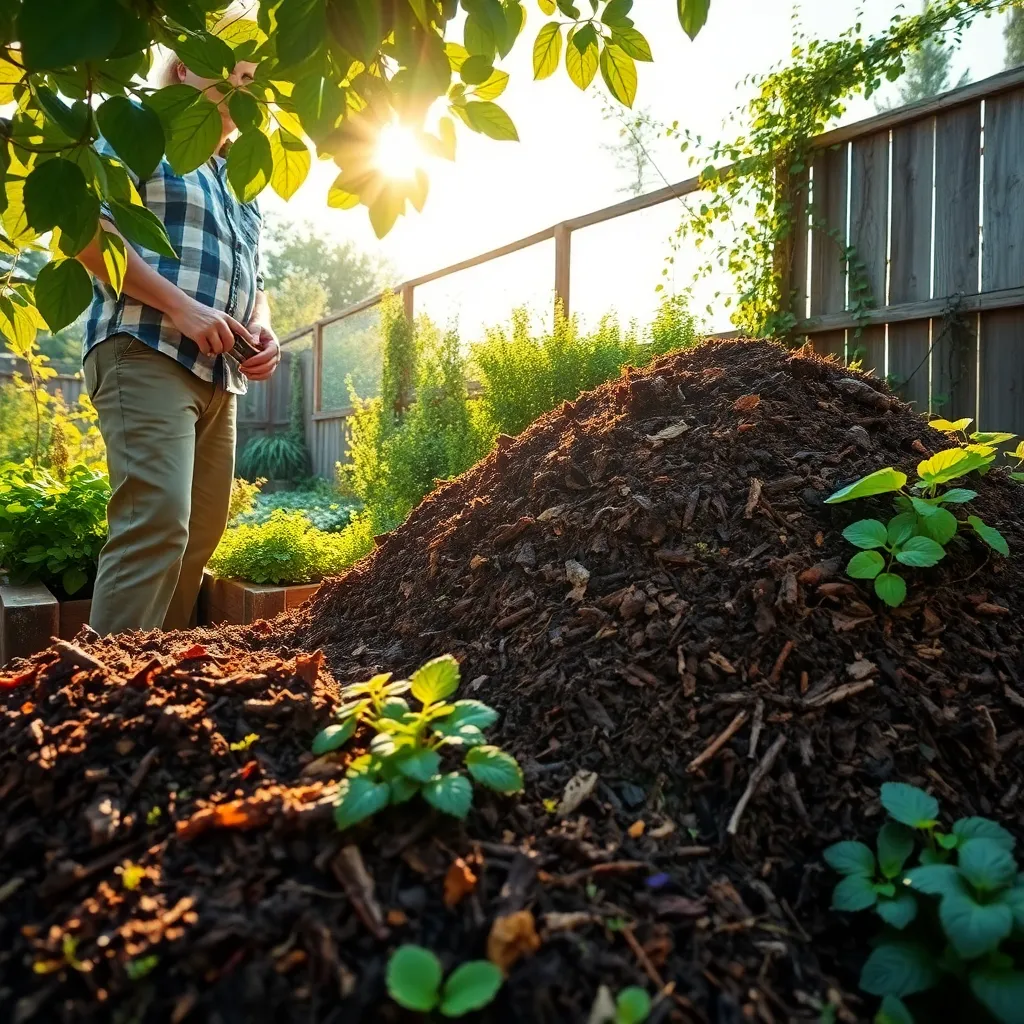
Choose a Composting Location
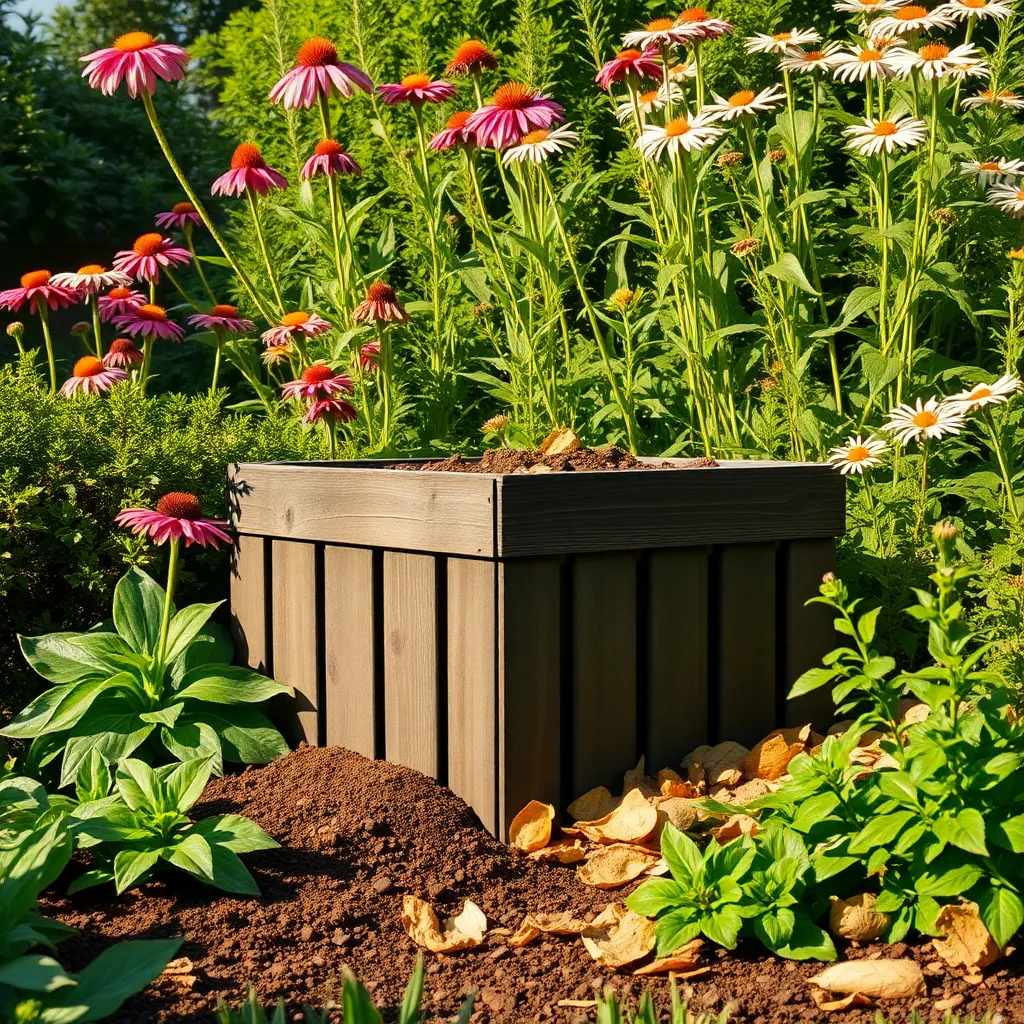
Choosing the right location for your compost pile is crucial for effective decomposition. Position your compost in a spot that receives partial sunlight to maintain warmth while preventing the pile from drying out too quickly.
Avoid placing your compost near water sources like ponds or streams to prevent nutrient runoff. Instead, opt for a well-drained area that allows excess moisture to escape, ensuring the pile doesn’t become waterlogged.
For easy access, consider placing your compost bin close to your kitchen or garden. This location will make it convenient to add organic waste and turn the pile regularly, promoting better aeration and faster decomposition.
Advanced gardeners might build a compost area with multiple bins to manage different stages of composting simultaneously. This method allows for a more continuous supply of finished compost, ensuring you always have nutrient-rich material ready for your garden.
Layer Green and Brown Waste
To create a robust compost pile, it’s essential to layer green and brown waste effectively. This balance is crucial as it ensures that your compost breaks down efficiently and quickly.
Green waste, such as fruit peels, vegetable scraps, and grass clippings, provides the nitrogen necessary for decomposition. On the other hand, brown waste like dried leaves, straw, and small branches contributes the carbon needed to maintain the structure and aeration of your compost.
Begin by laying down a layer of brown waste about six inches thick to ensure good airflow at the base. Follow this with a thinner layer of green waste, about three inches, to provide moisture and nutrients.
Continue alternating these layers, maintaining the ratio of brown to green material roughly at 2:1 to avoid a soggy or smelly pile. For those with experience, consider adding specific materials like shredded newspaper or sawdust to enhance the carbon content if necessary.
Water your pile lightly after every few layers to keep it moist but not waterlogged, which is important for microbial activity. Turning the pile every few weeks will further aid decomposition by introducing oxygen, ensuring the process remains aerobic.
Maintain Optimal Moisture Levels
To maintain optimal moisture levels in your compost pile, aim for a consistency similar to that of a wrung-out sponge. This balance ensures that the microorganisms responsible for breaking down organic matter can thrive.
Regularly check the moisture by squeezing a handful of compost; if water drips, it’s too wet, and if it crumbles, it’s too dry. Adjust by adding more brown materials like shredded leaves to absorb excess moisture or watering the pile if it’s dry.
Position your compost pile in a partially shaded area to prevent it from drying out too quickly, especially during hot weather. This placement will help maintain a more consistent internal temperature, fostering rapid decomposition.
For those with more experience, consider using a moisture meter to monitor the moisture levels precisely. This tool can particularly benefit larger compost setups where manual checks are less practical.
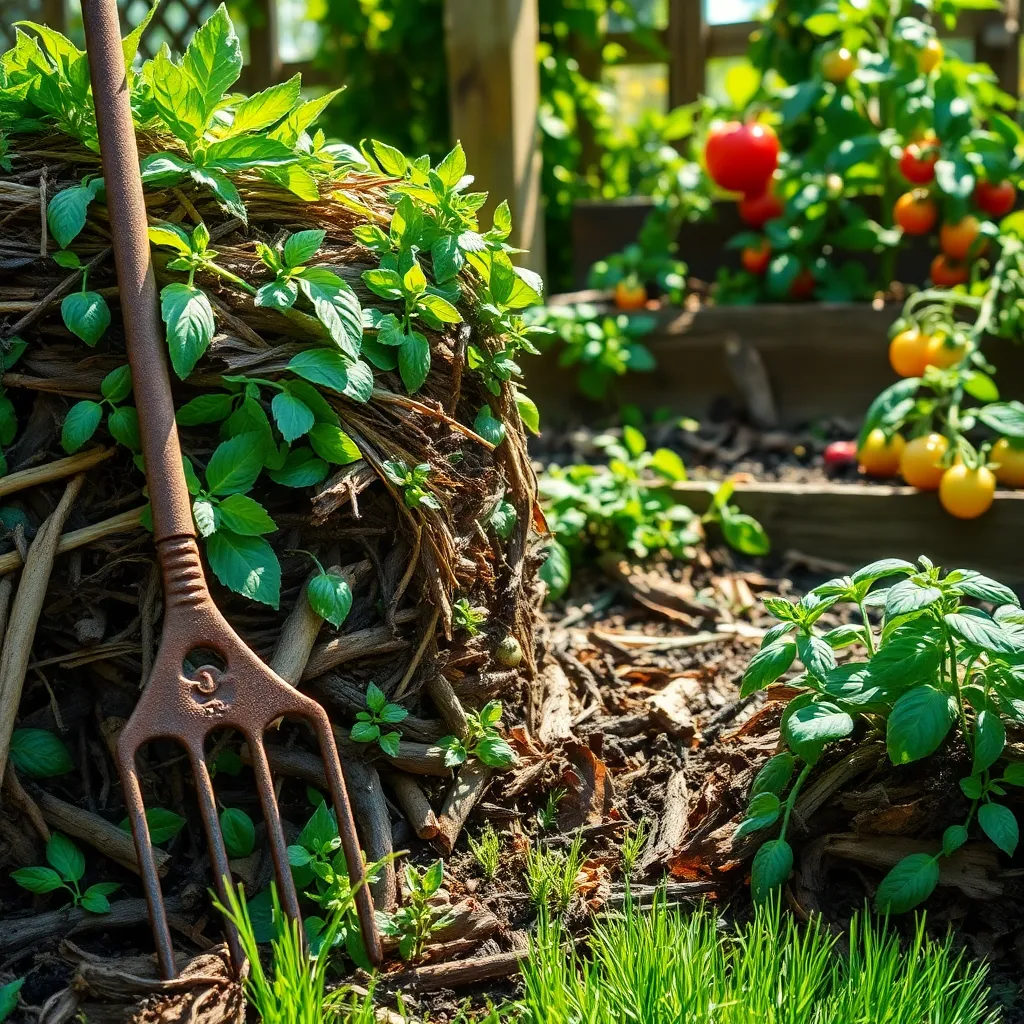
Turn Compost for Aeration
Turning your compost is a simple yet effective way to introduce much-needed oxygen into the mix. This practice helps speed up the decomposition process by encouraging aerobic bacteria, which are essential for breaking down organic materials efficiently.
To get started, use a pitchfork or compost turner to mix the pile thoroughly. Aim to do this about once every week to ten days, ensuring that all parts of the compost receive adequate aeration.
Be mindful of the moisture levels while turning; the compost should feel like a wrung-out sponge. If it’s too dry, sprinkle some water as you turn it, but avoid making it soggy, as this can slow down decomposition and lead to foul odors.
Advanced gardeners might consider a compost thermometer to monitor the internal temperature of the pile. If the temperature is consistently high, you’re on the right track; otherwise, adjust material ratios or increase turning frequency to boost microbial activity.
Monitor Temperature and Adjust
Maintaining the right temperature is crucial for effective composting. Regularly monitor the temperature of your compost heap using a compost thermometer, ideally aiming for 135°F to 160°F (57°C to 71°C) for optimal decomposition.
If the temperature falls below this range, your compost might need more nitrogen-rich materials, such as grass clippings or kitchen scraps. Conversely, if it gets too hot, consider adding more carbon-rich substances like dried leaves or straw to cool it down.
Position your compost pile in a spot that receives partial sunlight to naturally regulate temperature. Too much sun can dry out the compost, while complete shade might slow the decomposition process, so a balance is essential.
During colder months, insulating the compost pile with a tarp can help maintain a consistent temperature. For advanced gardeners, consider aerating your pile more frequently in winter to prevent it from dropping below the ideal temperature range.
Identify When Compost is Ready
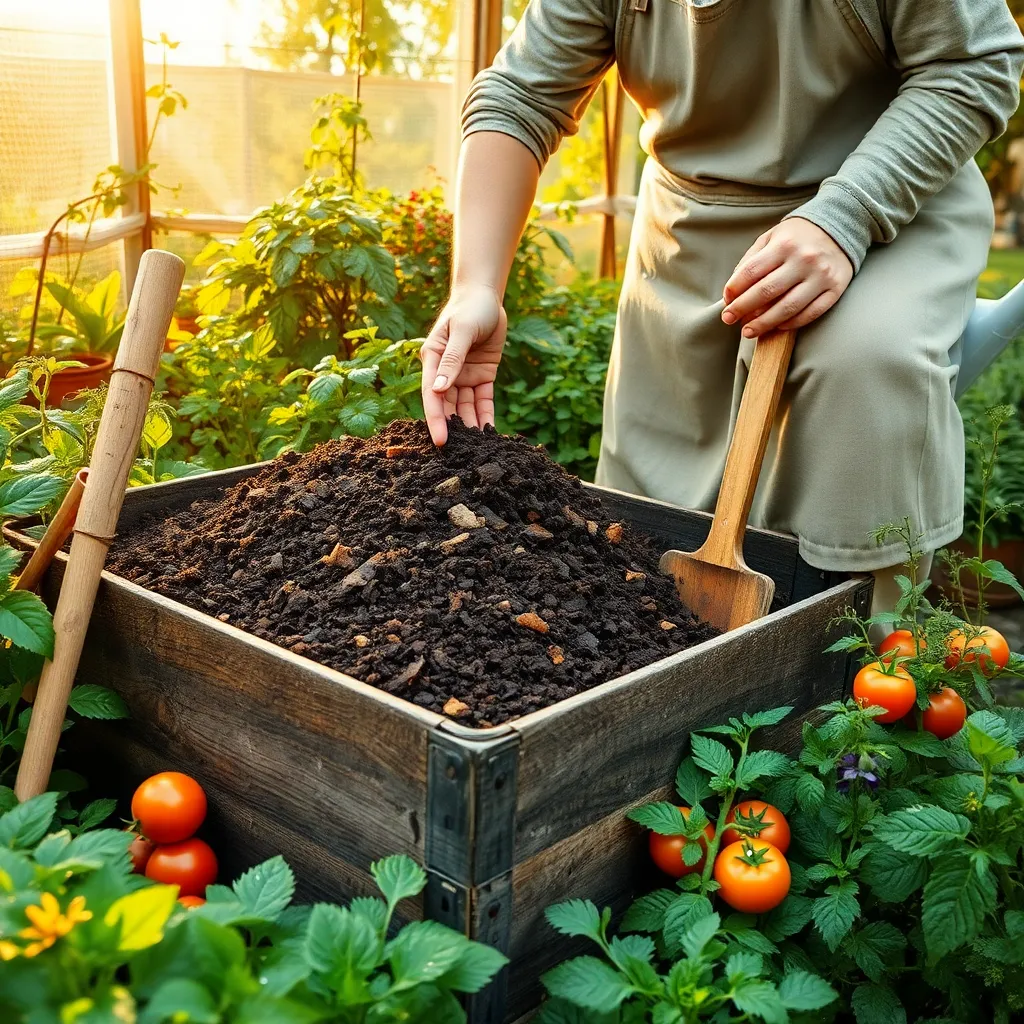
Compost is ready when it has a rich, dark brown color and a crumbly texture, much like soil. Look for a pleasant, earthy smell that indicates the organic materials have fully decomposed.
Another sign of readiness is the disappearance of identifiable food scraps and plant material. Check for temperature changes; finished compost should feel cool, as active composting generates heat.
To test further, try the bag test: seal a small amount of compost in a plastic bag for a week. If it smells musty or rotten when opened, it needs more time to cure.
For those looking to refine their composting skill, consider sifting the finished product to remove larger, non-decomposed materials. Use a wire mesh to separate the finer compost for immediate use, while returning the larger pieces to your compost pile.
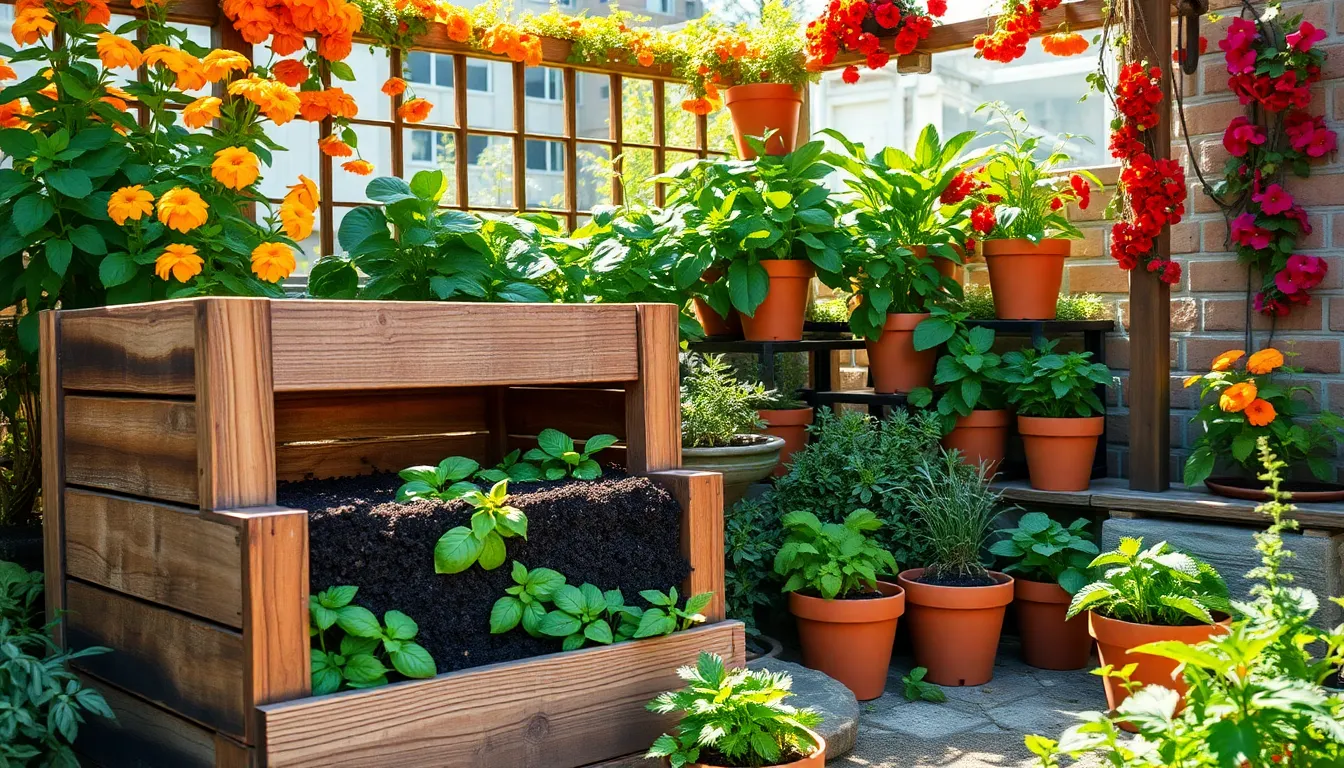
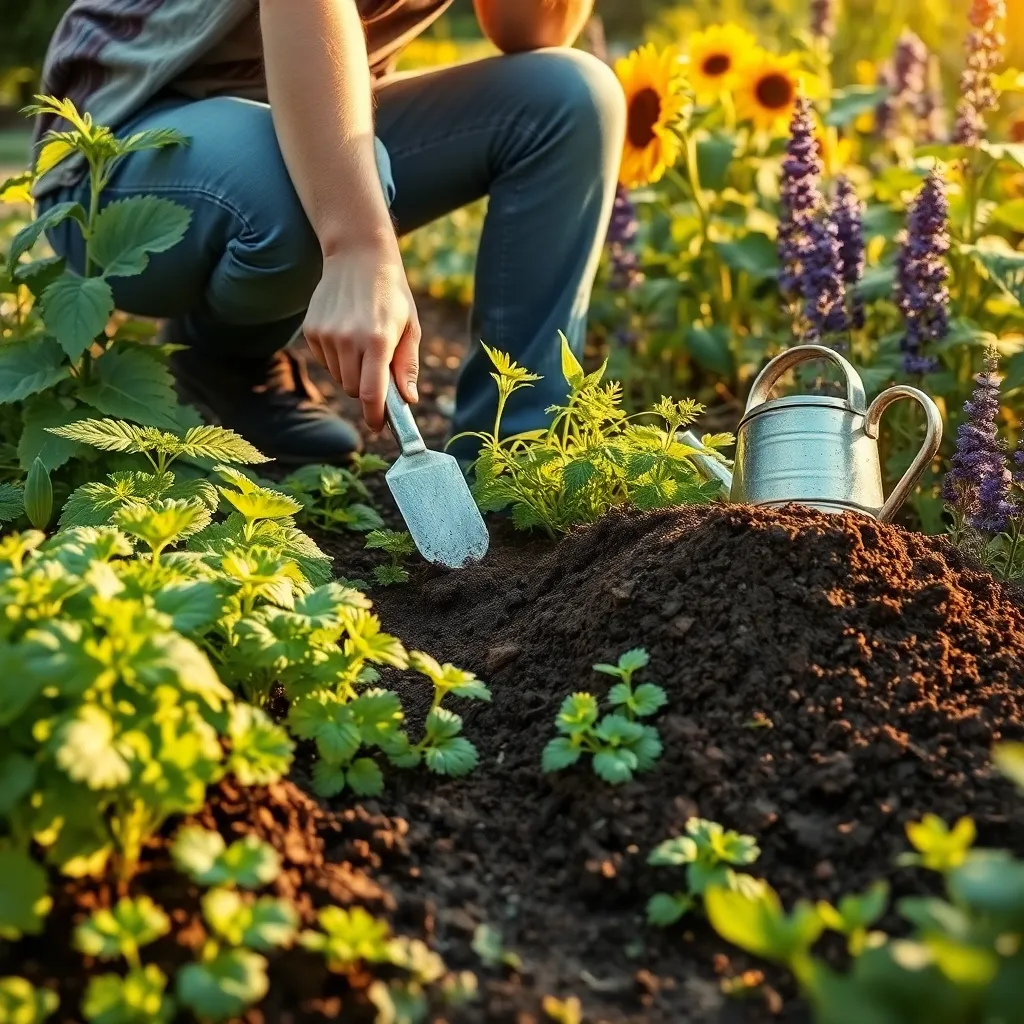
Utilize Finished Compost in Garden
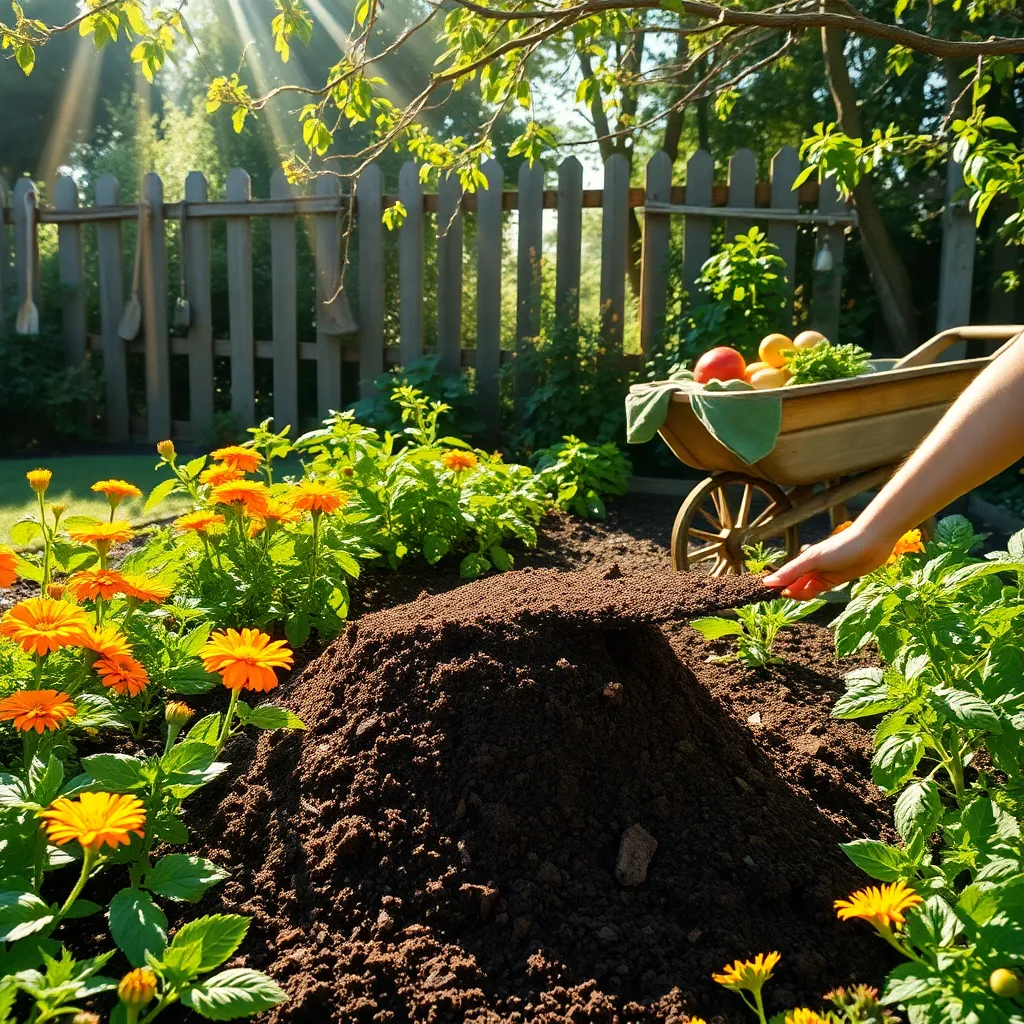
Once your compost is ready, it’s time to integrate this nutrient-rich material into your garden soil. Start by spreading a 2-3 inch layer of finished compost over your garden beds, ensuring even coverage across the surface.
Next, incorporate the compost into the top 6 inches of soil using a garden fork or tiller. This practice not only enriches the soil with nutrients but also improves its structure and drainage, which is beneficial for plant roots.
For gardeners with established plants, apply compost as a top dressing around the base of your plants. This method provides a slow release of nutrients as the compost breaks down further, supporting plant health throughout the growing season.
Consider using finished compost as a component in potting mixes for container gardening. Mix it with equal parts of peat moss and perlite or sand to create a balanced medium that supports healthy root development and moisture retention.
In addition, finished compost can be used to create a nutrient-rich tea for watering your plants. Simply fill a burlap sack with compost, submerge it in water for a few days, and use the liquid to water your plants. This compost tea provides an instant nutrient boost, fostering robust growth.
Conclusion: Growing Success with These Plants
In exploring the ‘8 Stunning Composting Guides,’ we’ve unearthed invaluable relationship insights that can transform how you nurture connections. We began with understanding the importance of effective communication, followed by building trust through transparency. We then delved into the art of compromise and the necessity of understanding love languages. The fifth concept emphasized the power of quality time, while the sixth reinforced the significance of healthy boundaries. Our seventh guide highlighted the role of gratitude, and lastly, we unpacked conflict resolution strategies.
Now, take a moment to reflect on which of these principles resonates most with your relationship. Choose one concept to implement starting today, such as setting aside dedicated time for uninterrupted conversation or expressing appreciation for your partner’s efforts.
Remember, relationships are gardens that flourish with attention and care. Bookmark this article as your go-to resource for nurturing your connections and revisit it whenever you need a refresher. As you incorporate these insights into your daily life, envision a future where your relationships are vibrant, fulfilling, and resilient. Your journey towards relationship success begins with the small, intentional steps you take today. Embrace this empowering path and watch your relationships thrive.