Gardening is a joyful journey that connects us to the earth, no matter where we are on our green-thumb adventure. Whether you’re newly enchanted by the idea of cultivating your own vegetables or an experienced gardener looking to optimize your space, building a raised garden bed can transform your approach to gardening. This practical, elevated platform not only enhances your plants’ environment but also makes tending your garden more accessible and enjoyable. By crafting your own raised bed, you set the stage for a healthier, more bountiful harvest.
Creating a raised garden bed is an art that combines creativity with a touch of engineering. In this article, we will guide you through the process, from choosing the perfect location and selecting materials, to assembling your bed and filling it with the ideal soil mix. You’ll discover how this simple structure can improve drainage, deter pests, and extend your growing season. Whether you have a small balcony or a sprawling backyard, a raised garden bed can be tailored to fit your unique space and needs.
For the beginner, this might seem like a daunting task, but rest assured, we’re here to make it manageable and fun. Experienced gardeners will find tips to refine their techniques and perhaps learn a few new tricks along the way. As you delve into this project, you’ll gain a deeper understanding of your soil, your plants, and your gardening goals. Together, we’ll cultivate both a thriving garden and a rewarding gardening experience.
Select an Ideal Location
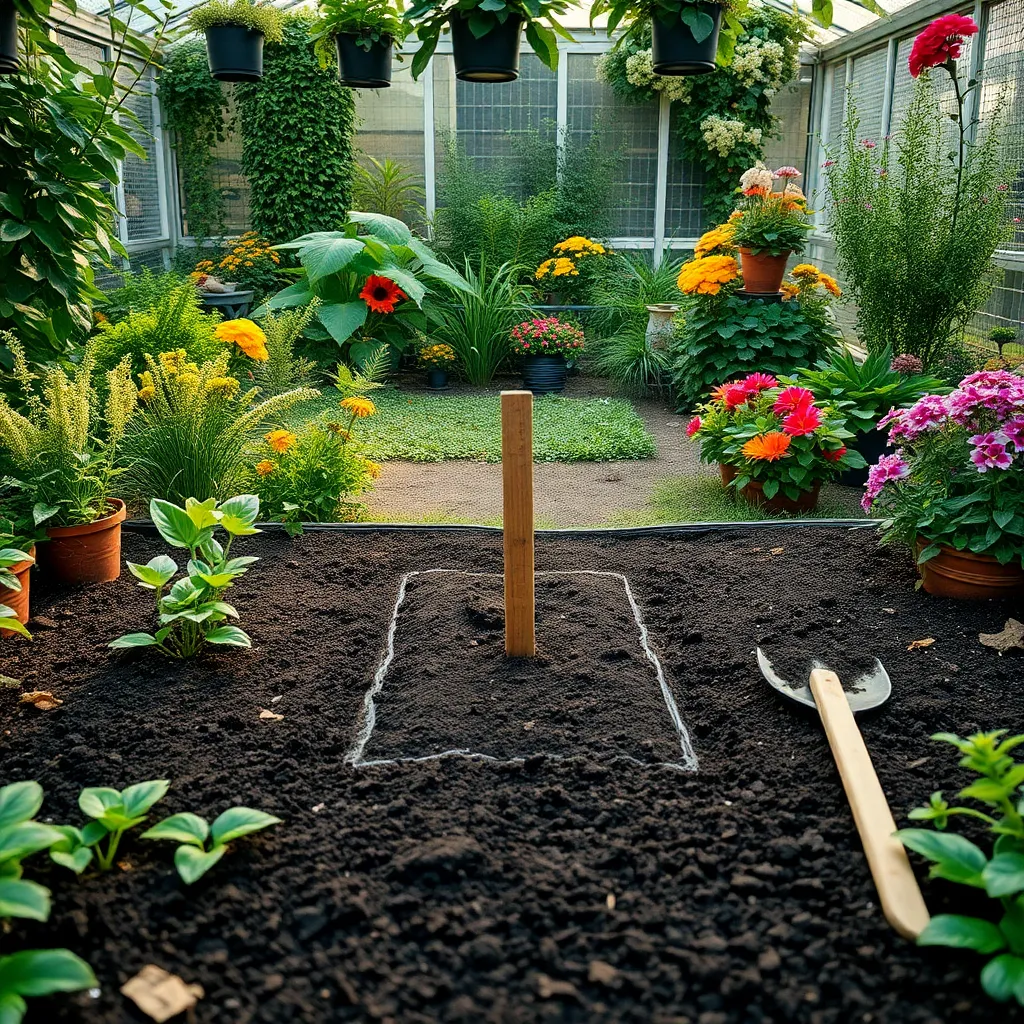
Choosing the right location for your raised garden bed is crucial for successful plant growth. Start by observing the sunlight in your garden throughout the day, as most vegetables and flowers need at least six to eight hours of direct sunlight daily.
Consider the proximity to a water source since consistent watering is essential for maintaining healthy plants. Placing your bed near a hose or irrigation system can make watering more efficient and less labor-intensive.
Ensure the location has good drainage to prevent water from pooling around your plants, which can lead to root rot. Raised beds naturally improve drainage, but it’s still important to avoid areas prone to flooding or heavy runoff.
Think about the convenience of accessing your garden bed for planting, maintenance, and harvesting. Arrange paths and walkways so that you can easily reach all parts of the bed without stepping on the soil, which helps prevent compaction and maintains soil health.
Gather Necessary Materials
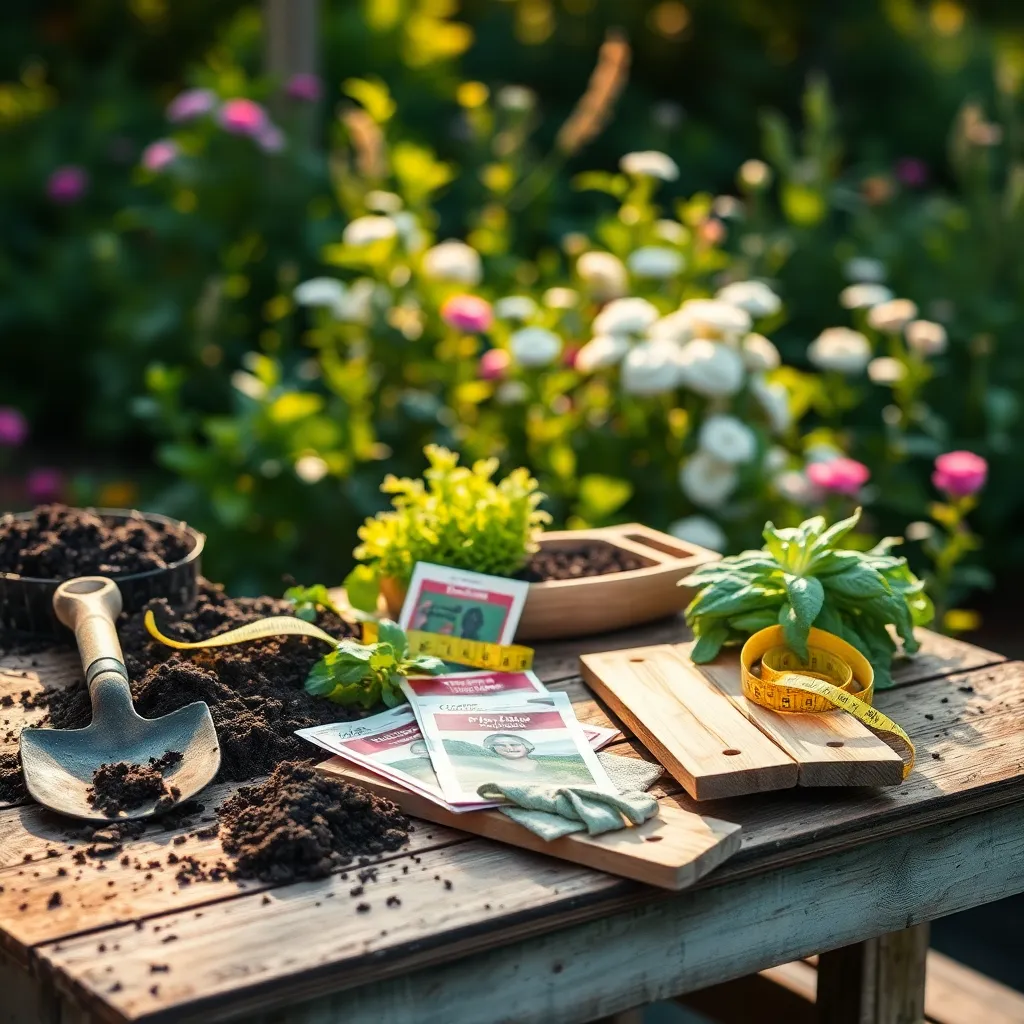
To build a raised garden bed, you’ll need to gather some essential materials before you begin. Start with acquiring quality wood, such as cedar or redwood, which are naturally resistant to rot and pests, ensuring longevity for your garden bed.
Consider the soil you’ll be using, as it directly affects plant health and productivity. Opt for a mix of high-quality topsoil, compost, and organic matter to create a rich, well-draining environment that supports robust plant growth.
Fasteners like screws or nails are vital for assembling the frame securely. Make sure to choose galvanized or stainless steel options to prevent rust, which can compromise the integrity of your garden bed over time.
Additionally, a weed barrier is an excellent investment to keep unwanted plants from invading your garden bed. Lay down a layer of landscape fabric at the base before filling the bed with soil, which will help maintain a cleaner, more manageable growing area.
Assemble the Garden Frame
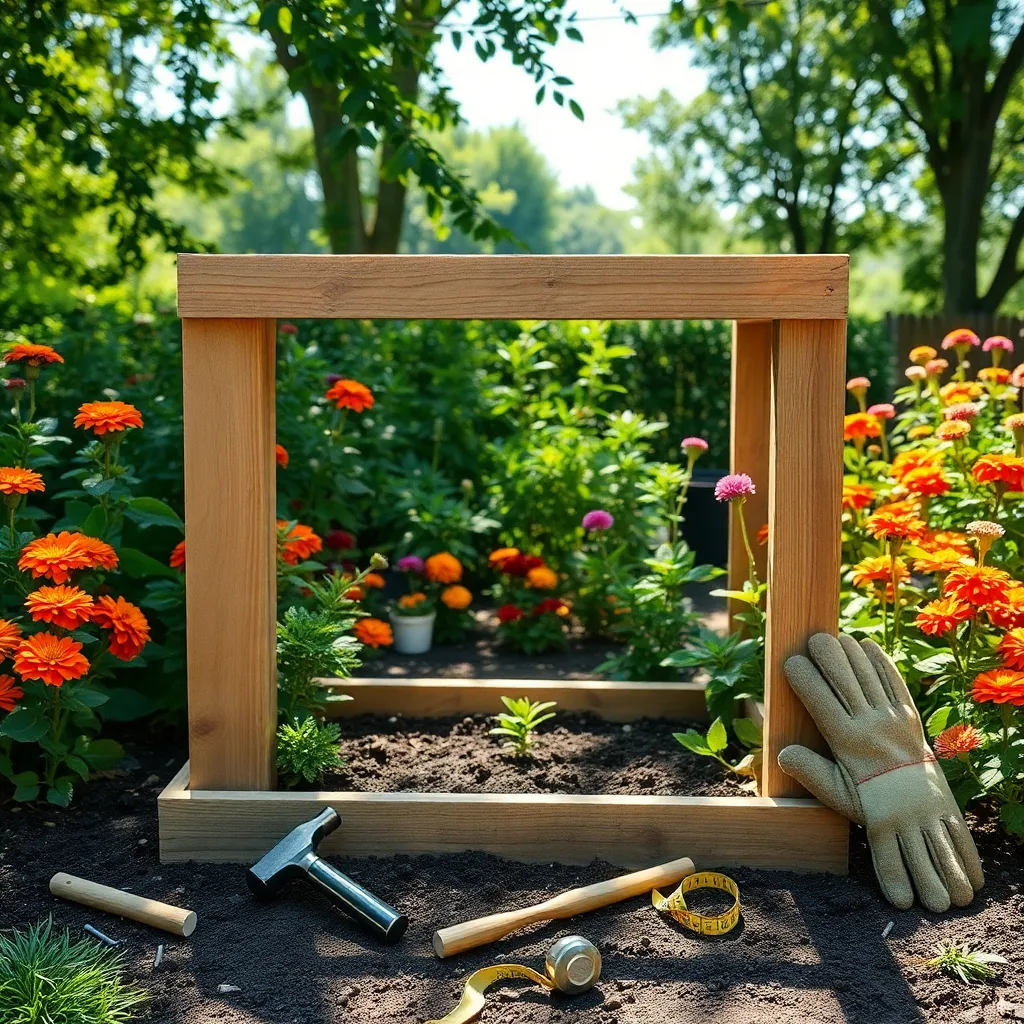
To begin assembling the garden frame, lay out your pre-cut lumber pieces on a flat surface. Ensure all pieces are cut to the correct lengths, typically using untreated wood like cedar or redwood for their durability and resistance to rot.
Next, align the corners of your boards to form a rectangle or square, depending on your desired bed shape. Use a carpenter’s square to ensure each corner is precisely 90 degrees, which will help maintain the integrity of the structure.
Secure the corners by using galvanized screws or bolts, which provide a strong hold against the elements. Drill pilot holes before inserting screws to prevent the wood from splitting and ensure a snug fit.
For added stability, consider adding corner brackets or reinforcing the joints with wood glue before screwing. This step is especially important in larger beds, where additional support helps maintain the shape and prevent bowing over time.
Once the frame is securely assembled, position it in your garden space, ensuring it is level. Use a spirit level to check and adjust as necessary by adding or removing soil from beneath the frame to achieve a flat surface.
Before filling the bed with soil, lay down a layer of landscaping fabric or cardboard to suppress weeds. This simple step can greatly reduce maintenance and improve the success of your plants by minimizing competition for nutrients.
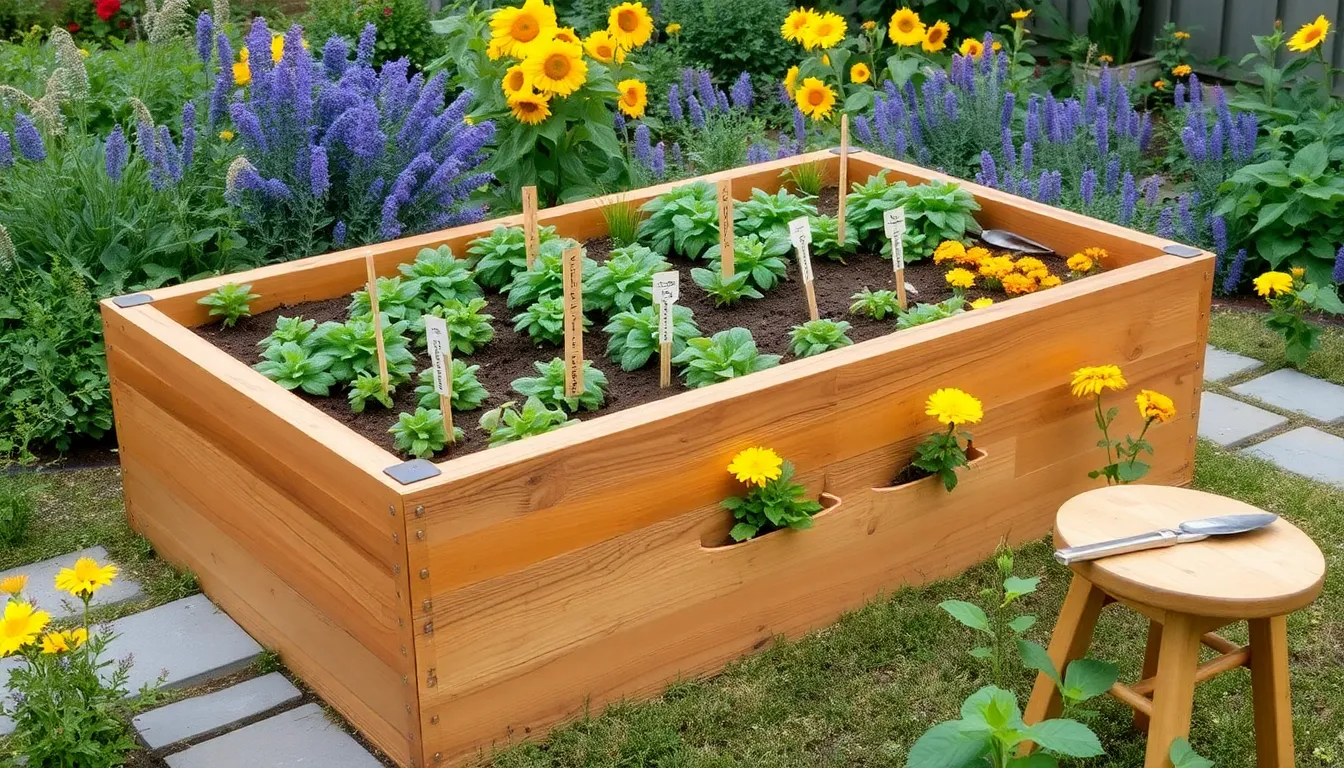
Fill with Quality Soil Mix
After assembling your garden frame, it’s time to fill it with a quality soil mix to set a solid foundation for your plants. A well-balanced soil mix ensures that your plants receive the necessary nutrients and support for healthy growth.
Begin by choosing a soil mix that combines topsoil, compost, and a soil conditioner like peat moss. This combination creates a rich, loamy texture that retains moisture while still providing proper drainage.
For beginners, pre-mixed garden soil from your local garden center can be a convenient option. Advanced gardeners might prefer to create their own mix, adjusting the ratios of components based on specific plant needs.
To enhance soil fertility, consider adding organic matter such as well-rotted manure or leaf mold. These additions will supply essential nutrients and improve the soil structure over time.
Once your soil mix is ready, fill the garden bed, leaving about an inch from the top to allow for watering. Ensure the soil is evenly distributed and gently compact it to eliminate any air pockets that could hinder root growth.
Water the soil thoroughly after filling the bed to settle it and to check drainage. Keep an eye on moisture levels and adjust watering practices based on your local climate and the specific requirements of your plants.
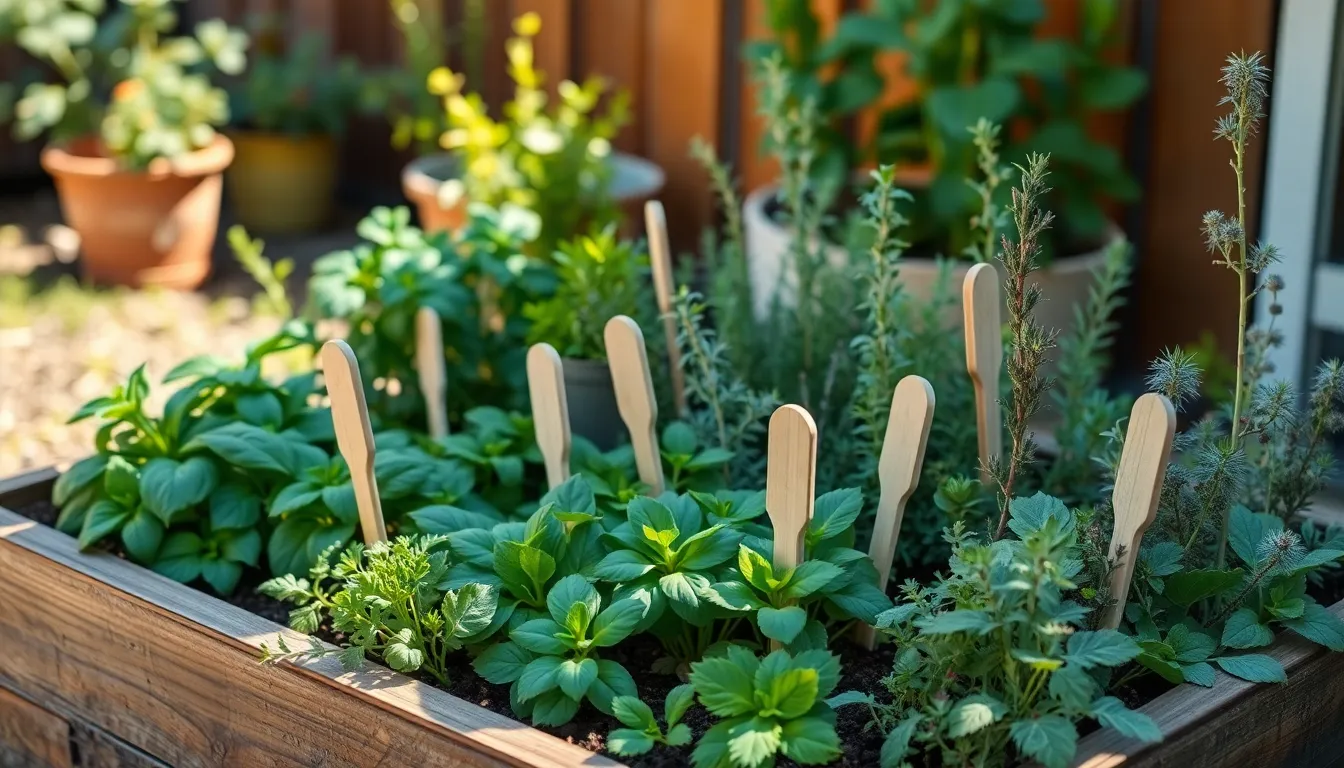
Plant Your Chosen Crops
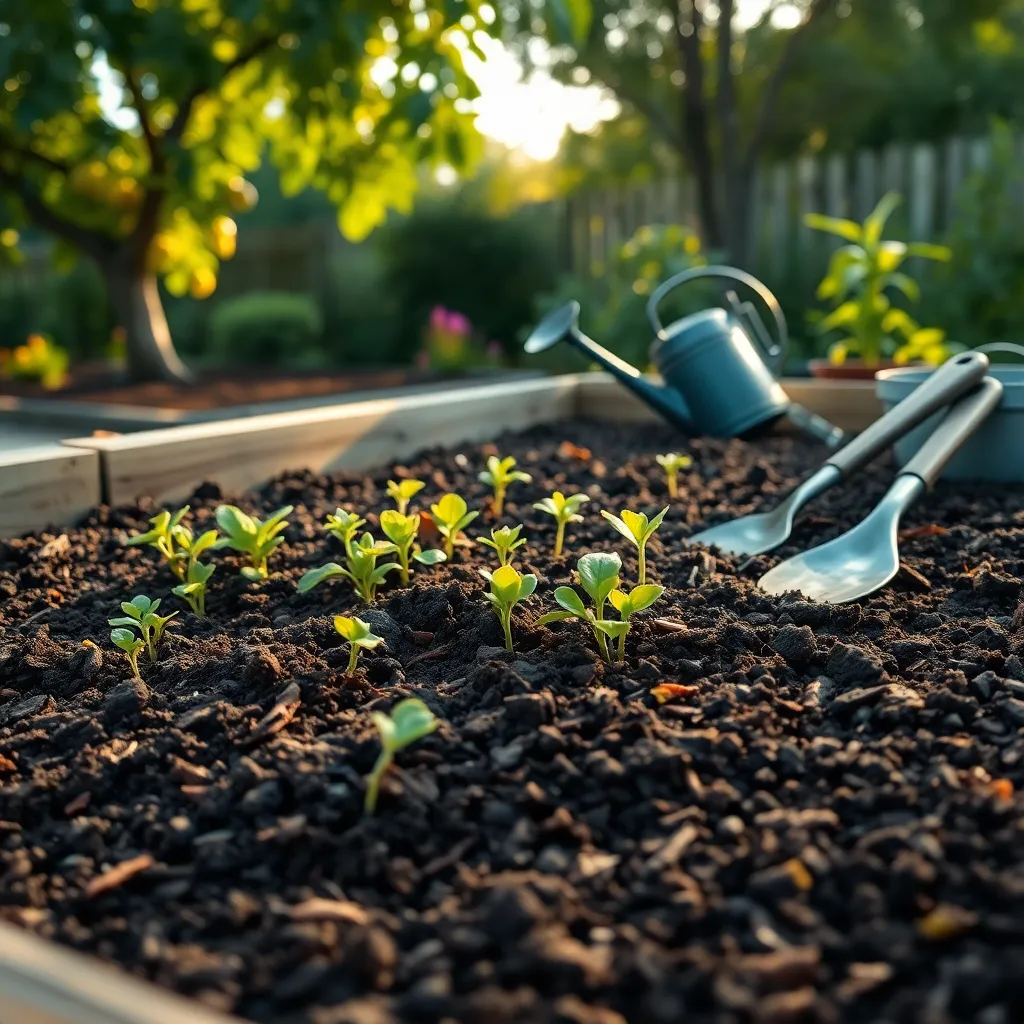
Once your raised garden bed is filled with quality soil, it’s time to select and plant your chosen crops. Consider your climate and the current season to decide what will thrive best in your garden.
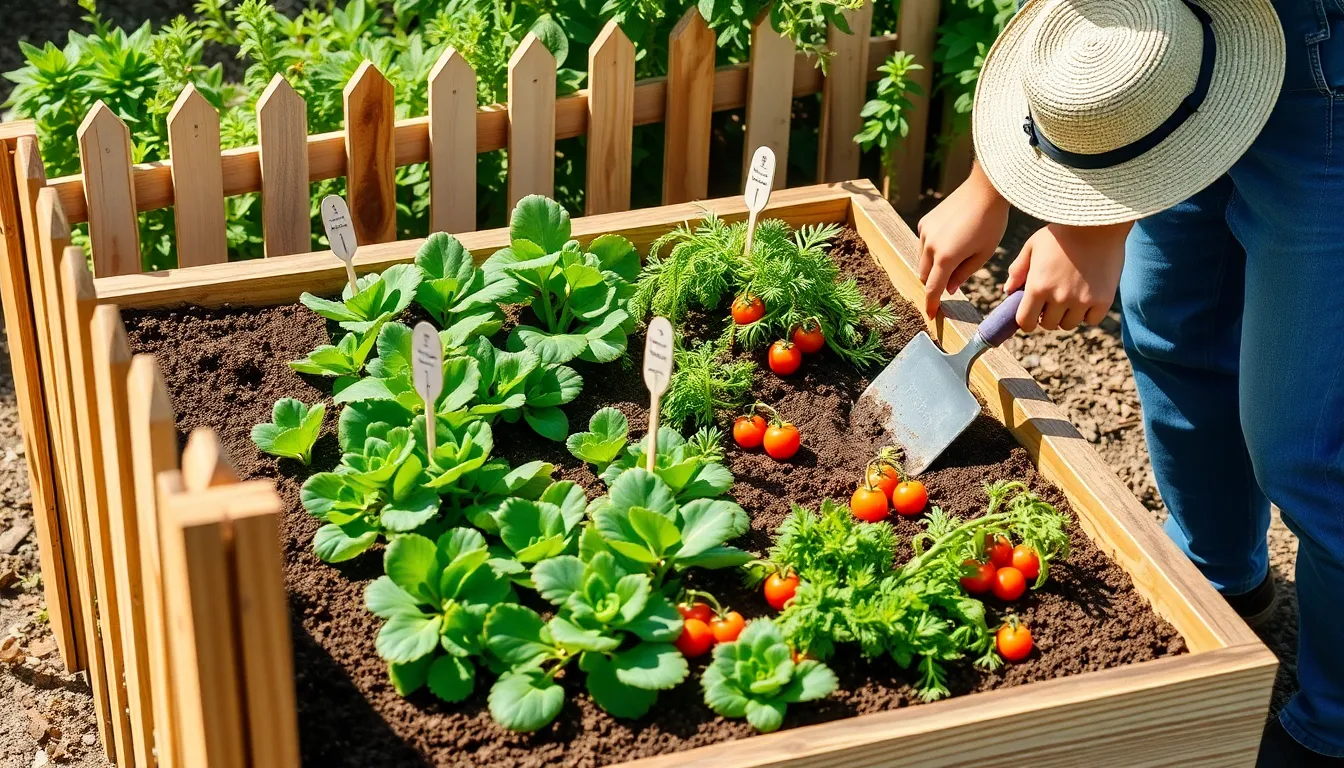
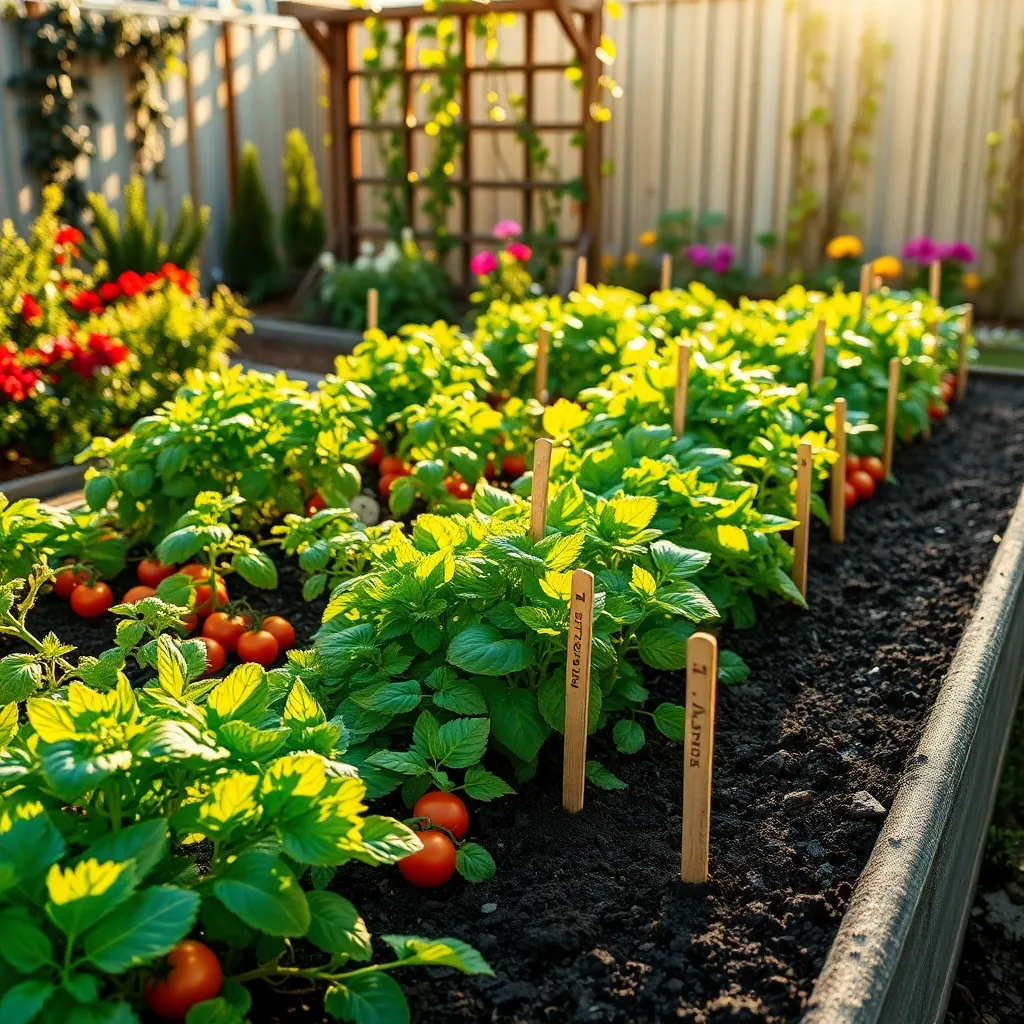
Begin by planning your layout carefully, ensuring that taller plants such as tomatoes are placed at the back or center to prevent shading shorter ones. This strategic placement will help all plants receive adequate sunlight, promoting healthy growth.
For beginners, starting with easy-to-grow crops like lettuce, radishes, and carrots can be rewarding. These plants typically require minimal maintenance and can offer a quick reward, encouraging continued gardening efforts.
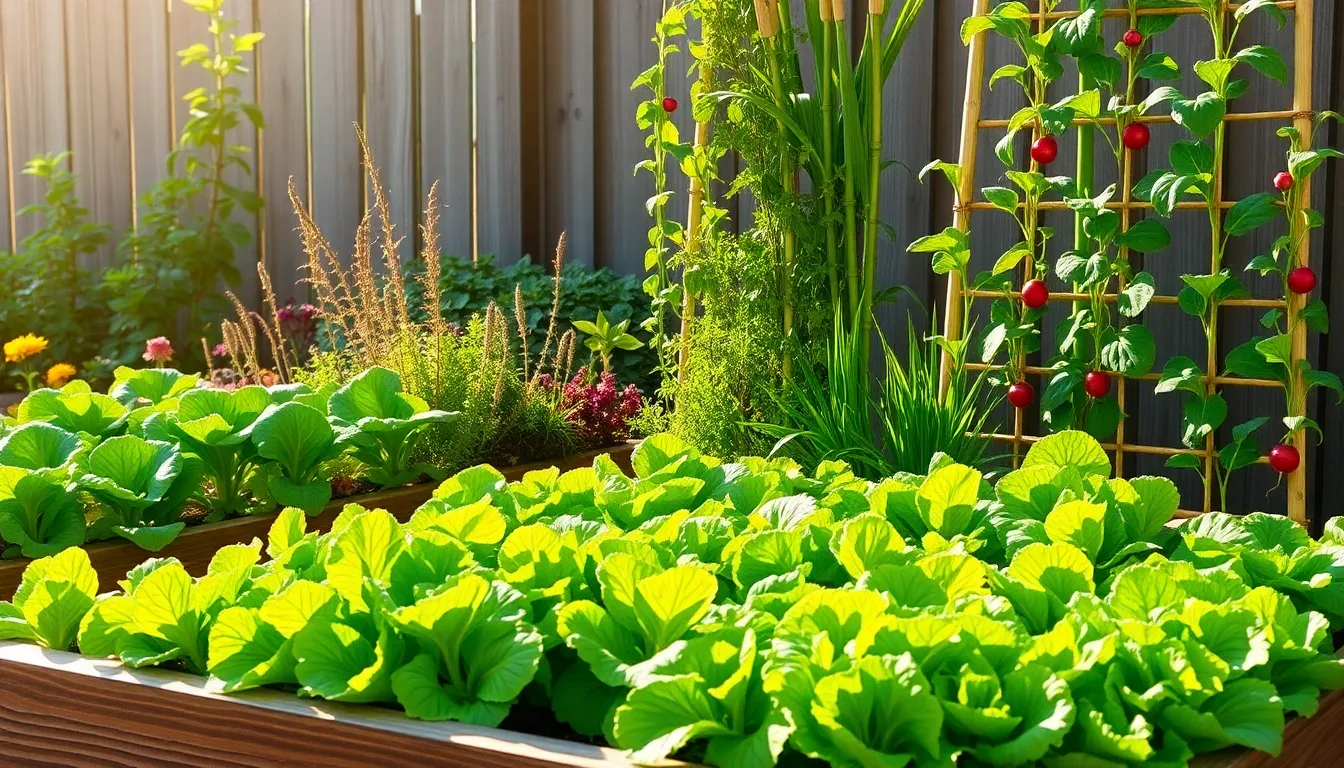
Water your plants consistently, aiming for a deep watering once or twice a week rather than shallow daily watering. This technique helps roots grow deeper, making plants more resilient to drought conditions.
To enhance growth, incorporate a layer of mulch around your plants. Mulching retains soil moisture and suppresses weeds, providing a nurturing environment for your crops.
Advanced gardeners might consider companion planting to maximize space and plant health. Pairing plants such as basil with tomatoes can naturally deter pests and improve flavor, offering a more bountiful harvest.
Conclusion: Growing Success with These Plants
In conclusion, building a raised garden bed offers more than just a bounty of fresh produce—it’s a beautiful metaphor for nurturing strong relationships. We explored five key concepts: communication, teamwork, patience, adaptability, and commitment. Much like tending to a garden, open communication ensures that every partner’s needs are voiced and heard, while teamwork allows shared responsibilities to flourish. Patience nurtures growth, adaptability helps navigate unforeseen challenges, and commitment strengthens the bond over time.
As an actionable next step, consider setting aside time this week to partner with someone you care about on a small gardening project or any shared venture. This practical exercise can reinforce these vital relationship skills.
Remember, the journey to a thriving relationship, like a garden, requires ongoing care and attention. Bookmark this article now so you can easily revisit these concepts and continue to cultivate your connections. Looking forward, embracing these principles will empower you to build and maintain relationships that are as fruitful and resilient as the gardens you create. Together, let’s sow the seeds of understanding and reap the rewards of lasting love and partnership.