Welcome to a world where creativity meets cultivation in “15 DIY Planter Ideas for Your Garden.” Whether you’re planting your first seed or you’ve spent years nurturing your lush oasis, this guide is your ticket to transforming everyday items into stunning plant displays. Imagine the satisfaction of seeing your garden flourish with planters that are as unique as your gardening journey itself.
In this collection, you’ll discover ideas that bring both charm and functionality to your green spaces. These planter projects are not only fun and fulfilling, but they also offer practical benefits, like improved plant health and optimized space usage. By the end of this guide, you’ll feel empowered to craft planters that reflect your style while boosting the beauty of your garden. Embrace the joy and rewards of gardening, and watch your confidence—and your garden—grow!
Repurpose Old Tires as Planters
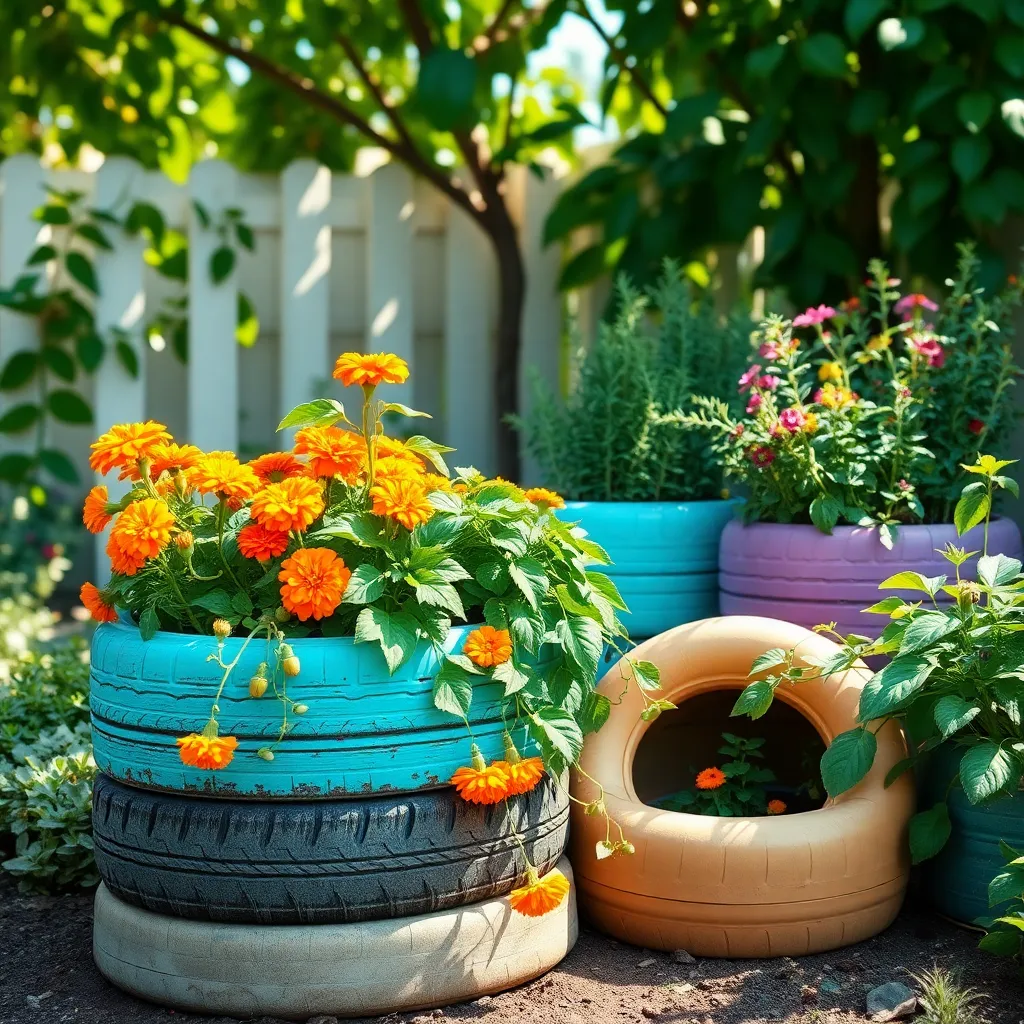
Repurposing old tires as planters is a creative and sustainable way to add character to your garden. Start by thoroughly cleaning your tires to remove any dirt or residue, ensuring a safe environment for your plants.
Once cleaned, you can paint the tires in vibrant colors to enhance your garden’s aesthetic. Use exterior-grade paint to withstand the elements, giving your planters a long-lasting appeal.
When choosing plants for your tire planters, consider the size and depth of the tire. Shallow-rooted plants such as herbs or succulents are ideal, as they thrive in the limited soil space.
Fill the tires with a well-draining soil mix to prevent waterlogging, which can harm plant roots. Mixing garden soil with sand or perlite will improve drainage and aeration, promoting healthy plant growth.
Place your tire planters in a location that matches your plants’ light requirements, whether full sun or partial shade. Remember to water regularly, but be cautious of overwatering, especially in tires without drainage holes.
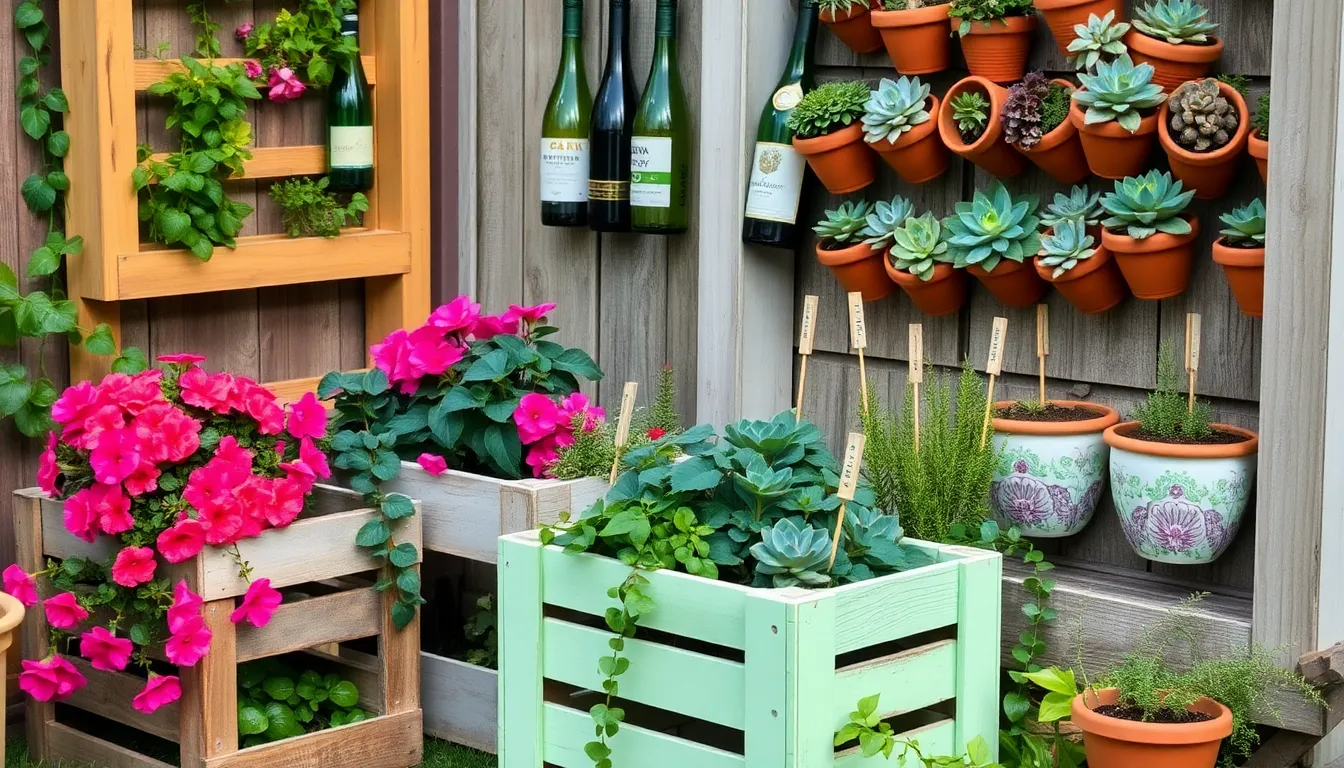
Transform Wooden Crates into Containers
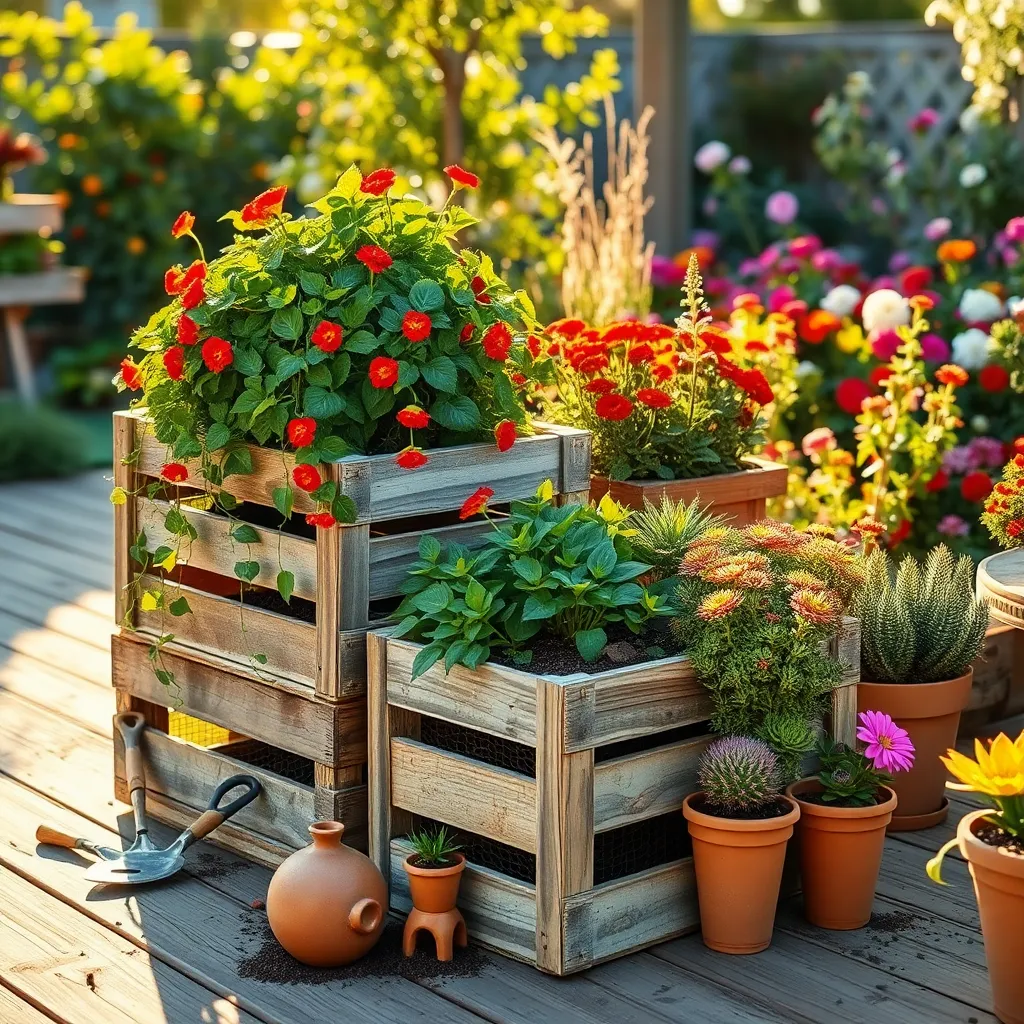
Wooden crates can be effortlessly transformed into charming garden planters, adding a rustic touch to your outdoor space. Start by lining the inside of the crate with landscape fabric to prevent soil from escaping while allowing water to drain effectively.
Using a drill, create several small holes in the bottom of the crate for drainage. This is crucial as it prevents water from accumulating, which can lead to root rot in plants.
Fill your crate with a well-draining soil mix, consisting of equal parts potting soil, perlite, and compost. This blend provides the necessary nutrients and aeration for healthy plant growth.
Choose plants that suit the depth of your crate, such as herbs, succulents, or even small vegetables like radishes or lettuce. Ensure that the chosen plants have similar sunlight and watering requirements for optimal growth.
Water your crate planter regularly, keeping the soil consistently moist but not waterlogged. Depending on the climate, this might mean watering once or twice a week, but always check the soil before watering to avoid overdoing it.
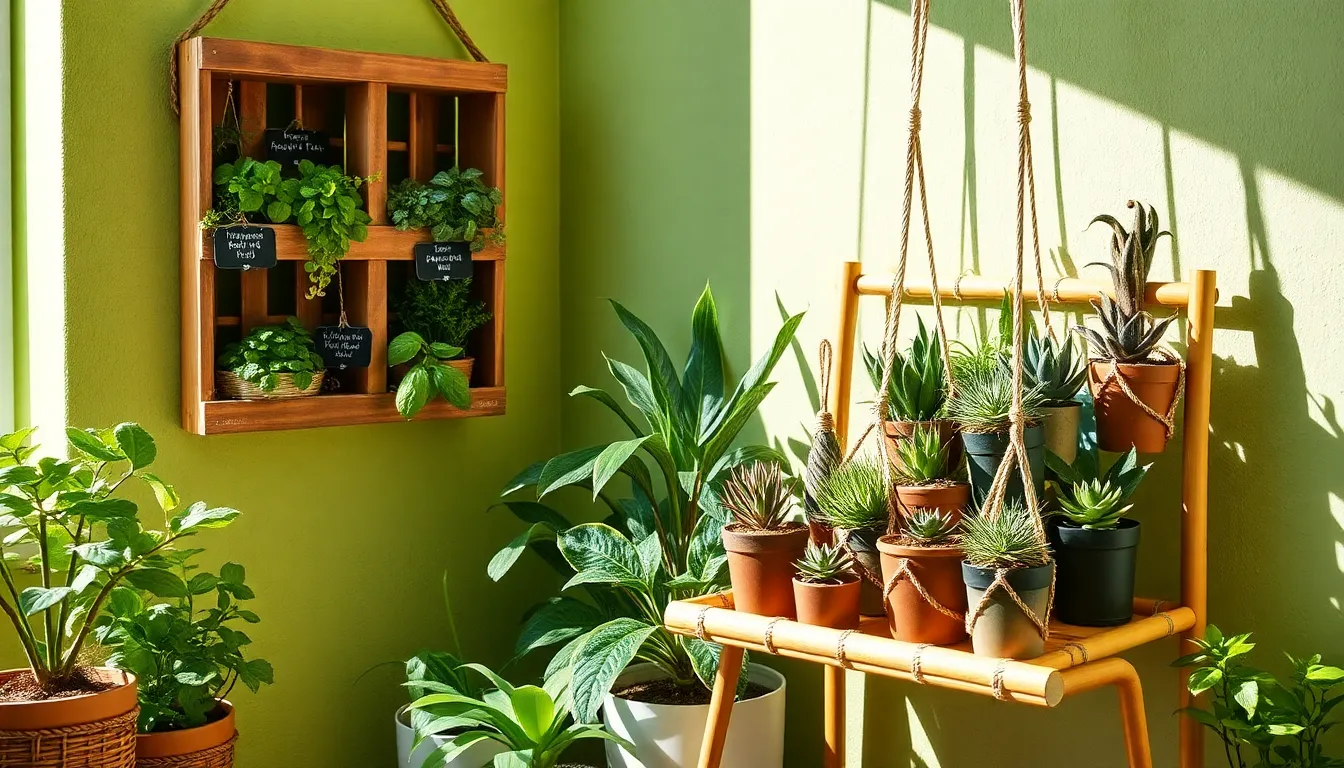
Create Vertical Planters from Pallets
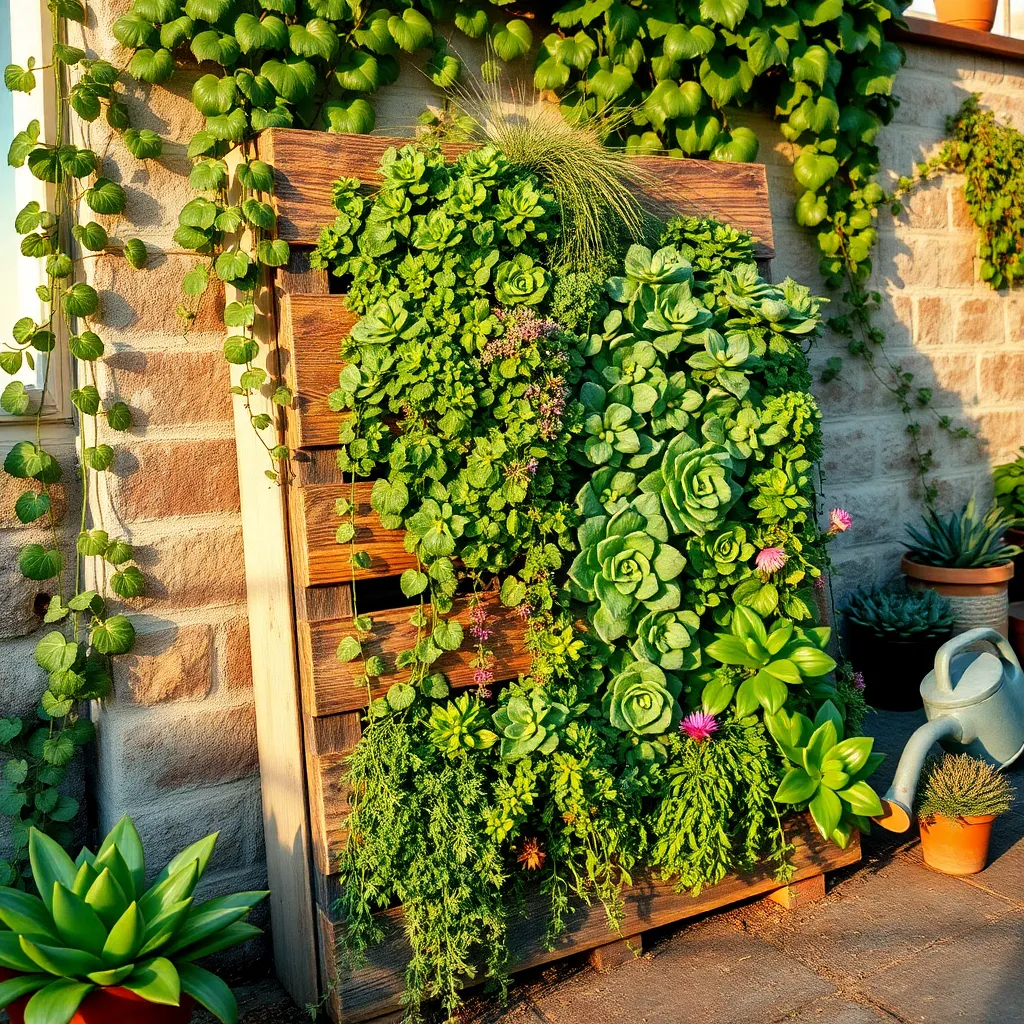
Repurposing pallets into vertical planters is a fantastic way to maximize space and add greenery to small areas. To start, ensure the pallet is clean and free of any chemicals, as this will be the foundation of your plants’ new home.
Choose a variety of plants that thrive in vertical settings, such as herbs, succulents, or small flowering plants. These types of plants typically require well-draining soil, so consider using a mix specifically designed for container gardening.
Position your pallet planter in a location that receives adequate sunlight based on the needs of your chosen plants. Most herbs, for instance, require about six hours of sunlight per day, while succulents can often thrive in partial shade.
Watering is crucial, especially in vertical setups, as the top layers of soil can dry out faster. Water from the top and allow gravity to help distribute moisture evenly, but be cautious of overwatering as it can lead to root rot.
Convert Tin Cans for Herb Gardens
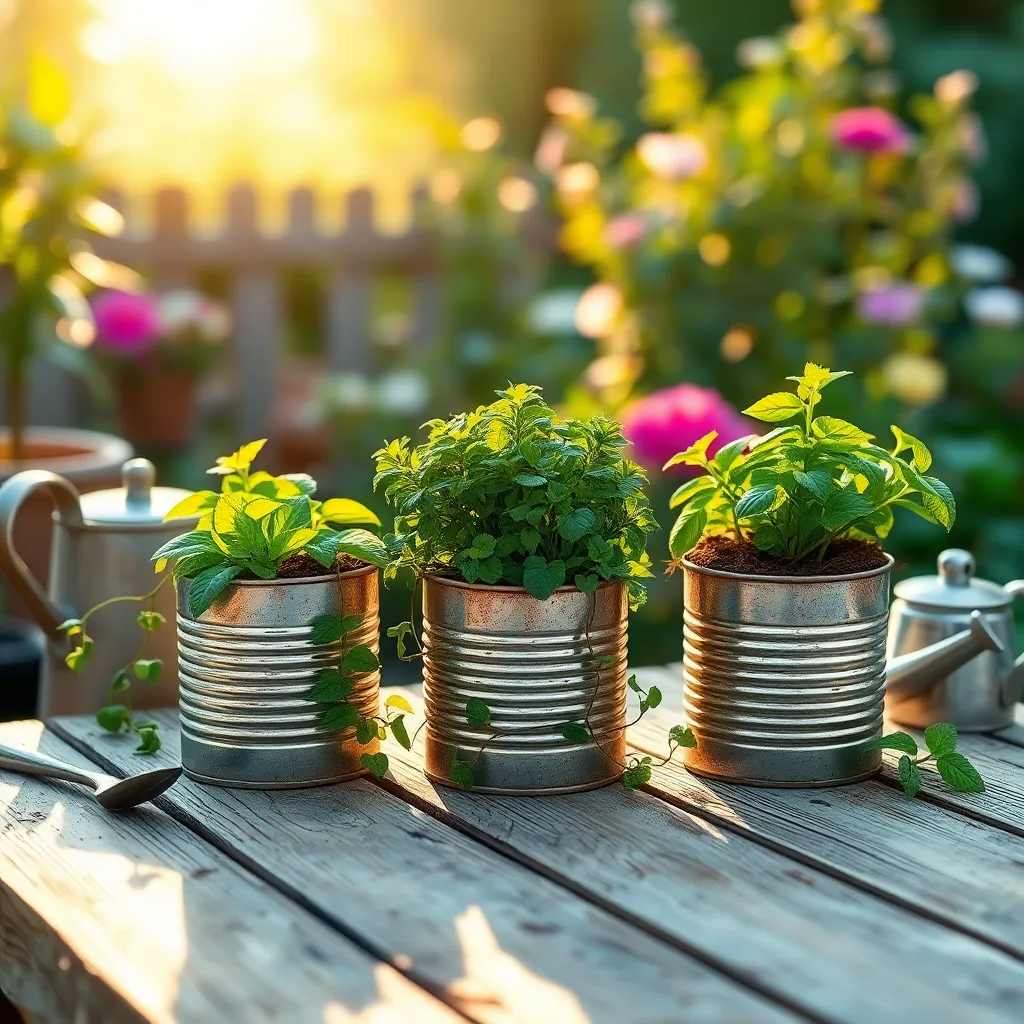
Transforming tin cans into herb gardens is a cost-effective and sustainable way to recycle. Begin by thoroughly cleaning the cans and removing any labels to prepare them for planting.
To ensure proper drainage, use a hammer and nail to create several small holes in the bottom of each can. Good drainage is essential to prevent waterlogging, which can damage herb roots.
Fill the cans with a high-quality potting mix that provides nutrients and proper aeration for the herbs. For a thriving herb garden, select a well-draining soil mix, ideally one enriched with organic matter.
When choosing herbs, consider those that thrive in small containers, such as basil, mint, or parsley. Place the cans in a sunny spot, as most herbs require at least six hours of sunlight each day to grow robustly.
Water the herbs regularly, keeping the soil consistently moist but not soggy. Monitor the soil by checking the top inch; if it feels dry, it’s time to water.
Use Mason Jars for Indoor Plants
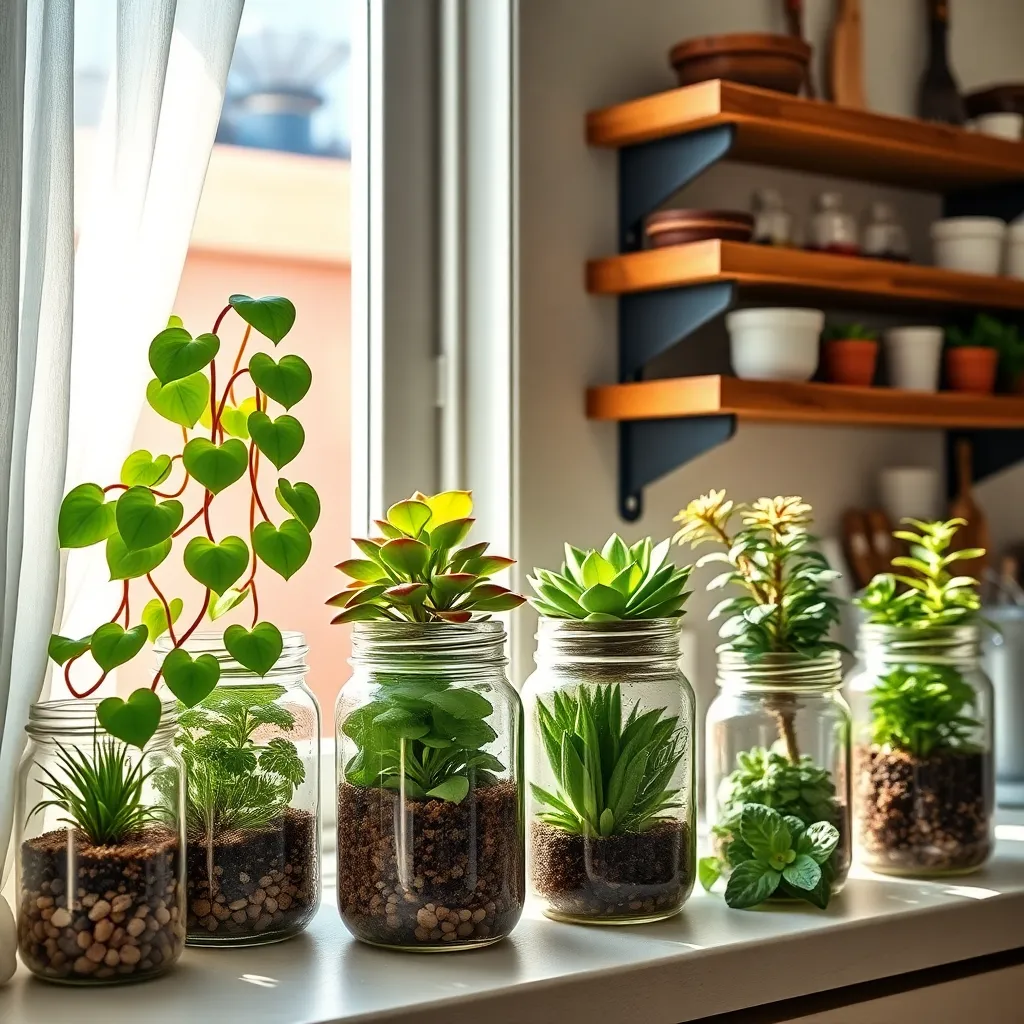
Mason jars are a charming and versatile option for growing indoor plants. Their clear glass allows you to monitor the soil’s moisture level, which is essential for successful plant care.
When selecting plants for mason jars, choose species that thrive in limited soil. Succulents, herbs, and small ferns are excellent options due to their adaptability and low maintenance needs.
Before planting, add a layer of pebbles at the bottom to improve drainage and prevent root rot. Fill the jar with a well-draining potting mix suitable for your chosen plant type, such as a cactus mix for succulents.
For optimal growth, place mason jars in a location with bright, indirect sunlight. Water sparingly, allowing the top inch of soil to dry out between waterings, which helps maintain appropriate moisture levels.
Advanced gardeners can experiment with creating mini ecosystems by adding decorative stones or activated charcoal to the jar. This not only enhances the aesthetic appeal but also keeps the environment fresh and balanced for the plants.
Make Hanging Planters from Macramé

Creating hanging planters from macramé is a charming way to add vertical interest to your garden. Start by choosing sturdy macramé cord, ideally made from cotton, which is both durable and easy to work with.
Once you’ve selected your cord, cut it into lengths that will accommodate the desired height of your planter. For beginners, a basic square knot pattern is a great starting point, while more experienced crafters might enjoy experimenting with intricate designs such as the spiral knot.
Before placing your planter in the macramé holder, ensure it has good drainage to prevent overwatering. Opt for a lightweight potting mix that retains moisture but drains excess water effectively, such as a blend of peat moss, perlite, and vermiculite.
Watering needs will vary depending on plant type, but generally, hanging plants dry out faster and may need more frequent watering. For advanced care, consider using a moisture meter to ensure your plants are getting just the right amount of water, especially during warmer months.
Fashion Planters from Wine Barrels
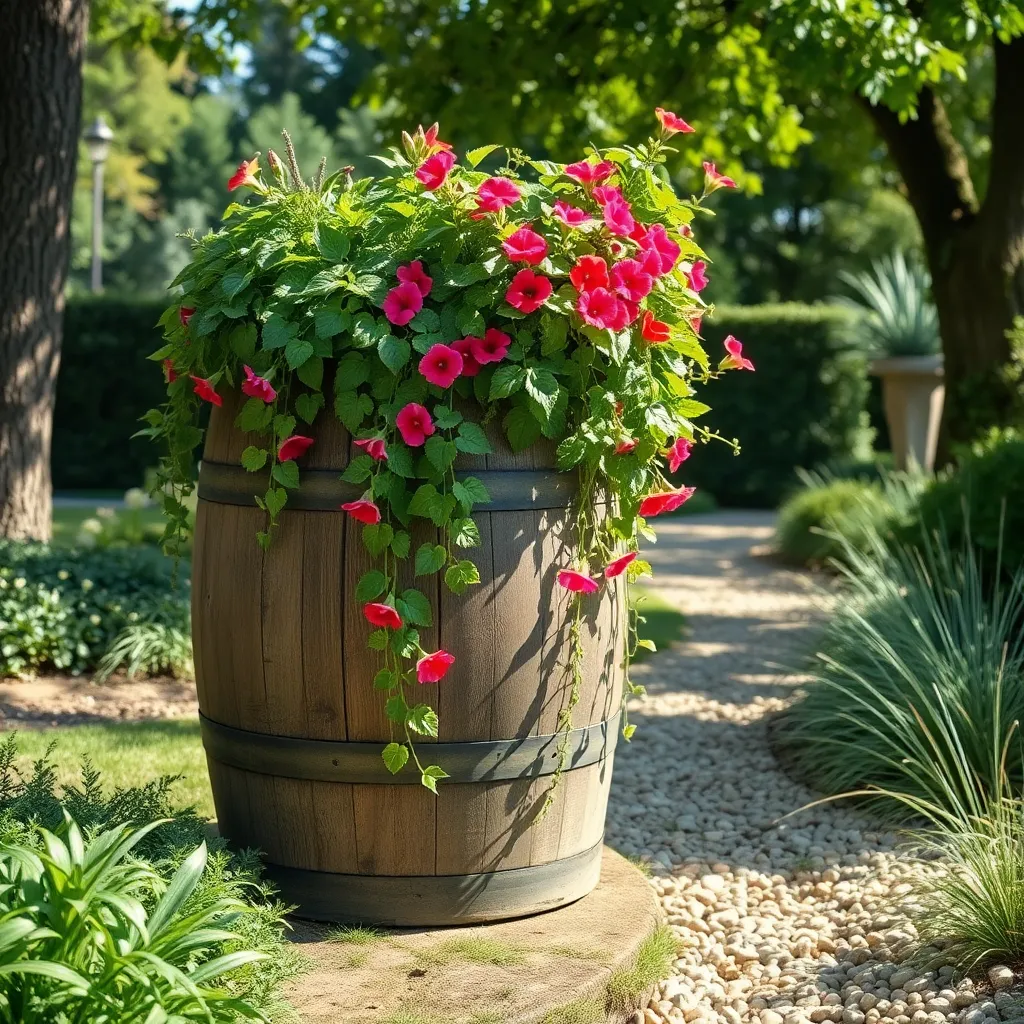
Transforming wine barrels into planters is both an eco-friendly and stylish choice for your garden. Begin by cutting the barrel in half, which provides you with two generous-sized planters perfect for a variety of plants.
It’s essential to drill drainage holes in the bottom of your wine barrel planters to prevent waterlogging. Proper drainage is crucial, as it helps to maintain the ideal moisture level for your plants.
Fill your barrel planters with a well-draining potting mix that suits the type of plants you’re growing. Consider using a blend that includes peat, perlite, and compost to provide nutrients and excellent aeration.
When it comes to watering, keep in mind that wine barrels, being wood, retain moisture longer than other materials. Check the moisture level regularly by sticking your finger into the soil; water only when the top inch feels dry.
Design Concrete Planters with Molds
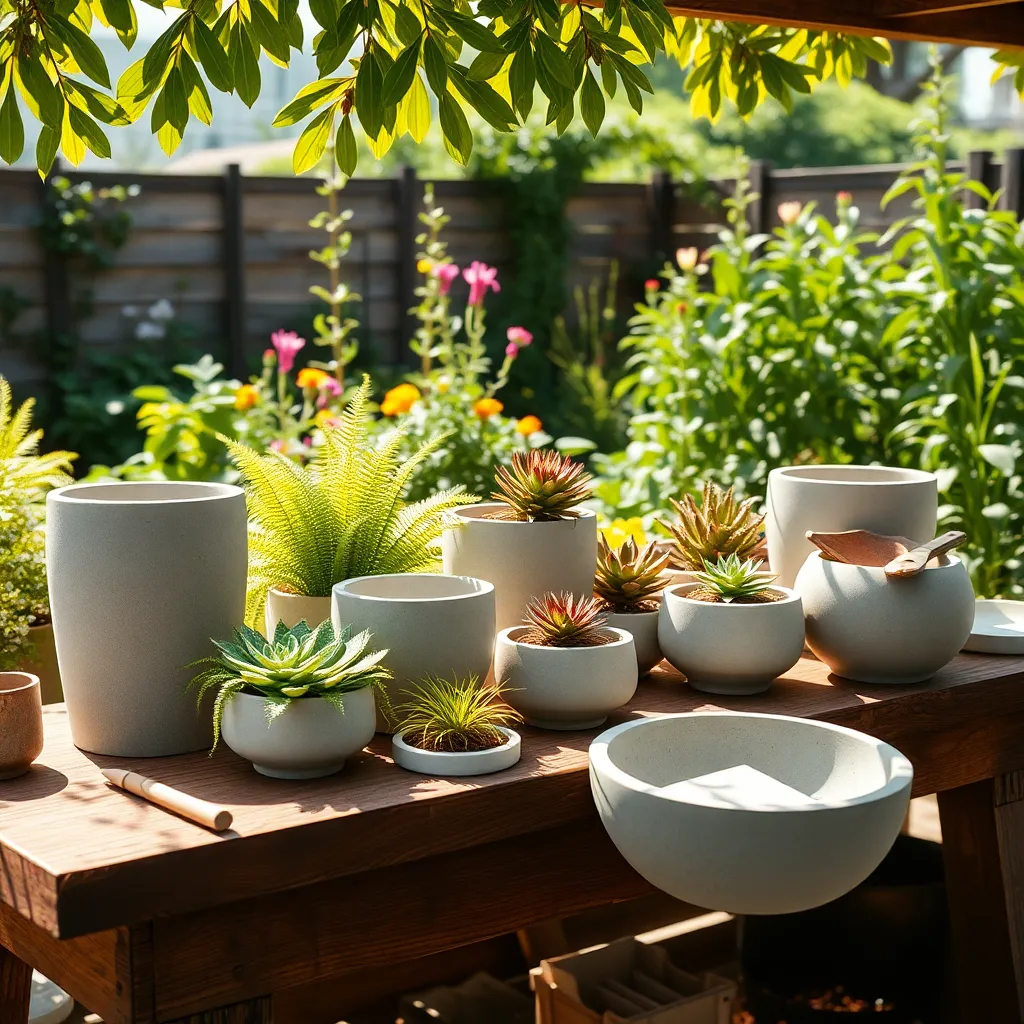
Creating concrete planters with molds is a versatile way to add a modern touch to your garden. Begin by selecting molds that suit your desired shape, such as plastic containers or silicone molds, which can be easily found at craft stores.
Mix your concrete by following the package instructions for the best consistency. It’s essential to oil the molds with a light coating of vegetable oil or non-stick spray to ensure the planters release smoothly once the concrete has set.
After pouring the mixed concrete into the molds, tap them gently to release any trapped air bubbles. Allow the concrete to cure for at least 24 to 48 hours in a shaded, cool area to prevent cracking.
Once the concrete is fully cured, carefully remove the molds to reveal your new planters. For an added touch, consider painting or sealing the planters to enhance their durability and aesthetic appeal.
- Tip for beginners: Use quick-setting concrete for faster results.
- Advanced technique: Embed decorative stones or tiles into the mold before pouring the concrete for a unique finish.
When it comes to planting, choose plants that thrive in the conditions provided by concrete planters. Succulents and cacti are excellent choices due to their low water requirements and preference for well-draining soil.
Craft Teacup Planters for Succulents
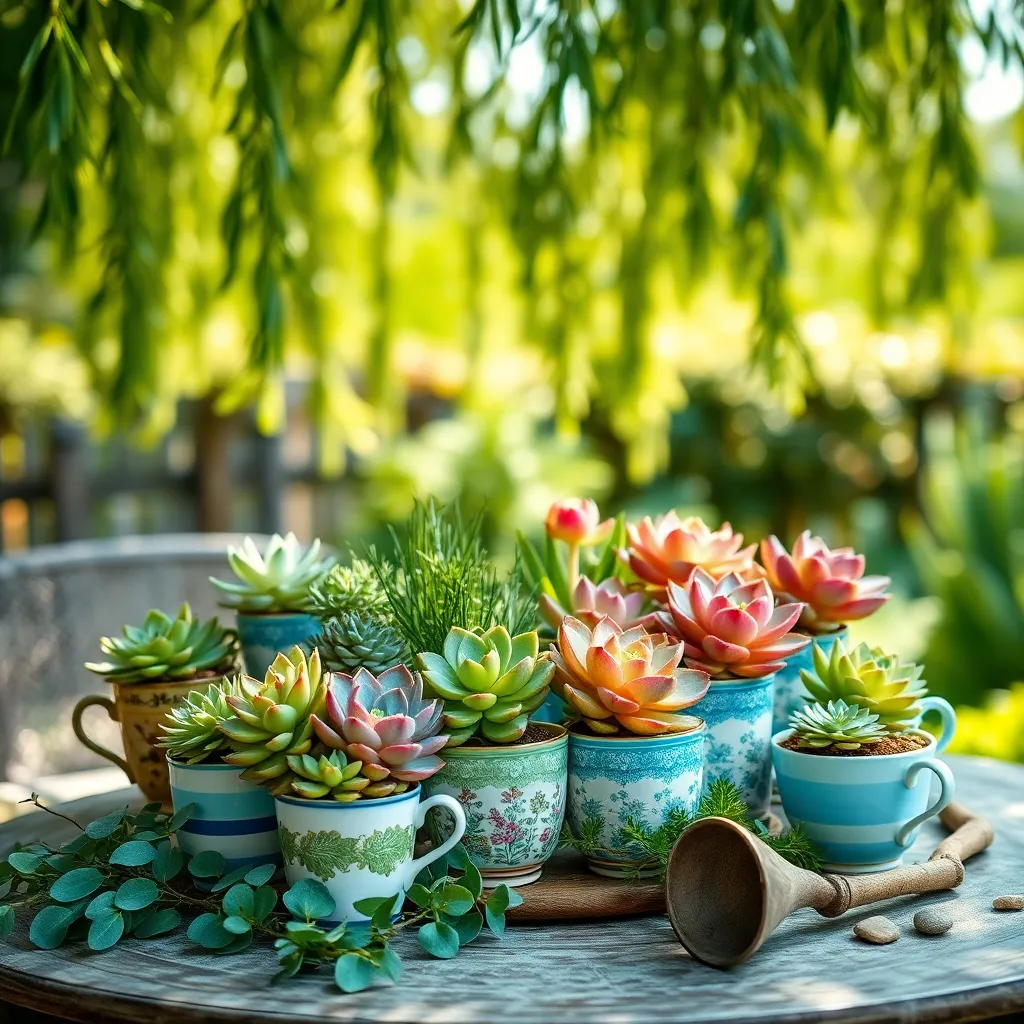
Transforming a teacup into a charming planter for succulents is both an easy and delightful project. Start by selecting a teacup with a wide opening to give your succulent ample room to grow.
Ensure proper drainage by carefully drilling a small hole in the bottom of the teacup, or alternatively, add a layer of pebbles before the soil. This will help prevent root rot, allowing your succulent to thrive.
Choose a well-draining soil mix specifically formulated for succulents and cacti. You can create your own by combining equal parts potting soil, coarse sand, and perlite, ensuring the soil doesn’t retain excess moisture.
When planting, gently remove the succulent from its nursery pot and loosen the roots if they’re compacted. Position it in the teacup, adding soil around it until it’s securely in place, and water sparingly, only when the soil feels completely dry.
Place your teacup planter in a location that receives bright, indirect sunlight. This ensures that your succulent receives the light it needs without the risk of sunburn.
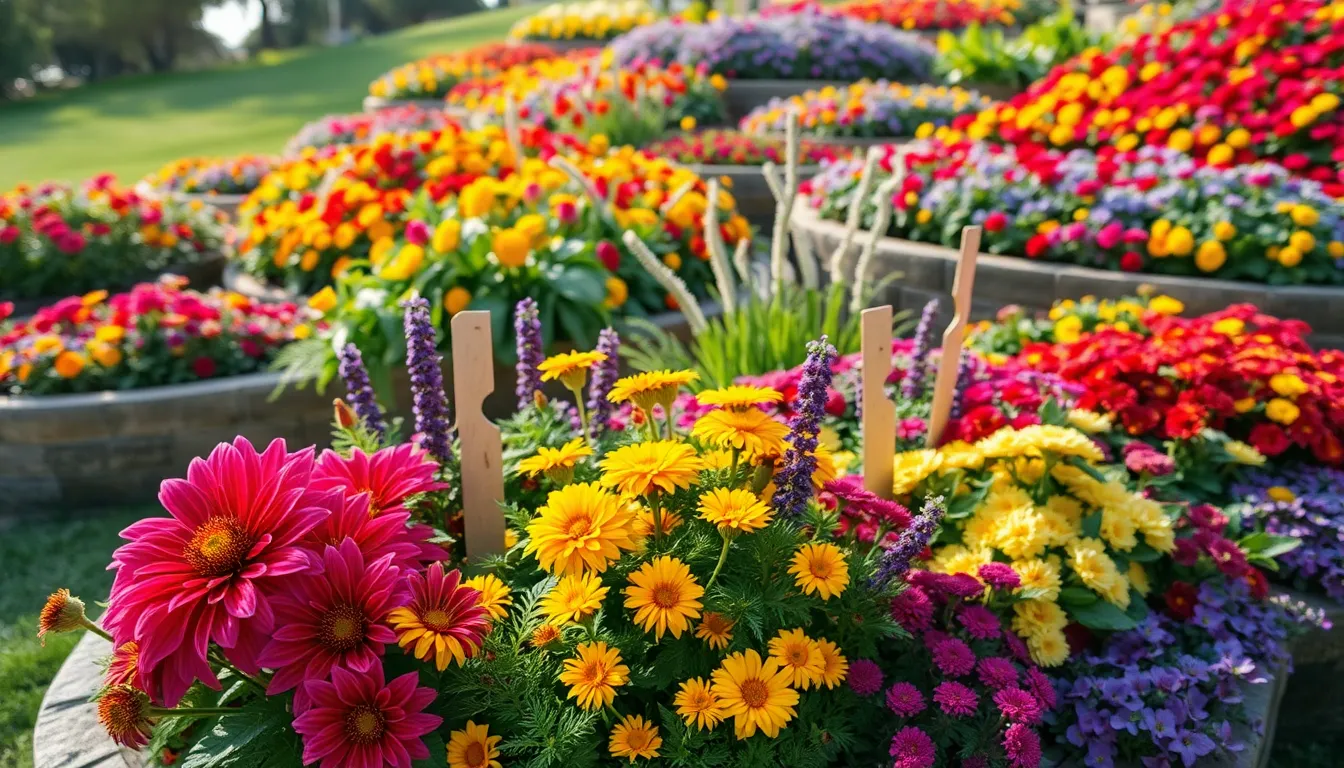
Build Raised Beds from Cinder Blocks

Cinder block raised beds are a straightforward and durable option for any garden. These beds offer excellent drainage and are easy to assemble, making them perfect for beginners and experienced gardeners alike.
To begin, choose a sunny location in your garden where water drains well. Arrange the cinder blocks in a rectangular shape, stacking them to your desired height and ensuring the open side faces up to act as additional planting spaces.
Fill the bed with a mix of high-quality garden soil and compost to provide rich nutrients for your plants. Consider planting vegetables, herbs, or flowers in the central area, and use the holes in the cinder blocks for smaller plants or trailing varieties.
Water your raised bed regularly, aiming for a consistent moisture level to keep plants healthy. For those seeking an advanced tip, line the interior of the blocks with landscape fabric to prevent soil from washing out, ensuring a neat, tidy appearance.
Turn Broken Pots into Fairy Gardens
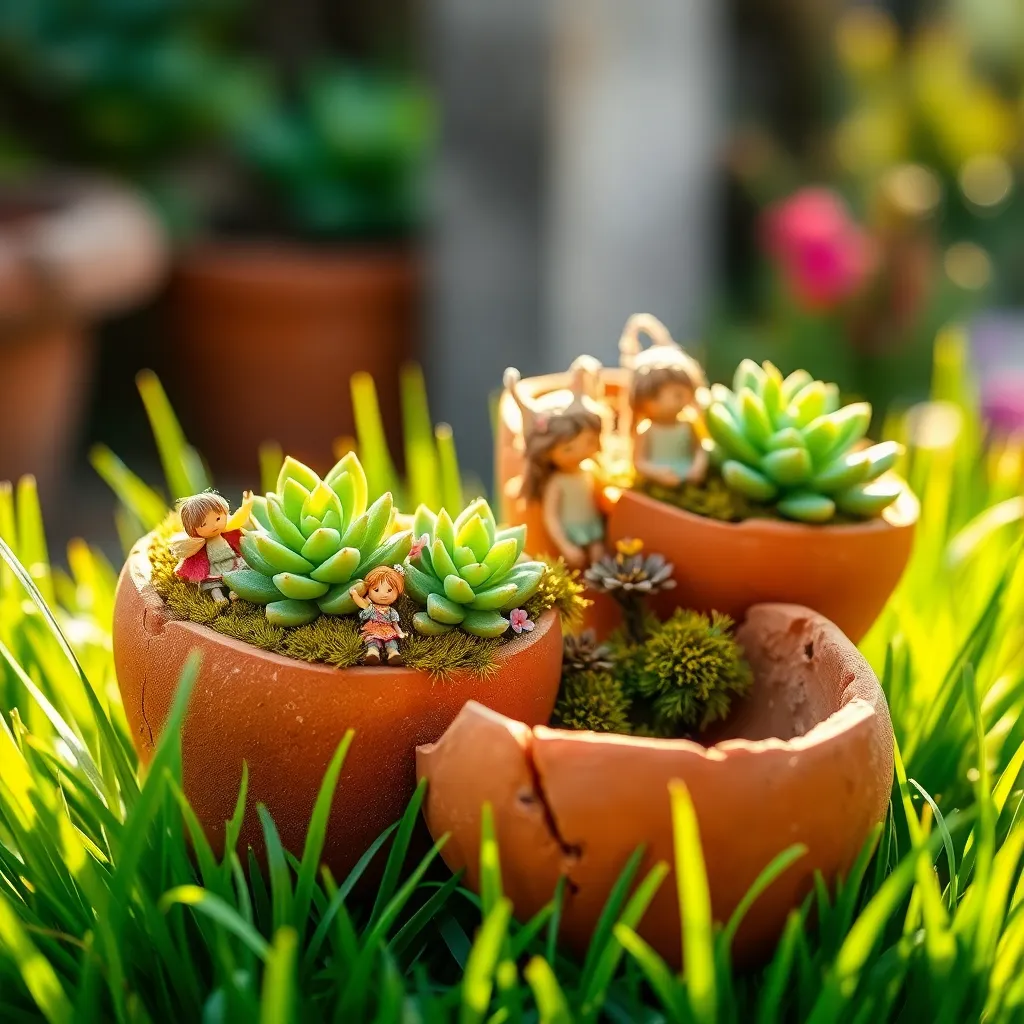
Transforming broken pots into enchanting fairy gardens breathes new life into what might otherwise be discarded. Begin by arranging the broken pieces to create a tiered effect, which will mimic a tiny hillside landscape.
Choose miniature plants that thrive in similar conditions to ensure your fairy garden remains lush. Succulents are an excellent choice as they require little water and can handle the drainage conditions of a broken pot.
Use a well-draining potting mix to fill the pot, ensuring it supports the delicate roots of your chosen plants. Add a layer of fine gravel or small pebbles at the base to enhance drainage and prevent root rot.
For added charm, incorporate tiny accessories like small pebbles for pathways or miniature furniture. Regularly mist the garden lightly or water sparingly to maintain just enough moisture without overwatering.
Upcycle Plastic Bottles into Planters
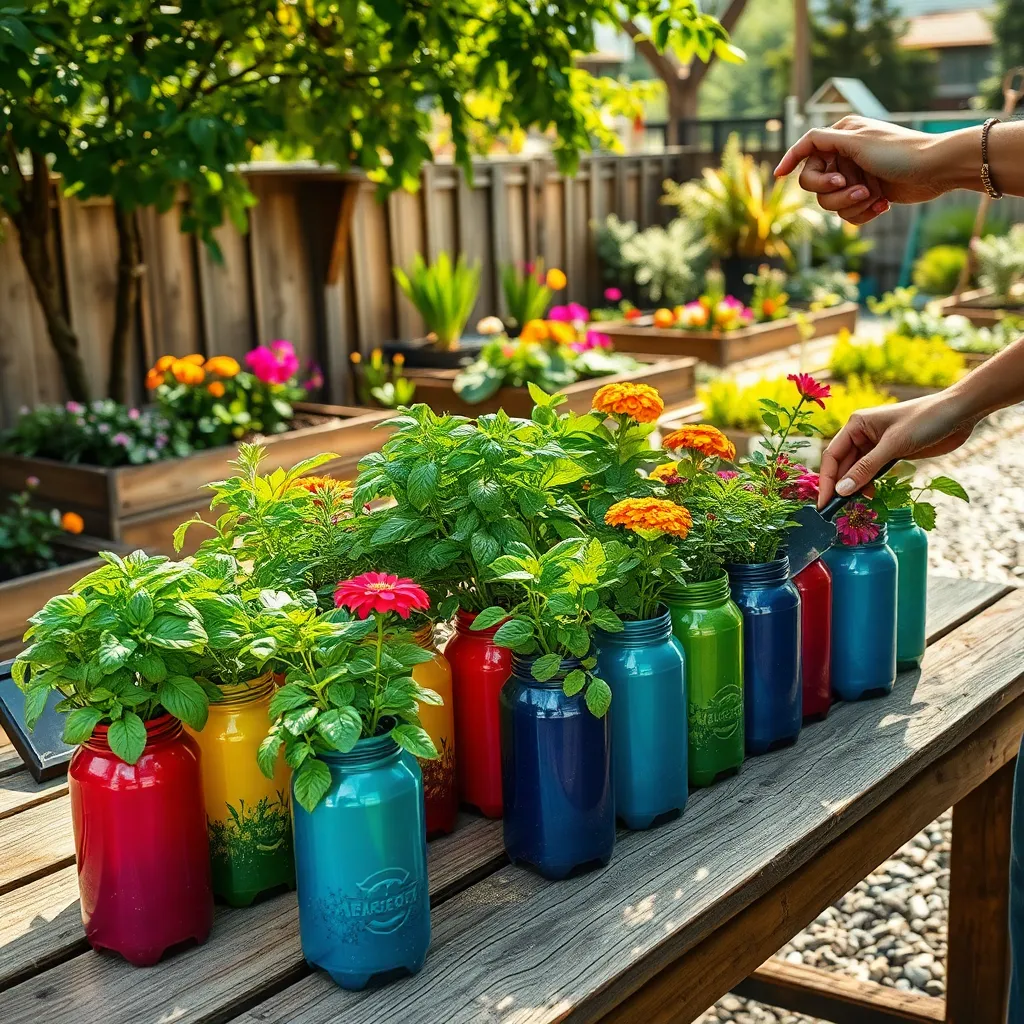
Transforming plastic bottles into planters is an eco-friendly way to add creativity to your garden. Begin by cutting a plastic bottle in half and using the bottom portion as a planter, ensuring to poke drainage holes at the base for optimal water flow.
For best results, fill your upcycled planters with a high-quality potting mix that retains moisture but also drains well. Consider placing these planters in areas of your garden that receive partial sunlight, making them ideal for growing herbs such as basil or mint.
Experiment with hanging these bottle planters using twine or wire to create vertical gardens. This approach is perfect for small spaces and can be a unique solution for growing lightweight plants like strawberries or lettuce.
To keep your plants healthy, water them regularly but be cautious of overwatering, as excess water can accumulate at the bottom despite drainage holes. A good rule of thumb is to water when the top inch of soil feels dry, which varies depending on the local climate and plant needs.
Sculpt Planters from Driftwood
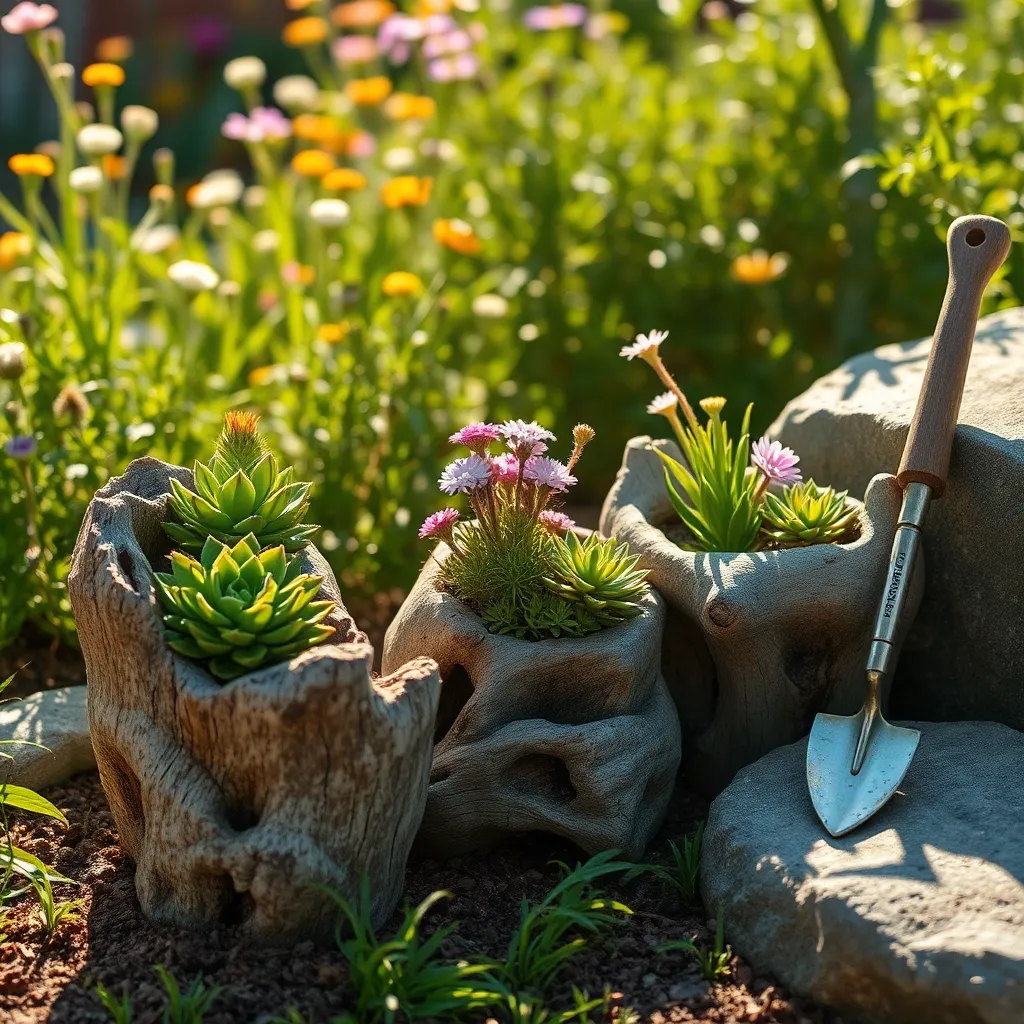
Driftwood planters offer a unique and rustic aesthetic that can enhance any garden space. To begin crafting your own, gather pieces of driftwood that are large enough to hold soil and plants, ensuring they have a stable base for balance.
When selecting driftwood, look for pieces with natural cavities or crevices that can hold soil and provide drainage. Ensure the wood is thoroughly cleaned and treated to remove any salt or debris that could harm your plants.
After preparing the driftwood, fill the cavities with a well-draining soil mix, such as equal parts potting soil, sand, and perlite. This combination will promote healthy root growth and prevent waterlogging, which is crucial for the longevity of your plants.
Choose plants that thrive in well-drained conditions, such as succulents or air plants, since they require minimal soil depth and infrequent watering. Water sparingly, allowing the soil to dry out completely between waterings to mimic their natural environment and prevent rot.
For advanced gardeners, consider using driftwood planters to create stunning displays with epiphytic plants like orchids or bromeliads. These plants can be mounted onto the wood using sphagnum moss and fishing line, allowing them to draw moisture from the air.
Assemble Terrariums in Glass Bowls
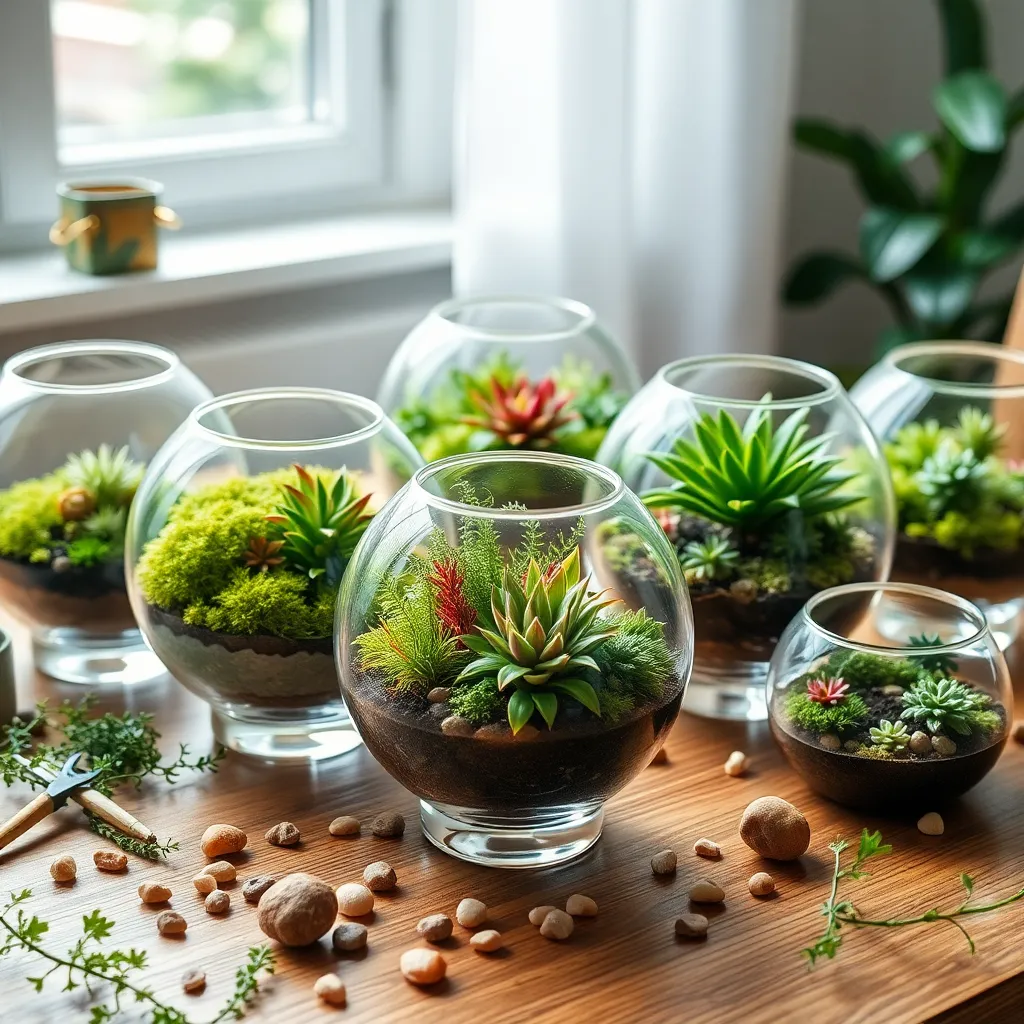
Creating a terrarium in a glass bowl is a delightful way to bring a miniature garden into your home. Begin by selecting a clear glass bowl that allows plenty of light to reach your plants, which is crucial for their growth.
Start by adding a layer of small stones or pebbles at the bottom of the bowl to ensure proper drainage. This will help prevent root rot, which can occur if the plants sit in excess water.
Next, add a layer of activated charcoal to keep the soil fresh and odor-free. This step is especially important in closed terrariums where air circulation is limited.
Use a high-quality potting mix designed for succulents or cacti, as these plants thrive in well-draining soil. Ensure the soil is moist but not overly wet when planting your chosen greenery.
When choosing plants, opt for small, slow-growing species such as mosses, ferns, or succulents that thrive in a humid environment. Place taller plants in the center and shorter ones around the edges for a balanced look.
After planting, place your terrarium in a spot with indirect sunlight to prevent the glass from magnifying the light and overheating the plants. Water sparingly, as terrariums maintain moisture well; every few weeks is typically sufficient.
For those looking to add a creative touch, incorporate decorative elements like small figurines or stones to personalize your garden scene. Remember, maintaining a terrarium is about balance—adjust sunlight and water as needed to keep your miniature garden thriving.
Construct a Planter with Reclaimed Wood

Transforming reclaimed wood into a planter is an eco-friendly way to enhance your garden. Start by selecting sturdy wood that is free from any rot or pests, such as cedar or redwood, which are naturally resistant to decay.
Begin by measuring and cutting the wood to your desired planter dimensions, ensuring pieces are uniform to avoid an uneven structure. Use screws or nails to assemble the sides, and drill drainage holes at the bottom to prevent water accumulation.
Line the inside of your planter with landscape fabric to help retain soil while allowing excess water to escape. Fill the planter with a mix of potting soil and compost to provide a rich growing environment for your plants.
Choose plants that suit your local climate and the amount of sunlight your planter will receive. Water your plants regularly, checking soil moisture with your finger—if the top inch of soil feels dry, it’s time to water.
Conclusion: Growing Success with These Plants
In exploring these 15 DIY planter ideas, we’ve delved into transformative concepts that mirror the nurturing required in relationships—creativity, patience, adaptability, and vibrant growth. From repurposing household items to embracing sustainable practices, each idea offers a fresh perspective on fostering connections both in your garden and personal life. These projects remind us of the importance of tending to our bonds with care and imagination.
As an actionable next step, choose one planter idea that resonates with you and start your project today. Let this be a symbol of the love and attention you wish to cultivate in your relationships. By engaging in this creative endeavor, you invest not only in your garden but also in the thriving connections you cherish.
Don’t forget to save or bookmark this article for future reference. It can be your guide and inspiration as you navigate both your gardening and relationship journeys. Remember, with each seed you plant and every relationship you nurture, you are on the road to flourishing success. Keep fostering these connections, and watch them grow into something truly beautiful. Together, let’s cultivate a garden of love and understanding.