In the realm of gardening, few practices are as transformative and rewarding as composting. Whether you’re nurturing a small urban balcony or tending to expansive rural beds, creating your own compost bin is a powerful step towards sustainable gardening. For those new to the garden, the idea of building a DIY compost bin might seem daunting at first, but rest assured, it’s a venture well worth embarking on. Seasoned gardeners will tell you that there’s a unique satisfaction in recycling kitchen scraps and yard waste into nutrient-rich compost that your plants will love.
What makes composting truly indispensable is its ability to turn waste into wealth for your garden ecosystem. Not only does it reduce landfill contribution, but it also enriches your soil, improves plant health, and can lead to bountiful harvests. In this article, you’ll discover practical steps to construct your own compost bin, tailored to fit any garden size or style. We’ll guide you through choosing the right materials, finding the perfect location, and mastering the art of composting, ensuring that you feel confident and inspired every step of the way.
Embarking on this DIY project is an opportunity to deepen your connection with nature and foster an eco-friendly lifestyle. As you read on, you’ll uncover tips for maintaining your compost bin and troubleshooting common issues, making the process efficient and enjoyable. By the end of this article, both beginner and expert gardeners will have the knowledge and motivation to transform organic waste into a valuable resource. Get ready to embrace this enriching gardening journey and witness the remarkable benefits that homemade compost brings to your green oasis.
Select an Ideal Location
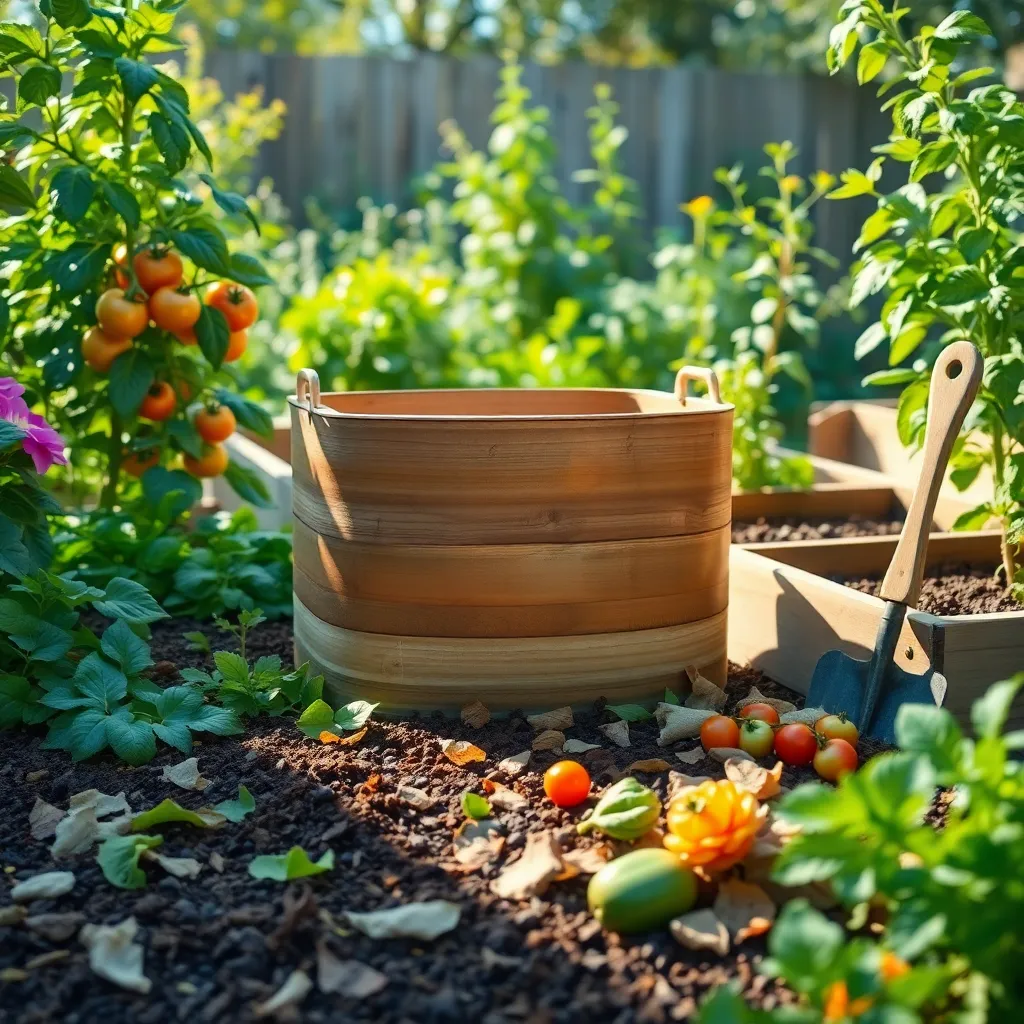
Finding the right spot for your DIY compost bin is crucial for efficient decomposition. Choose a location that is easily accessible to make adding materials and turning the pile convenient.
Consider placing the bin in an area that receives partial sunlight. This balance of sun and shade will help maintain an optimal temperature for composting without drying out the materials too quickly.
Ensure the ground is level and well-drained to prevent water from pooling at the base of the bin, which can lead to unpleasant odors. If possible, place your bin on bare soil to allow beneficial organisms like worms to enter and aid the composting process.
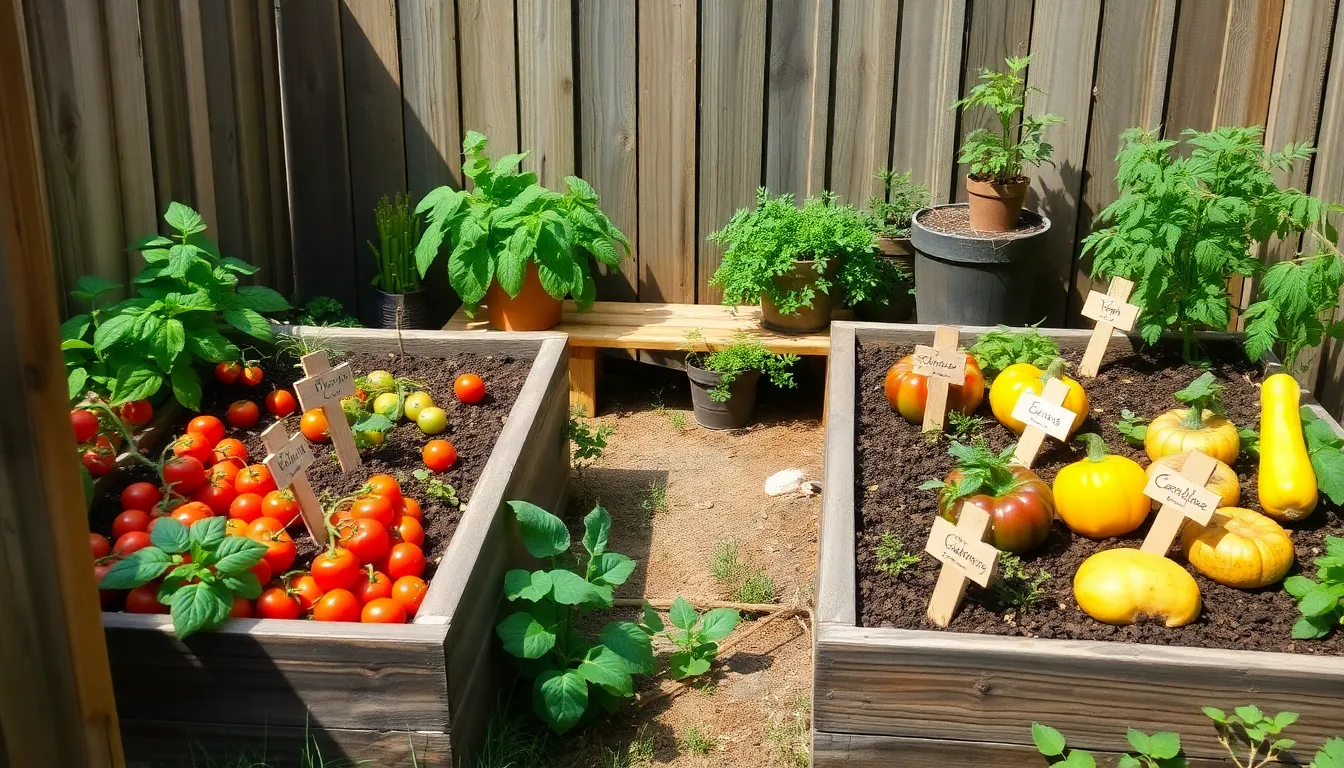
For beginner gardeners, a spot near your garden can be beneficial for transferring compost easily when it’s ready. More experienced gardeners might want to experiment with multiple bins, strategically locating them to serve different areas of a larger garden efficiently.
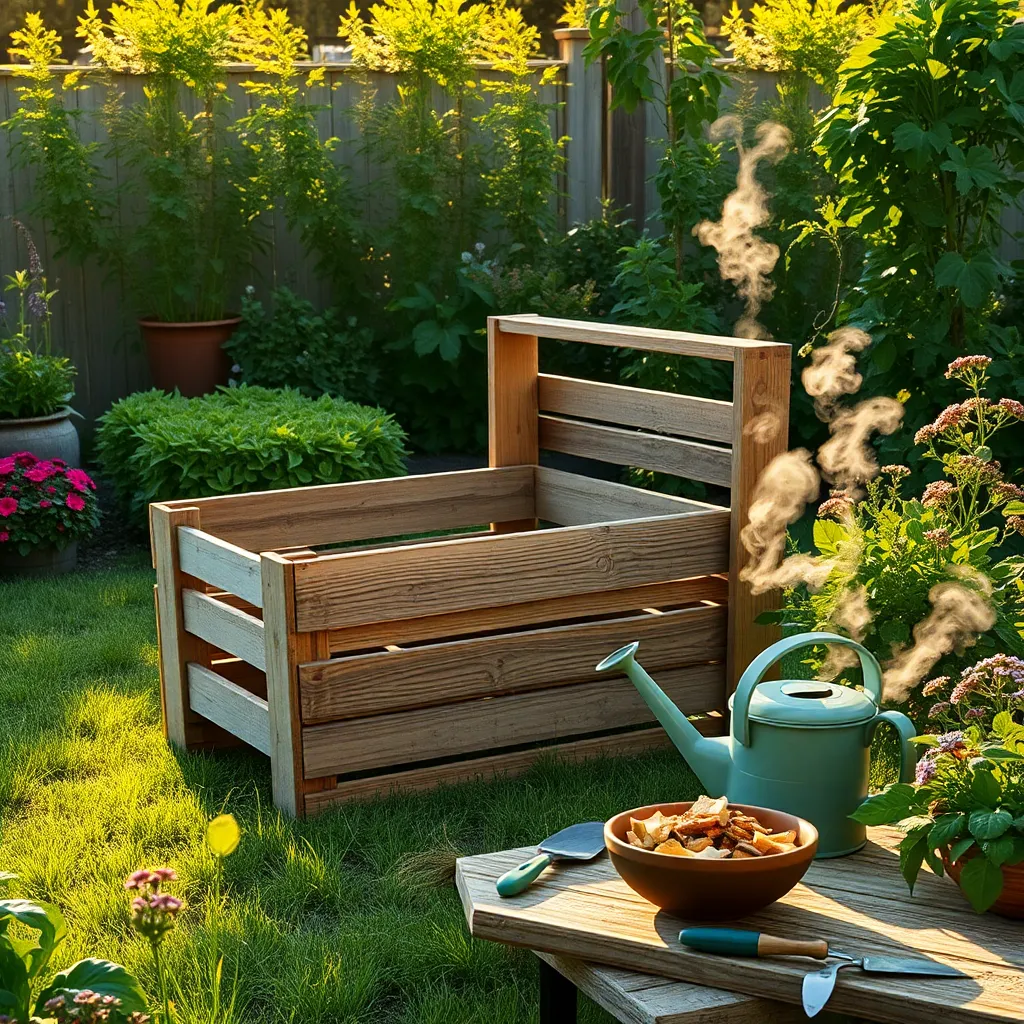
Gather Necessary Materials
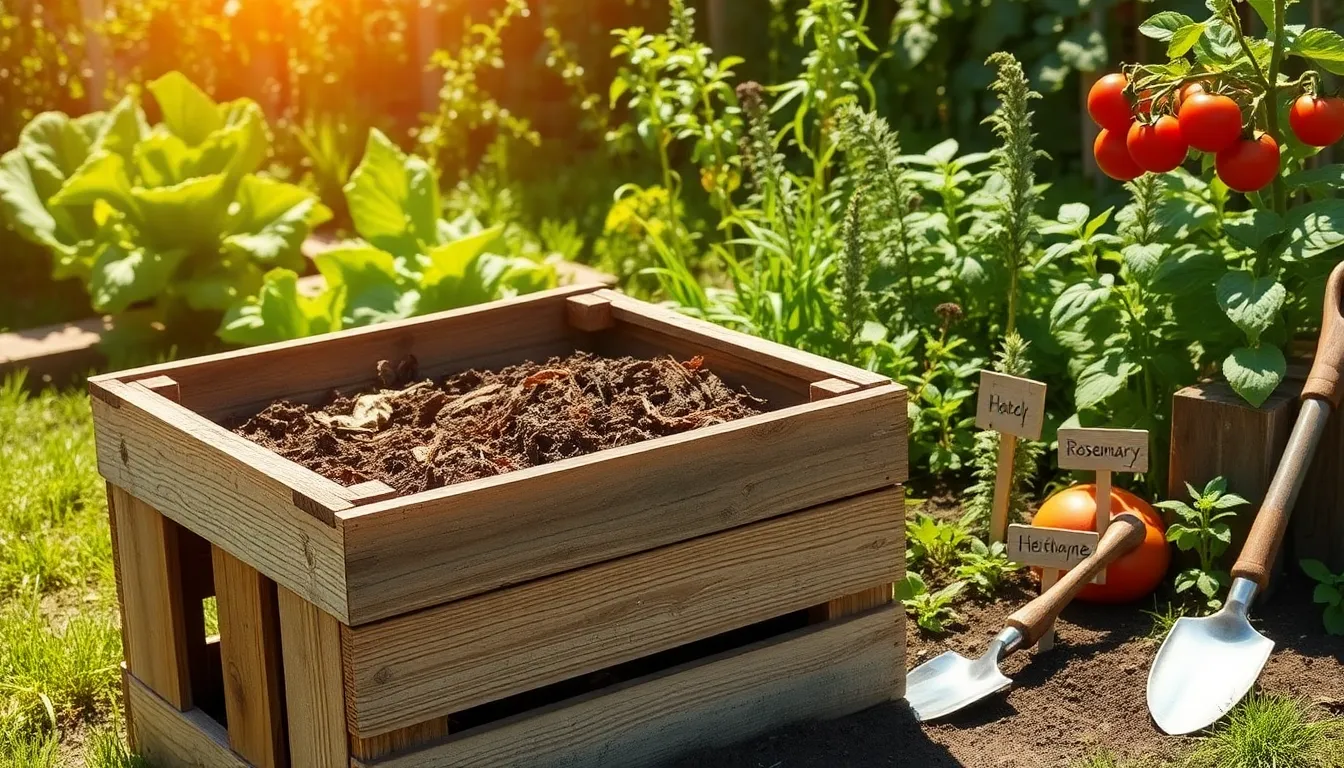
Before starting your DIY compost bin project, it’s essential to gather the necessary materials. You’ll need a durable container like a wooden pallet, a plastic bin, or even wire mesh to contain your compost. Ensure the container has adequate ventilation to promote aerobic decomposition, which is vital for composting success.
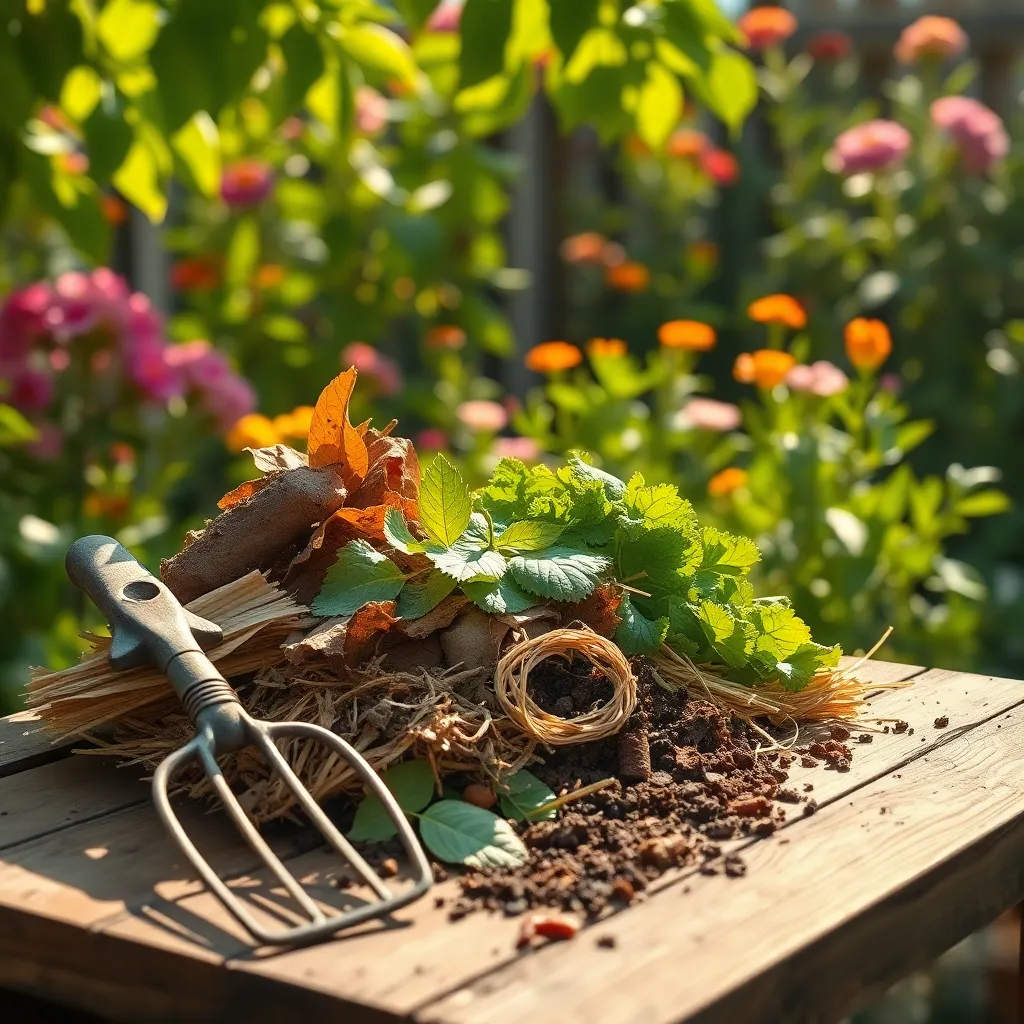
It’s also crucial to have a balanced mix of green and brown materials. Green materials include kitchen scraps such as fruit and vegetable peels, coffee grounds, and grass clippings, which provide nitrogen. On the other hand, brown materials like dried leaves, straw, and shredded paper contribute carbon, which is essential for a balanced compost pile.
In addition to organic materials, have a garden fork or shovel on hand to regularly turn the compost. This aerates the pile, speeding up the decomposition process. Advanced gardeners may also want to consider adding a compost thermometer to monitor the internal temperature, ensuring it stays above 130°F to kill pathogens and weed seeds.
Water is another vital component, as your compost pile should be as moist as a wrung-out sponge. If you’re in a dry climate, you might need to water your compost more frequently, while rainy regions may require a cover to prevent excess moisture. Remember, finding the right moisture balance can enhance the composting process and reduce unpleasant odors.
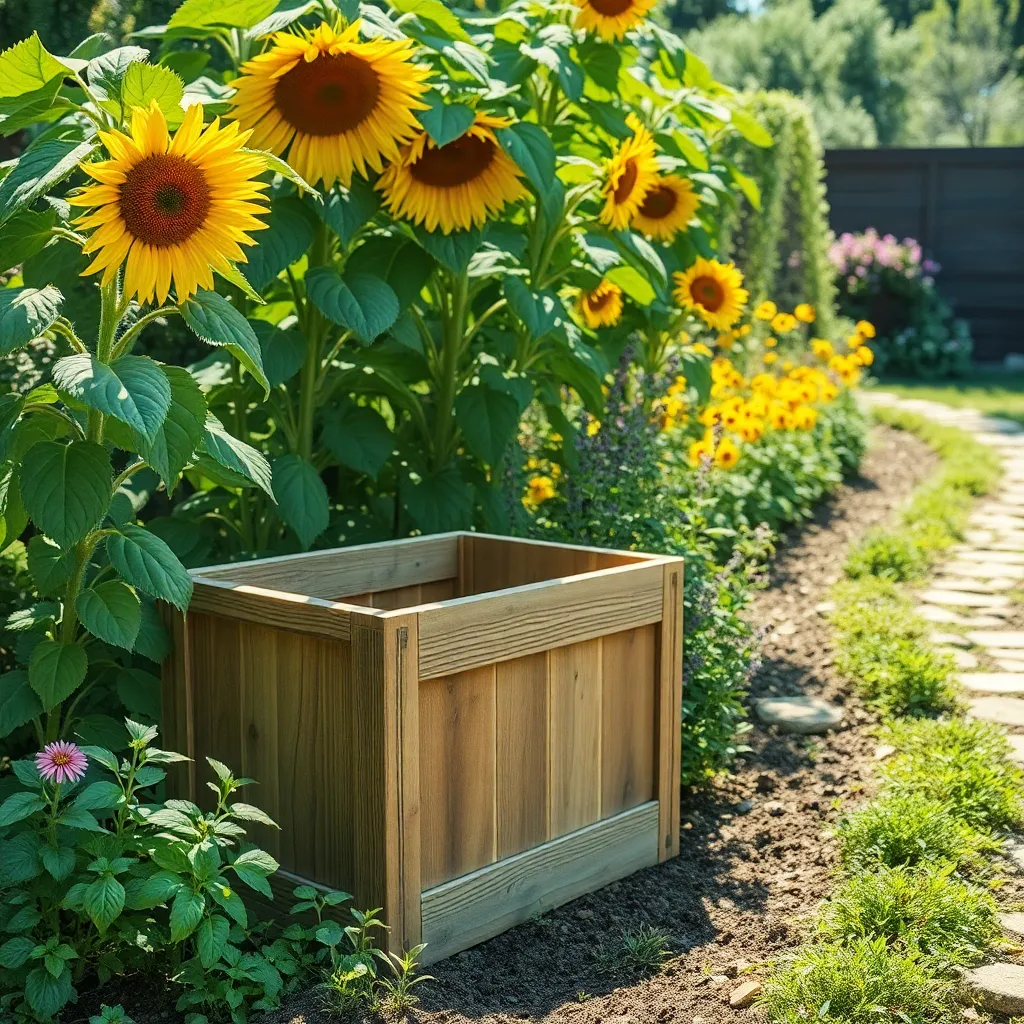
Assemble the Bin Structure
Begin by selecting a location for your compost bin that receives partial sunlight and has good drainage. This ensures that your compost pile will heat up efficiently while avoiding excessive dryness or sogginess in the bin.
Next, determine the size of the bin based on your available space and composting needs. A bin measuring approximately 3 feet in width, height, and depth is ideal for maintaining a manageable compost pile while ensuring adequate aeration and heat retention.
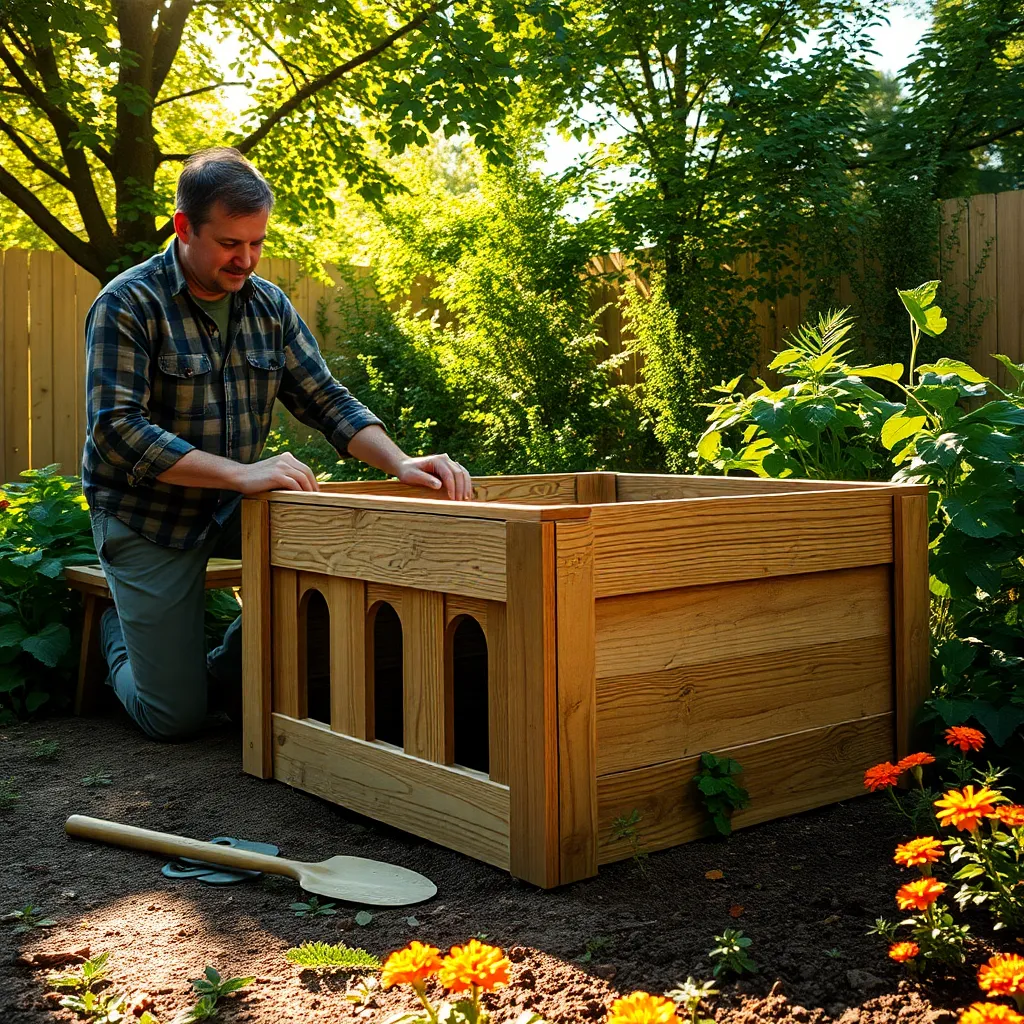
Using durable materials such as wood or recycled plastic, construct the frame of your compost bin. Ensure the sides are sturdy enough to withstand the weight of decomposing materials, and consider drilling small holes for ventilation.
Secure the corners of your bin frame using nails or screws to enhance stability; this will prevent the structure from collapsing under the weight of the compost. For added durability, use weather-resistant materials that can withstand various environmental conditions.
Finish assembling the bin by adding a removable lid or cover, which helps retain moisture and heat while keeping pests out. If you’re using wooden slats, leave slight gaps between them to facilitate airflow, which is crucial for efficient decomposition.
Create Ventilation Openings
After assembling the bin structure, it’s crucial to create ventilation openings to promote decomposition. Proper airflow is essential as it helps to regulate moisture levels and encourages beneficial microorganisms to thrive.
Drill holes in the sides of your compost bin, spacing them approximately 6 inches apart. Ensure the holes are about 1/2 inch in diameter to allow sufficient air exchange, which is vital for composting efficiency.
Incorporating ventilation openings in your compost bin is not just about placement; the size matters too. Larger holes may invite pests, while smaller ones might restrict airflow; hence, striking the right balance is crucial.
For advanced gardeners, consider adding a few holes at the base of the bin to improve drainage. This will prevent excess moisture buildup, which can lead to anaerobic conditions and an unpleasant odor.
If you live in a particularly humid area, you might need to increase the number of ventilation holes. Adjust the size and number of openings based on the climate to maintain the ideal composting environment.
Add Organic Waste Layers
Once you’ve created ventilation openings, it’s time to start layering organic waste in your compost bin. The key to successful composting is balancing ‘greens’ and ‘browns’—materials rich in nitrogen and carbon, respectively.
Start with a layer of coarse materials like small twigs or straw at the bottom. This helps to create airflow and prevent your compost from becoming too compacted.
Next, add a layer of nitrogen-rich ‘greens,’ such as fruit and vegetable scraps, coffee grounds, or fresh grass clippings. These materials will provide the necessary nitrogen to help break down the organic matter efficiently.
Follow up with a layer of carbon-rich ‘browns,’ including dried leaves, shredded paper, or small pieces of cardboard. Carbon sources are essential for maintaining the right air balance and preventing unpleasant odors.
Continue alternating layers of greens and browns, aiming for a ratio of about 3 parts browns to 1 part greens. This balance ensures that your compost heats up properly, speeding up the decomposition process.
For those looking to optimize, consider adding a small scoop of garden soil every few layers. This introduces beneficial microbes and helps kick-start the decomposition process.
Maintain moisture by occasionally watering your compost layers. Your compost should feel like a damp sponge, as too much moisture can slow decomposition, while too little can halt the process altogether.
Conclusion: Growing Success with These Plants
As we wrap up our exploration of relationship growth through the lens of creating a DIY compost bin, let’s revisit the five key concepts we uncovered. First, we emphasized the importance of communication, just as crucial in relationships as it is in building a structure that supports life. Second, we highlighted collaboration, akin to the teamwork needed to gather materials and assemble your bin. Third, we touched on patience, essential in both nurturing your compost and your relationships. Fourth, adaptability shone through as we learned to manage unexpected challenges in both endeavors. Finally, we celebrated shared growth, where the fruits of your compost mirror the flourishing of a well-tended relationship.
Now, as an immediate step, why not take a moment to discuss with your partner or loved ones how you can incorporate these principles into your daily interactions? By doing so, you’re not only fostering a sustainable garden but also a thriving relationship.
Remember to save or bookmark this article so you can revisit these insights whenever you need a boost. As you continue to nurture both your garden and your relationships, know that each small step contributes to a future filled with blooming success and enduring happiness. Keep cultivating love and growth every day!