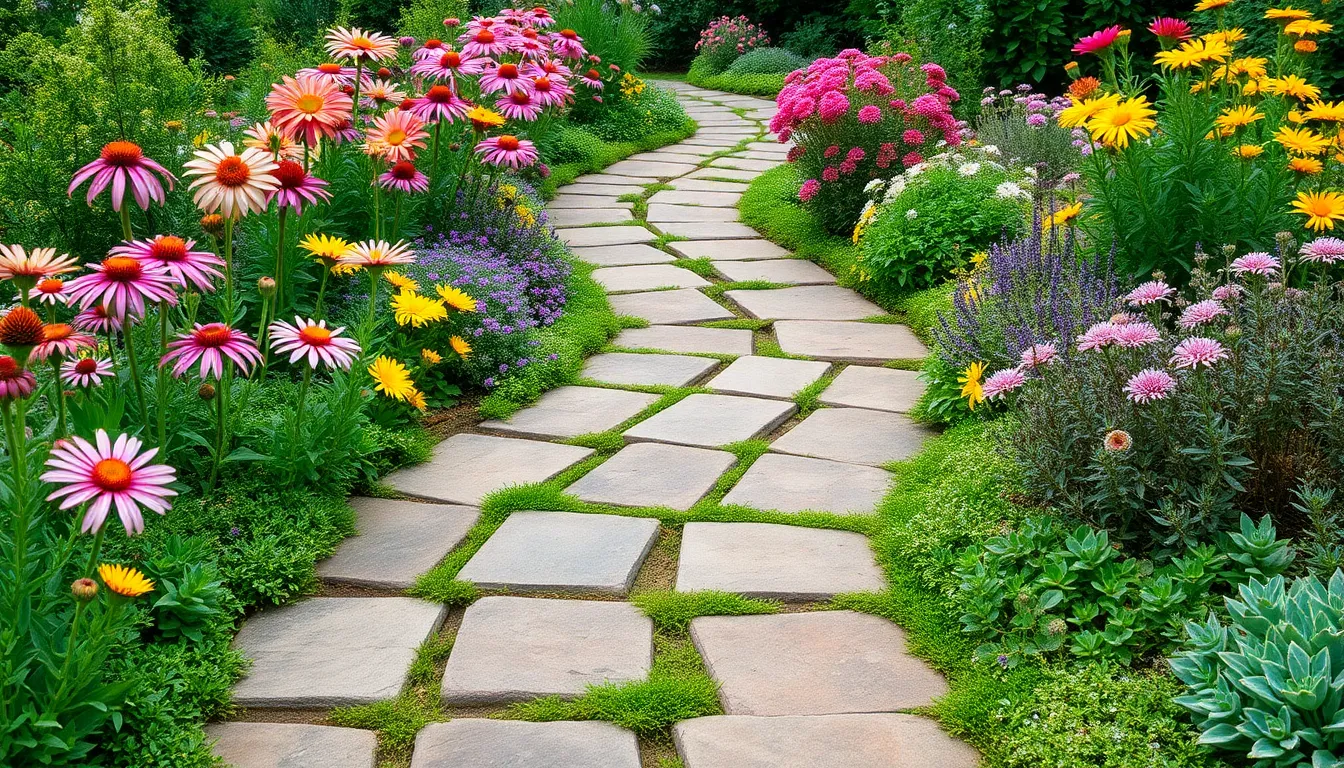
Creating a small garden path is more than just a practical addition to your outdoor space; it’s an invitation to explore and enjoy your garden in a whole new way. Whether you’re a seasoned gardener with years of experience or just starting on your green journey, designing a path can transform your garden into a welcoming retreat that reflects your personal style. Paths guide us through our gardens, highlighting the beauty of our plants and creating a flow that connects various elements of the landscape.
In this article, we’ll walk you through the steps of building a small garden path that suits both your space and your vision. From selecting the right materials to planning the layout, you’ll discover how to create a path that not only complements your garden but also enhances its functionality. Whether your garden is a compact urban oasis or a sprawling backyard, you’ll find practical tips and inspiration to make your path a stunning feature. Get ready to dig in and learn how to make your garden more inviting and organized with a thoughtfully crafted path.
Plan Your Path Layout
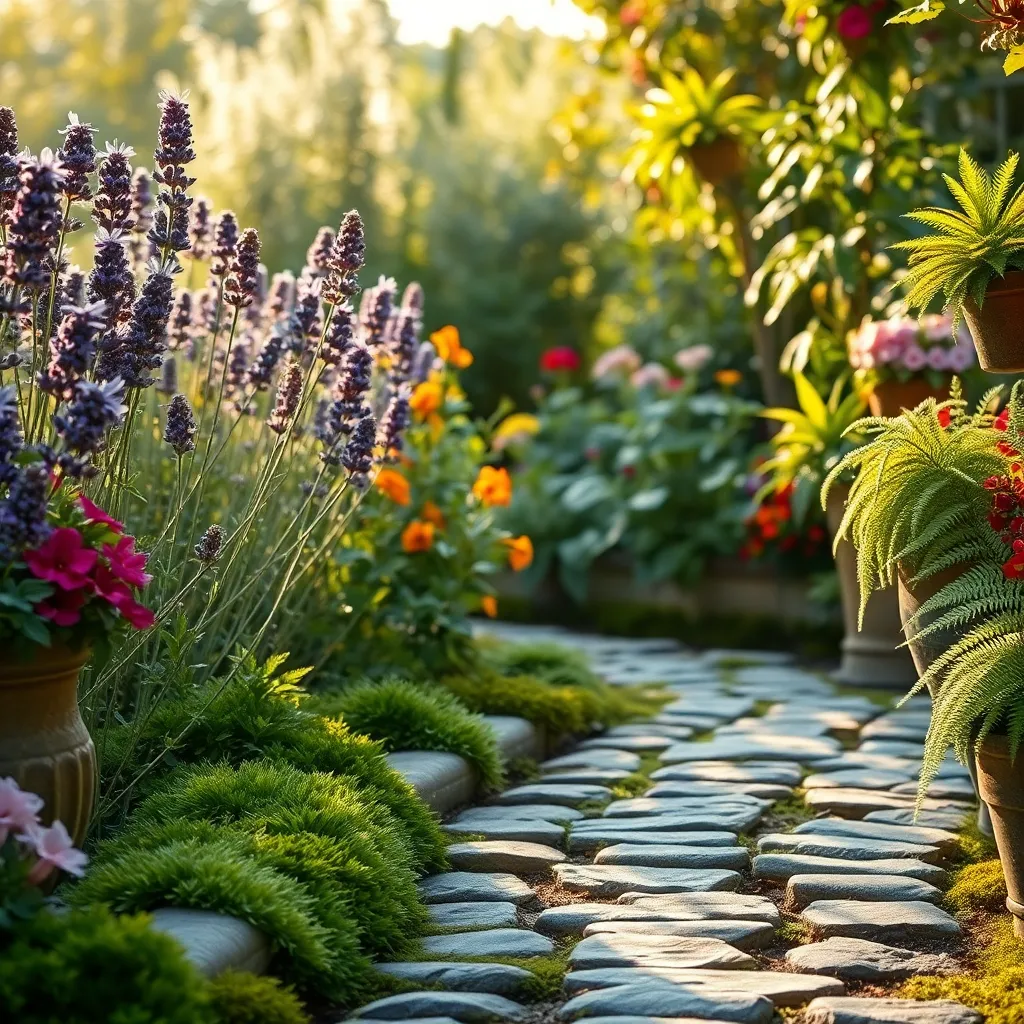
When planning your garden path layout, start by observing the natural flow of foot traffic in your garden space. This will help you determine the most practical routes, ensuring paths are both functional and aesthetically pleasing.
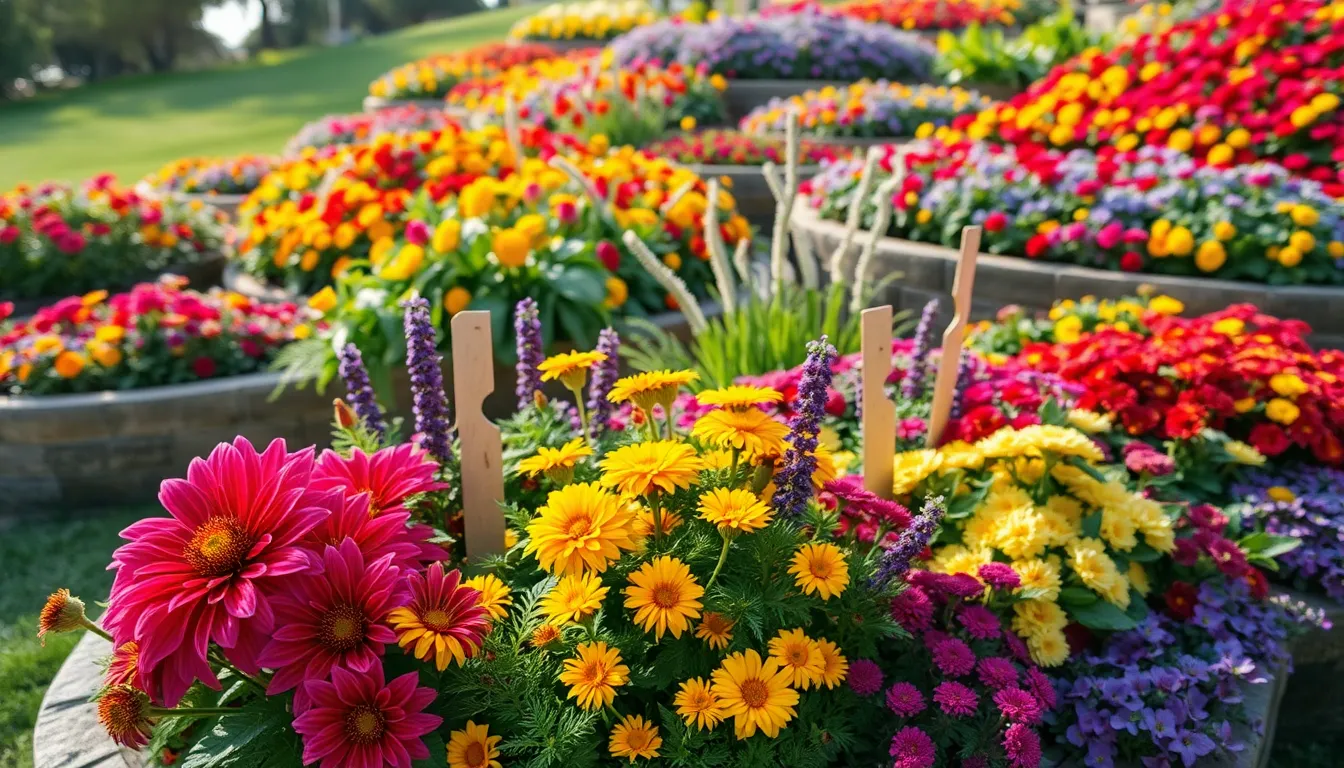
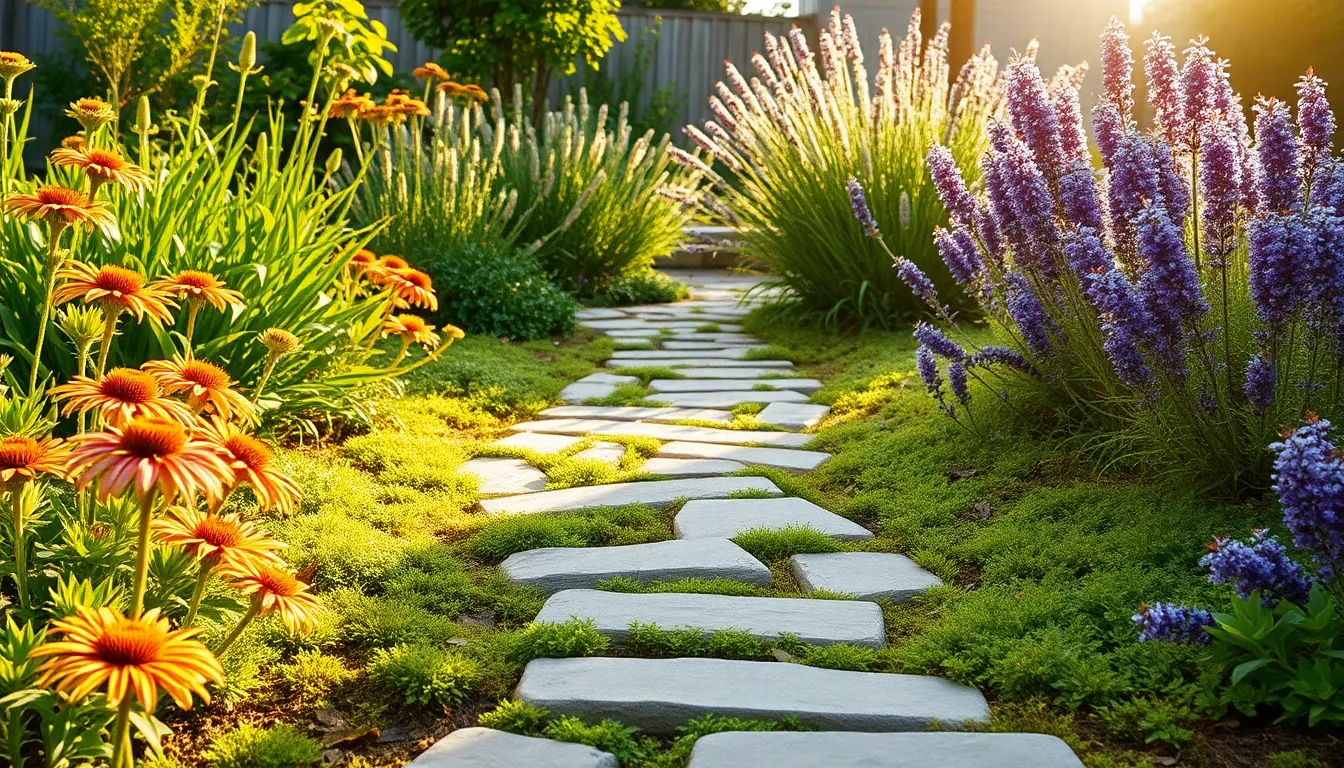
Consider the types of plants you want to border your path, as this will influence the path’s width and material. For example, compact plants like lavender or creeping thyme can soften the edges and provide a fragrant experience as you walk.
Avoid making paths too narrow, as they should accommodate comfortable walking and maintenance access. Aim for a minimum width of 18 inches, but wider paths may be necessary if you plan to use a wheelbarrow or other gardening tools frequently.
For those interested in advanced planning, create curves rather than straight lines to add a sense of mystery and exploration. Curved paths can also help slow down foot traffic, encouraging you to pause and enjoy different areas of your garden.
Clear and Level the Ground
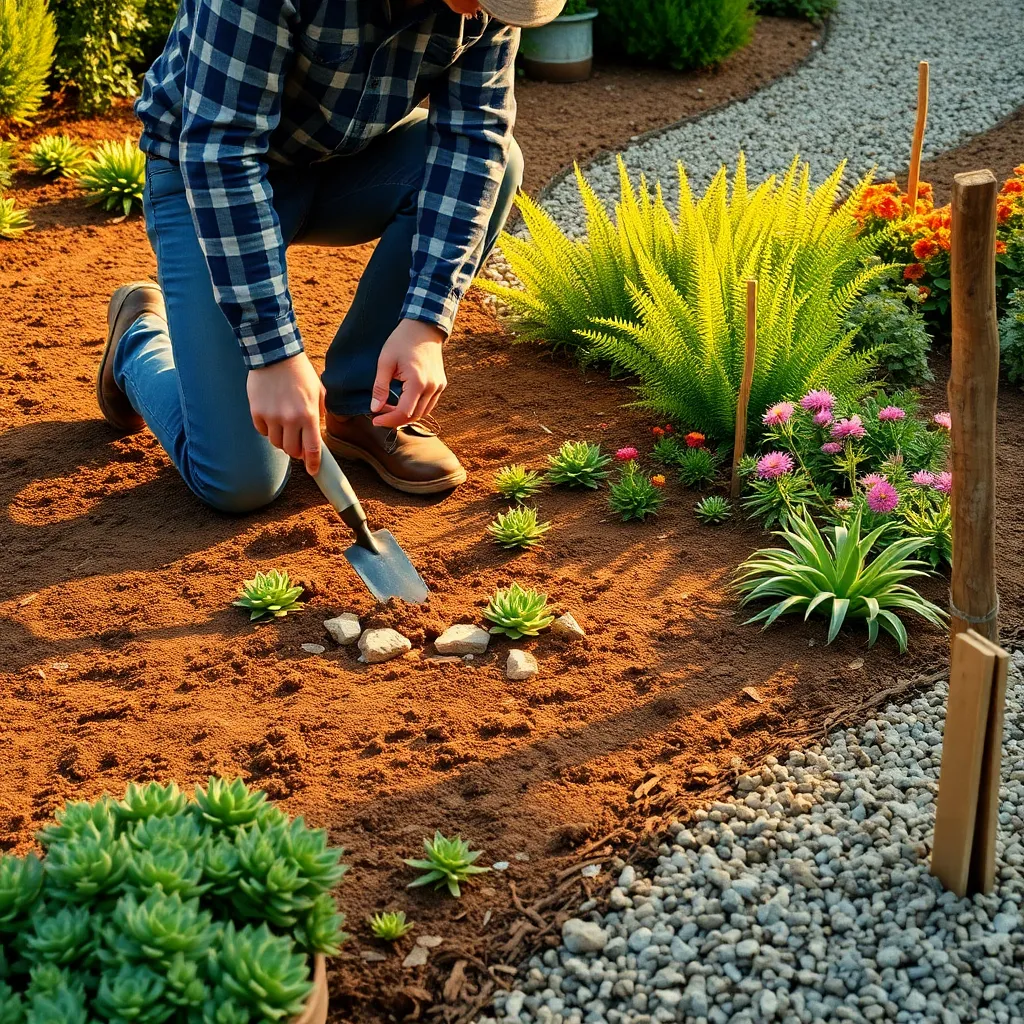
Before you begin constructing your garden path, it’s essential to clear the ground of any obstacles such as rocks, roots, and debris. Use a sturdy garden spade to remove any unwanted materials, ensuring the area is free from anything that could interfere with the path’s foundation.
Once the ground is clear, focus on leveling the area to create a stable base for your path. Employ a garden rake to even out the soil, paying special attention to low spots that might collect water and cause erosion over time.
For beginners, a simple way to ensure the path is level is by using a carpenter’s level along a straight board placed on the ground. Advanced gardeners might prefer to use a laser level for larger projects to achieve greater accuracy over longer distances.
Consider the type of soil in your garden when leveling the ground, as different soils have varying drainage capabilities. Sandy soil drains quickly but may shift, while clay retains moisture and may require extra grading to prevent water pooling.
Lay Down Weed Barrier
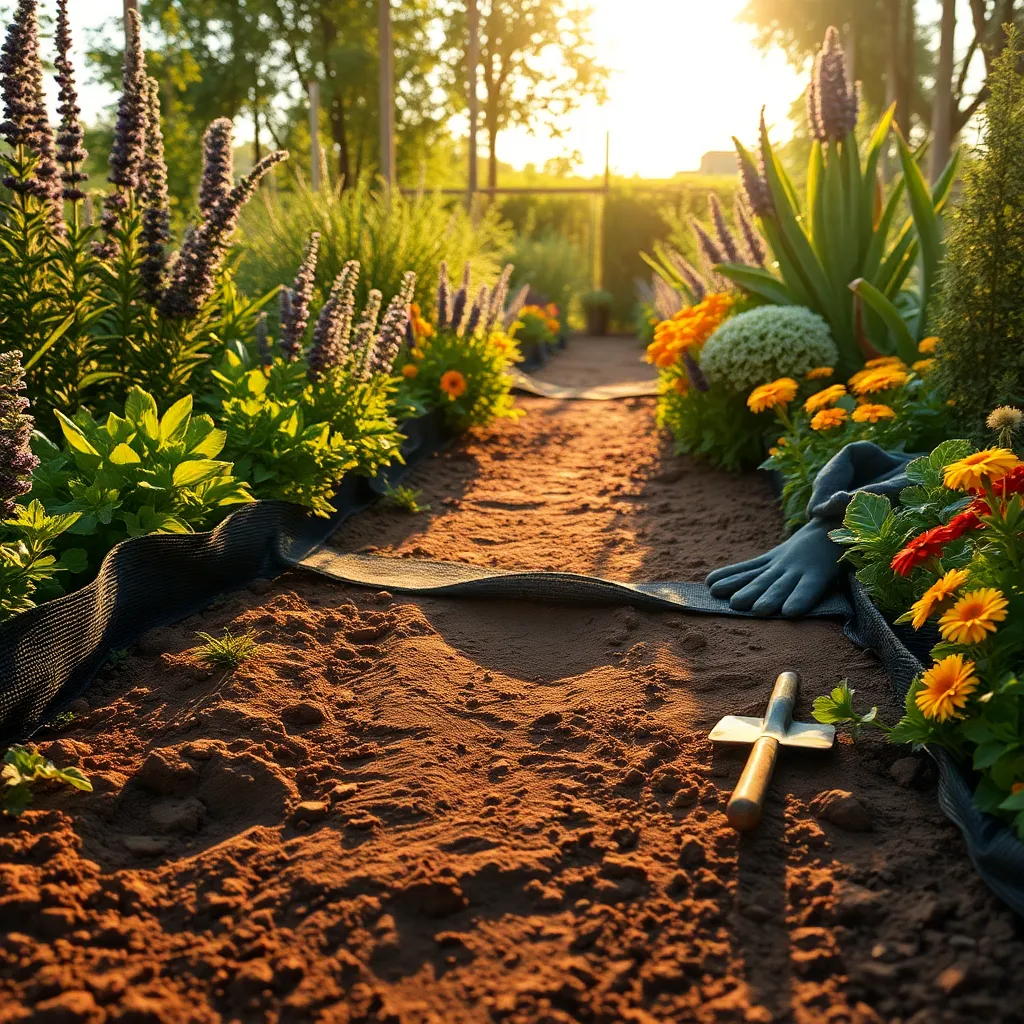
Once the ground is cleared and leveled, it’s time to lay down a weed barrier to prevent unwanted growth. A good weed barrier not only keeps weeds at bay but also helps maintain the path’s neat appearance.
Begin by selecting a high-quality landscape fabric, which serves as an effective weed barrier without impeding water flow. Ensure the fabric is permeable to allow proper drainage, which is crucial for keeping your path dry and safe.
Roll out the fabric over the leveled ground, overlapping the edges by at least 6 inches to prevent weeds from sneaking through seams. Secure the fabric with landscape staples every few feet, ensuring it remains taught and flush against the ground.
For paths in particularly windy areas, consider additional anchoring by using small rocks or bricks along the edges. This provides extra stability and keeps the barrier in place, even during adverse weather conditions.
Install Edging Materials
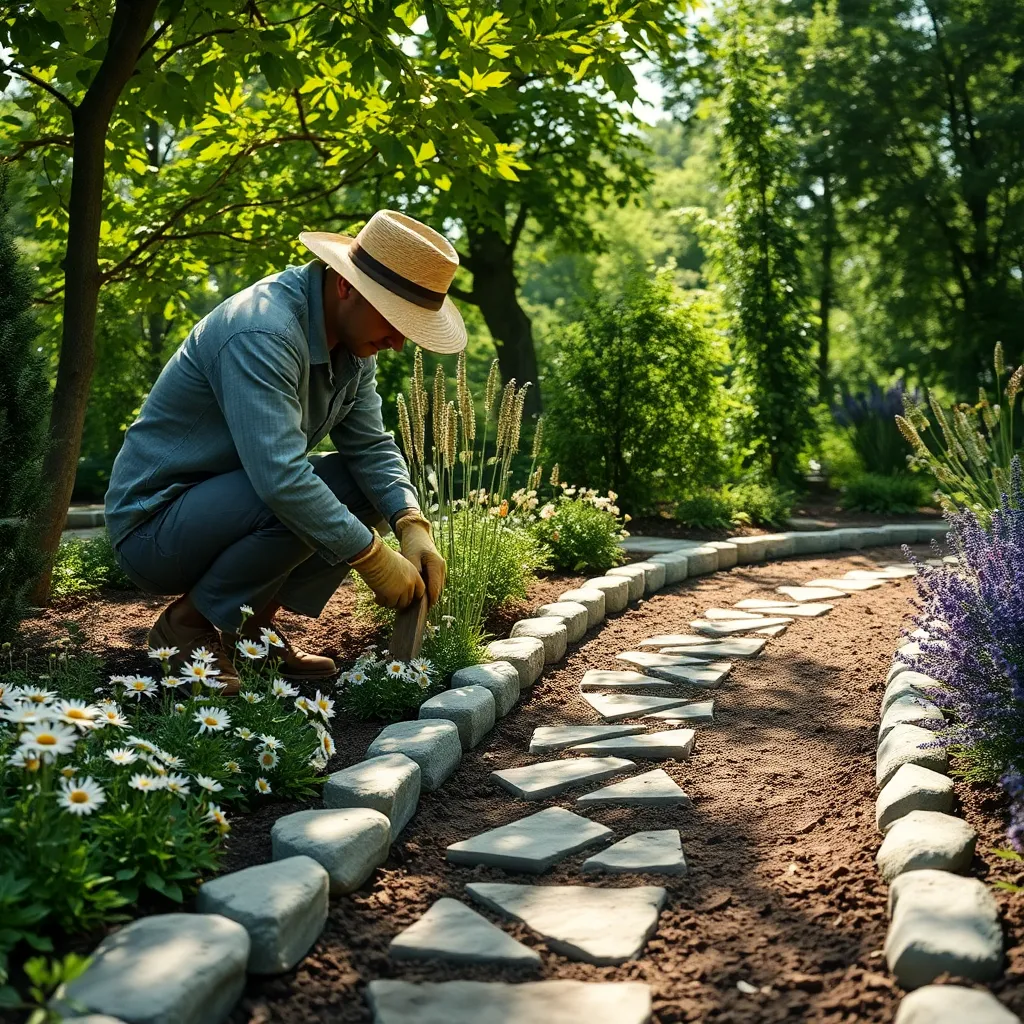
After laying down your weed barrier, the next step is to install edging materials to define the borders of your garden path. Edging helps to keep your path neat and prevents the materials used for the path, like gravel or mulch, from spreading into your garden beds.
Choose from a variety of edging materials such as stone, metal, plastic, or wood, based on your garden’s aesthetic and budget. For a classic look, use natural stone or brick, while metal or plastic options offer a sleek, modern appearance.
Installing edging materials requires precision; start by digging a trench along the path’s edges that’s deep enough to hold the chosen material securely. Ensure the trench is level to prevent uneven edges, which can cause tripping hazards and detract from the path’s appearance.
For beginners, plastic or metal edging can be the easiest to work with, as these are typically flexible and easy to cut. More experienced gardeners might prefer stone or brick, which offer durability and a more permanent solution but require more effort to lay evenly.
Secure your edging by backfilling the trench with soil or sand, pressing it firmly into place to hold the edging material steady. This step not only stabilizes the edging but also enhances the overall look by creating a clean, well-defined path.
Fill Path with Gravel or Stone
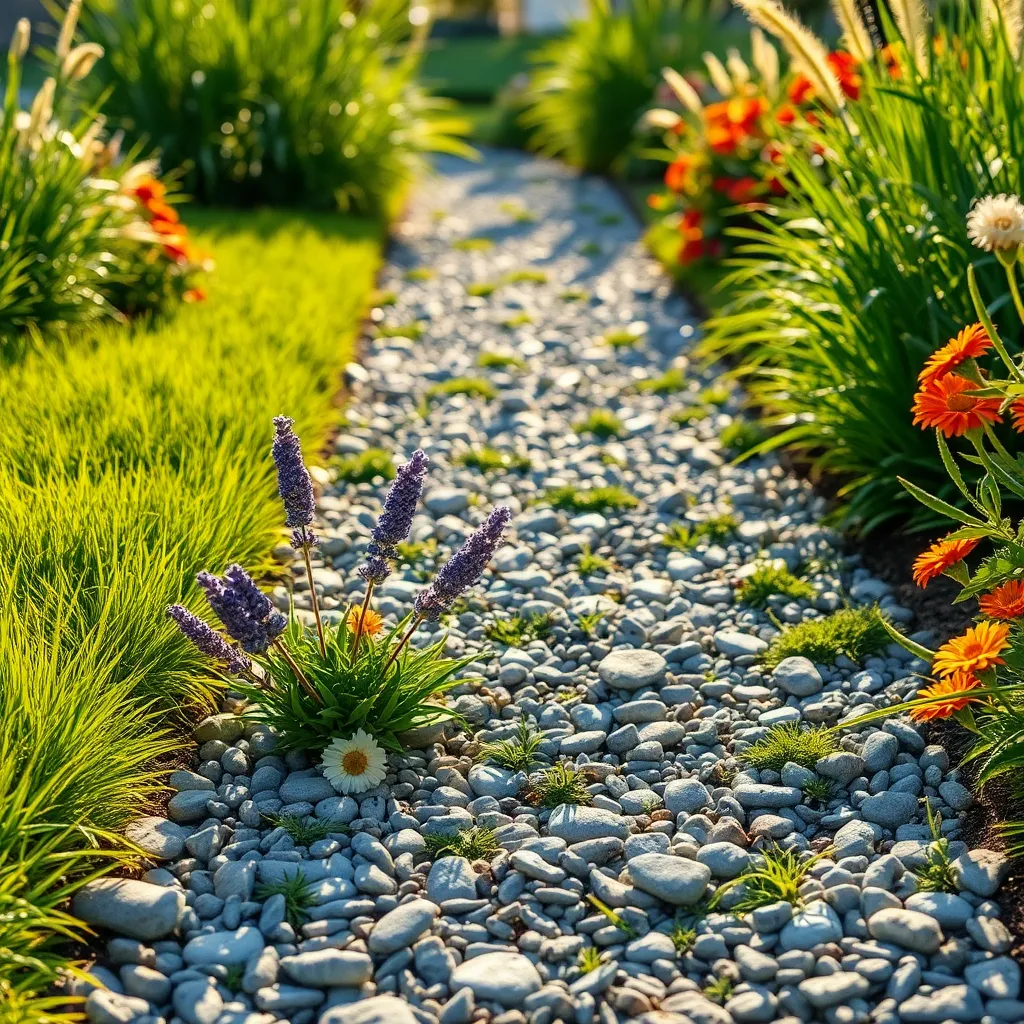
Once your edging is installed, it’s time to fill your path with gravel or stone, which will create a sturdy and visually appealing surface. Begin by selecting the right material: pea gravel is great for a softer, more flexible look, while crushed granite offers a firmer, more stable path.
Before laying your chosen material, ensure the path bed is well-prepared by removing any debris or vegetation. A layer of landscape fabric can be laid down to prevent weed growth and help maintain the path’s integrity over time.
Spread the gravel or stone evenly across the path, aiming for a depth of about two to three inches to ensure a solid walking surface. Use a rake to distribute the material evenly, and then compact it with a hand tamper or plate compactor for a smooth, even finish.
For an extra touch of stability, consider adding a layer of sand beneath the gravel or stone. This will help with drainage and provide a more solid base, especially useful in areas prone to heavy rain.
Finally, regularly maintaining your path is key to its longevity. You should occasionally add more gravel or stone as needed, and use a rake to keep the surface even and tidy, ensuring your path remains both functional and attractive for years to come.
Conclusion: Growing Success with These Plants
In this exploration of building a small garden path, we’ve uncovered five key relationship concepts: communication, collaboration, patience, adaptability, and shared vision. Just as constructing a path requires clear communication to align on design and purpose, so too does a healthy relationship thrive on open dialogue. Collaboration ensures that both partners contribute and feel valued, while patience allows each phase of growth to mature naturally. Adaptability is essential, as you may need to adjust your plans to accommodate new insights or challenges. Lastly, a shared vision keeps you both moving in the same direction, nurturing a sense of unity and purpose.
To start applying these principles today, take a moment to discuss a small project with your partner—something you can plan and execute together. This practice not only strengthens your bond but also reinforces these foundational skills.
Remember to bookmark this article so you may revisit these insights whenever you need guidance or inspiration. Embracing these concepts can pave the way for lasting relationship success, enriching your journey together with each step you take. Empower yourselves with knowledge, and watch your relationship flourish into something as beautiful and enduring as the path you’re building together.