Creating a haven for birds right in your own garden is not only a delightful way to bring life and color to your outdoor space but also a rewarding endeavor that benefits the local ecosystem. Whether you’re just planting your first seeds or have a seasoned green thumb, building a DIY bird feeder can enhance your garden’s charm and improve its biodiversity. This hands-on project invites birds to visit, offering you the joy of watching their vibrant antics while contributing to their well-being.
In this article, we’ll explore how to craft a simple yet effective bird feeder using materials you likely already have at home. You’ll learn step-by-step instructions that cater to all skill levels, ensuring the process is as enjoyable as the end result. For beginner gardeners, this is a wonderful opportunity to engage with nature in a new way and add a functional piece to your garden. Experienced gardeners will find this project a refreshing reminder of the simple pleasures that make gardening so fulfilling.
Beyond just feeding our feathered friends, a DIY bird feeder can serve as an educational tool, teaching about sustainability and the importance of supporting wildlife. By the end of this article, you’ll not only have a beautiful bird feeder to add to your garden but also a deeper appreciation for the interconnectedness of your garden’s ecosystem. Embrace the warmth of this creative journey, and let’s get started on making your garden a welcoming retreat for the birds that grace your skies.
Select Suitable Materials
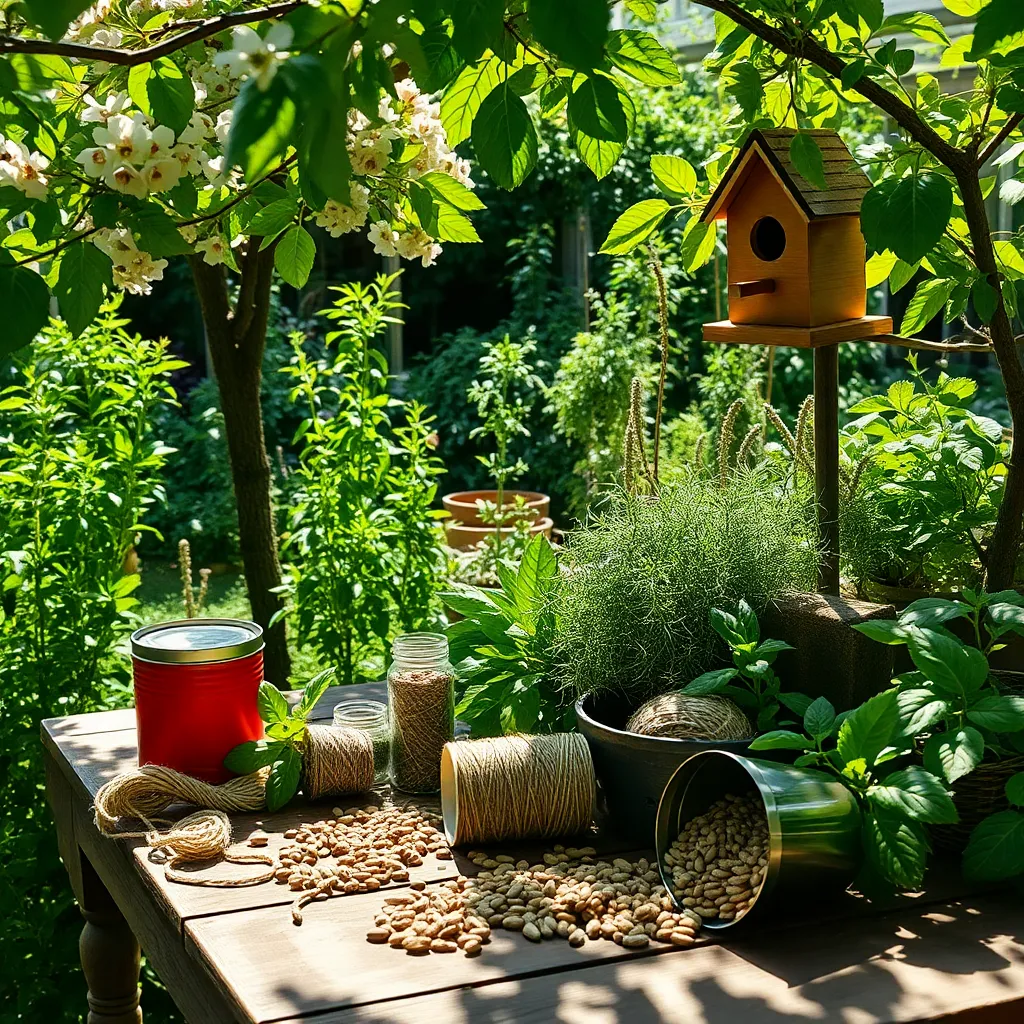
When selecting materials for your DIY bird feeder, consider using materials that are both sustainable and bird-friendly. Wood is an excellent choice due to its natural appearance and durability, making it a favorite among many bird species.
For those who prefer a modern look, recycled plastic or metal can be used, ensuring they are safe and free from sharp edges. Ensure that any metal components are rust-resistant, as rust can be harmful to birds.
Beginners might consider using simple, readily available materials like empty plastic bottles or milk cartons. These items can be easily transformed into functional feeders with just some scissors and string, providing a quick and eco-friendly solution.
Advanced gardeners might experiment with creating a bird feeder using clay or ceramic materials. Although these require more skill and time, they offer a unique and personalized touch to your garden, blending art with utility.
Cut and Shape Feeder Parts
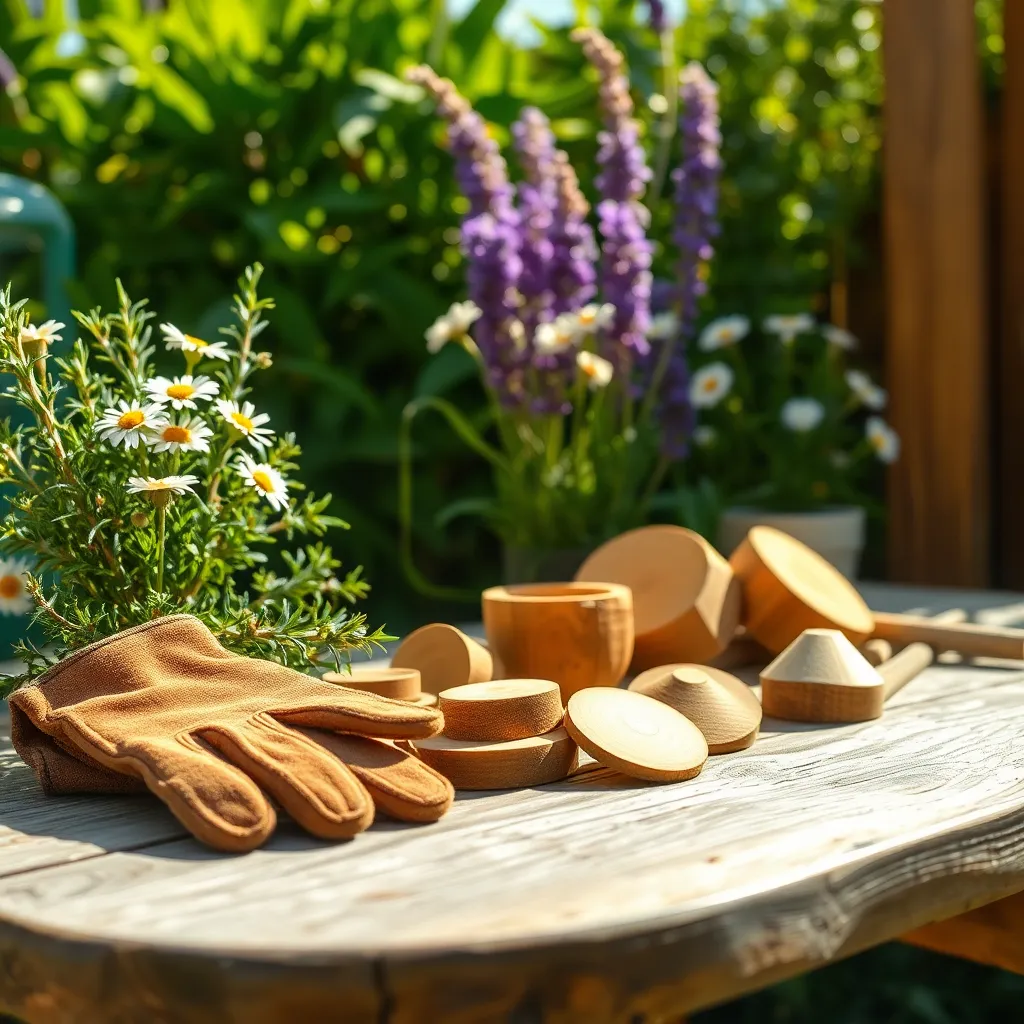
To begin crafting your bird feeder, first outline the shapes of the feeder parts on your chosen material. Use a pencil and ruler to ensure **precise measurements**, which will help your feeder function properly and look attractive.
Next, carefully cut the outlined shapes using appropriate tools like a saw or strong scissors, depending on your material. Ensure that all edges are smooth by sanding them down, as **rough edges can be harmful** to both birds and your hands.
As you shape the feeder parts, consider adding small drainage holes at the base to prevent water accumulation. These holes help keep the seeds dry, which is crucial for maintaining a healthy feeding environment for birds.
For those with more experience, try incorporating design elements like perches or additional feeding ports. These additions can attract a **wider variety of bird species** and make your feeder more functional and appealing.
Assemble the Feeder Structure
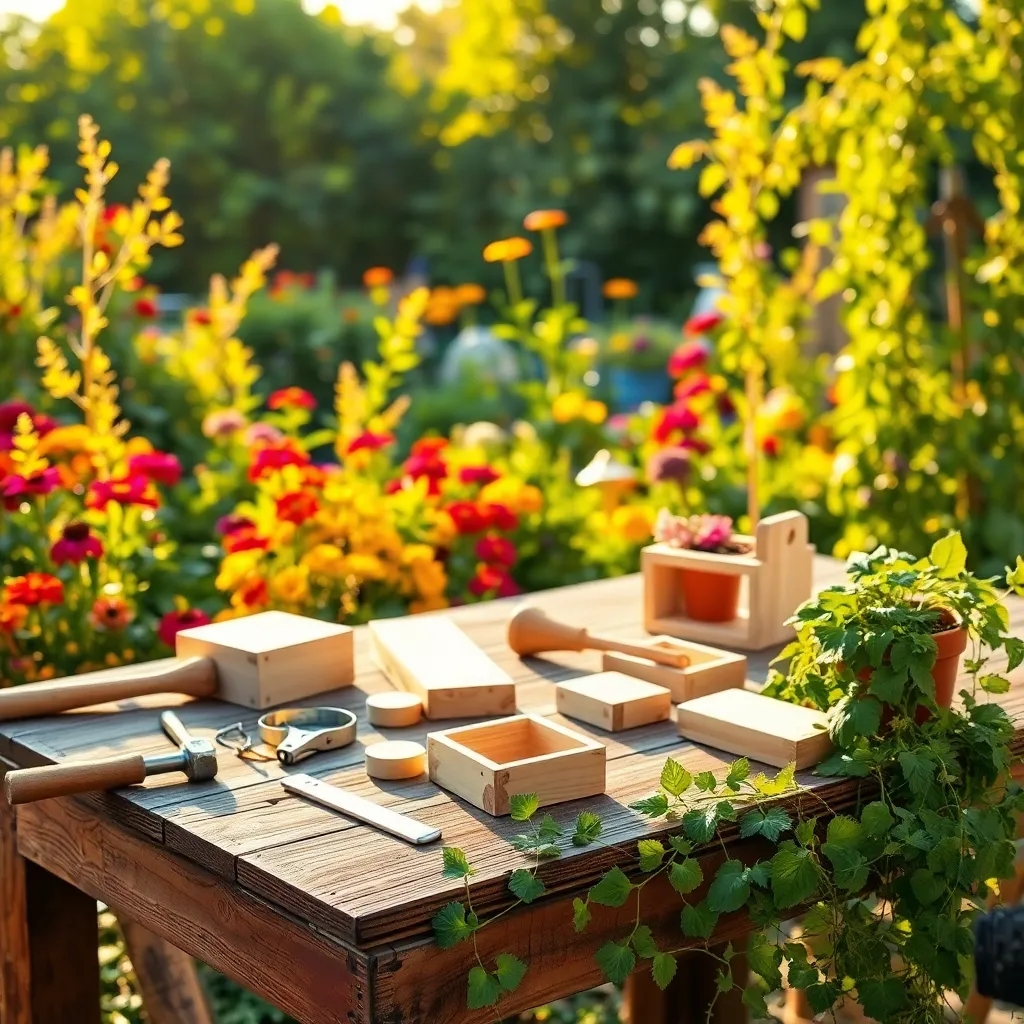
Now that you have all your feeder parts cut and shaped, it’s time to assemble the structure. Begin by laying out all the pieces on a flat surface to ensure you have everything you need. Start with the base piece, which will support the entire feeder. Secure it firmly in place using wood glue or small nails, ensuring it’s stable and level.
Next, attach the side panels to the base, aligning them carefully to avoid gaps. For a sturdy construction, consider using screws instead of nails, as they provide a more secure hold. If you’re using a plastic bottle or similar materials, use a hot glue gun for a more adaptable fit.
Install the roof of your feeder to protect the seeds from rain and other elements. Make sure the roof is slanted to allow water to run off and prevent pooling. Consider adding overhangs to further shield the feeding area, enhancing its durability against weather conditions.
Finally, add perches or feeding ports, depending on your design. Ensure these are easily accessible for birds but not too exposed to deter larger animals from reaching the seeds. To attract a variety of birds, position the perches at different heights and angles, catering to different species’ feeding habits.
Add Feeding Openings
Adding feeding openings to your DIY bird feeder is a crucial step that invites birds to your garden with ease. Start by identifying the ideal spots for these openings on your feeder structure, ensuring they are accessible for your feathered visitors.
Drill or cut small holes, approximately 1 to 1.5 inches in diameter, depending on the types of birds you wish to attract. Position these holes at a height that allows birds to perch comfortably while accessing the food inside.
For those using a wooden feeder, a spade bit can be an effective tool for creating clean, round openings. If your feeder is made of a softer material, a sharp knife or a heavy-duty pair of scissors can do the job effectively.
Once the openings are complete, consider attaching small perches below each hole to provide birds with a comfortable landing spot. These perches can be crafted from dowels, sticks, or even recycled chopsticks, cut to about 2 to 3 inches long.
For an advanced touch, you might install barriers around the openings to deter squirrels and larger birds from accessing the food. Mesh or wire barriers can help maintain the feeder’s integrity while ensuring smaller birds have unhindered access.
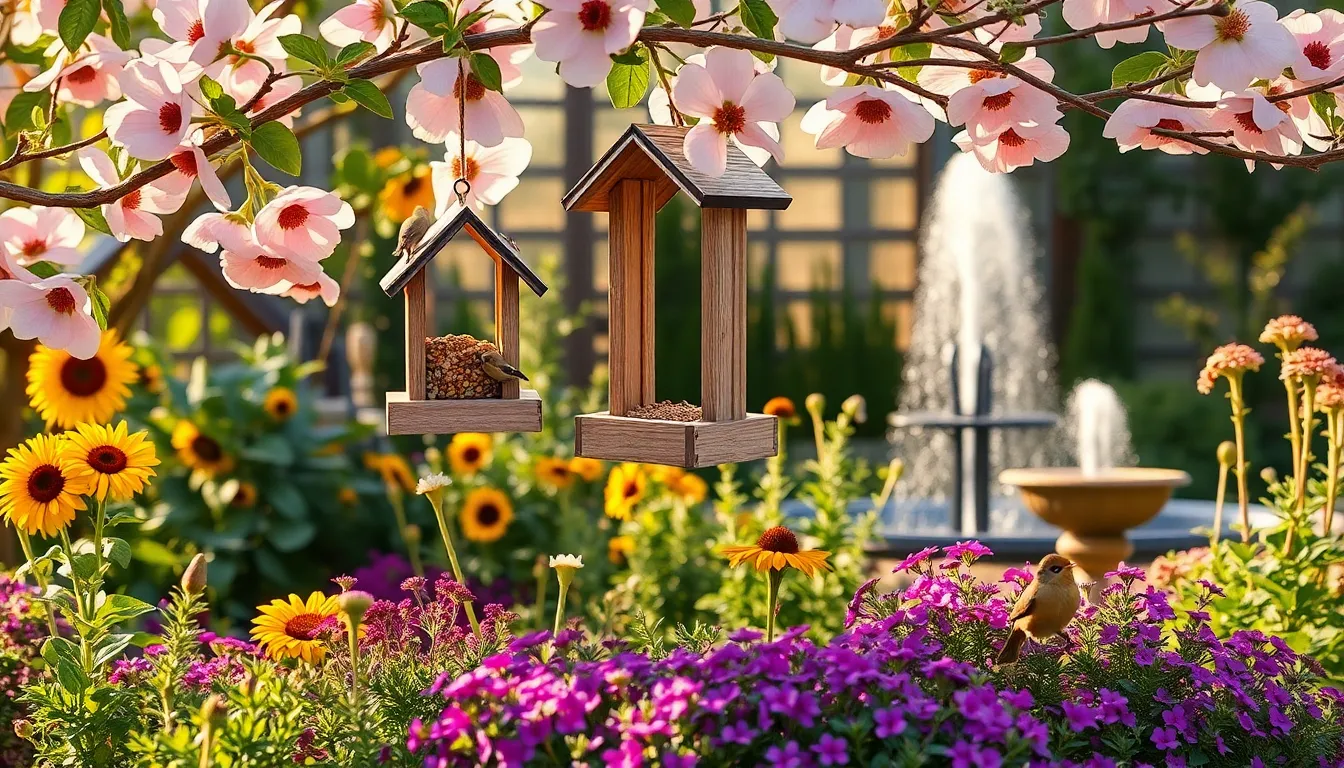
Hang Feeder in Garden
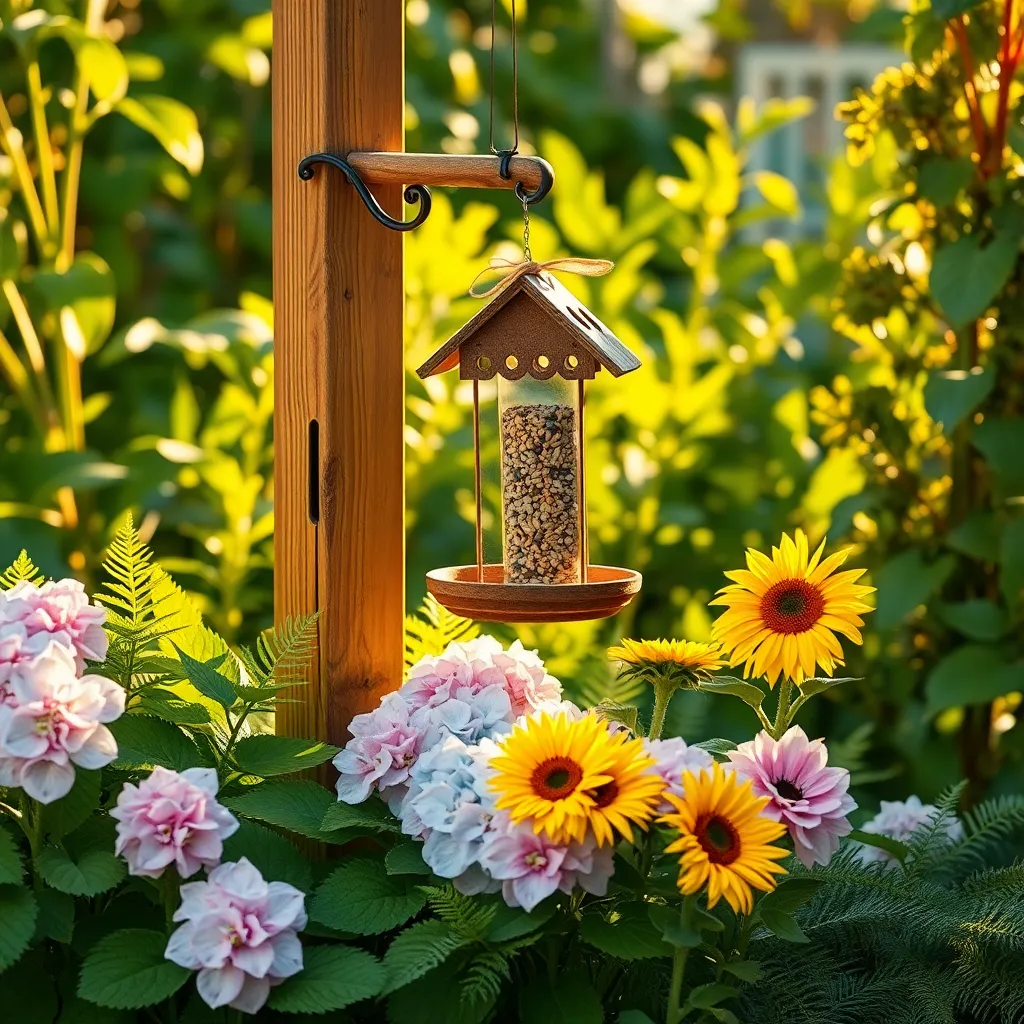
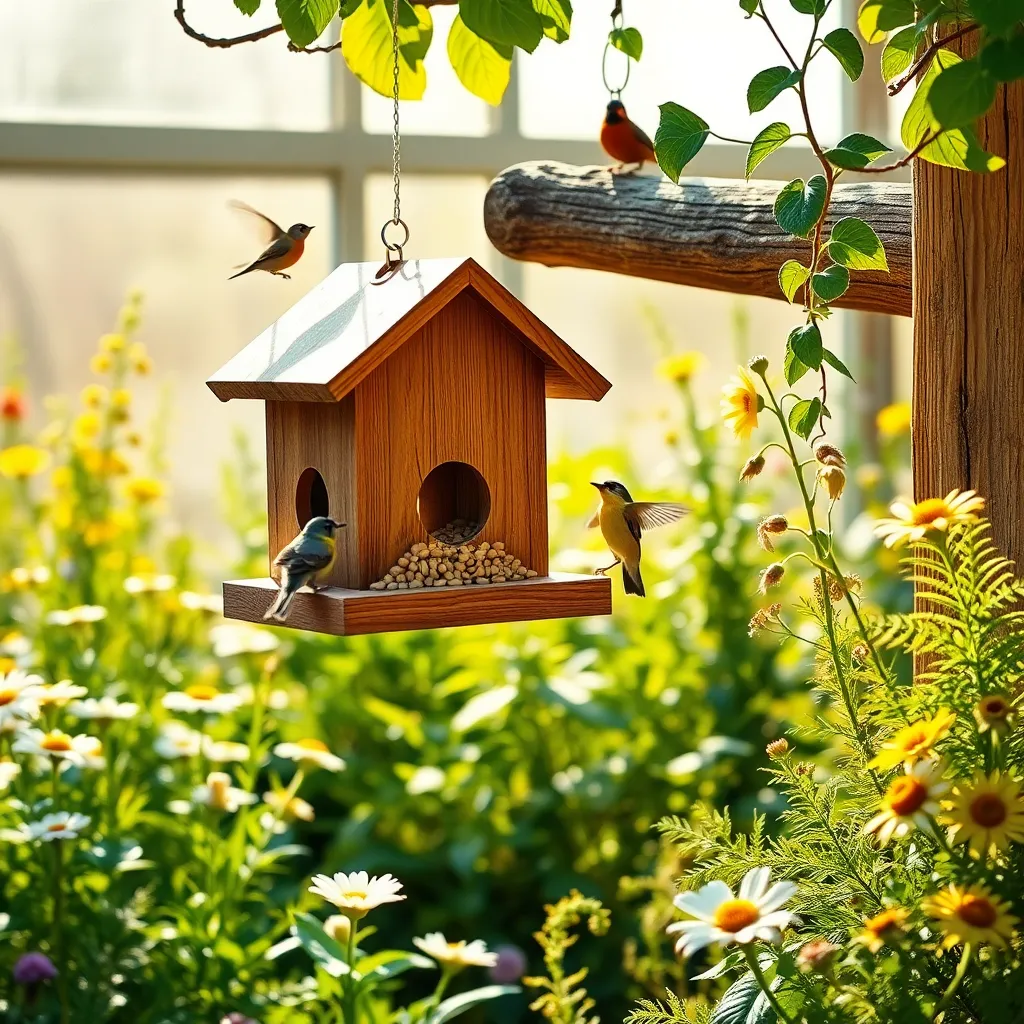
After adding the feeding openings, it’s time to decide where to hang your bird feeder in the garden. Choose a spot that is visible from your home so you can enjoy watching the birds from inside.
Hang the feeder at a height that is safe from predators, such as cats. A good rule of thumb is to place it at least five feet above the ground and away from any potential jumping-off points.
Consider the type of birds you want to attract when selecting the location. Some birds prefer open spaces, while others like feeders near shrubs or trees where they can quickly retreat if needed.
Once your feeder is securely in place, fill it with a suitable birdseed mix. Sunflower seeds are a popular choice that attracts a variety of bird species.
Regularly check the feeder to ensure it remains clean and filled. Refill it promptly to keep the birds coming back, and clean it every two weeks to prevent mold and disease.
Conclusion: Growing Success with These Plants
As we conclude our delightful journey into creating a DIY bird feeder, we’ve uncovered five key relationship concepts that extend beyond the garden: communication, collaboration, patience, nurturing, and appreciation. Just as building a bird feeder requires clear instructions and teamwork, so too do our relationships thrive on open dialogue and shared efforts. Patience is key, whether waiting for birds to visit or understanding a partner’s perspective. Nurturing the garden mirrors the care and attention needed to foster a thriving relationship. Finally, appreciation for nature’s beauty reminds us to cherish and celebrate the unique qualities in our loved ones.
Now, I invite you to take the next step: gather your materials and craft your bird feeder, inviting a sense of togetherness and purpose. As you do, consider how these principles can enhance your relationships. Remember, this article is a valuable resource; save or bookmark it to revisit these insights and inspirations whenever you need a gentle reminder.
Looking forward, embrace the promise of growth in your relationships, just as your garden flourishes with care and attention. Let this project be a symbol of your commitment to nurturing and strengthening the bonds that matter most.