Imagine transforming your kitchen scraps and garden waste into rich, fertile soil — a gardener’s black gold that feeds your plants and nurtures your garden. Composting is a delightful alchemy that any gardener, whether you’re just starting out or have years of experience, can master with a little guidance and a sprinkle of patience. This practice not only enriches your garden but also contributes to a more sustainable planet, making it an essential skill for the eco-conscious gardener.
In this article, you’ll embark on a journey to create your own garden compost, unlocking a treasure trove of nutrients for your soil. We’ll walk you through the basics of composting, from choosing the right materials to understanding the magic of decomposition. For the seasoned gardener, we’ll delve into advanced tips and techniques to refine and perfect your composting process, enhancing your garden’s productivity. Whether you’re aiming to reduce waste or eager to nourish your plants naturally, this guide will equip you with the knowledge and confidence to cultivate your garden with homemade compost.
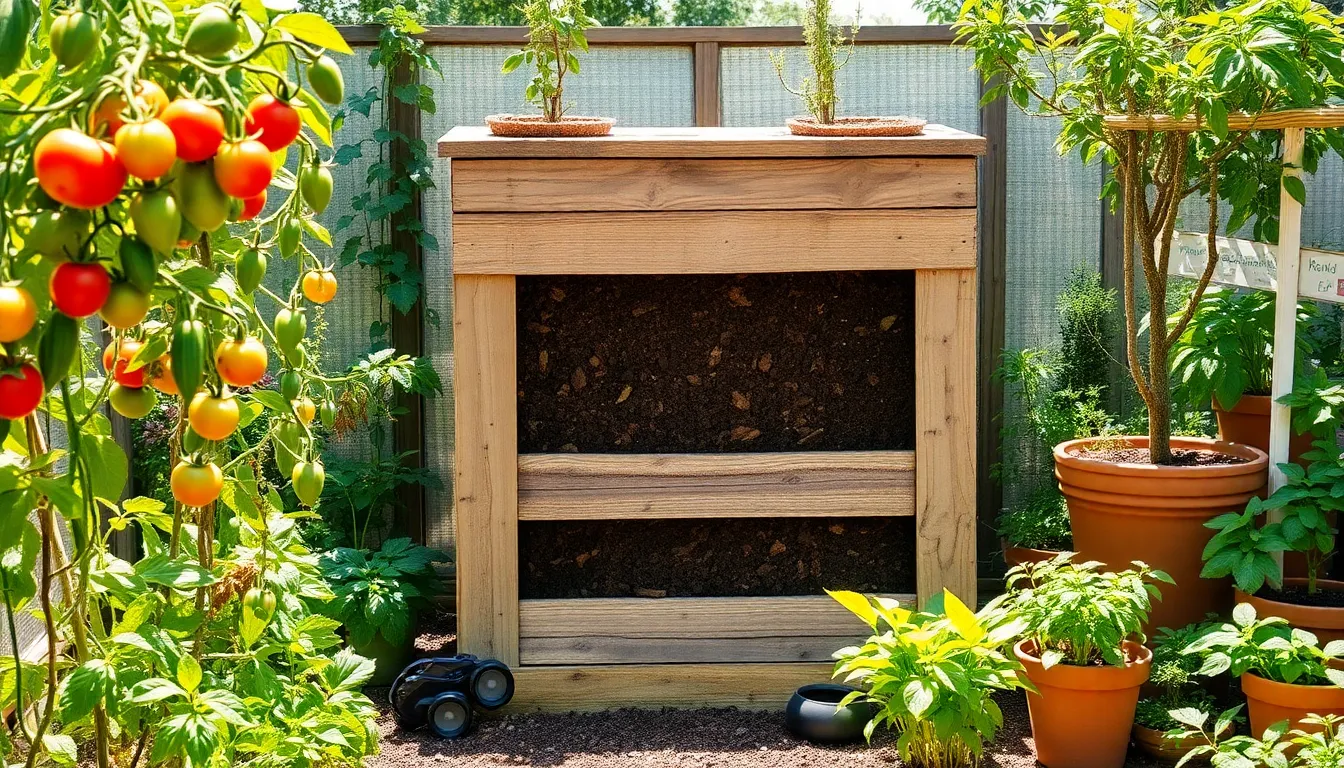
Gather Organic Waste Materials
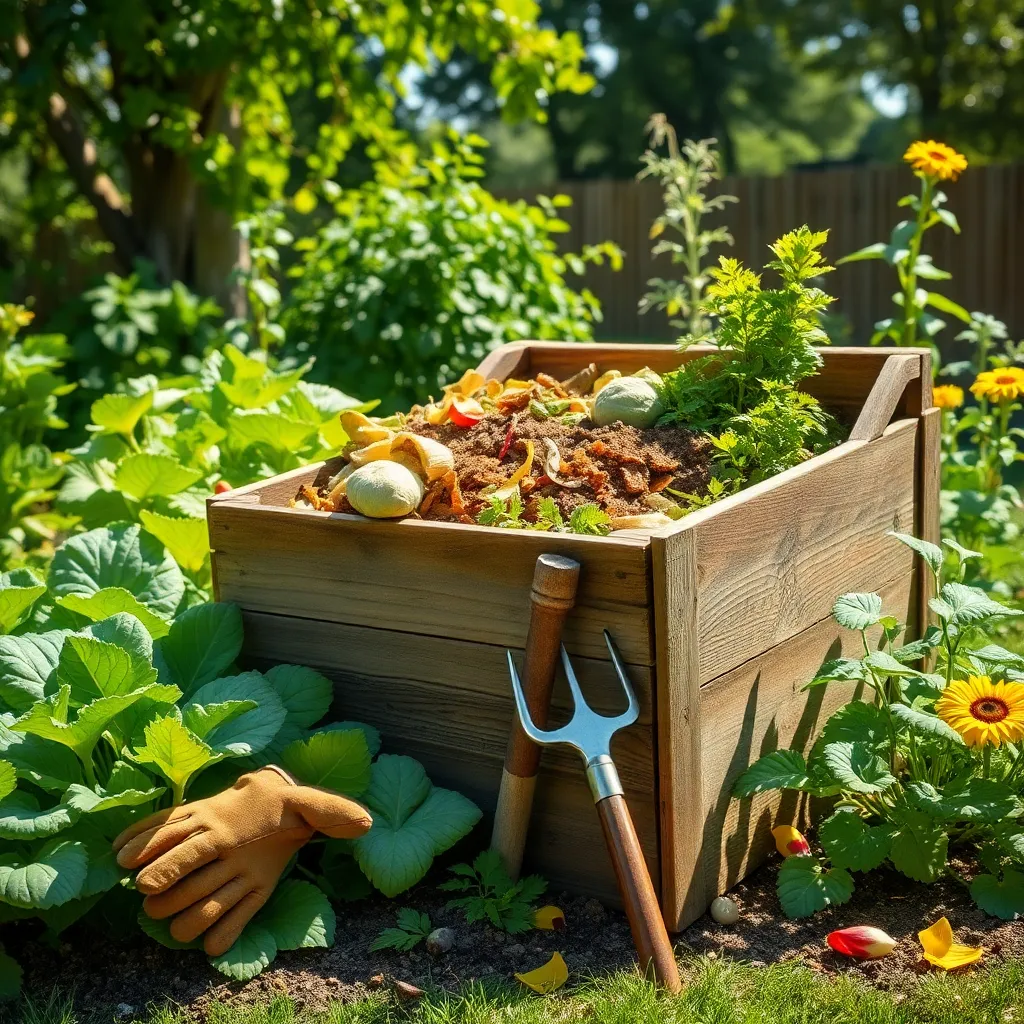
To start your compost pile, gather a variety of organic waste materials from your kitchen and garden. These materials should include fruit and vegetable scraps, eggshells, coffee grounds, and yard waste like grass clippings and leaves.
Mixing these materials creates a balanced compost that provides essential nutrients for your plants. Aim for a balance of green and brown materials; greens like vegetable scraps add nitrogen, while browns such as dried leaves add carbon.
For beginners, it’s essential to avoid adding certain items like meat, dairy, or diseased plants to your compost, as these can attract pests and cause odors. Instead, focus on using materials that will decompose quickly and safely enrich your soil.
Advanced gardeners might consider adding natural additives like crushed eggshells for calcium or wood ash in small amounts to increase the compost’s potassium content. These additions can enhance the nutrient profile of your compost, resulting in healthier plant growth.
Layer Browns and Greens
To create nutrient-rich compost, it’s essential to balance your layers of browns and greens. Browns consist of carbon-rich materials like dried leaves, straw, and shredded cardboard, which provide structure and aeration to your compost pile.
In contrast, greens are nitrogen-rich materials such as grass clippings, vegetable scraps, and coffee grounds, which help to heat up the pile and accelerate decomposition. Alternating layers of browns and greens in your compost pile promotes a faster and more efficient breakdown of materials.
Start by laying down a thick base layer of browns to ensure good airflow at the bottom of your compost pile. Follow this with a thinner layer of greens, roughly three inches thick, to kickstart the decomposition process.
Continue layering in this manner, aiming for a ratio of approximately 3 parts browns to 1 part greens. This balance is crucial to preventing any unpleasant odors and ensuring the compost does not become too wet or compacted.
For advanced composting, consider adding a layer of garden soil or finished compost between the browns and greens. This acts as an inoculant, introducing beneficial microorganisms that speed up the composting process.
Remember to keep your compost pile moist, similar to a damp sponge, to facilitate microbial activity. Turn the pile every few weeks using a garden fork to incorporate air and help maintain an even temperature throughout.
Maintain Moisture Levels
Maintaining the right moisture levels in your compost pile is critical for effective decomposition. Aim for a consistency similar to a damp sponge—moist but not dripping wet.
To achieve this, regularly check the moisture by squeezing a handful of compost material. If water drips out, it’s too wet; add more brown materials like dried leaves or straw to balance it out.
Conversely, if the compost feels dry, sprinkle some water evenly over the pile, ensuring not to soak it. Using a garden hose with a spray nozzle can help you control the water flow and avoid overwatering.
For those in drier climates, consider covering your compost pile with a tarp or a layer of straw to retain moisture. This simple step can also help insulate the pile, keeping the decomposition process active even when temperatures dip.
Turn the Compost Regularly
Turning the compost regularly is essential to ensure that the materials break down efficiently. By doing this, you introduce oxygen into the pile, which fuels the microorganisms responsible for decomposition.
To achieve optimal results, aim to turn your compost pile every one to two weeks. This frequency helps to evenly distribute moisture and heat, which are critical for the microbes to thrive.
When turning, use a garden fork or a compost aerator tool for best results. These tools help to mix the layers more effectively than a shovel, ensuring that all parts of the pile decompose at a similar rate.
For beginners, a simple tip is to look for signs that your compost needs turning, such as a foul smell or a cooler temperature. Advanced gardeners can monitor the internal temperature with a compost thermometer, aiming for a range between 135°F and 160°F for active decomposition.
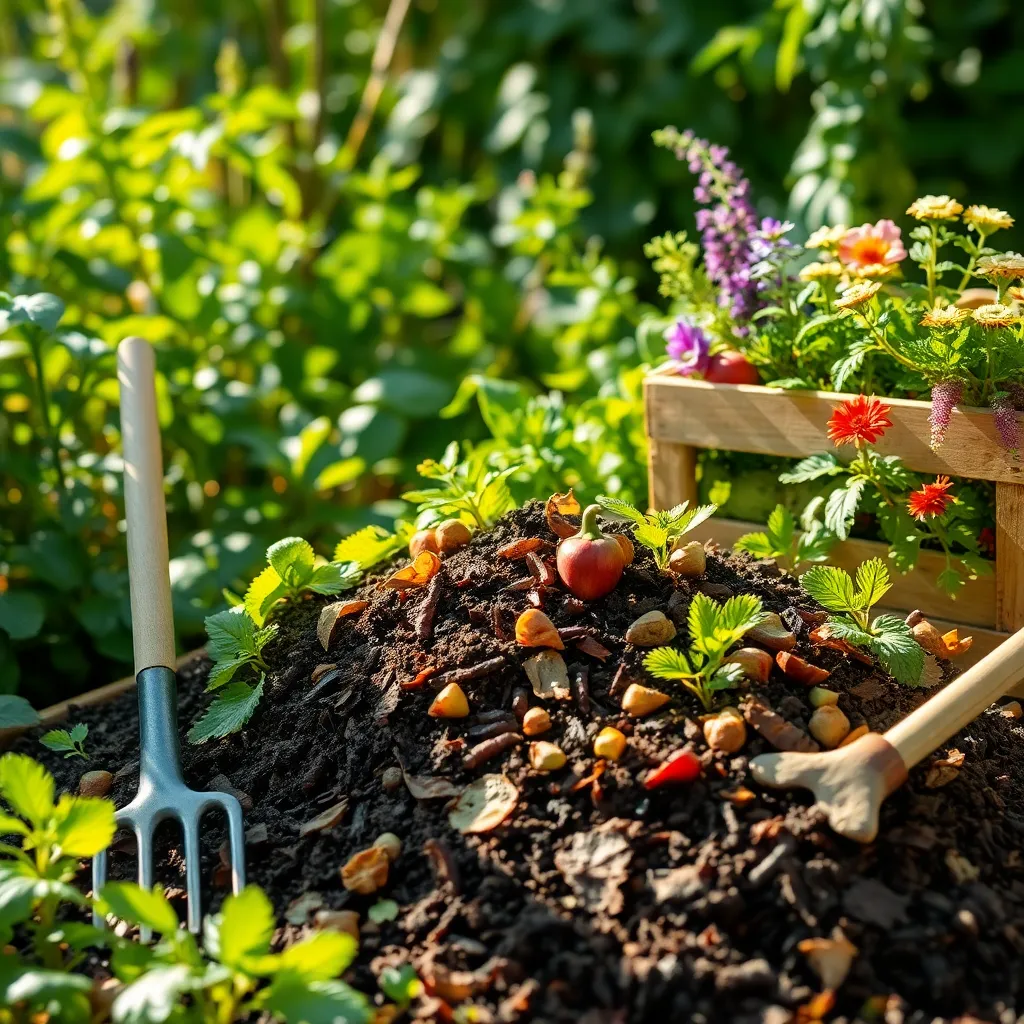
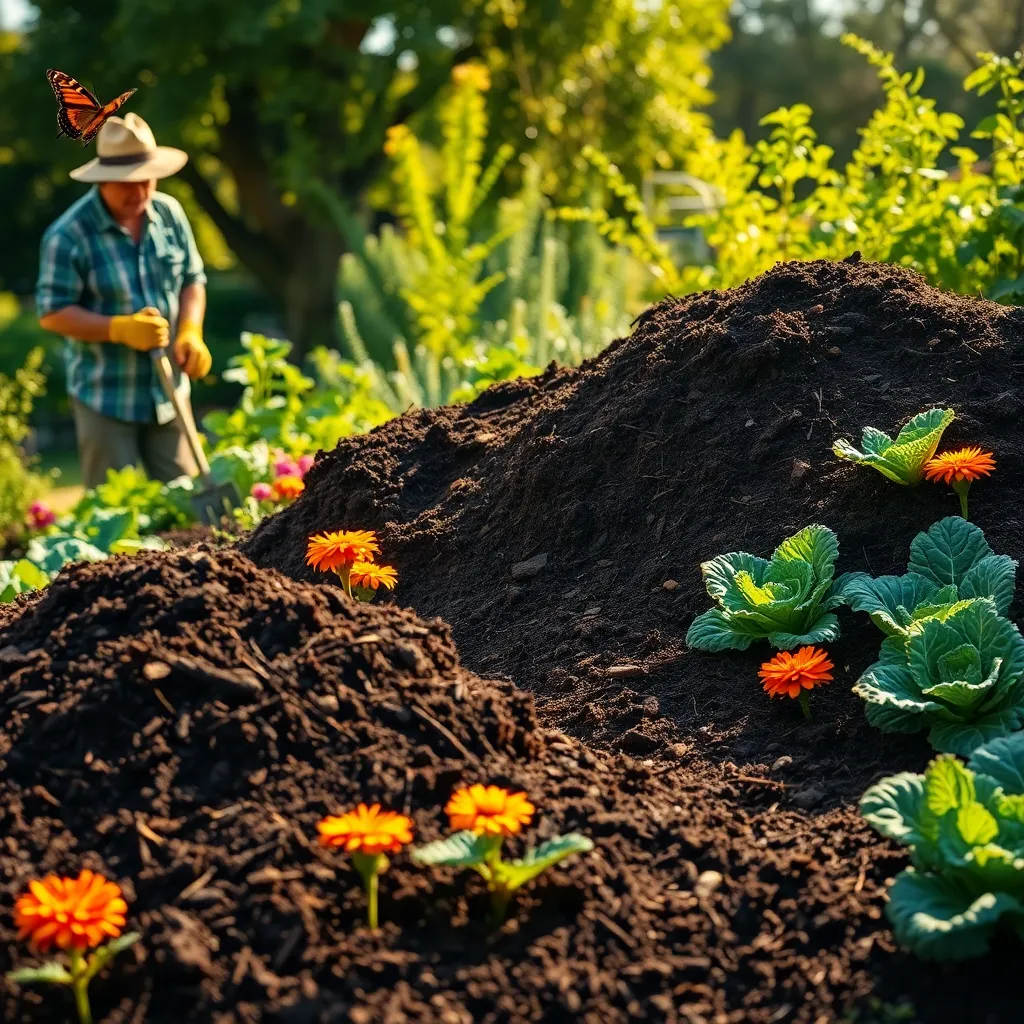
Harvest Fully Decomposed Compost
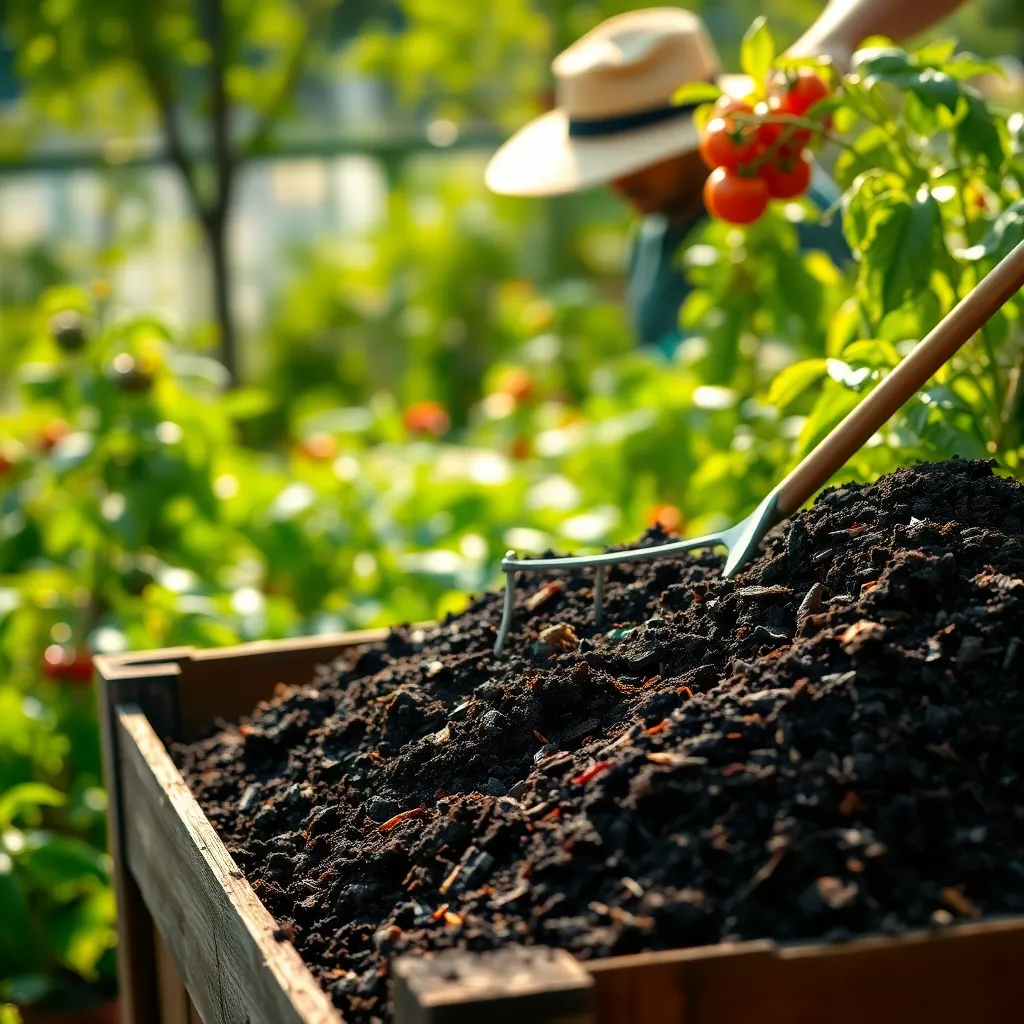
Once your compost has fully decomposed, it’s time to harvest this nutrient-rich material for your garden. You’ll know it’s ready for use when it looks dark and crumbly, resembling rich soil with an earthy smell rather than recognizable scraps.
To extract the finished compost, use a garden sieve or a piece of wire mesh to separate it from larger, undecomposed pieces. These larger bits can be returned to the compost pile to continue breaking down, ensuring that nothing is wasted in the process.
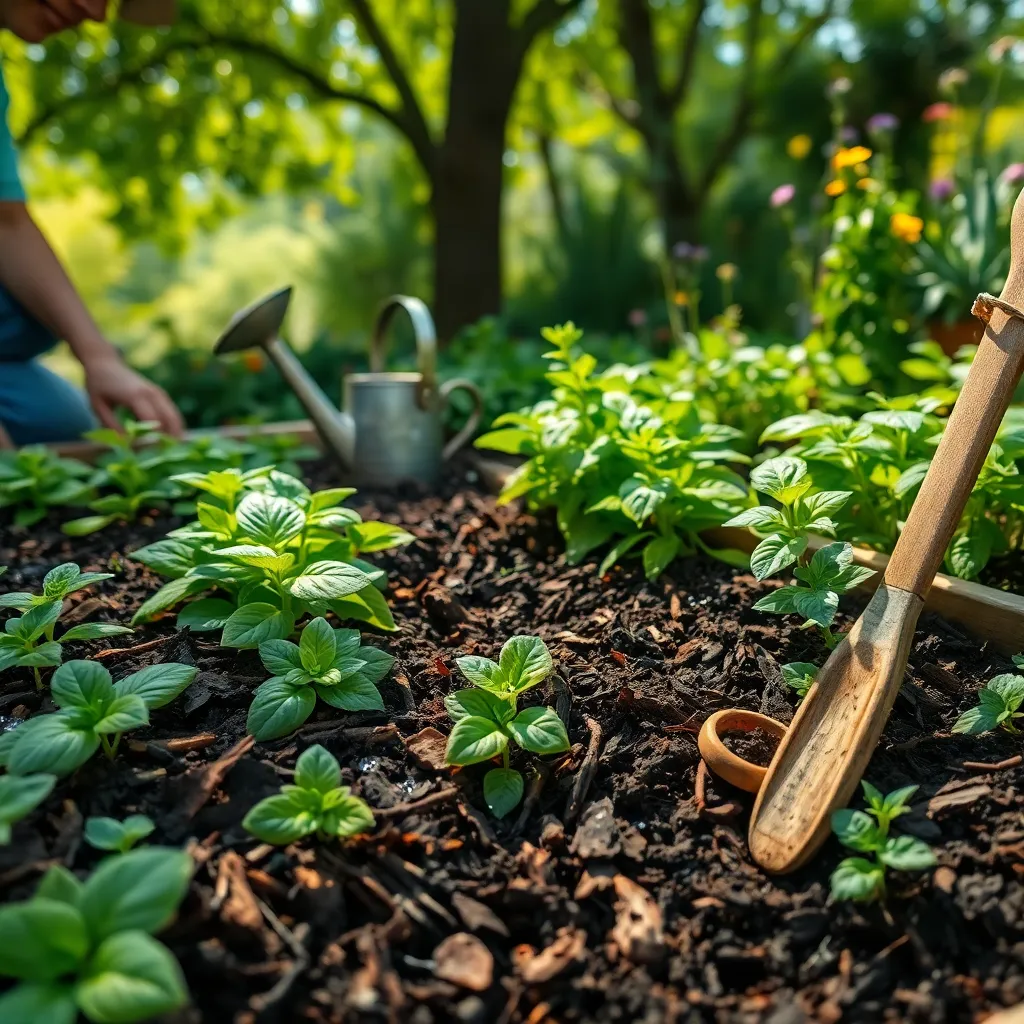
Apply the finished compost directly to your garden beds by spreading a two to three-inch layer over the soil. This not only enriches the soil but also helps retain moisture and suppress weeds, providing a multitude of benefits for your plants.
For those with established plants, gently work the compost into the top few inches of soil using a garden fork or your hands, being careful not to disturb the roots. This method ensures that nutrients are readily available to plants while maintaining the integrity of your garden layout.
Advanced gardeners might consider brewing compost tea, a nutrient-rich liquid that can be used for foliar feeding or soil drenching. To make compost tea, steep a bag of finished compost in water for a couple of days, then strain and apply it directly to your plants for a quick nutrient boost.
Conclusion: Growing Success with These Plants
As we wrap up our journey through the rich world of garden composting, let’s revisit the five key relationship concepts that we’ve unearthed together. First, we learned the importance of nurturing a balanced mix of greens and browns, much like balancing give and take in our relationships. Second, we explored the value of patience and time, understanding that meaningful connections, like compost, develop gradually. Third, we emphasized active participation, highlighting the significance of consistent effort and care. Fourth, the role of adaptability was mirrored in adjusting to the changing needs of both compost and partnerships. Lastly, we celebrated the beauty of transformation, recognizing how both relationships and composting can lead to thriving growth.
As an actionable next step, why not start your own compost pile today? Gather those scraps and begin nurturing growth in your garden and your relationships. To keep these insights close at hand, bookmark this article as your go-to guide for cultivating both fruitful gardens and rewarding relationships.
Remember, success in both realms thrives on the seeds of effort, patience, and care. As you embark on this journey, know that your dedication will yield abundant blessings. Save this article, and let it be your companion in achieving flourishing connections.