There’s something undeniably magical about coaxing life from a tiny seed, watching it sprout and flourish into a thriving plant. Whether you’re a novice taking your first steps into the gardening world or a seasoned grower seeking to refine your craft, establishing a seed starting station is a deeply rewarding endeavor that bridges the gap between dream and reality in your garden. This process not only allows you to control the quality and variety of your plants but also extends the growing season, giving you a head start on the gardening year.
In this article, you’ll discover how to transform a simple corner of your home into a vibrant nursery for your future garden. We’ll guide you through the essentials of seed starting, from selecting the right equipment to choosing the best seeds for your climate and conditions. You’ll learn practical tips on maintaining optimal growing environments, ensuring your seedlings are healthy and robust. By the end, you’ll be equipped with the knowledge and confidence to nurture your seedlings into strong, resilient plants, ready to take on the world outside.
Embarking on this journey isn’t just about cultivating plants; it’s about cultivating joy, patience, and a deeper connection with nature. As you delve into the art and science of seed starting, you’ll find that this process is accessible to all who are eager to learn and grow alongside their plants. So, get ready to roll up your sleeves and dive into the world of seed starting—a realm where each seed holds the promise of beauty and bounty, just waiting for your nurturing touch.
Select Ideal Seed Starting Location
Choosing the right location for starting your seeds is crucial for successful germination. Look for a spot that provides ample natural light, ideally near a south-facing window, as this will ensure your seedlings receive enough sunlight to thrive.
If natural light is insufficient, consider using grow lights to supplement. Position these lights about 2-3 inches above the seedlings and adjust them as the plants grow to keep them at the right distance.
Maintaining a consistent temperature is also vital, as most seeds germinate best between 65-75°F (18-24°C). A seedling heat mat can be a great addition to keep the soil consistently warm, especially in cooler climates.
Ensure the area you choose is free from drafts and sudden temperature changes, which can stress young plants. Additionally, keep the space clean and organized, helping to prevent mold or pest infestations.
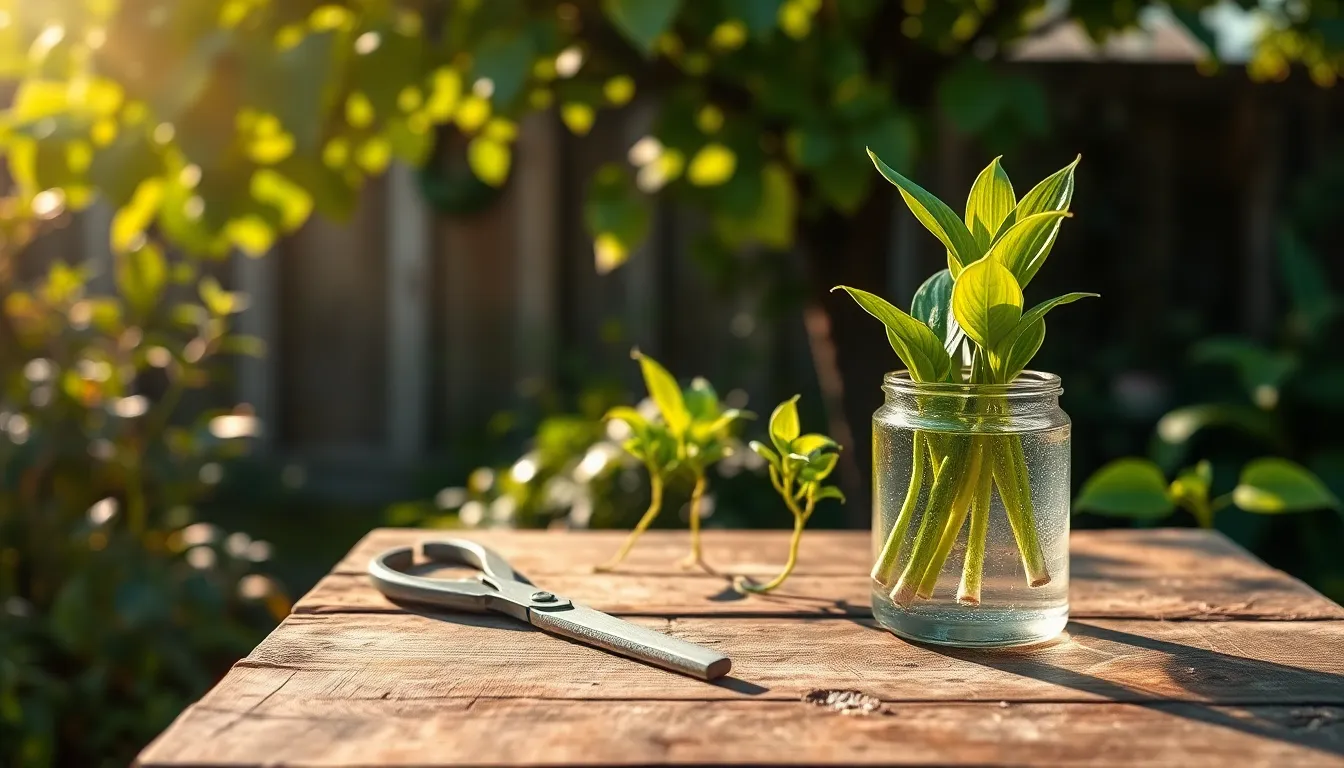
Gather Necessary Tools and Supplies
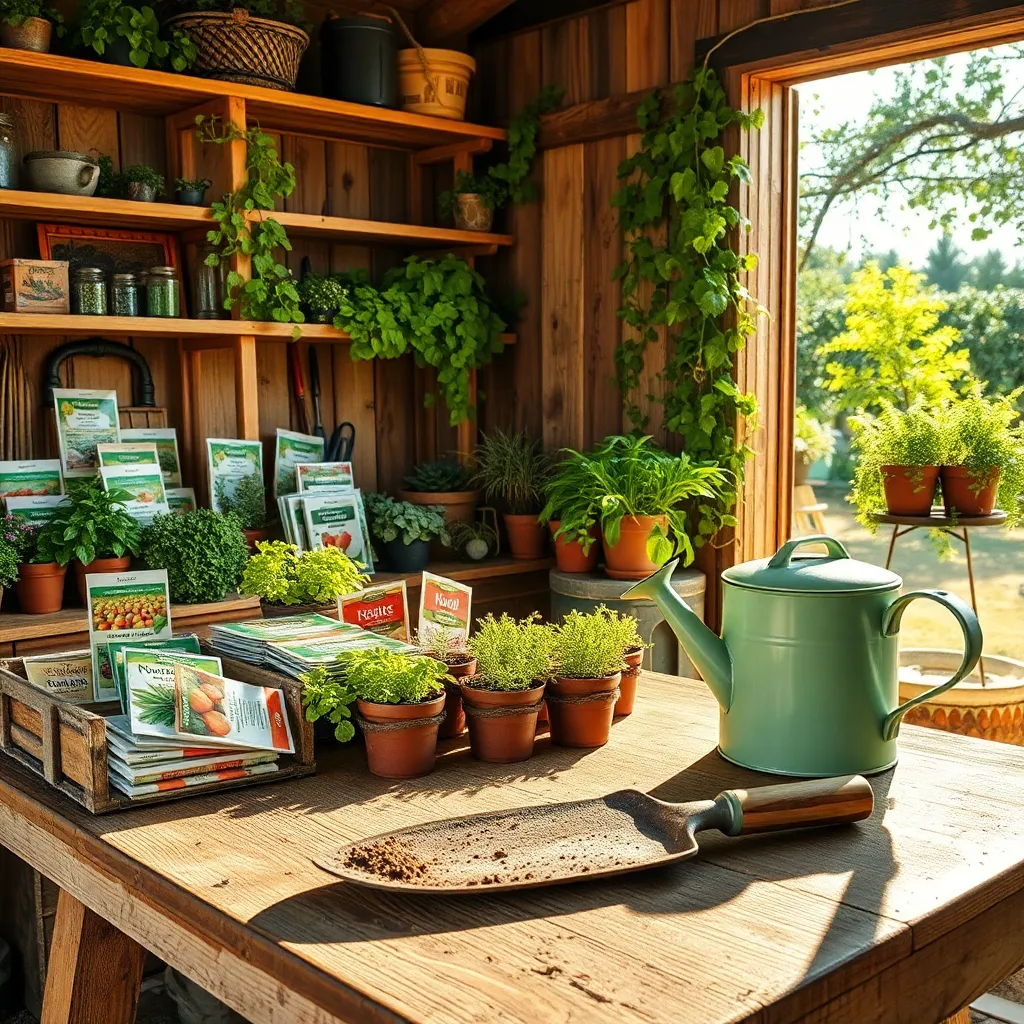
To begin setting up your seed starting station, gathering the right tools and supplies is essential. Start with a good quality seed starting mix, which is typically lighter and more porous than regular potting soil, promoting better root development.
Invest in seed trays or small pots with drainage holes to prevent waterlogging. Ensure they are clean and sterilized, as this helps prevent the spread of diseases that could harm your seedlings.
Light is crucial for the healthy growth of seedlings. Consider purchasing a grow light if natural light is limited in your chosen location, as seedlings require around 12-16 hours of light daily for optimal growth.
Additionally, a gentle watering can or spray bottle is necessary to keep the soil consistently moist, but not soggy. Watering from the bottom by placing trays in a shallow container of water can be an advanced technique to encourage strong root growth.
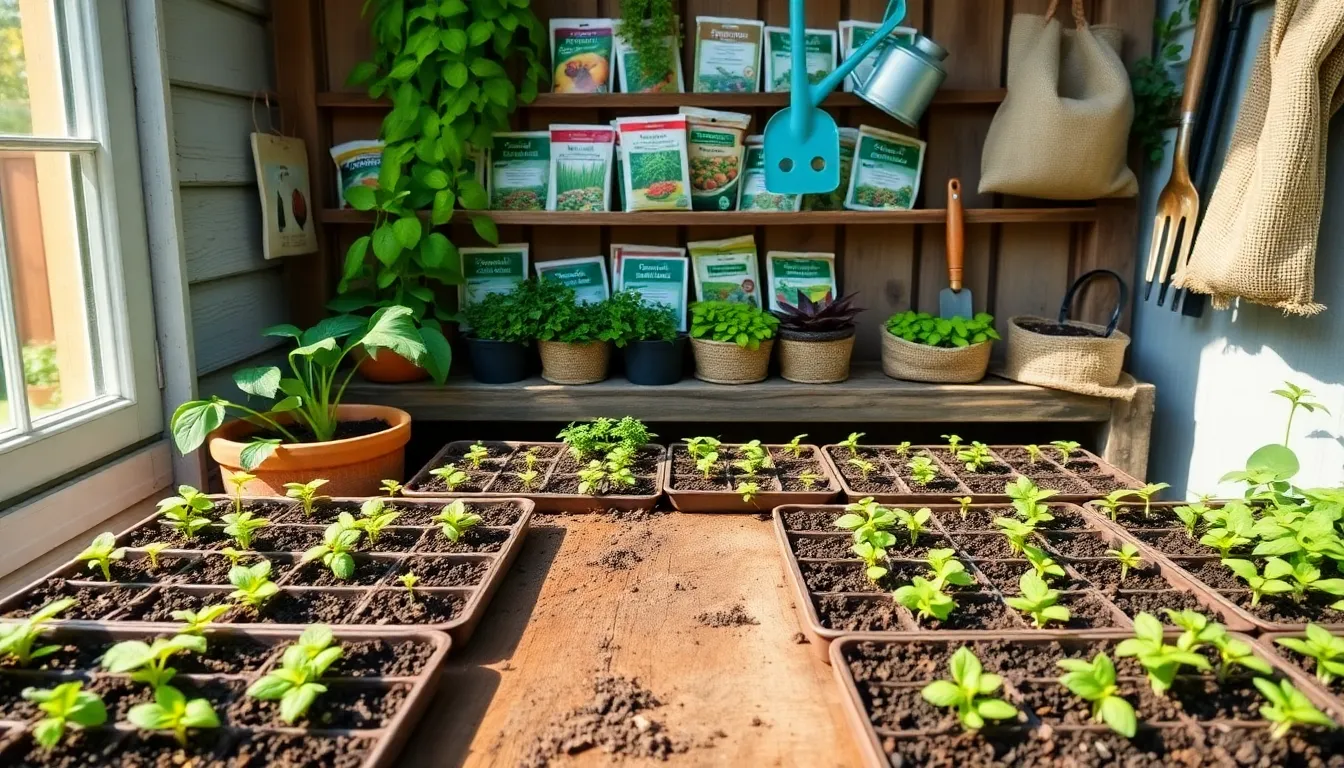
Set Up Seed Trays and Containers

After gathering your supplies, it’s time to set up your seed trays and containers. Choose seed trays that have drainage holes to prevent waterlogging, essential for healthy root development.
Fill the trays with a high-quality seed-starting mix that is light and well-draining, such as a blend of peat moss, vermiculite, and perlite. This mixture ensures that seeds have the right conditions to germinate quickly and healthily.
Ensure each container or cell is filled to about 1/4 inch from the top, pressing the mix gently to eliminate any air pockets. This provides a firm base for seeds while allowing room for watering without overflowing.
Label each tray or container with the plant variety and date of planting to keep track of your seedlings’ progress. Using waterproof labels or a pencil directly on the container prevents information from fading over time.
Plant Seeds at Recommended Depth
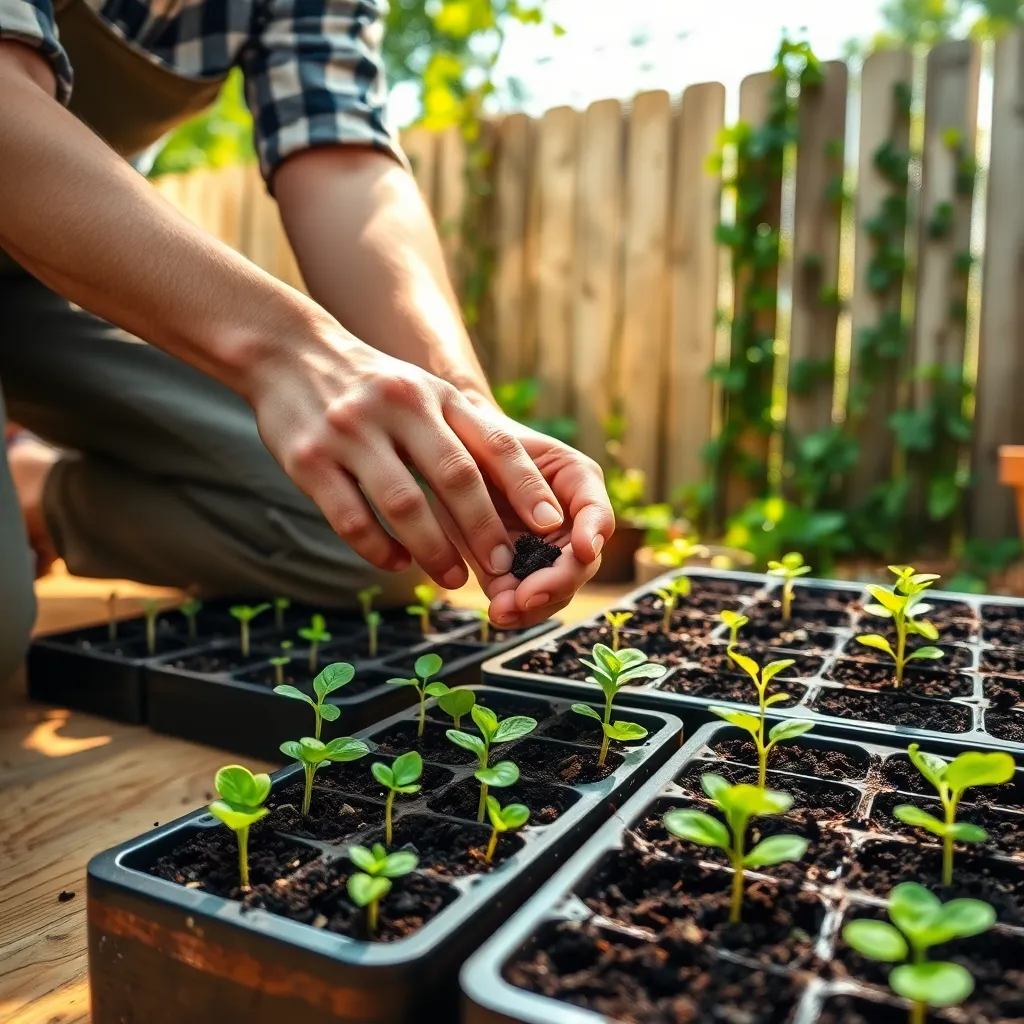
Once your seed trays are set up, it’s crucial to plant your seeds at the recommended depth for optimal growth. Each seed type has its own ideal planting depth, which is usually indicated on the seed packet. Following these guidelines ensures that your seeds have the right amount of soil coverage, which is essential for germination.
For most small seeds, the planting depth is about twice the seed’s diameter. Larger seeds, like beans and peas, typically need to be planted deeper, around one to two inches. Ensuring the correct depth helps seeds maintain the moisture they need for germination without becoming waterlogged.
It’s a good idea to gently press the soil down after planting to remove air pockets and ensure good soil-to-seed contact. This step is particularly important for small seeds, which can dry out quickly if not in close contact with the soil. Remember that the goal is to provide a stable environment where seeds can absorb moisture effectively.
For gardeners looking to refine their skills, consider varying the depth slightly based on the soil type and moisture levels. Sandy soils might require slightly deeper planting to retain moisture, while clay soils may need the seeds to be planted slightly shallower to prevent waterlogging. Adjustments like these can significantly enhance germination rates and overall plant health.
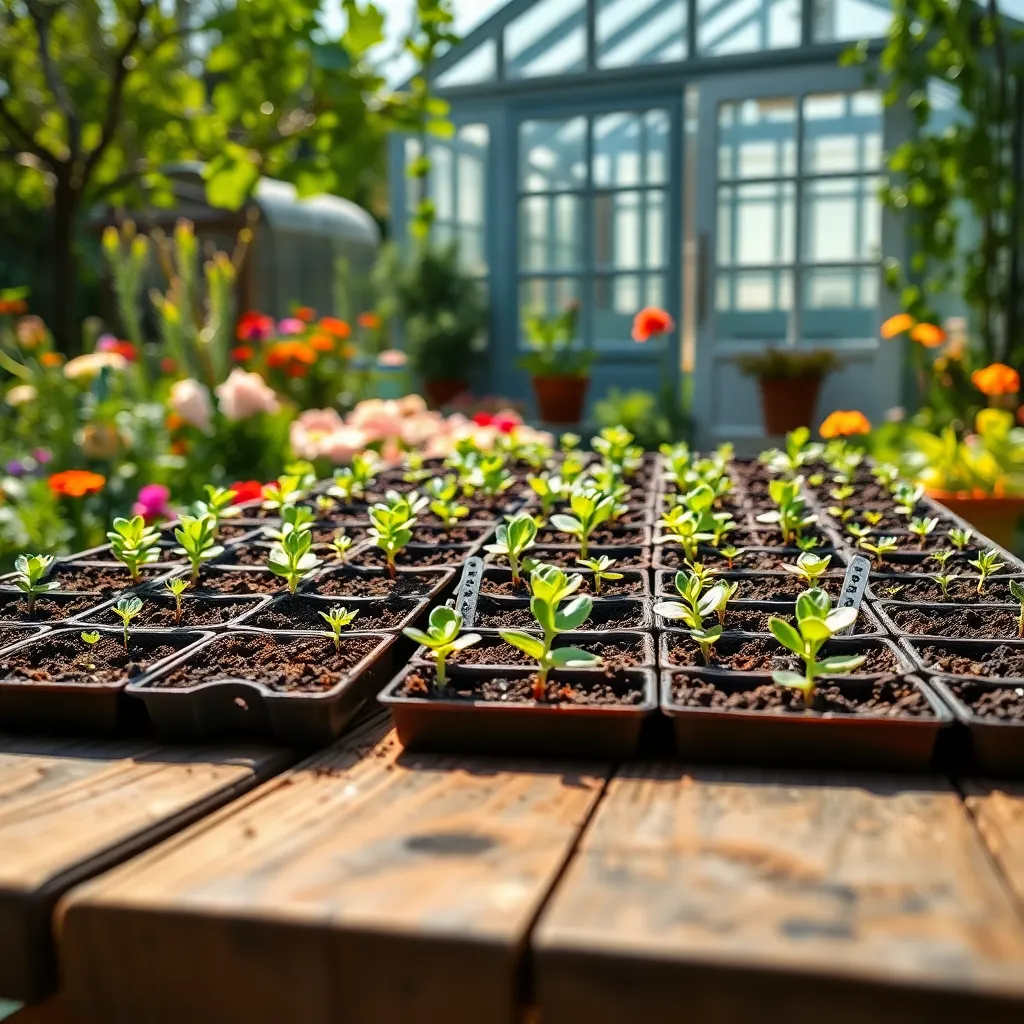
Provide Consistent Water and Light
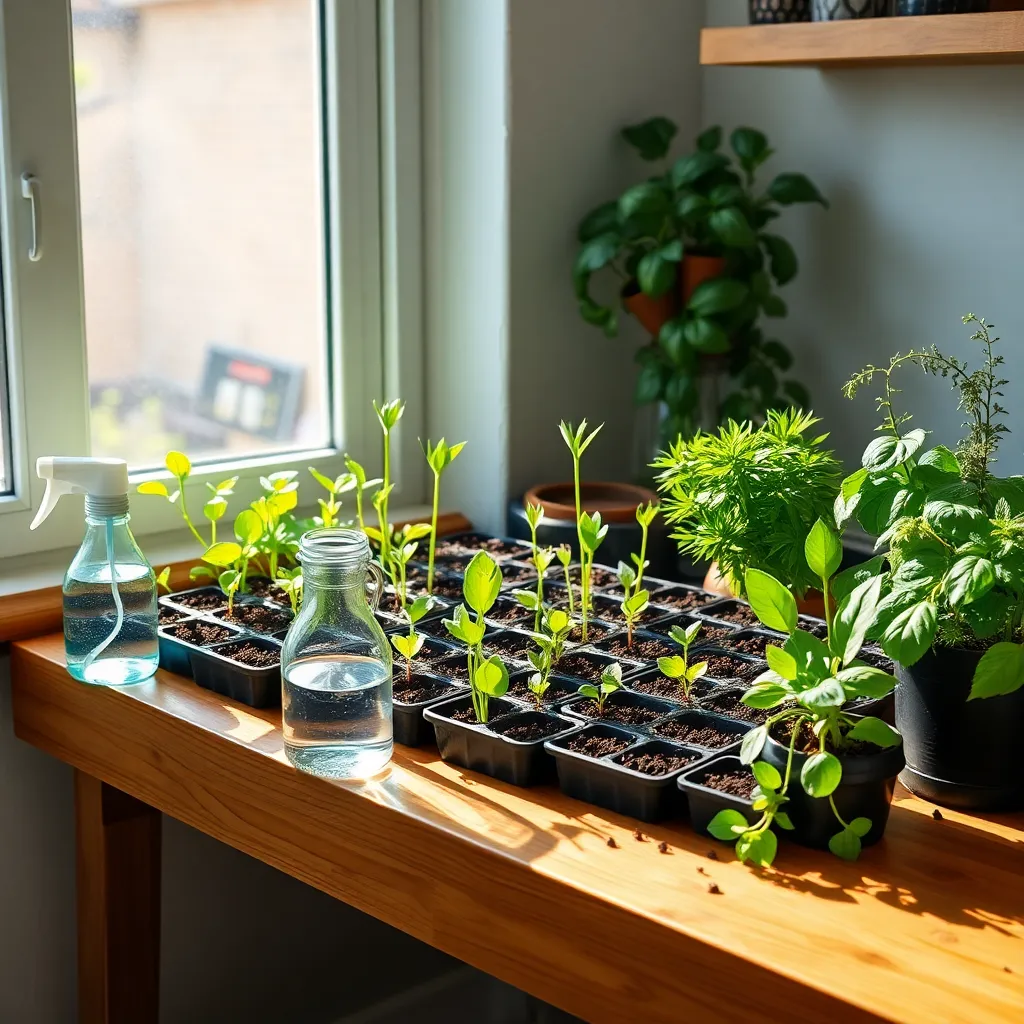
Ensuring your seeds receive consistent water and light is crucial for successful germination. Aim to keep the soil consistently moist but not waterlogged, as this can lead to root rot.
To achieve this, consider using a spray bottle to lightly mist the soil surface daily. This gentle method prevents disturbing the seeds while providing the necessary moisture.
Light is just as essential, and many seeds require bright, indirect sunlight to sprout. If natural light is limited, set up a grow light about 2-3 inches above your seed trays to mimic the sun’s intensity.
Positioning is key; rotate your trays regularly to ensure even light exposure and prevent seedlings from leaning towards the light source. For most plants, aim for a minimum of 12-16 hours of light per day to encourage strong, healthy growth.
Advanced gardeners might consider automated timers for their grow lights to maintain a consistent schedule. This ensures that your seedlings receive the optimal amount of light, supporting their growth even if you’re not around to adjust the lights manually.
Conclusion: Growing Success with These Plants
In “How to Start a Seed Starting Station,” we explored five key concepts essential to nurturing relationships: creating a supportive environment, sowing seeds of trust, ensuring consistent care and attention, understanding the importance of patience, and celebrating growth. These principles mirror the delicate process of starting a seed station, where each step is vital for success. As you embark on this journey, remember that relationships, much like seeds, thrive when nurtured with intention and love.
Your actionable next step is to identify one relationship in your life that could benefit from a little extra care. Take a moment today to reach out and express gratitude or offer support. This small gesture can be the beginning of a more profound connection.
To ensure these insights remain a part of your relationship toolkit, bookmark or save this article. Keeping this resource handy will help you cultivate stronger relationships over time.
Looking forward, embracing these strategies promises a future where your relationships blossom with resilience and joy. Empower yourself to take these steps, and watch as your connections deepen and flourish. Remember, a little effort today can lead to a lifetime of rewarding relationships.